Lower Cabinet Installations
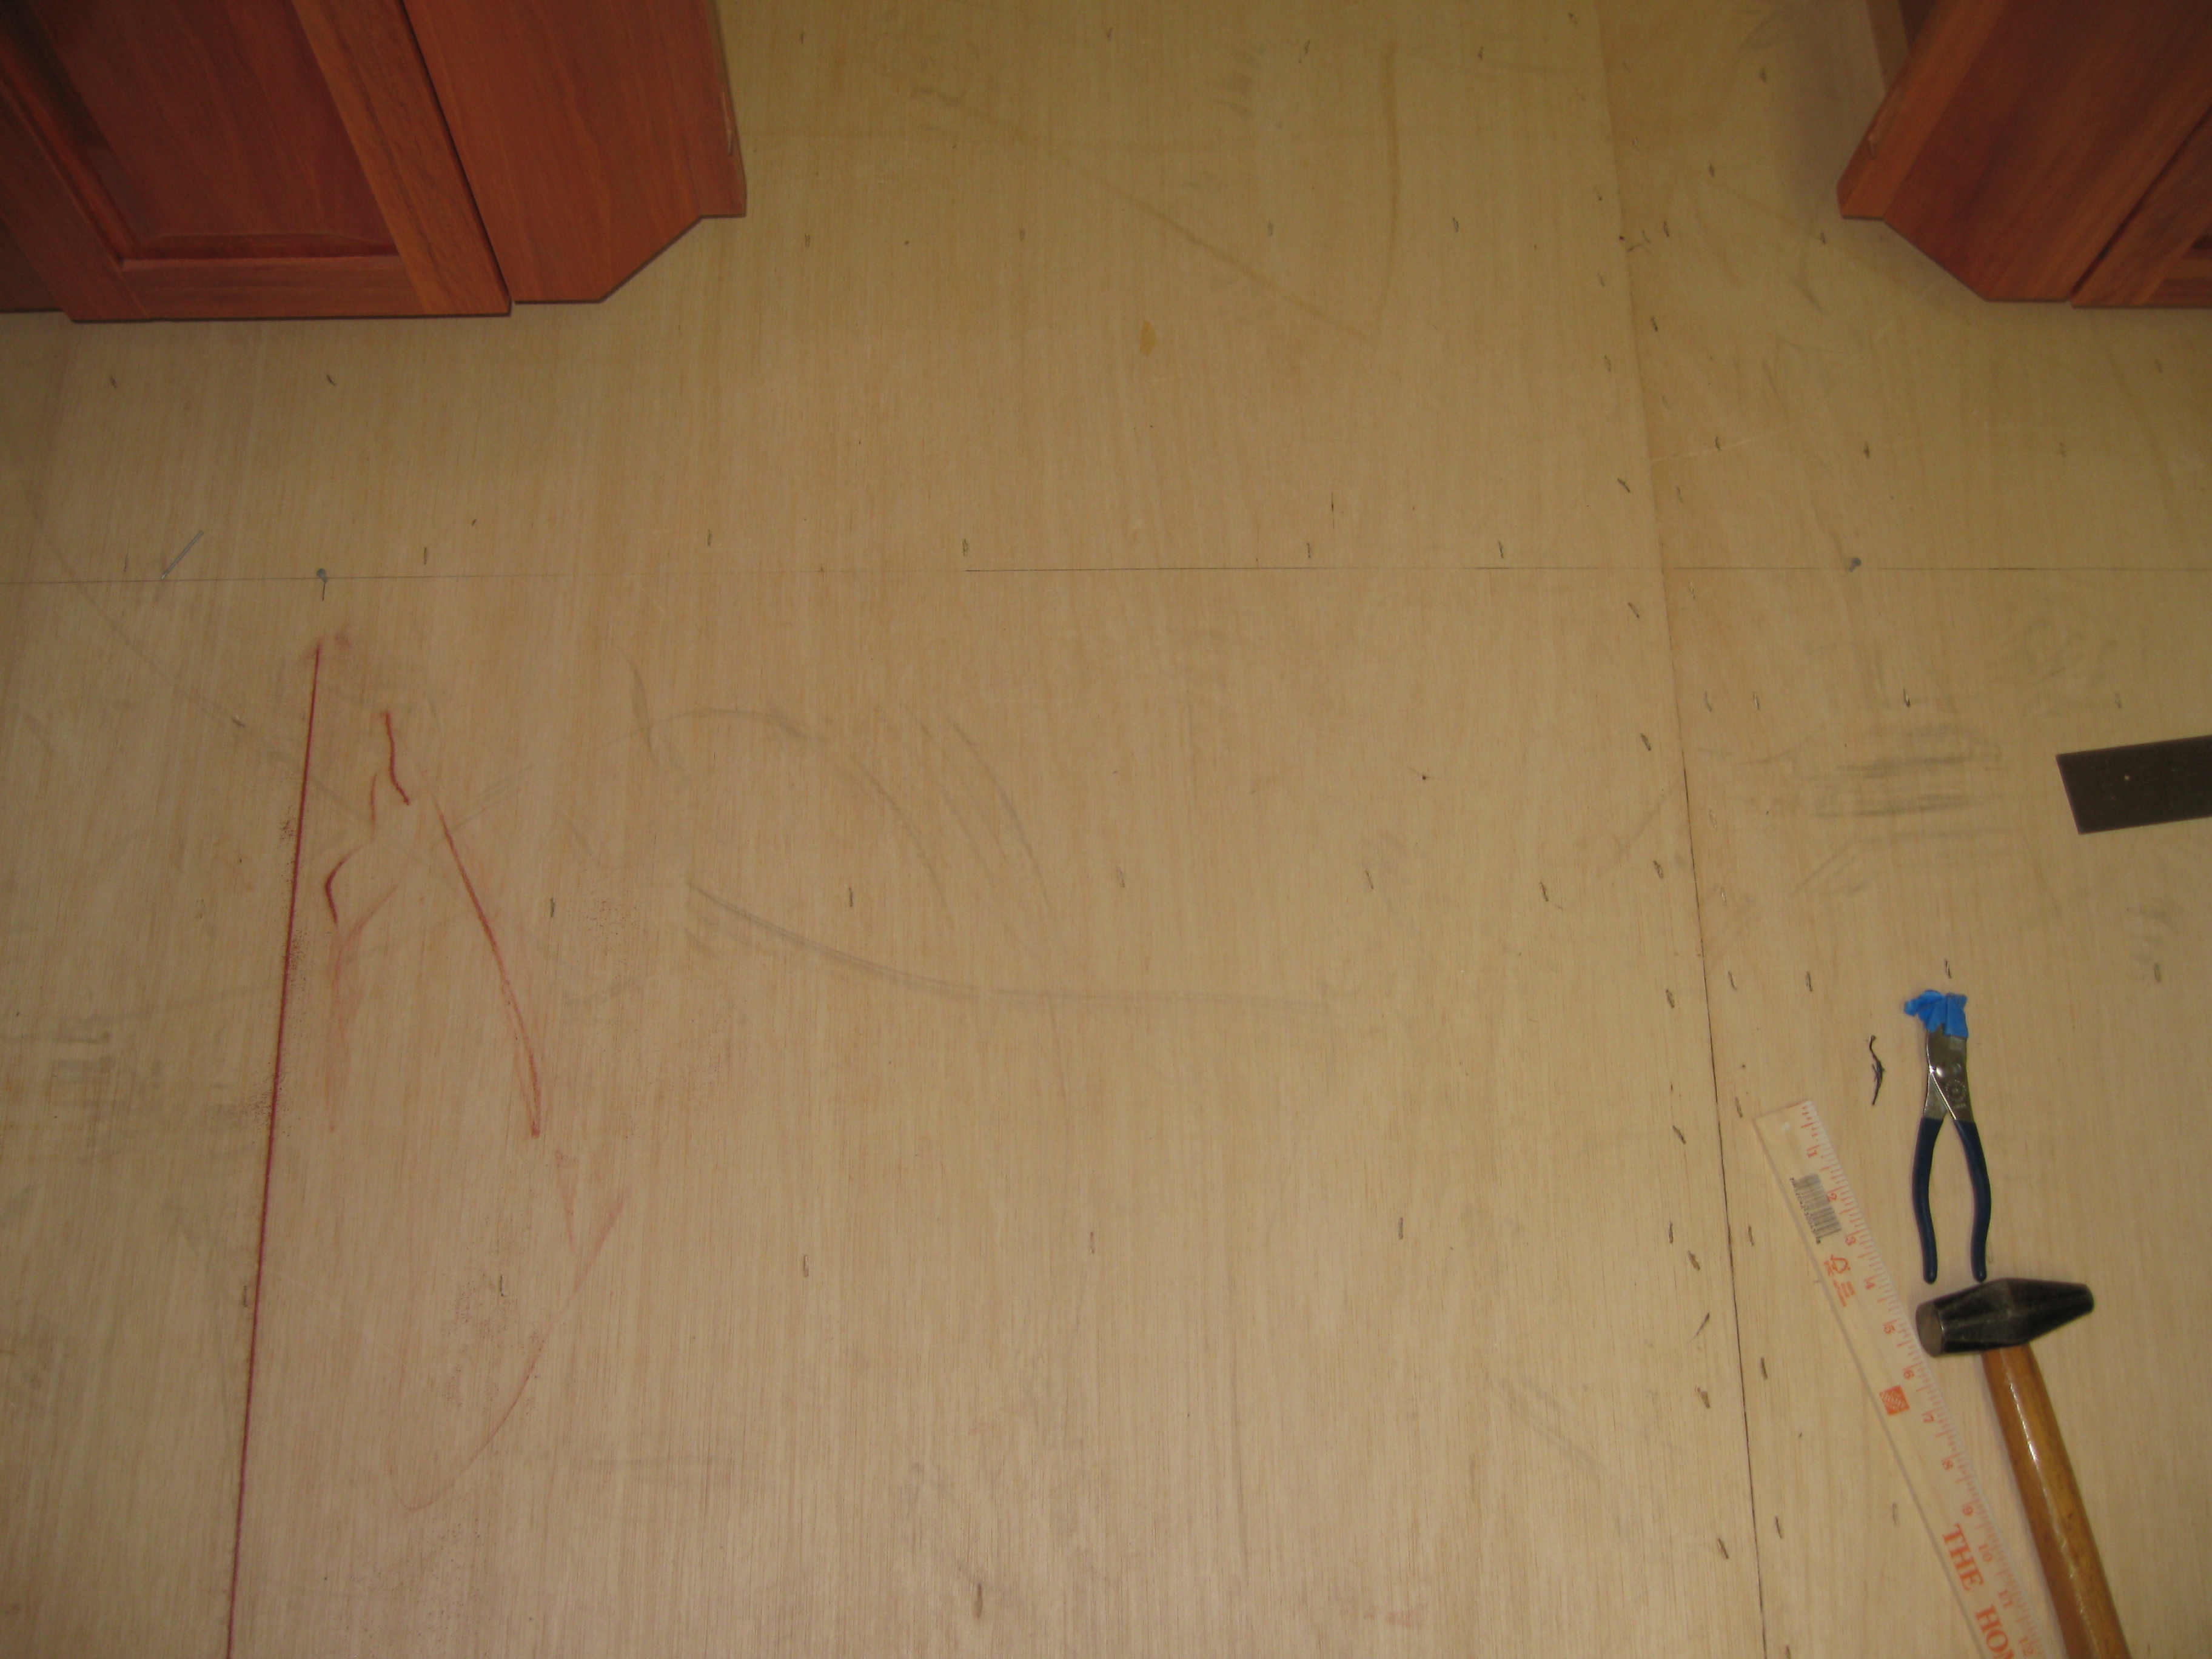
I use the laser to project a line off the window wall. I place two nails 3' apart then using two measuring tapes, one at four feet and the other at five feet, I adjusted them until these lengths intersect and I then have a point on a line that is 90 degrees to the base. Using a red chalk line hooked on the nail and pulling it taunt so that it crosses the point I snap it to show the line..
This formula is a real workhorse. It has put bread on the table many times. One of my favorites.
:
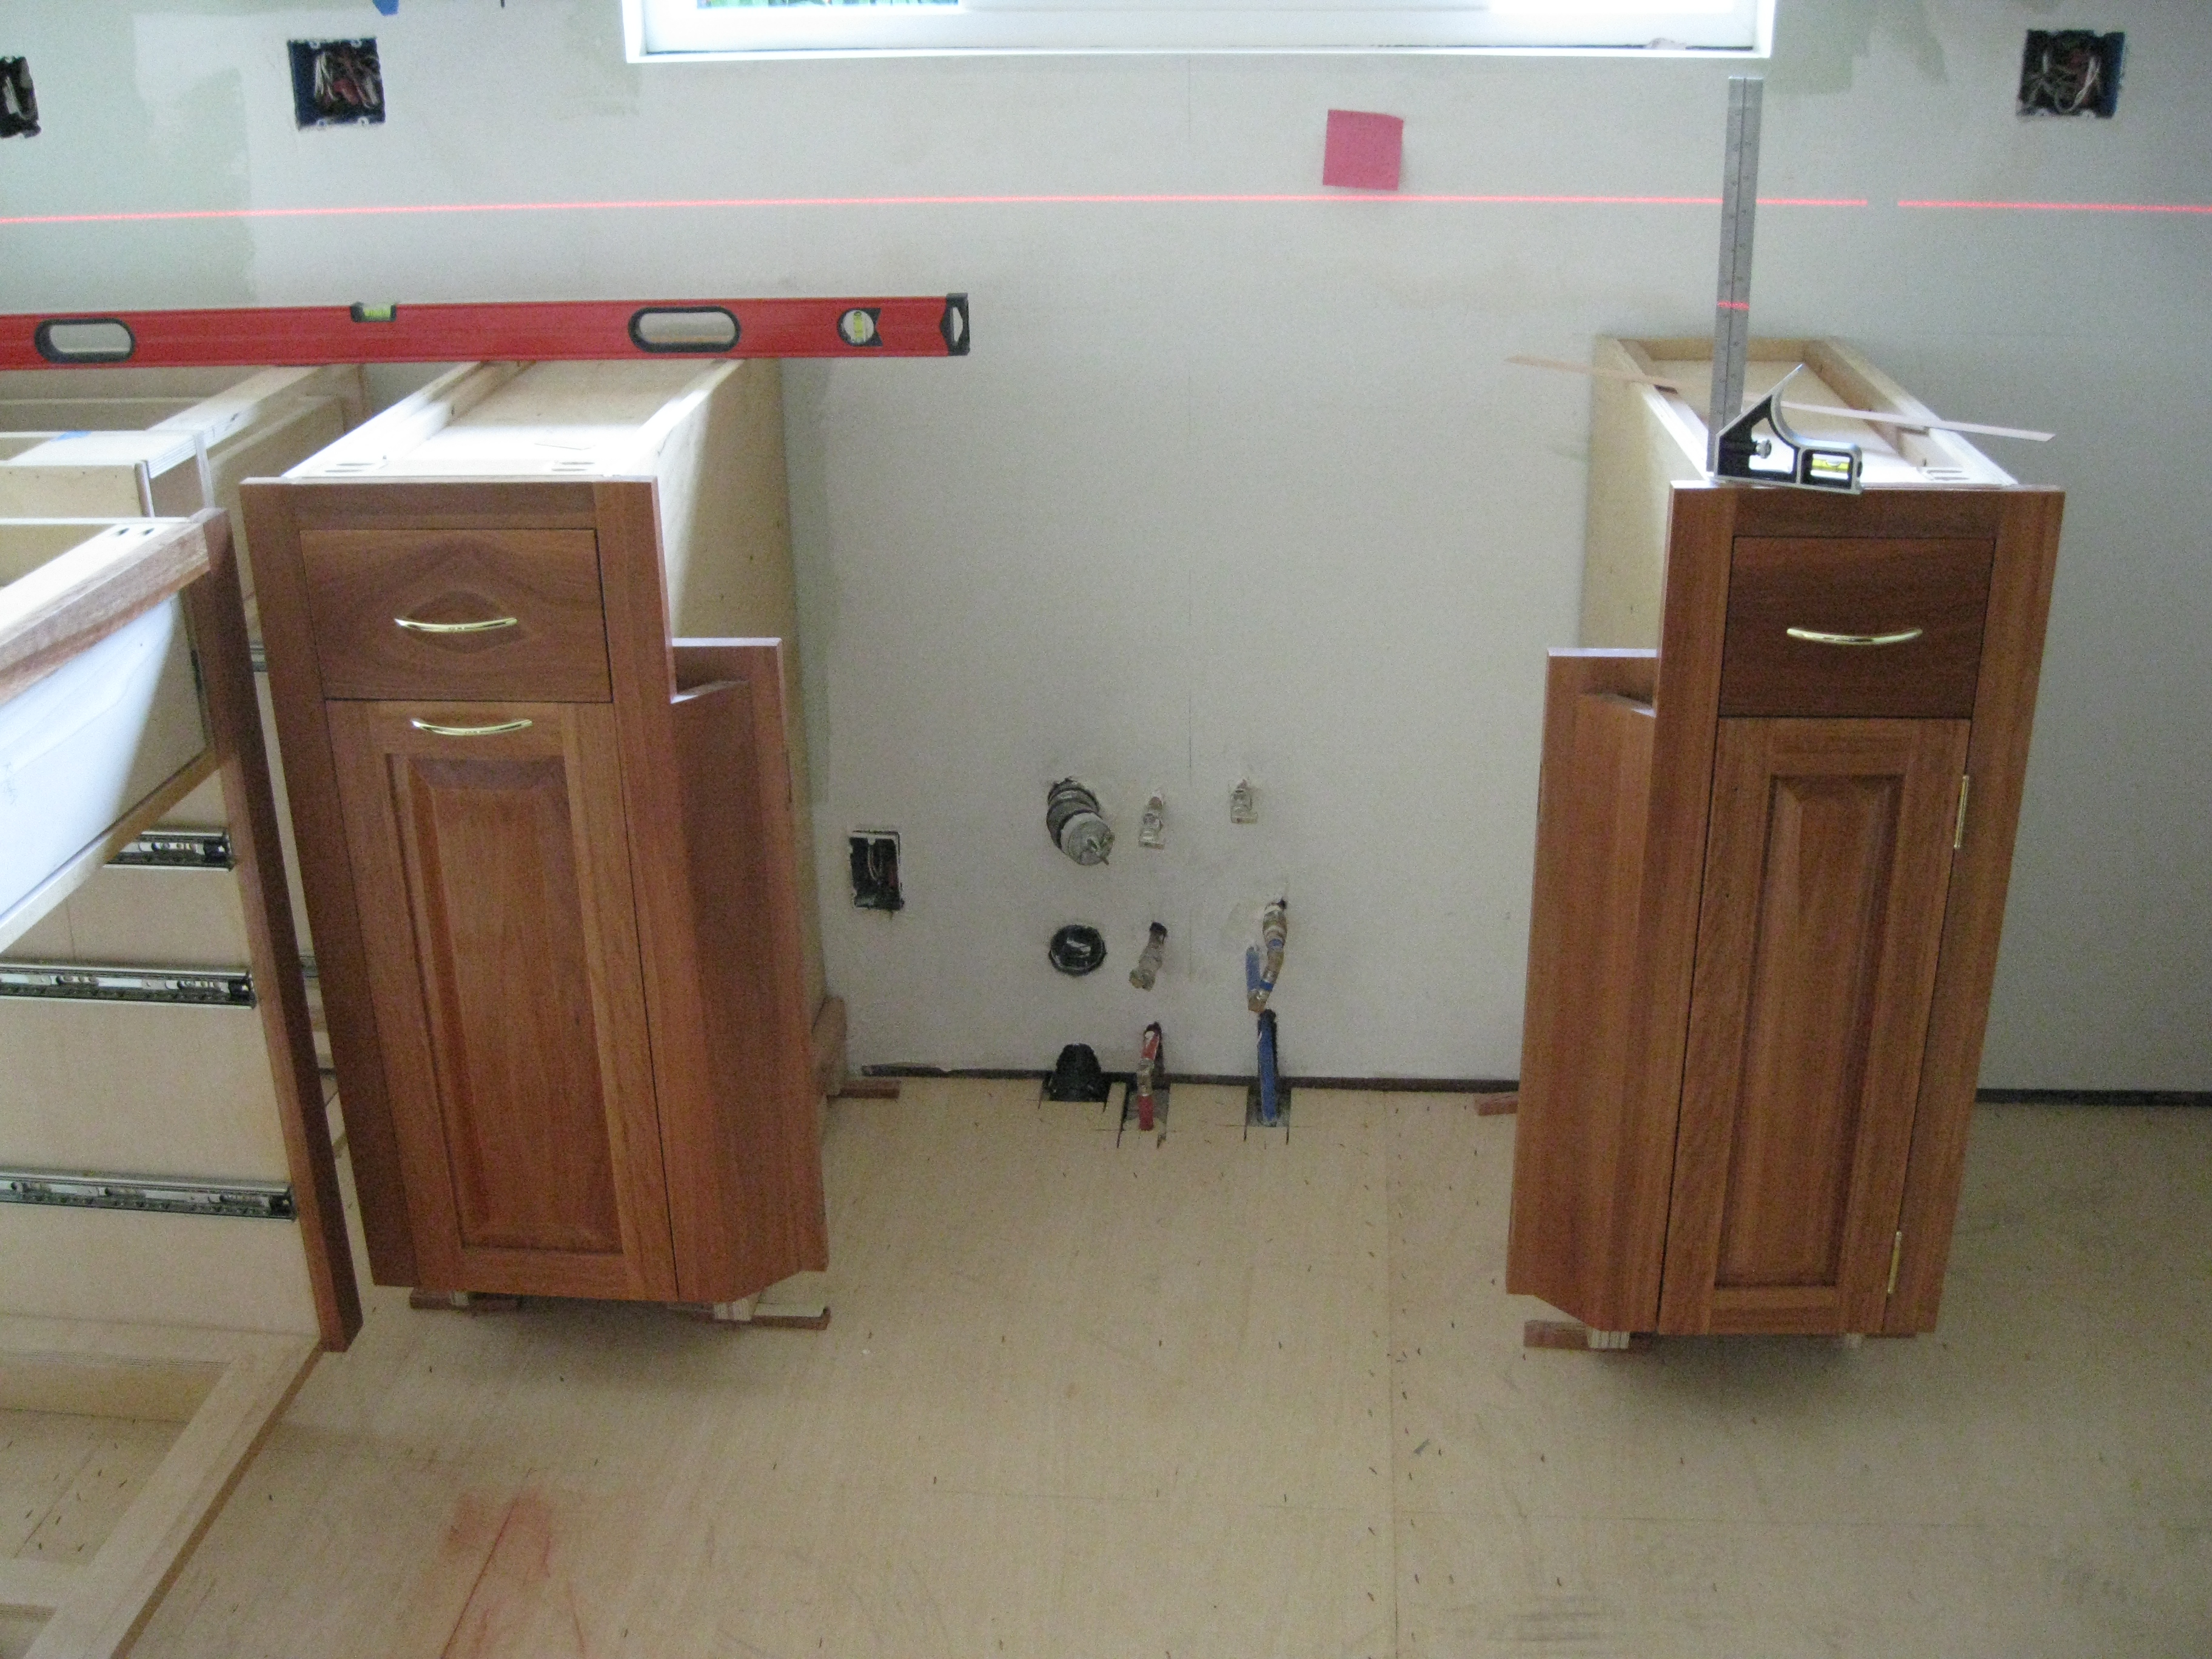
I use the laser to measure the inverts of each corner of each cabinet. I subtract the measurements from the smallest number. I cut shims equal to the differences and placed the shims under the corresponding corners. The lowest point on the floor is 3/4" lower than the highest point within the area of the cabinets.
:
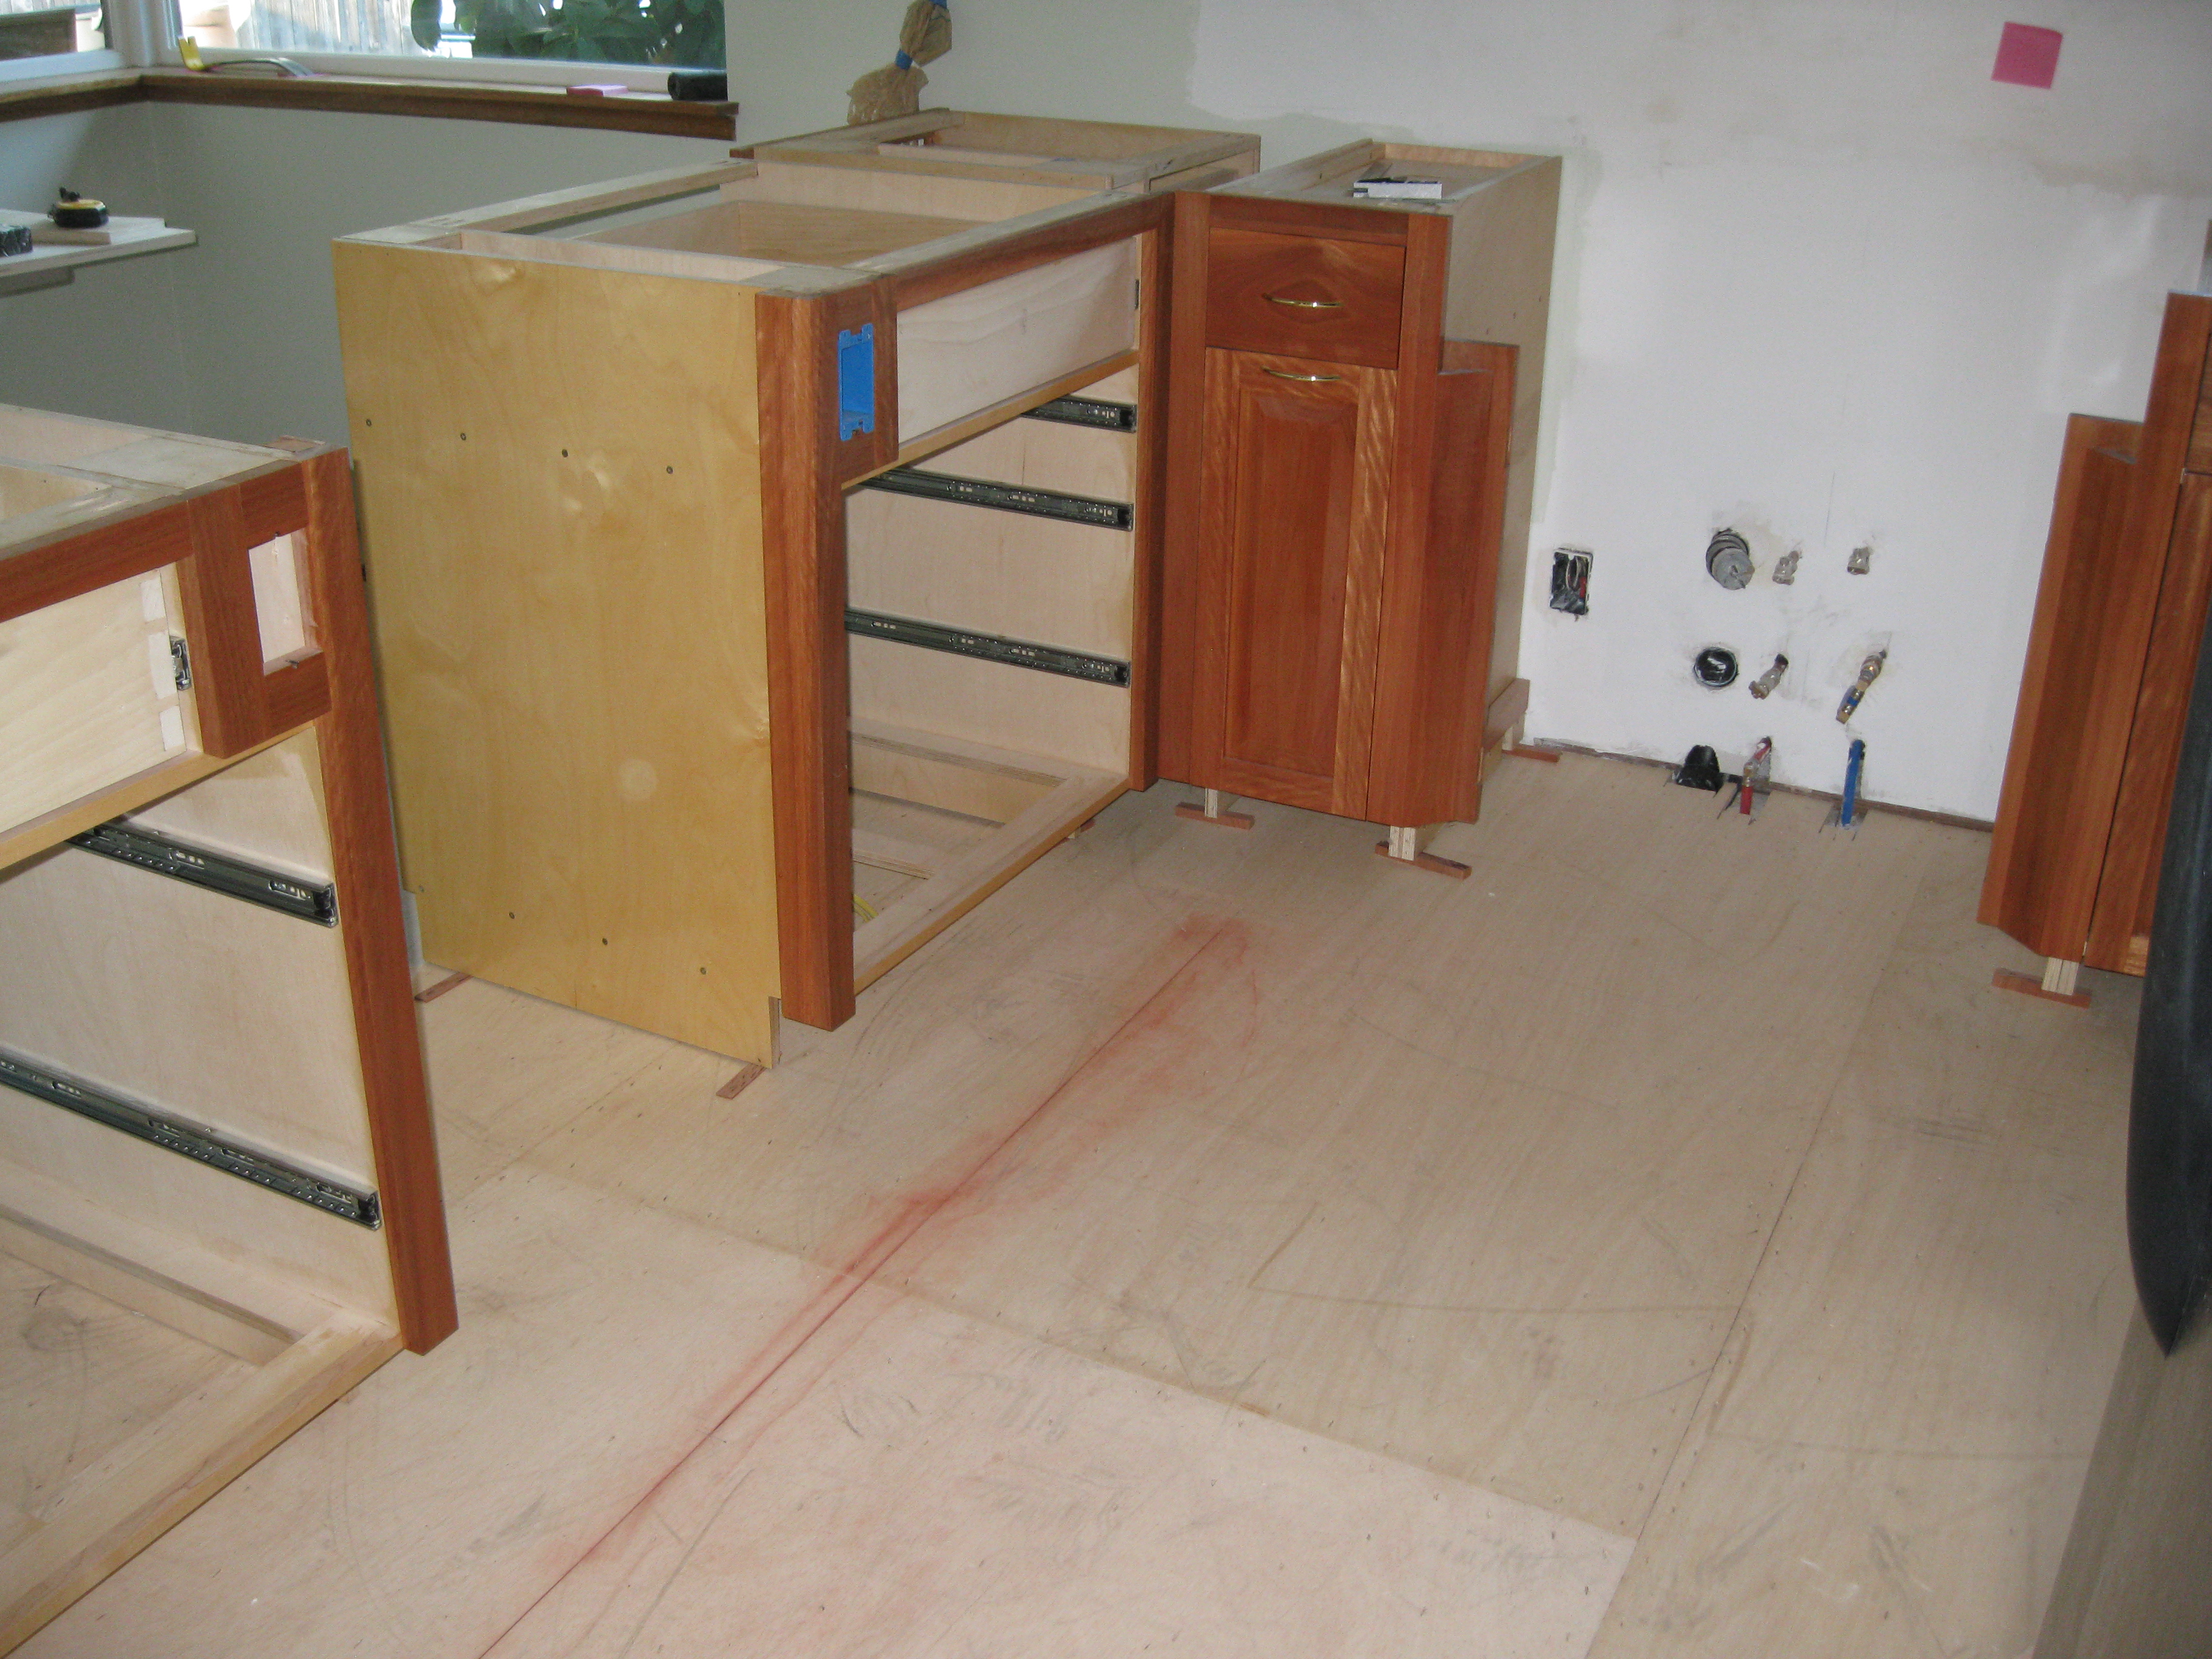
All the cabinets are in their approximate locations here and are adjusted to level. Well, within about 3/64's. Next I have to cut out a hidden channel form the bases of some of the cabinets to get water & drainage from the sink area to the dishwasher location. Then I have to firm up the exact position of the cabinets, install blocks inside the bases, screw them to the floor, and then to the cabinet to keep them where they need to be. When I do this I will add fine shims and get the cabinets within 1/16". The floor under the sink needs cut and installed. The end wall needs installed. The 1/2"plywood toe kick backing needs installed. That will be real challenge with the 3/4" slope towards the window and the 1/2" slope from left to right. All this needs to be done so I can schedule the measuring of the countertop. Then I can get the floor installed.
:
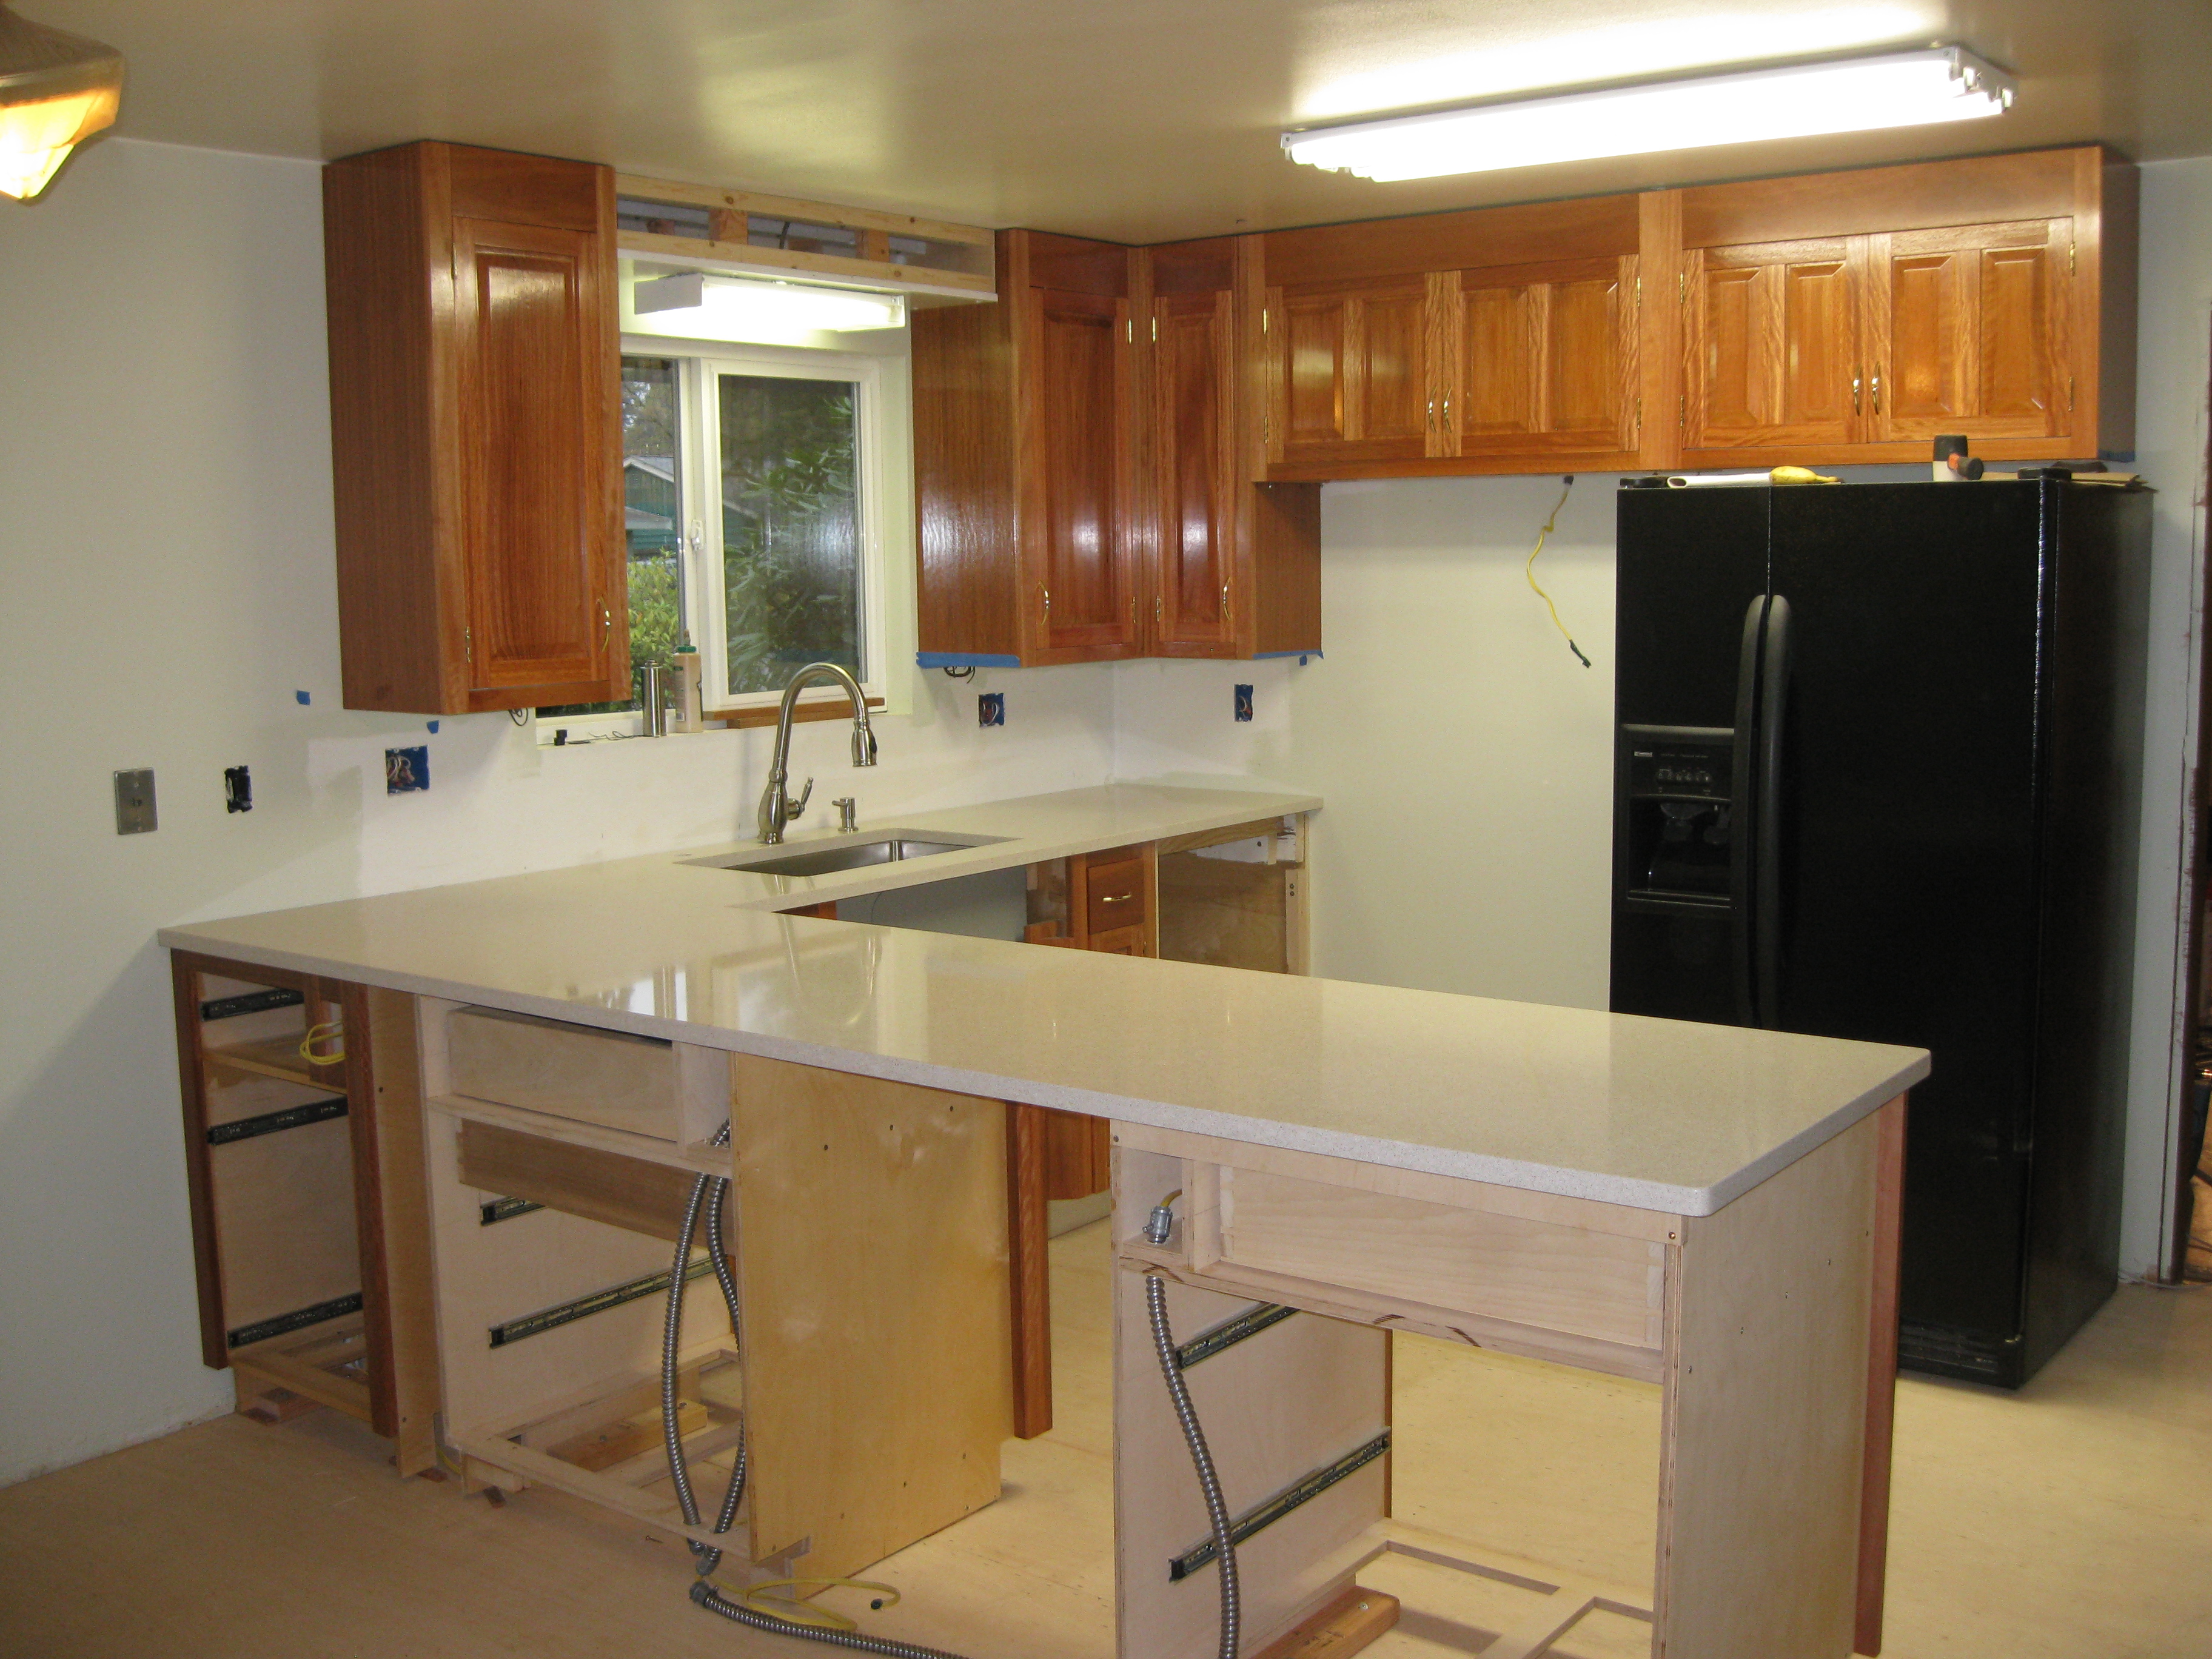
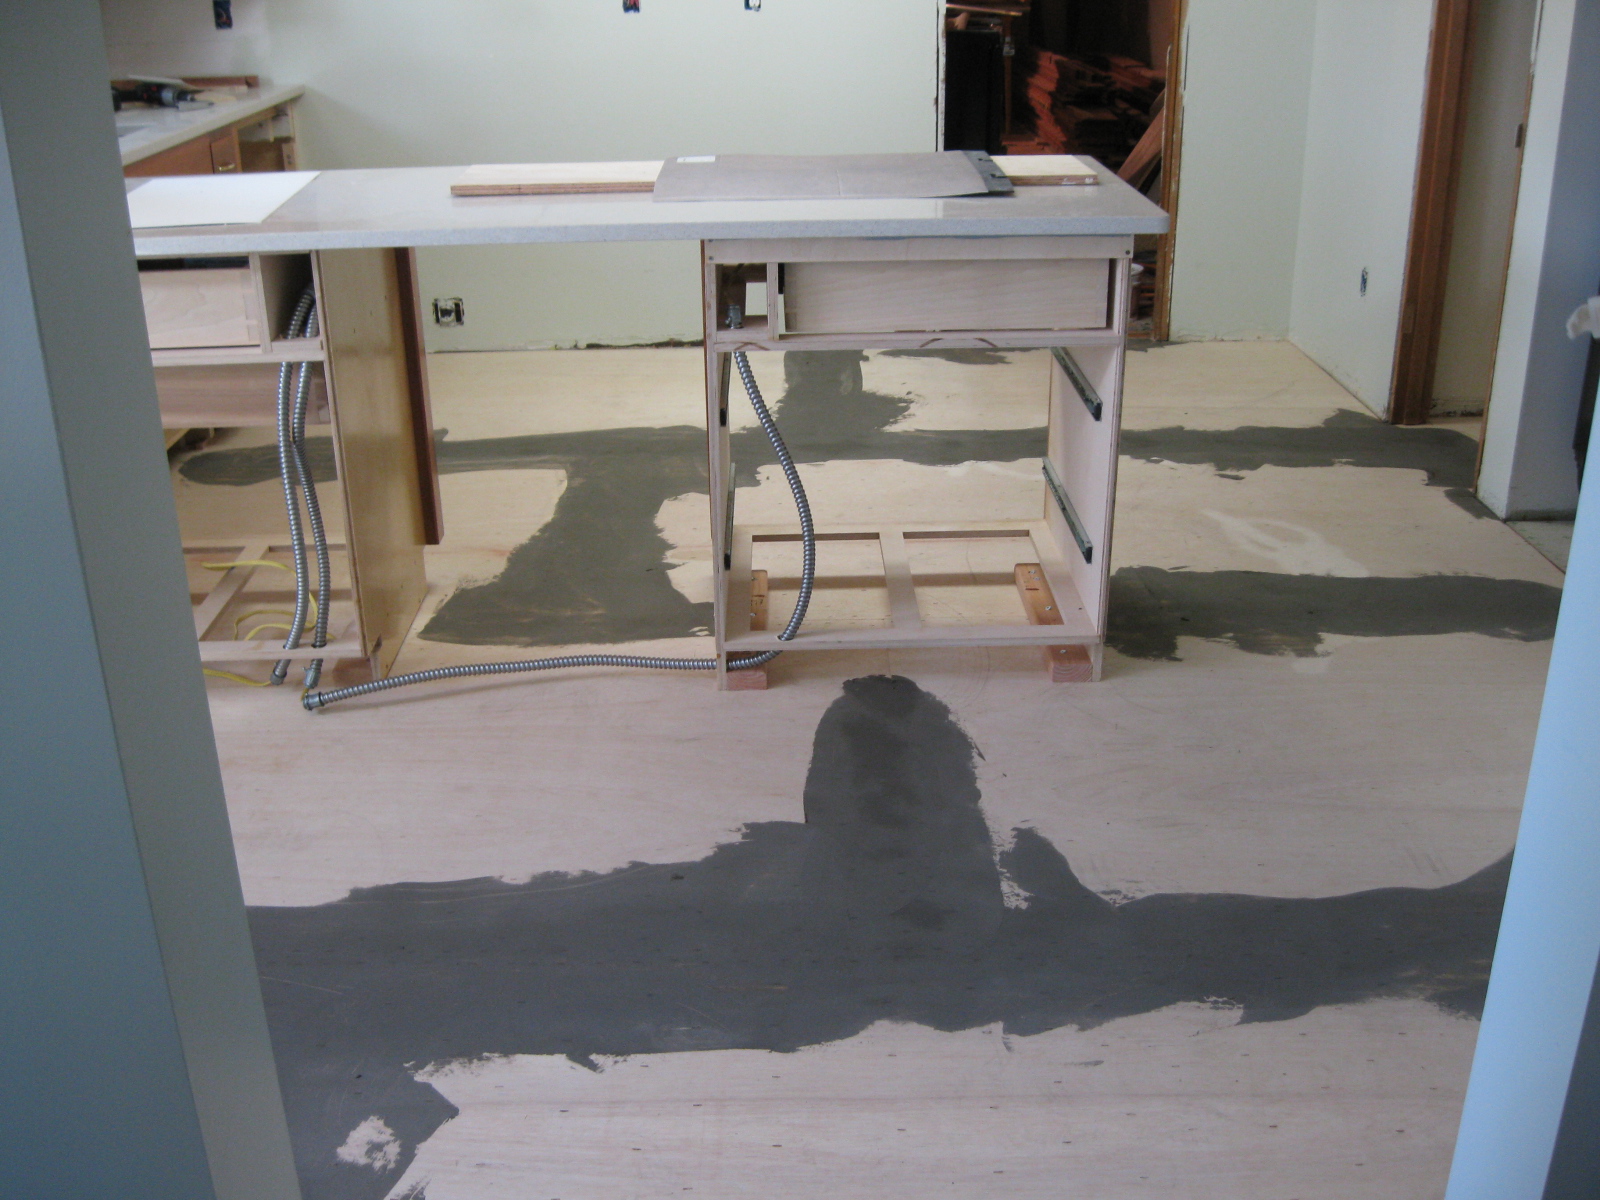
This shows all the connective structure placed to support the Silestone counter top. The boxes are level and attached to the floor.
.JPG)
The floor under the sink is removable. The back 9" is a separate panel.
.JPG)
:
The sink skirt is held in place by two sliding bolt latches accessible from underneath. This board is non structural.

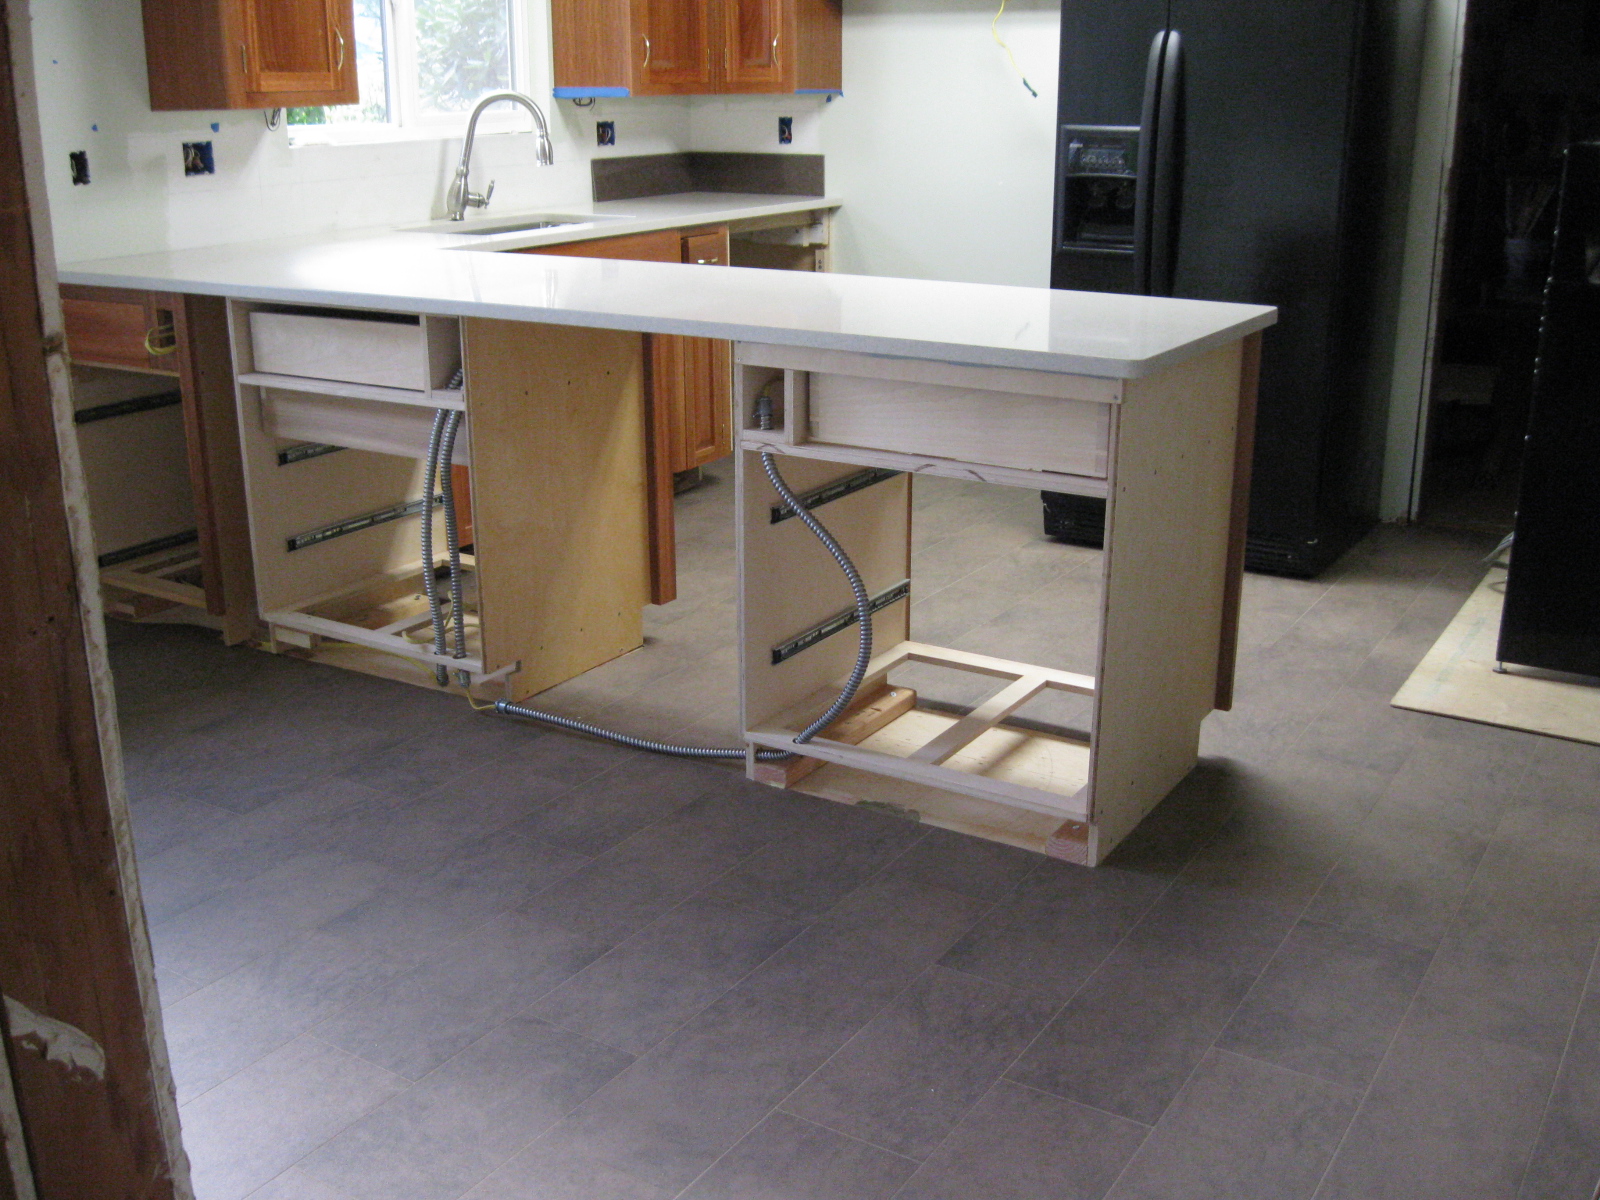
Peninsula install
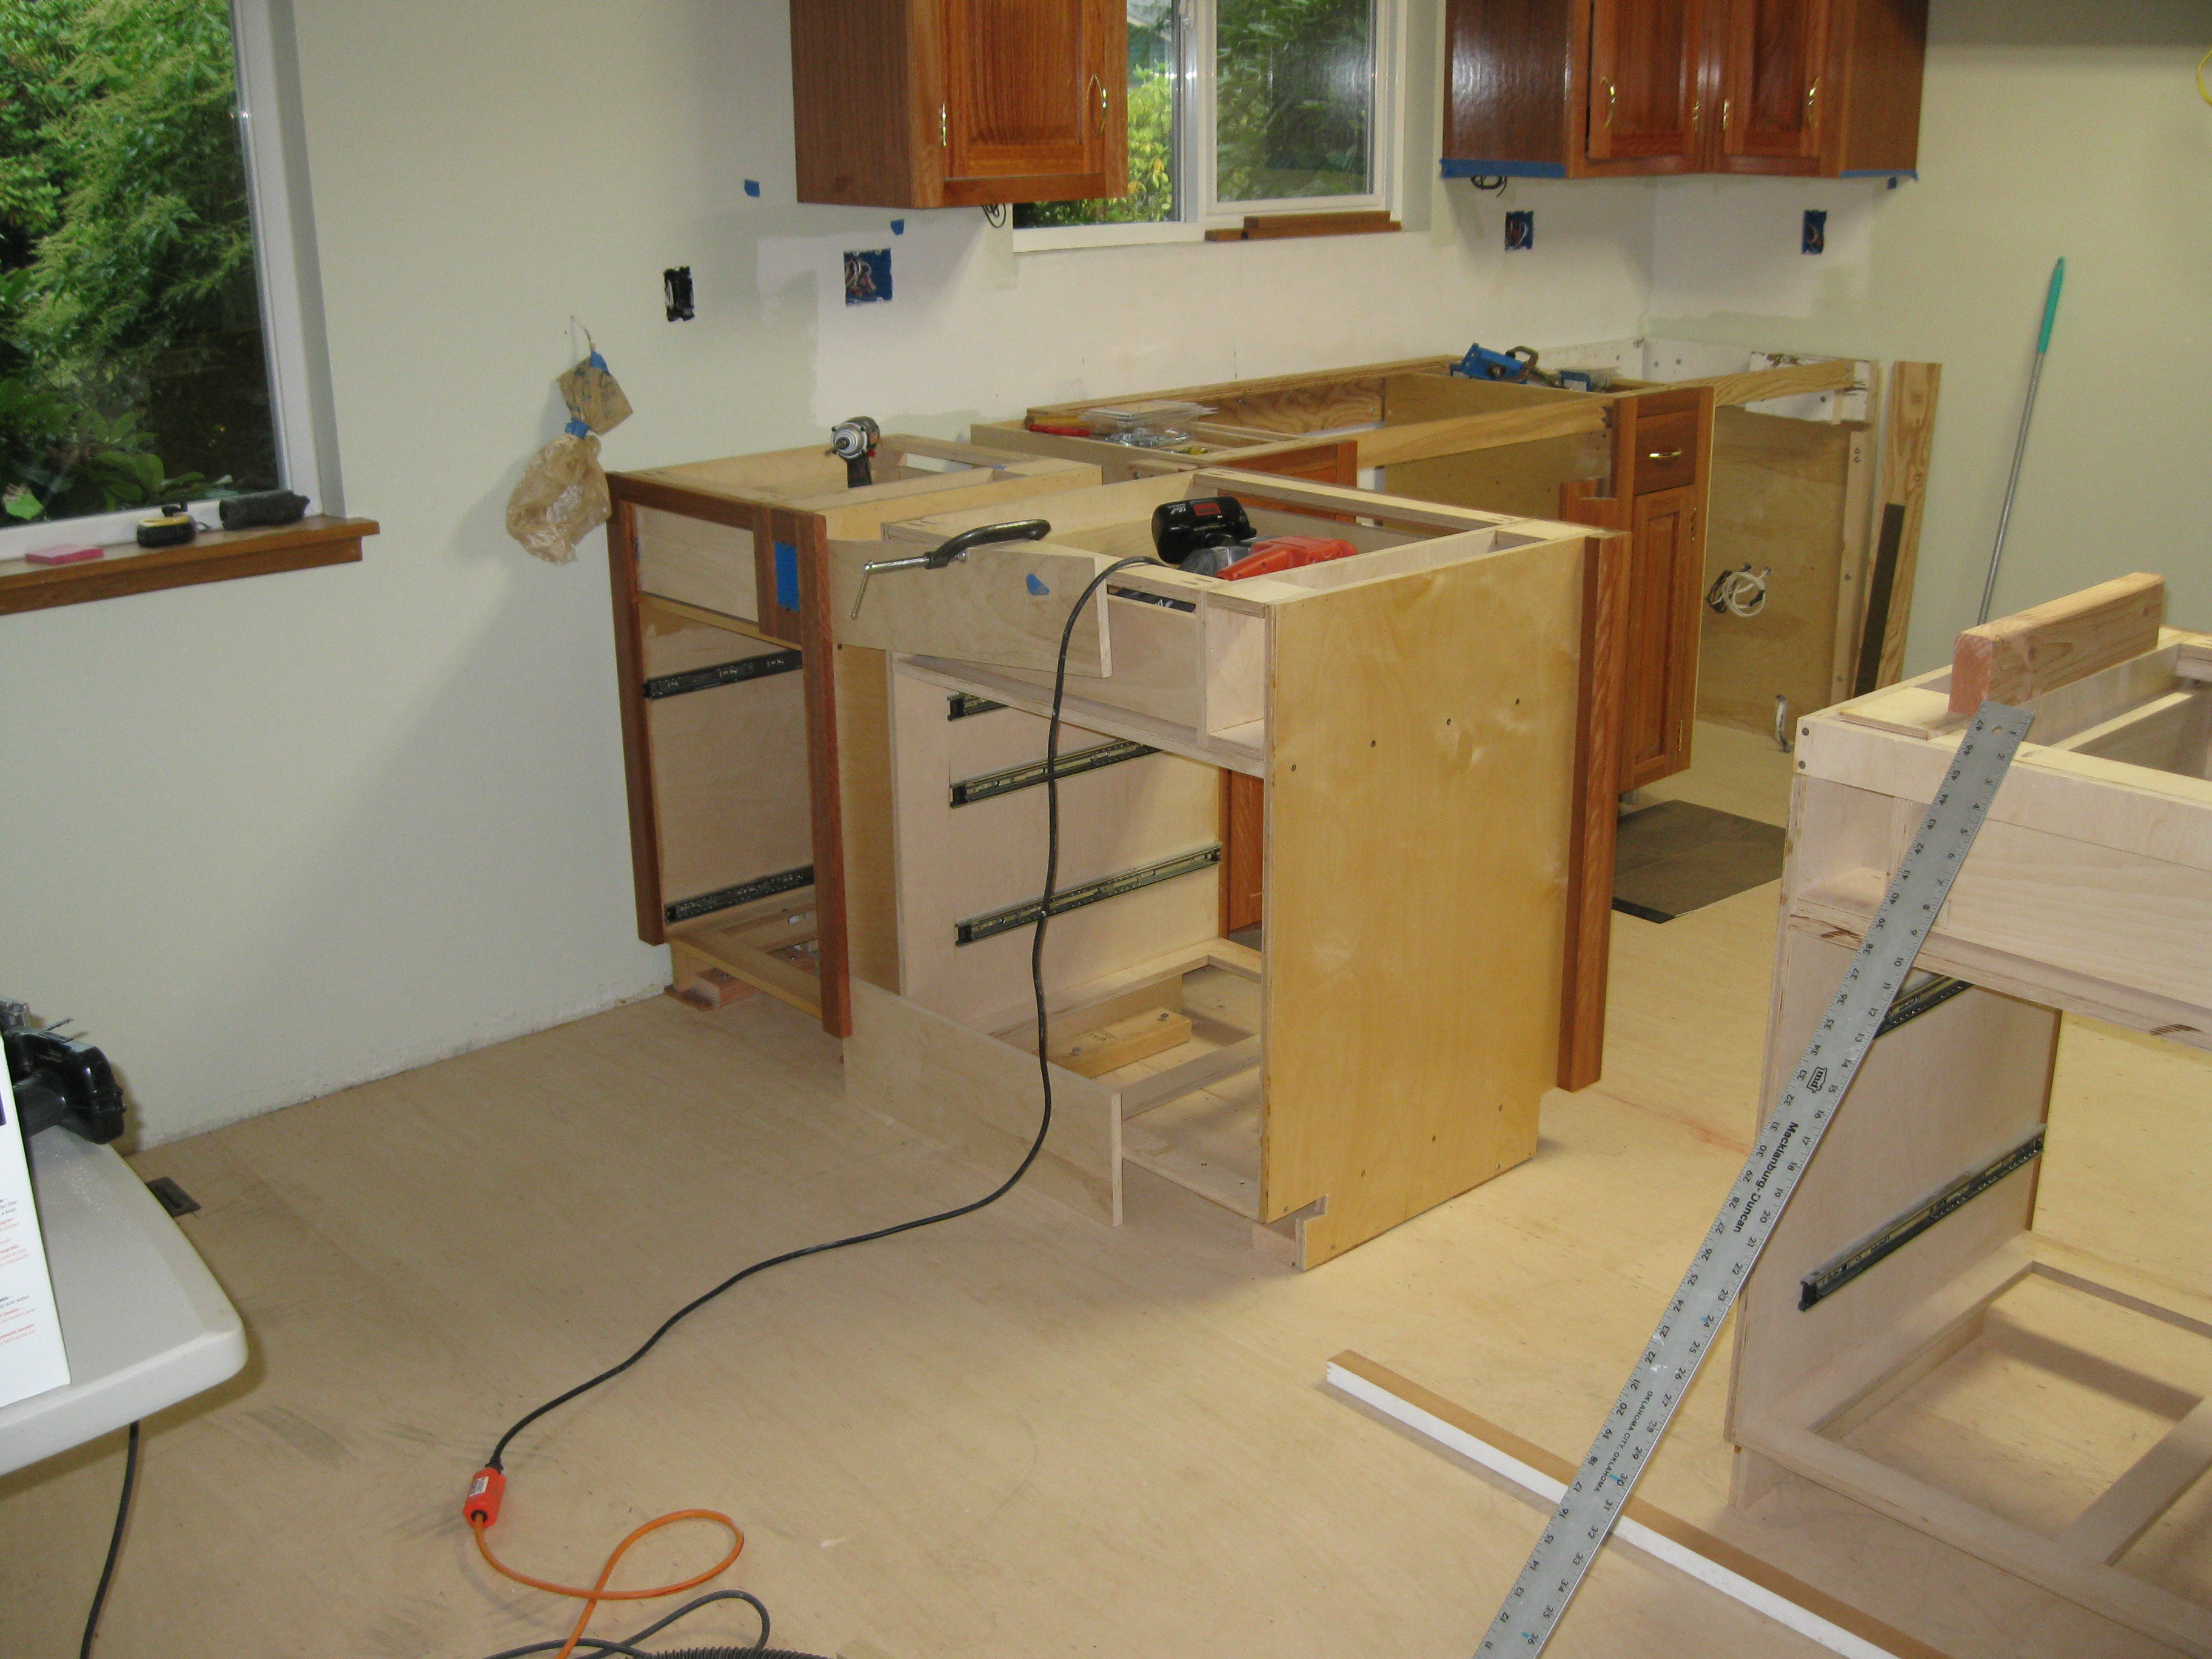
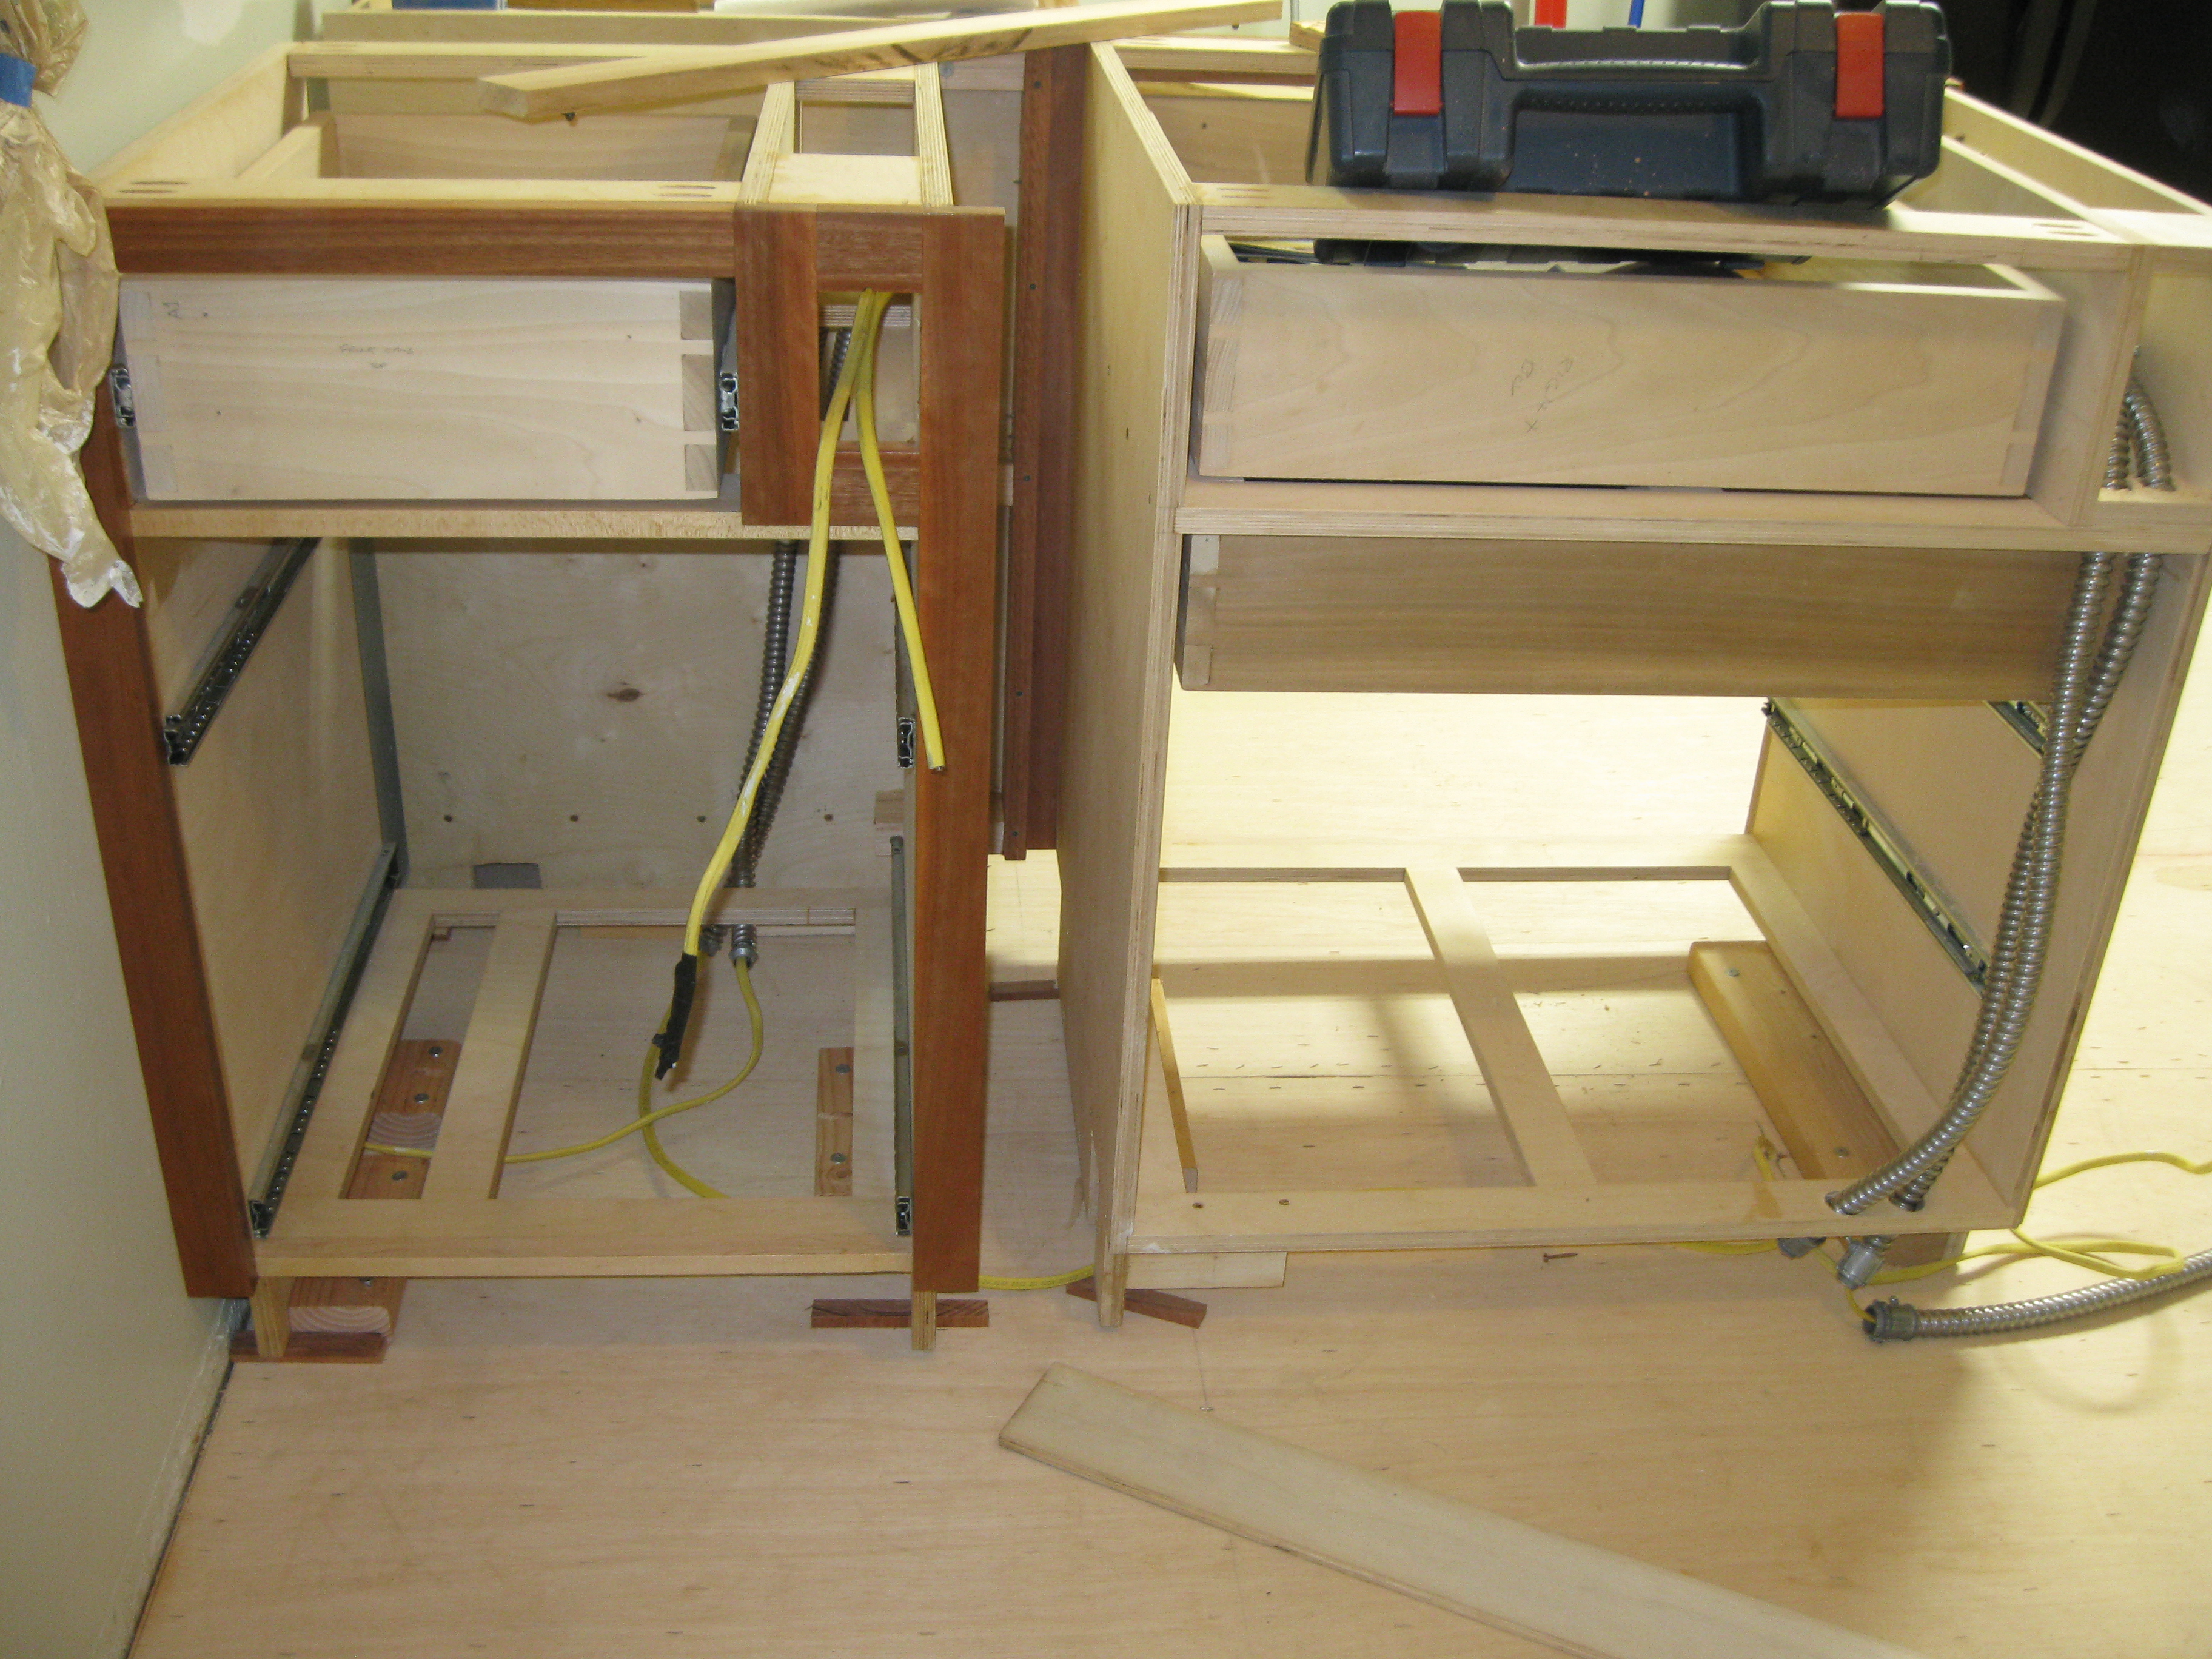
Rough electric in cabinets.
:
COUNTERTOP
Joint puller aligned and in place until epoxy sets up and cures.
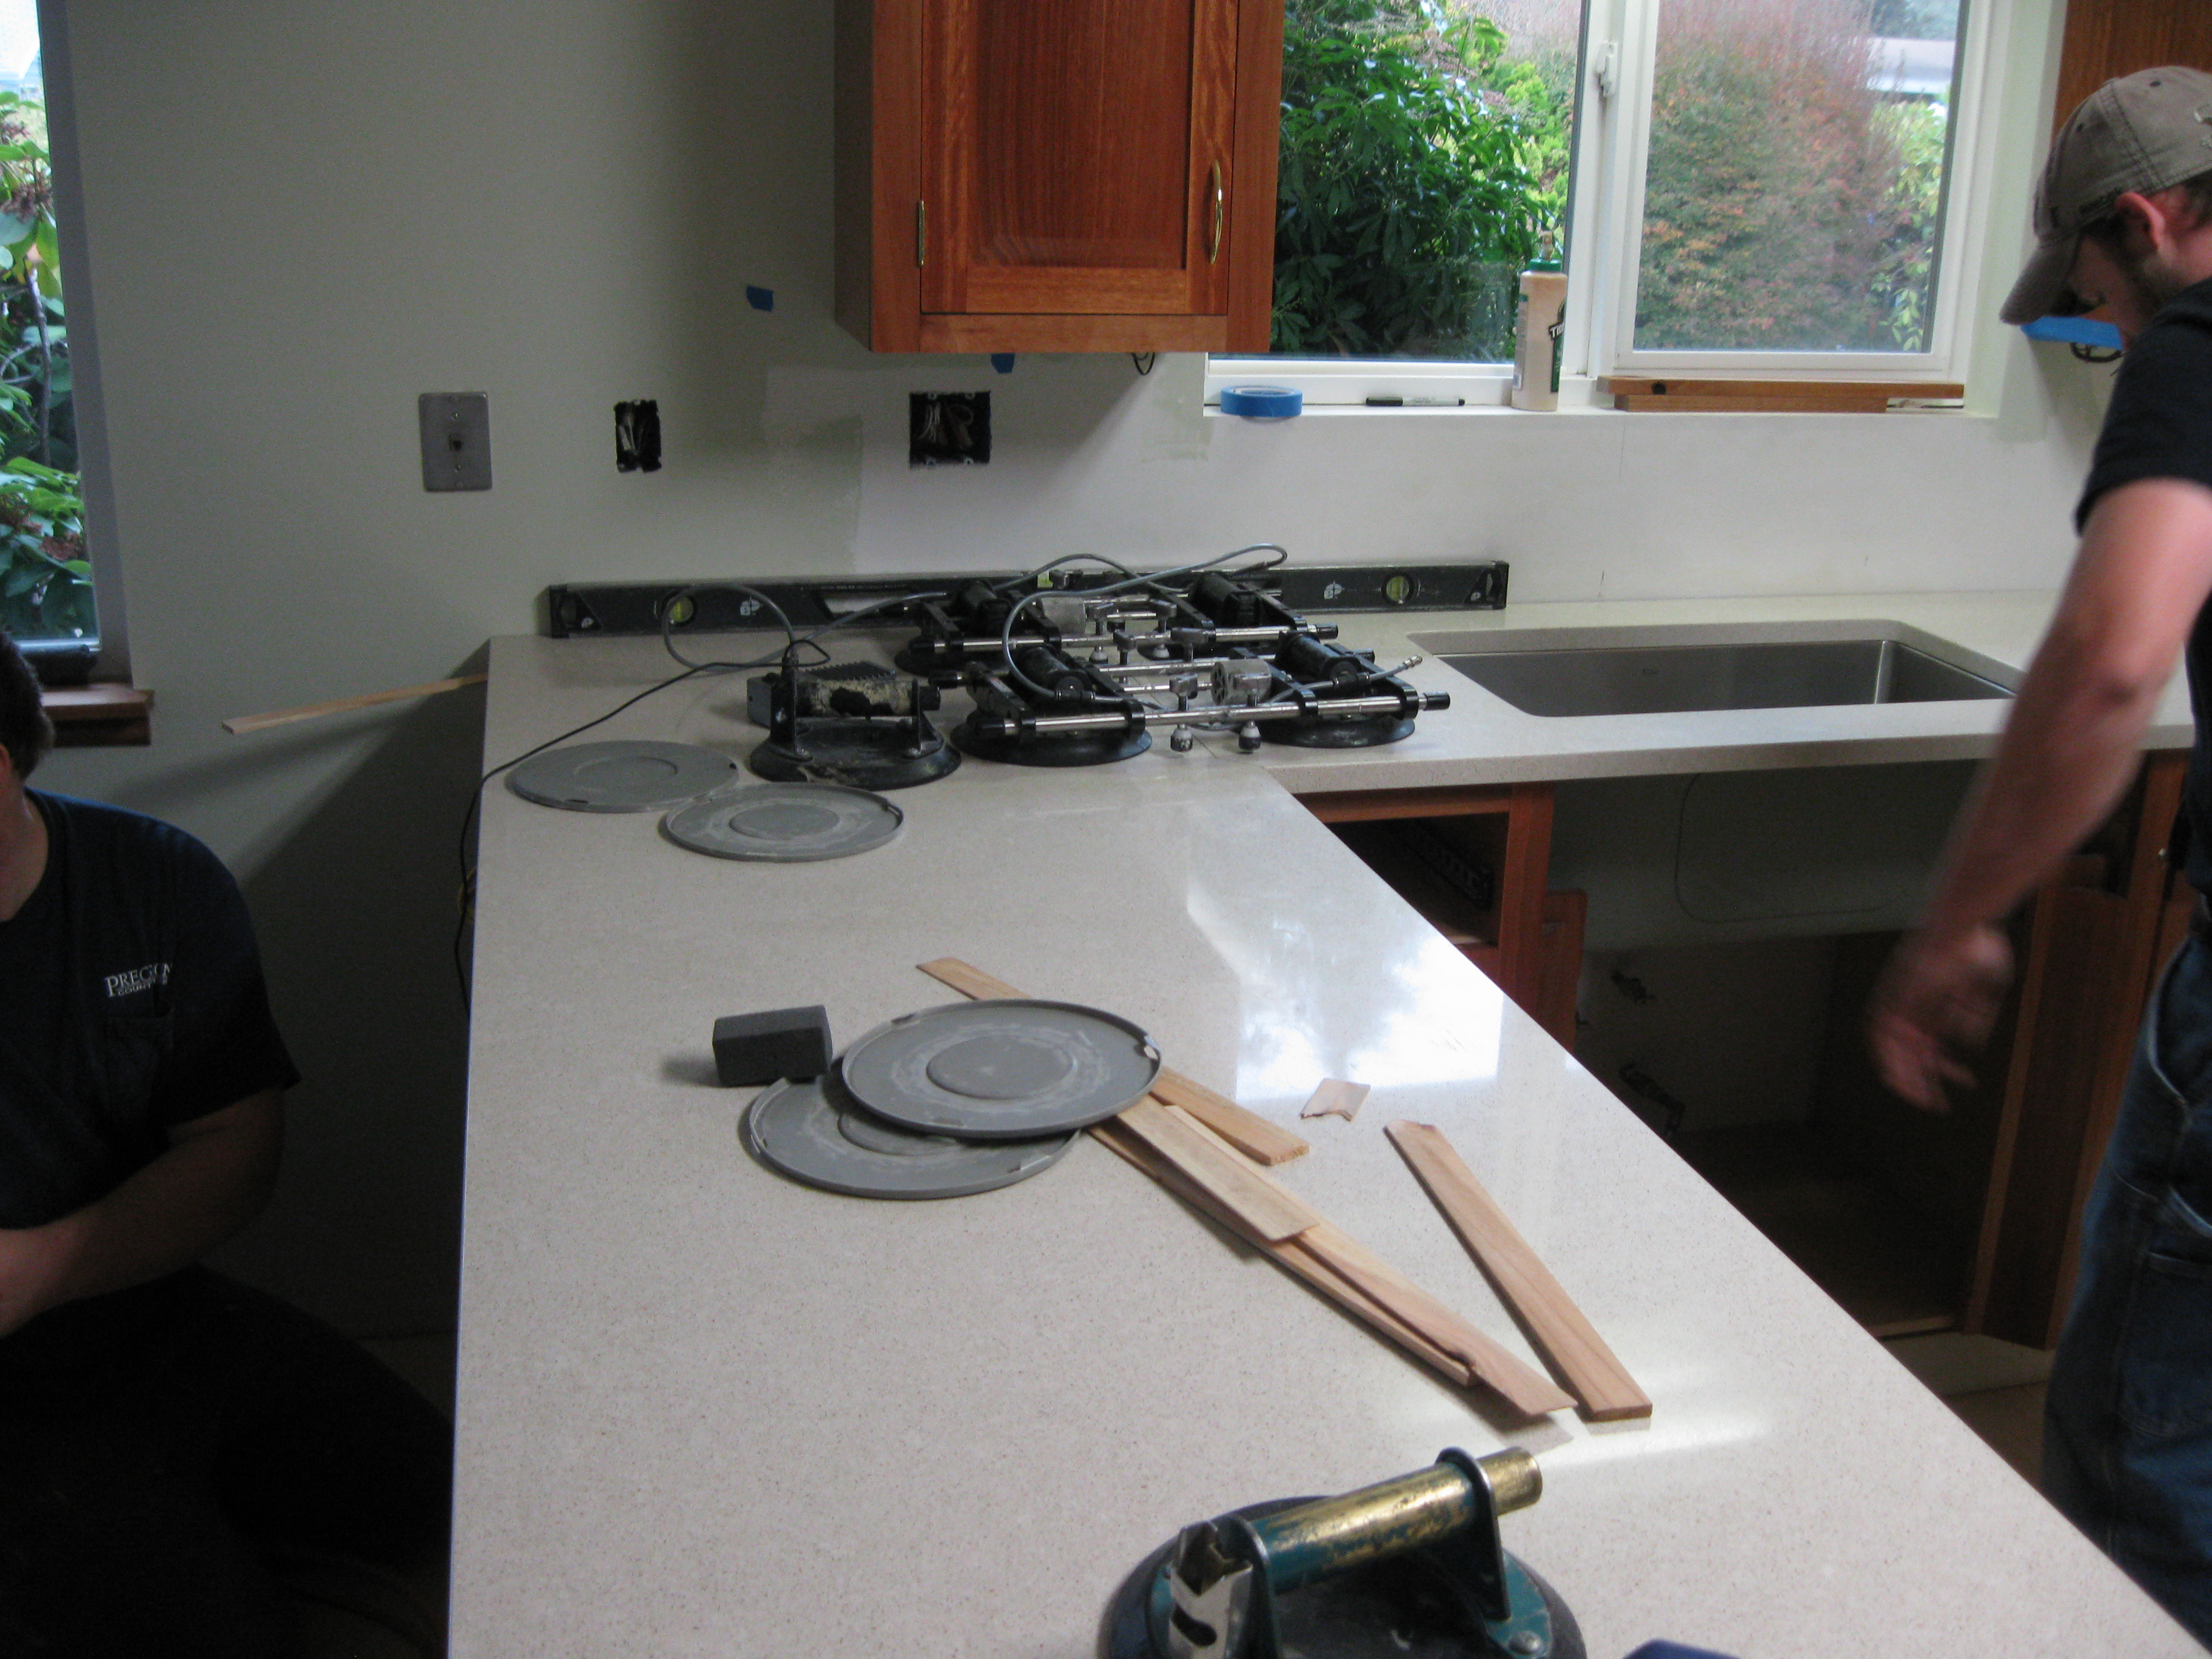
DRILLING
Three holes; air-gap, faucet, and soap dispenser.
:
FLOOR
The underlayment is sanded.
Sanding of the underlayment is done then mortar is used as a leveling material.
The flooring is laid out then rolled back for adhesive placement.

Armstrong vinyl flooring in place.
: