Laundry & Mud Room
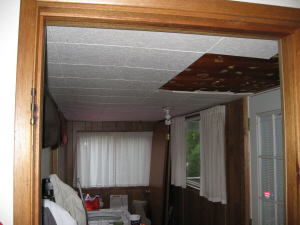
By far the worst eye sore of the house. Through the renovation
process I have determined that this was built by the previous owner in the late
70's. The acoustic interlocking ceiling tiles were falling off. The construction
adhesive had given up and become brittle. What a dreary mess. The light
fixture is a head bumper. It must be replaced with one that is more
flush. I don't mind the wood wall paneling. I could paint it white but it's
got to go. It's a fire hazard with no drywall behind it and that is a bad
combination in a laundry room with a dryer. Anything I do will make this room
better.

:
I got to do all the wrecking. I call it wrecking not demo.
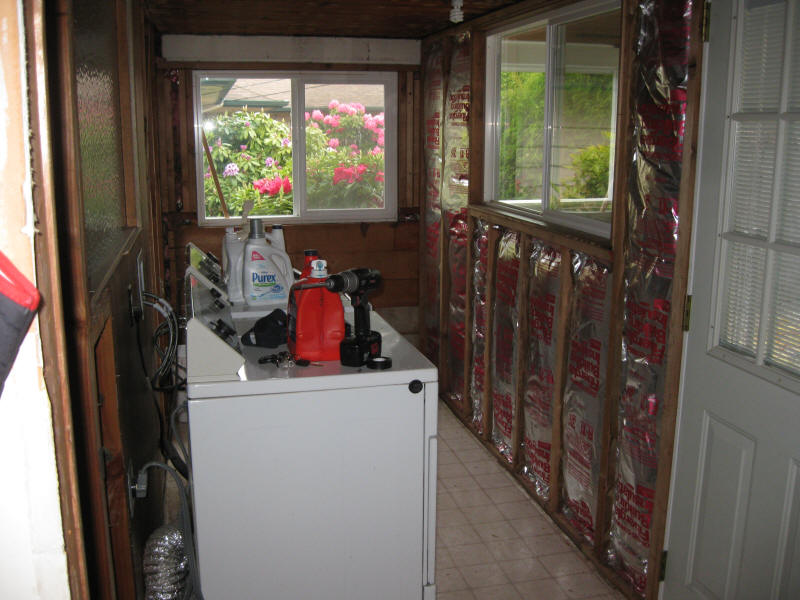
Preparing for drywall reveled two buried electrical splices. Damn the guy who
built that! Good decision to pull out the panel & place the drywall. I
don't care where the splices are, a box will be placed with a blank cover.
One of them, the one next to the door, was where the original outside door lamp
was. It's not in the middle of the wall section. I don't like that but I am
still considering a sconce there anyway.
The opening shown in the top two pictures is the original outside door. It's a
34" opening for a 32"+ door. The doors I getting on sale come in a maximum of
30" wide. So this would be a full cost exterior door. This laundry room is
an add-on. There is no heating in it. I usually keep the door off the hinges
stored some place in the house to allow the heat in the house to move into this
area. After careful consideration- the door will be banished forever. It will be
a pass through now. Much better and I save a few hundred on the door,
installation, and trim work.
:
Out goes the wool paneling. Another hour of work and it will
be ready for drywall, ceiling too.
:
Drywall
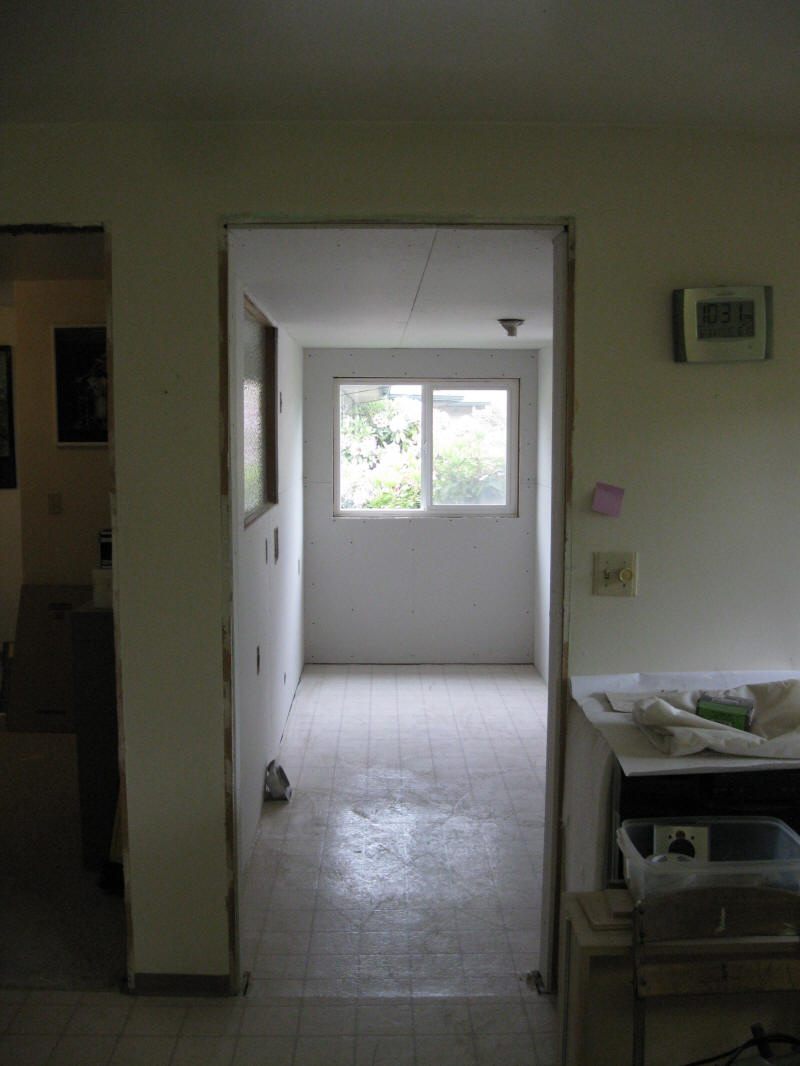
A local drywall company,
Kings Drywall, is brought in to do
the drywall. They will do the laundry and repair all the openings throughout the
house resulting from the laundry, kitchen, electric, plumbing and bathroom redesign.
Two days for sheet rock installation and four for mudding.
:
Prime
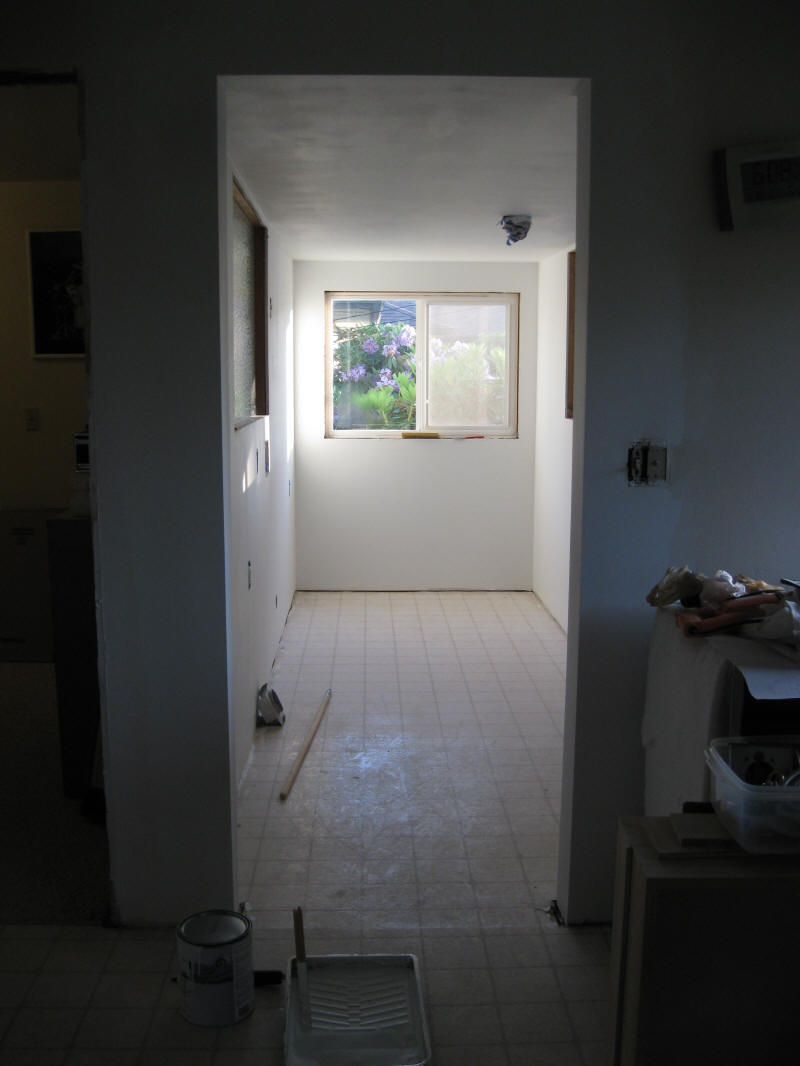
After the mud was dry and sanded Kings Drywall vacuumed up.
Now it's my turn. Wiped down the walls with a clean rag. Taking it outside
frequently and shaking it out. I then vacuumed all the walls and ceiling with a
brush attachment. Twice. No paint will adhere to powder. Try to just vacuum you
will find that there will still be mud dust on the wall. It needs the scrub down
first. I'm using Benjamin
Moore's Fresh Start acrylic interior/exterior white 046 primer. This primer
will cover and seal in just about anything. The corners are coated with a brush with careful attention paid to feathering the wet edges.
The walls and ceiling are coated with a roller. I'm looking for full coverage
and a smooth coat. I'm not worried about the floor, it will be replaced. I only
have to clean up drips that I could tromp through. After prep, and painting is
all about the prep, these are some of the primary rules-
Rule 1: Don't step in the paint tray.
Rule 2: Don't kick over the paint can.
Rule 3: Always have a wet rag nearby.
Rule 4: Work the eyes continually inspecting the work.
 ,
,
:
Paint
The Other Rule: Pick the right color.
As there is no good place to transition between the laundry to
the kitchen so I will be using the same color in both rooms. First choice-
complimentary 1450. What will 1450
look like? Paint can become something you don't expect when an entire wall is
covered with it. I really won't know what to think until the floor is in too and
that is a ways off. The wall and ceiling color is a very important element that
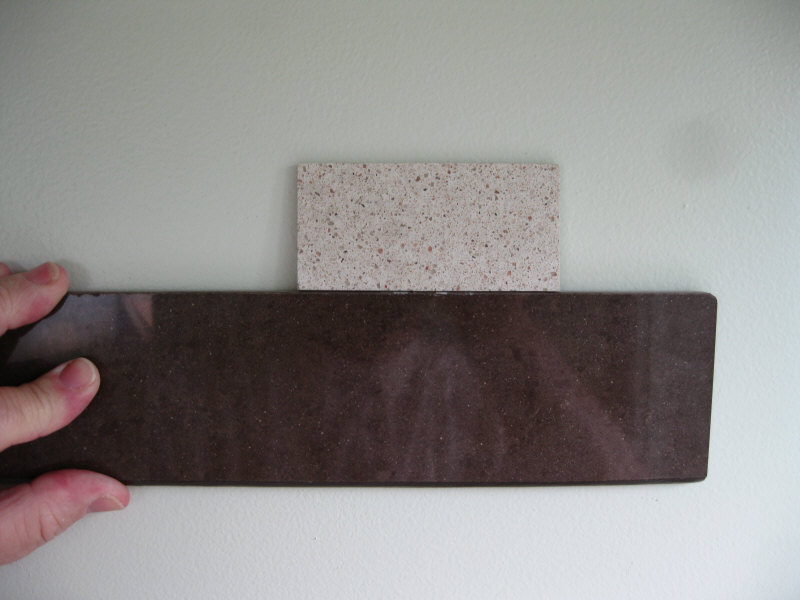
ties in the kitchen's floor, backsplash, countertop, cabinets and appliances. The 1450 matches perfectly with the hard surfaces but I'm shying away
from this bold choice. It's pink. Opposite side of the color wheel from pink is lime green
a contrasting color.
That's where my search will continue....tried a bright lemon green..good
match, bright, this would work in a retro1950's look but the wrong style for
where I'm going. Purchased a gallon of 505, a light mint green still on the
bright side and is near to this web
page's background color. It results in a
calmer color combination all around with AF-20 for the ceiling in the
kitchen. For the high-light wall a dark gray SP-15. The SP-15 had a purple base
(they like to use blue & Red to go dark. I found that Mink 2112-10 is a pure
brown and is very close to the backsplash color so I using this. This small wall is opposite
the backsplash leading into the hallway and will balance the dark elements in
the room. The lower ceiling in the laundry will be painted the same color as the
walls. This is contrary to norm where a lower ceiling should be a lighter color
to give the illusion of height. Using the same psychology by having this color
on the low laundry ceiling and then a much lighter color on the higher kitchen ceiling,
this will then make the kitchen feel much more expansive when entering it.
Yeah, it doesn't look like the same color.
:
Ceiling Lamp
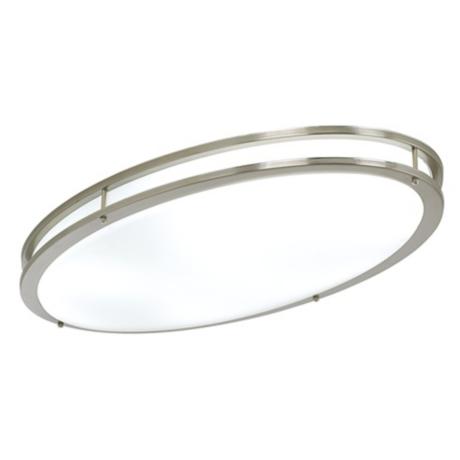
Fluorescent Oval 32-1/4" Long x 17" Wide x 4-3/4" Deep.
Ceiling Light. Energy Star. Minka Lavery 863-84-PL
Lamps Plus #25854. Two 32
watt T9 bulbs. White Acrylic Lens.
:
LAMP INSTALLED
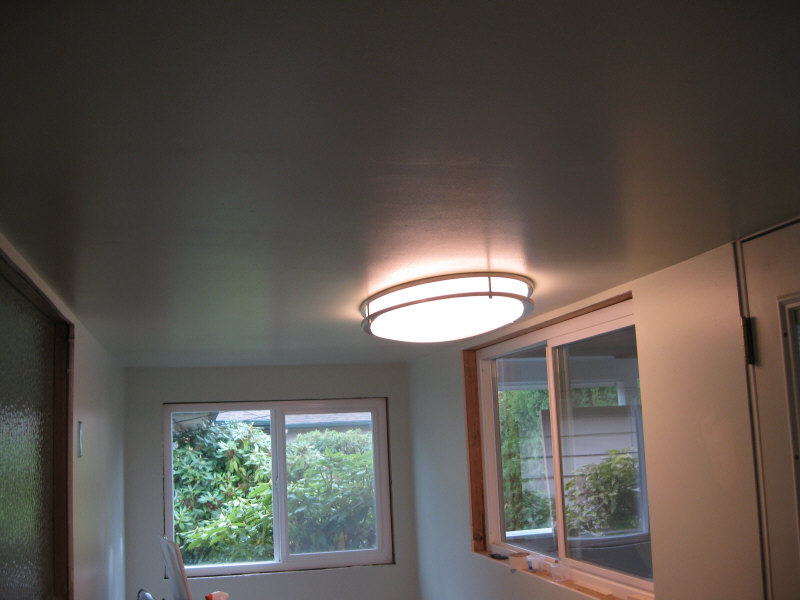
This room has a low ceiling. Check out the door on the right. The Minka
Lavery 863-84-PL hugs the ceiling and gives plenty of headroom. The two bulbs
provide lots of light in this room. This is an easy lamp to install. The
components are light so are user friendly when working overhead. I used Dow's
Great Stuff Fireblock to fill in the gaps around the AC box in the ceiling
:
Wall Mounted
Bloodwood Coat
Hook Rack
:
Baseboard Molding
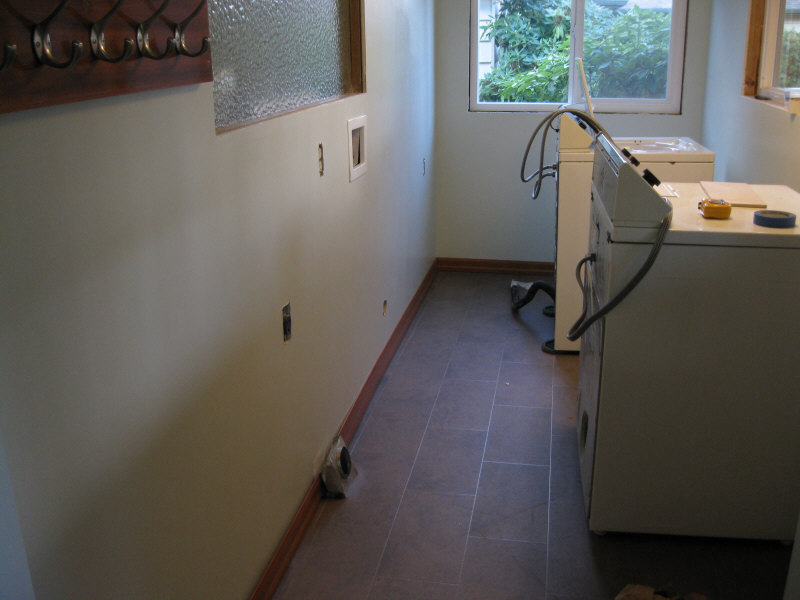
This is a dry-fit of the baseboard molding. It matches the
color of the lyptus cabinets.
:
Windows
The 3/4" window trim boards cut to fit. Next steps are to rip
them flush with the wall surface, prime all cuts, paint with exterior grade
latex gloss white, and nail them in. Nothing in this room is level, square, or
plumb.
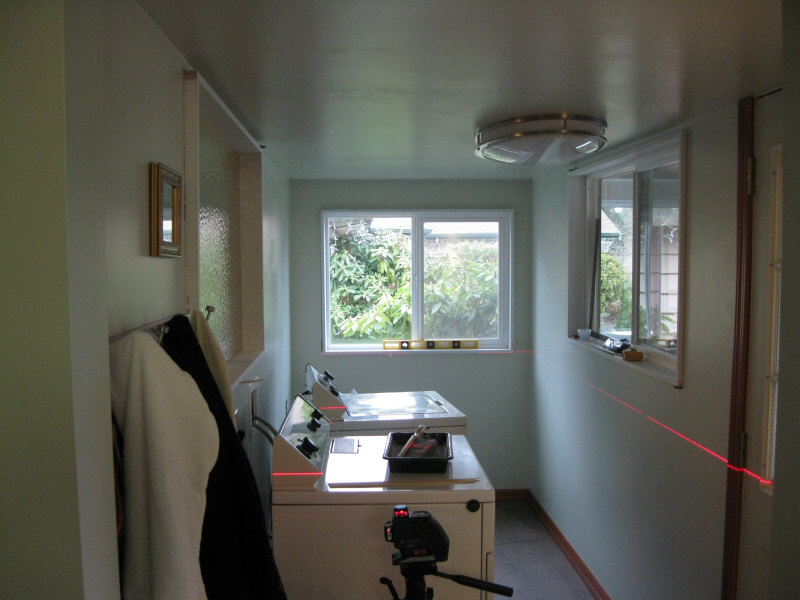
The trim is dry fit here after it has been cut, primed, and
painted.

:
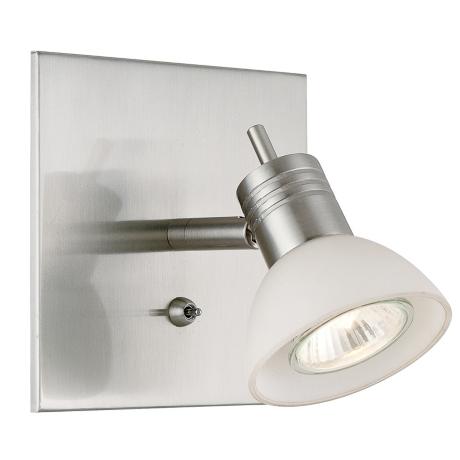
Night Lamp
This lamp is installed next to the pass through adjacent to
the entry door.
Lamps Plus # 95399. When the outside light is on this one can be on
too. I replaced the halogen bulb with an LED bulb that cost's $25 that
should last. Worth it not
to have the heat or electric usage. To leave this on 24 hrs a day it would cost
less than $5.00 per year. Zenaro LED GU10 bulb SL-10B Series instead
of GU10+ 110/130V 500W- halogen. The switch can be used to turn it off so its very
versatile.
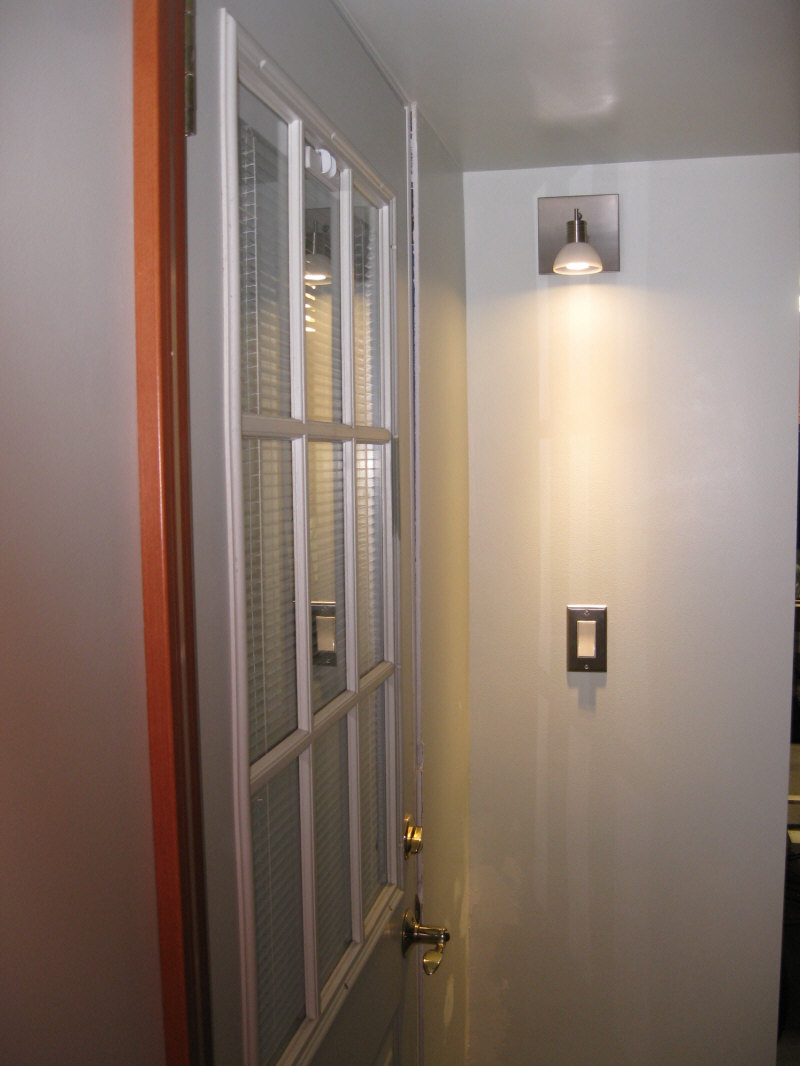
Lamp Installed
This little lamp is connected to the outside door light. The
LED bulb uses just a small amount of juice.
:
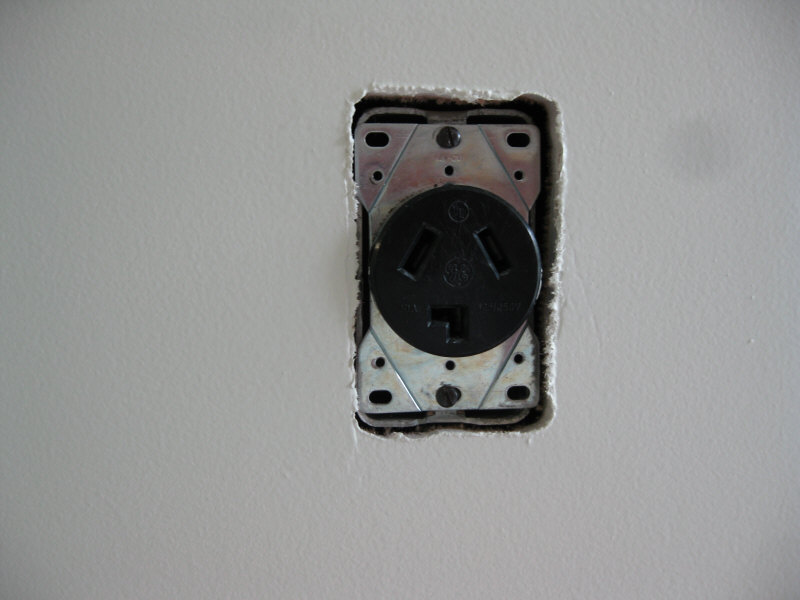
Dryer Outlet
What did I do with that cover plate? This outlet is upside
down.
:
Now that the room is sealed the windows must be open when
operating the dryer.
:
escutcheon plate
:
Jason Shaw posted this in
paint colors on January 29th, 2008
Benjamin Moore paint offers about 3,500 colors. All of these
colors are created from formulas which are combinations of paint
bases and colorants.
Each paint type and finish (e.g. Interior Acrylic Eggshell,
or Exterior Acrylic Trim) comes in four bases: Pastel Base (1B),
Medium Base (2B), Deep Base (3B) and Ultra-Base (4B). Each base
successively has less white and more room in the can for adding
colorants. For example, the Pastel Base is nearly white while
the Ultra-Deep Base is more clear. Because of this, each base
has a maximum color depth. You could add an entire quart of red
colorant to a pastel base and the resulting color will still be
pink because of all the white already in the can.
Each base also has a maximum amount
of colorant that can be added. Too much colorant relative to the
paint can ruin the gallon.
Benjamin Moore uses 12 colorants in its formulas to make its
colors. Unlike many paint brands which use a shared colorant
system like Color Your World or Huls, Benjamin Moore creates and
patents its own colorants. These colorants are:
Black (BK), Blue (BB), Brown (BR), Gray (GY), Green (TG),
Magenta (MA), Orange (OG), Oxide Yellow (OY), Red (Rd), Red
Oxide (Rx), White (WH) and Yellow (YW)
Benjamin Moore created a brand new proprietary colorant
system for its new Aura Paint. They named it their colorlock
system because the colorants employ new technology that embeds
the pigments much more strongly into the paint film. This
explains the far superior hiding and durability of the Aura
Paint.
The colorants used for Benjamin Moore Aura are:
Blue (B1), Thalo Green (G1), Magenta (M1), Orange (O1), Red
Toner (R1), Organic Red (R2), Oxide Red (R3), Black (S1), Gray
(S2), White (W1), Organic Yellow (Y1) (Exterior use), Organic
Yellow (Y2) and Oxide Yellow (Y3)
:
HOME


