UPPER CABINET INSTALLATION.
Click on any picture to see full size
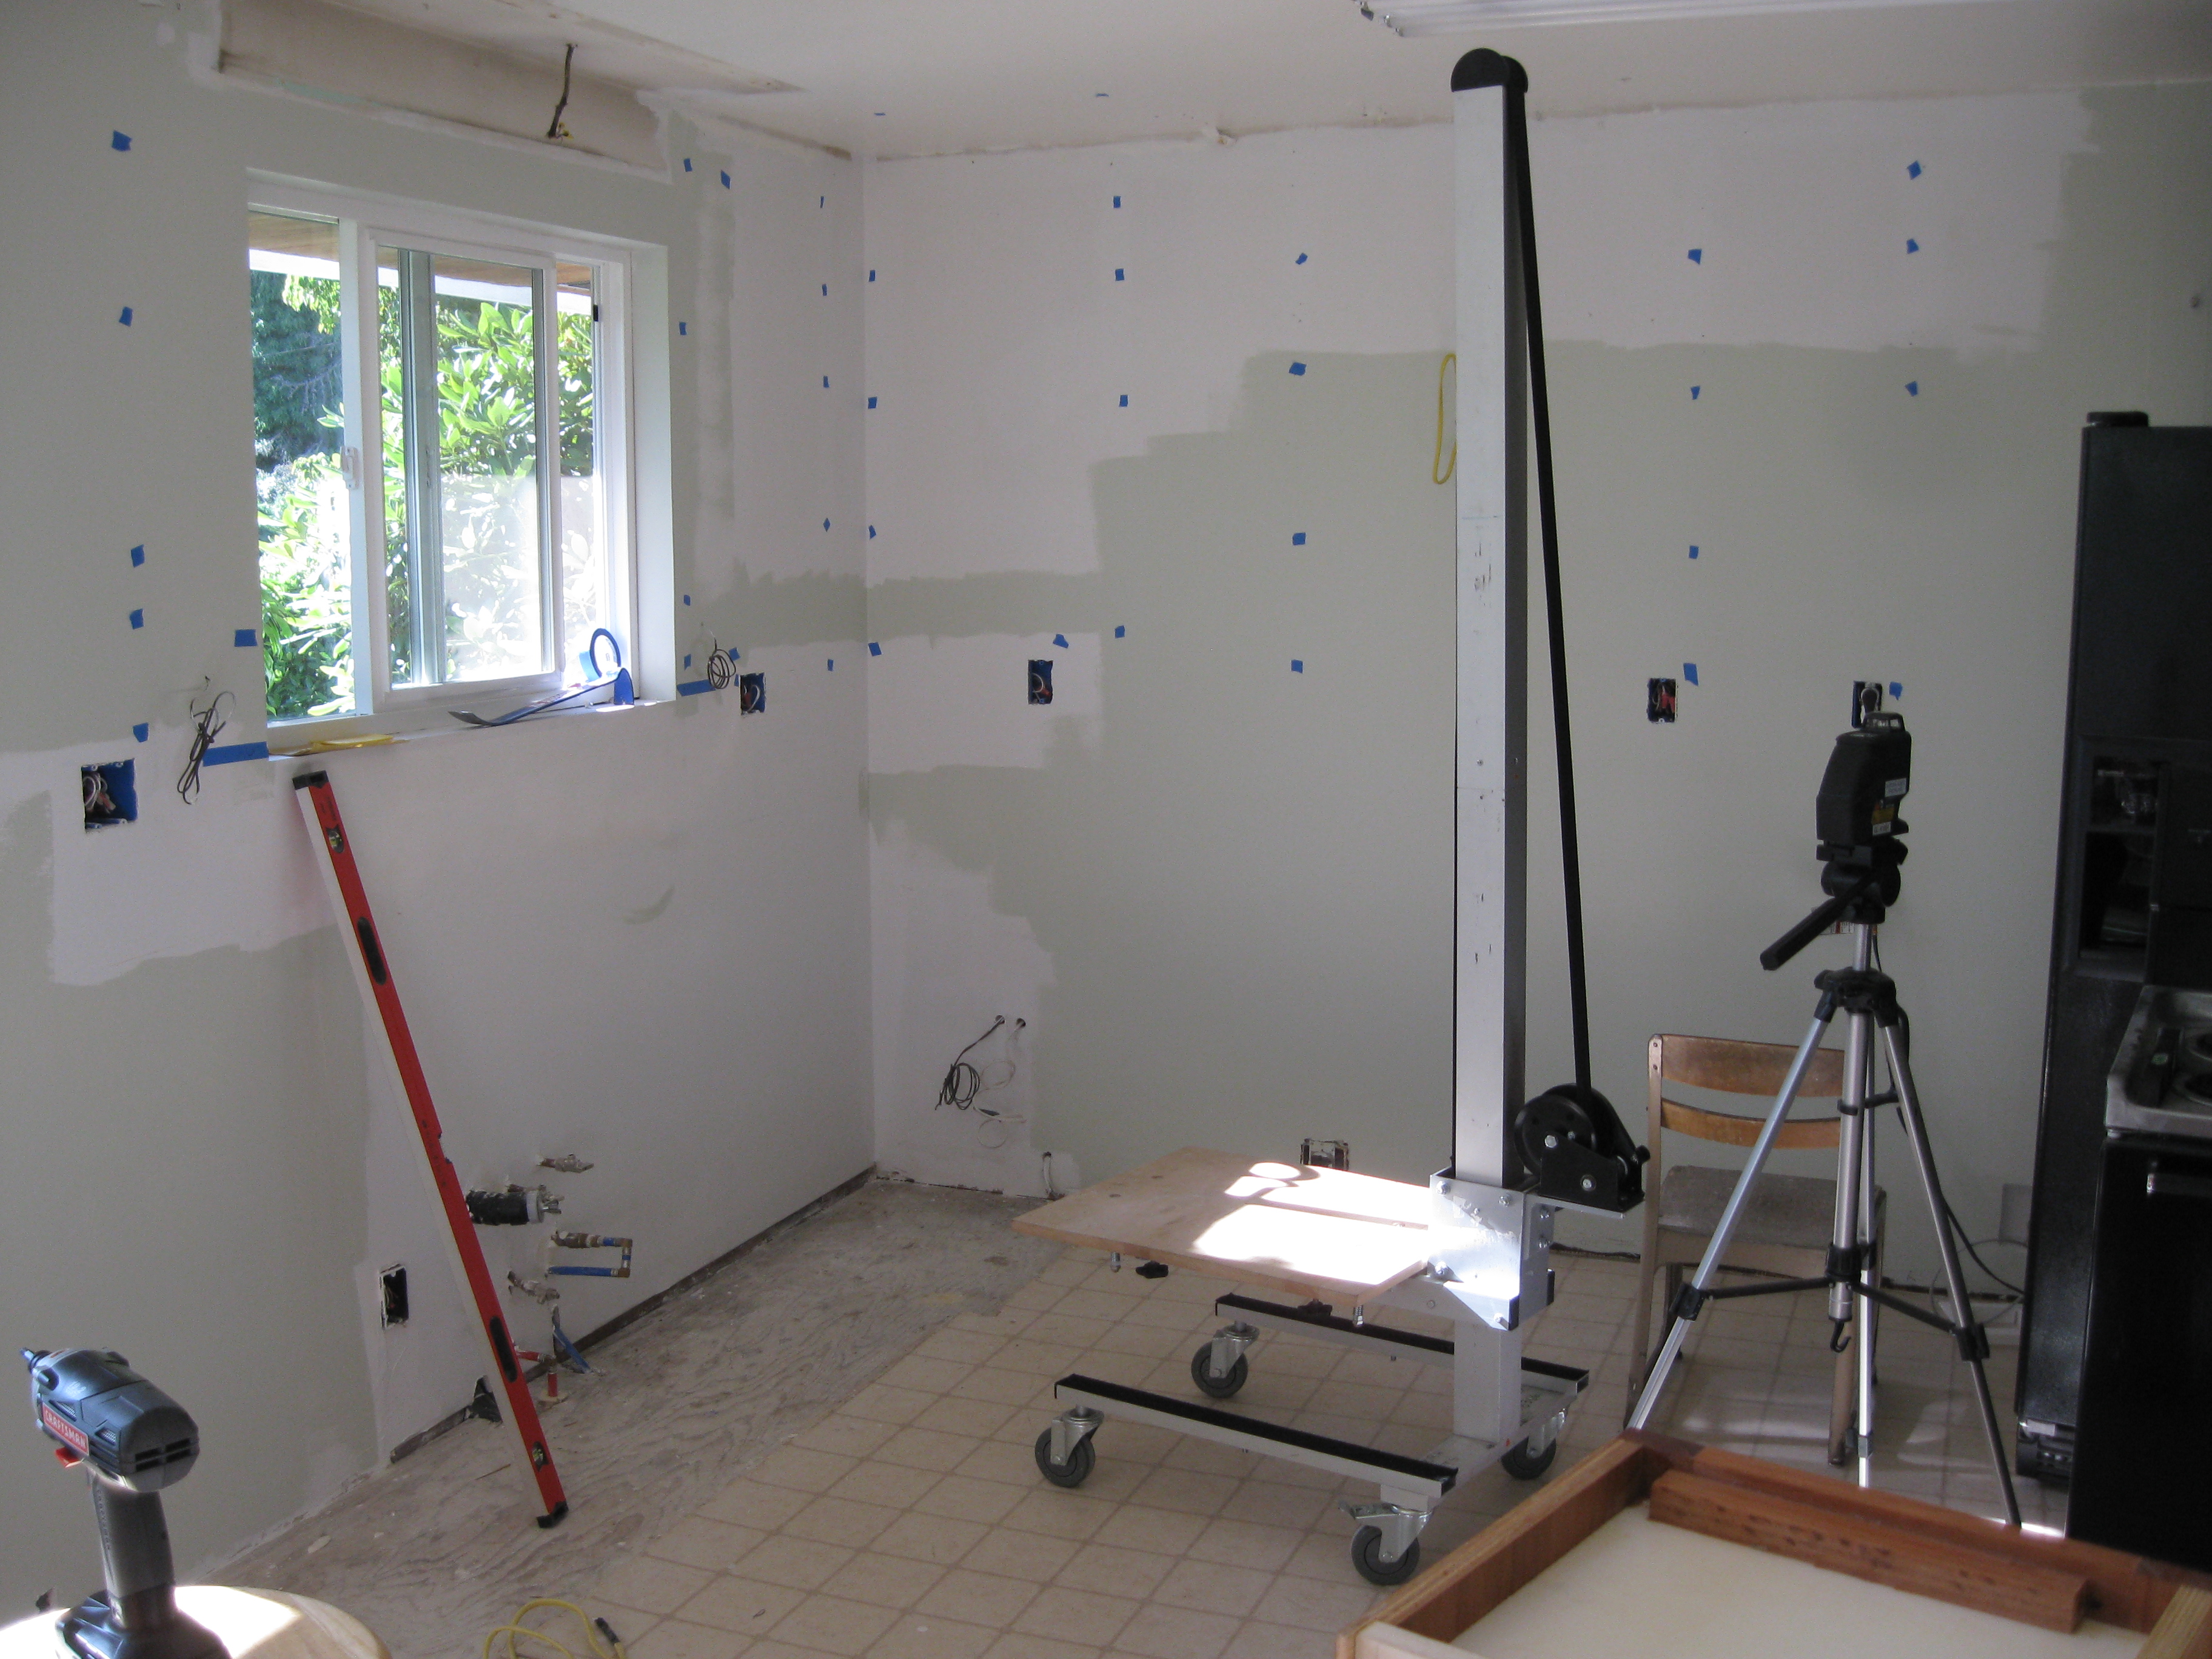
The E-Z Lift will allow me to install the cabinets solo. The Bosch laser level will help me do a good job. I used the level to mark out the horizontal and vertical alignments for the cabinets. The levels were also used. The blue painters tape patches show where I found nails with a rare earth magnet. Bottom left corner is a Sear's 19.2V impact driver used to drive in the 3" Fastcap PowerHead Wood Screws.
E-Z Cabinet Lift & Bosch GLL2-80
:
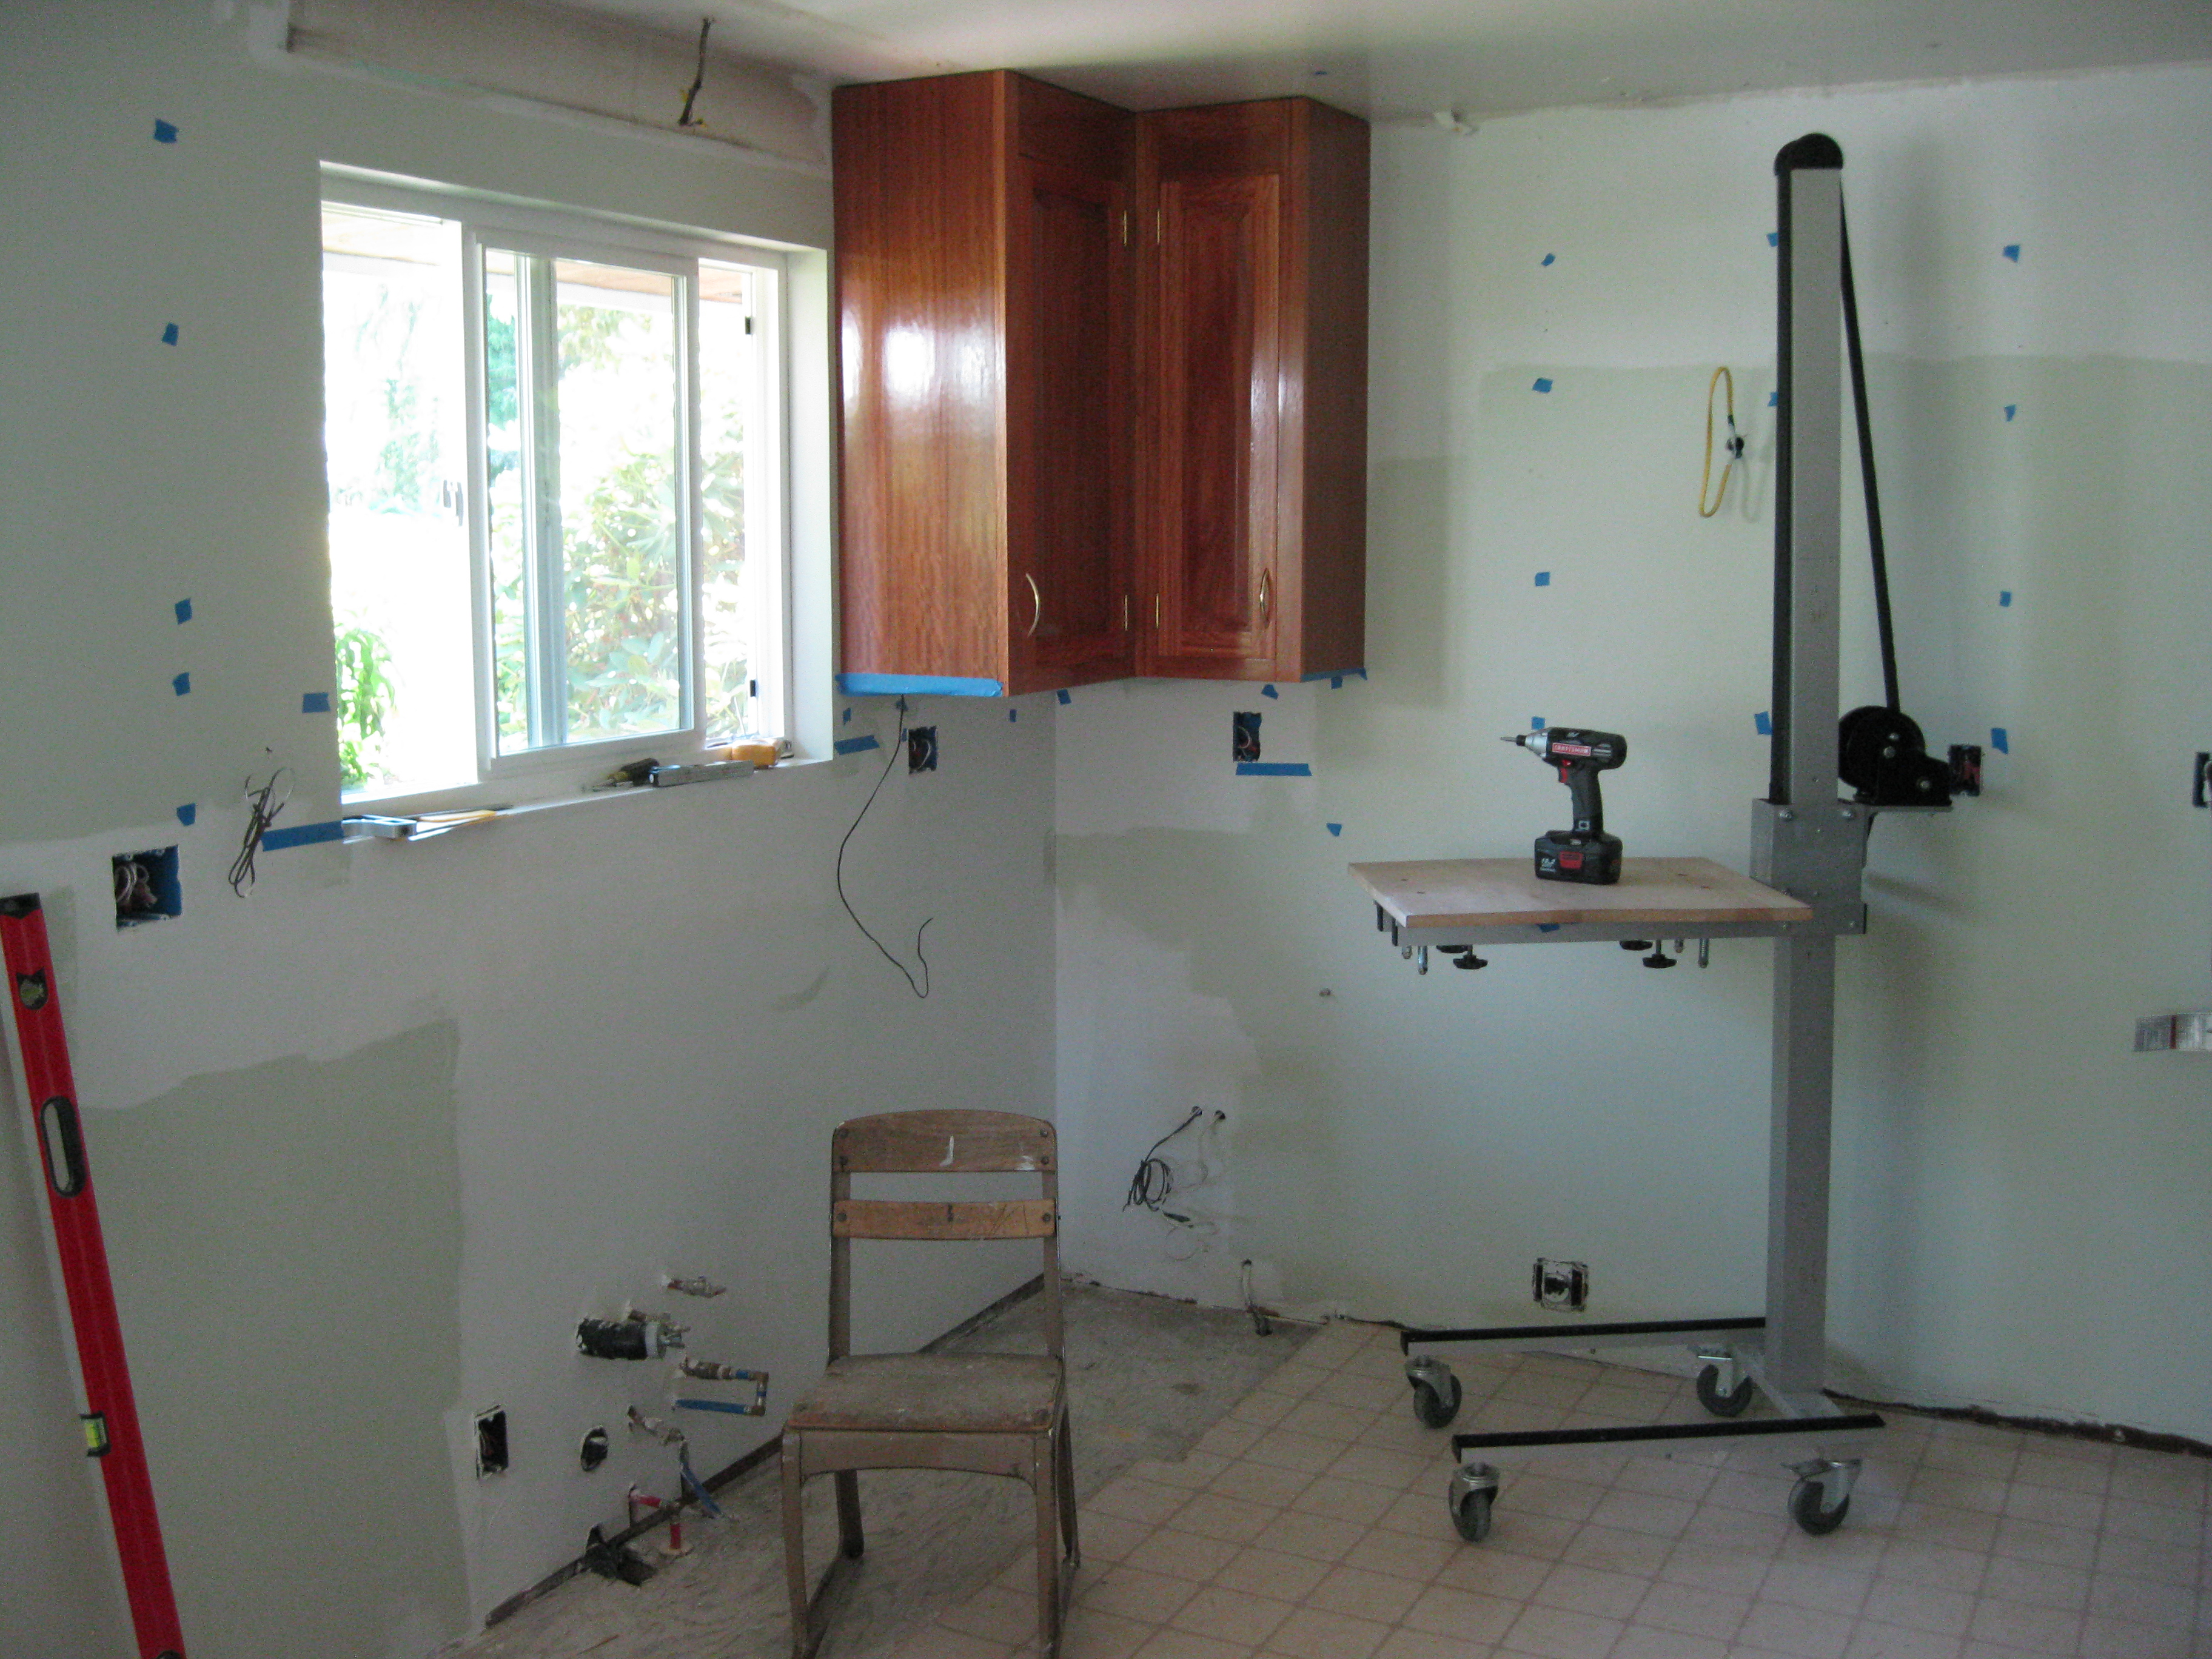
Starting with the cabinet to the right of the window. I used the laser to align the vertical and horizontal alignment. I then move the laser and set up to use it to project a line deep into the back of a cabinet showing where the stud is. Below the cabinet and above the chair a bit there is a magnet in line with the laser attracted to a drywall nail. This is a stack of rare earth magnetic discs equal to the distance off the wall that the back of the cabinet is. Line up the laser with the center of the magnet disk and drive a screw on the line.


:
The second cabinet.

:
The third cabinet
I clamp the face frames together to properly align. The cabinets get cabinet screws in the back as well as trim screws through the face frame.


:
Next cabinet

:
All together

:
Trim Screw in Face Frame

:
Trim
I will mill lyptus trim and install along the top perimeter. Pictures to follow.
:
Soffit Bridge
Between the two cabinets above the sink a soffit is required to hold and conceal the light fixture that is used to provide illumination for the sink area. The span is just under 4 ft. No attachments will be made to the cabinets on either side. I'll build and install the box frame. Underneath 3/4" painted plywood will be attached to the frame, the electrical wire brought through, and the light fixture installed. The front fascia will be a solid lyptus board from the ceiling down to about one inch shy of the window. This fascia will be setback from the face of the cabinet to provide a reveal of the cabinet corners and repeat the setback of the doors under the sink.
Here is the soffit down on the floor before installation. It is made from a ripped 2x8 and 3/8" Russian birch plywood.

Soffit wedged up with a 2x4 as a third hand. This 2x4 enabled me to drill up the six three inch PowerHead screws.

Soffit installed with six 3" PowerHead screws.

Soffit with under-board. Four bocks we placed and 6" screws driven from underneath to brace the lower rails. I used Fasten Master HeadLOK screws for this. The plywood was primed and painted. White paint is used to reflect as much light as possible. The plywood was screwed up with deck screws and touched up with paint. .

The florescent light is up. The insides are painted with glow-in-the-dark paint. When the lights are turned off the lamp glows green for five to ten minutes. I like it.

:
: