The Lower Peninsula Cabinets
Click on any picture to see full size.
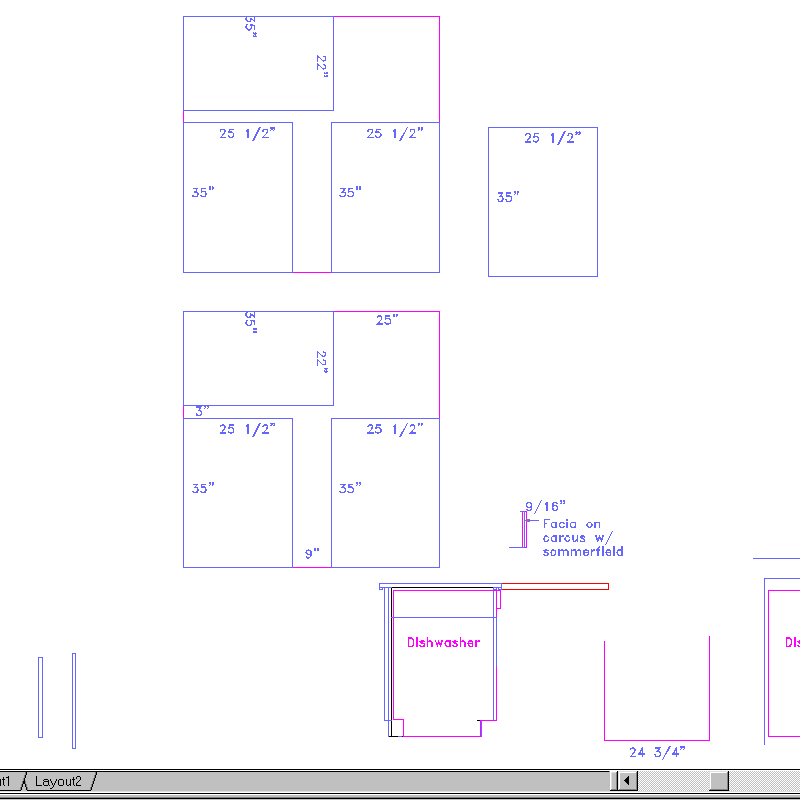
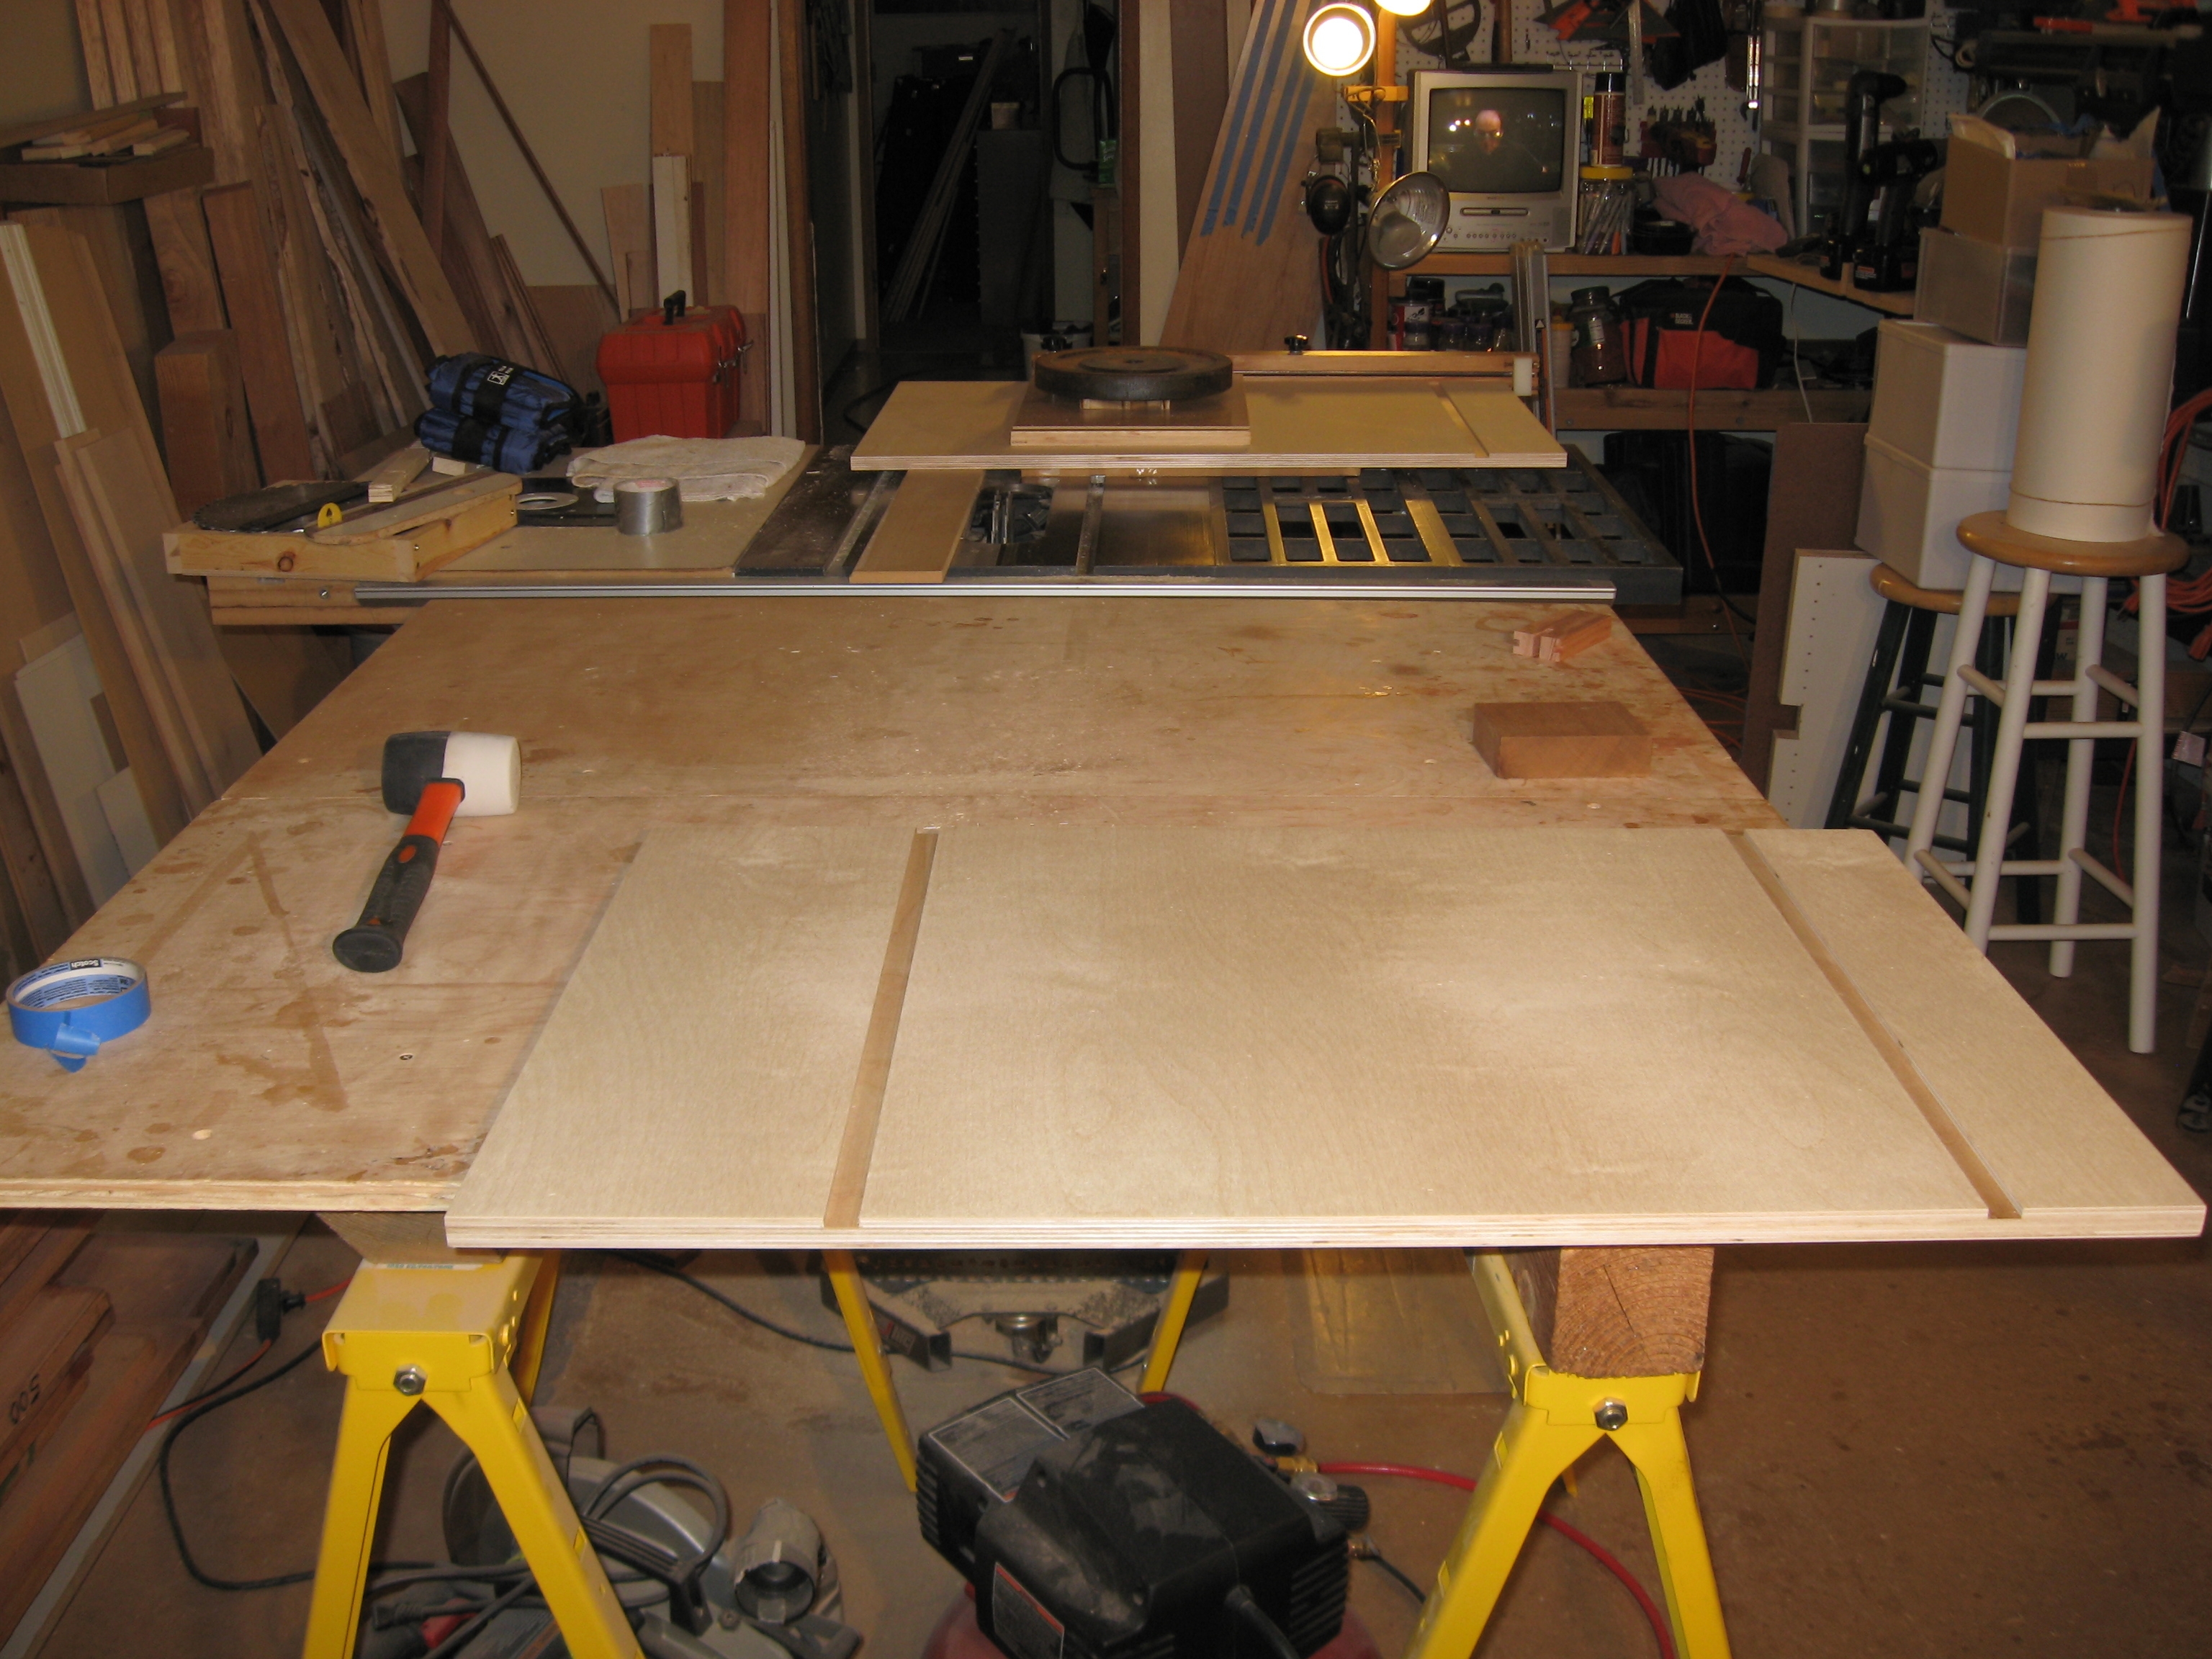
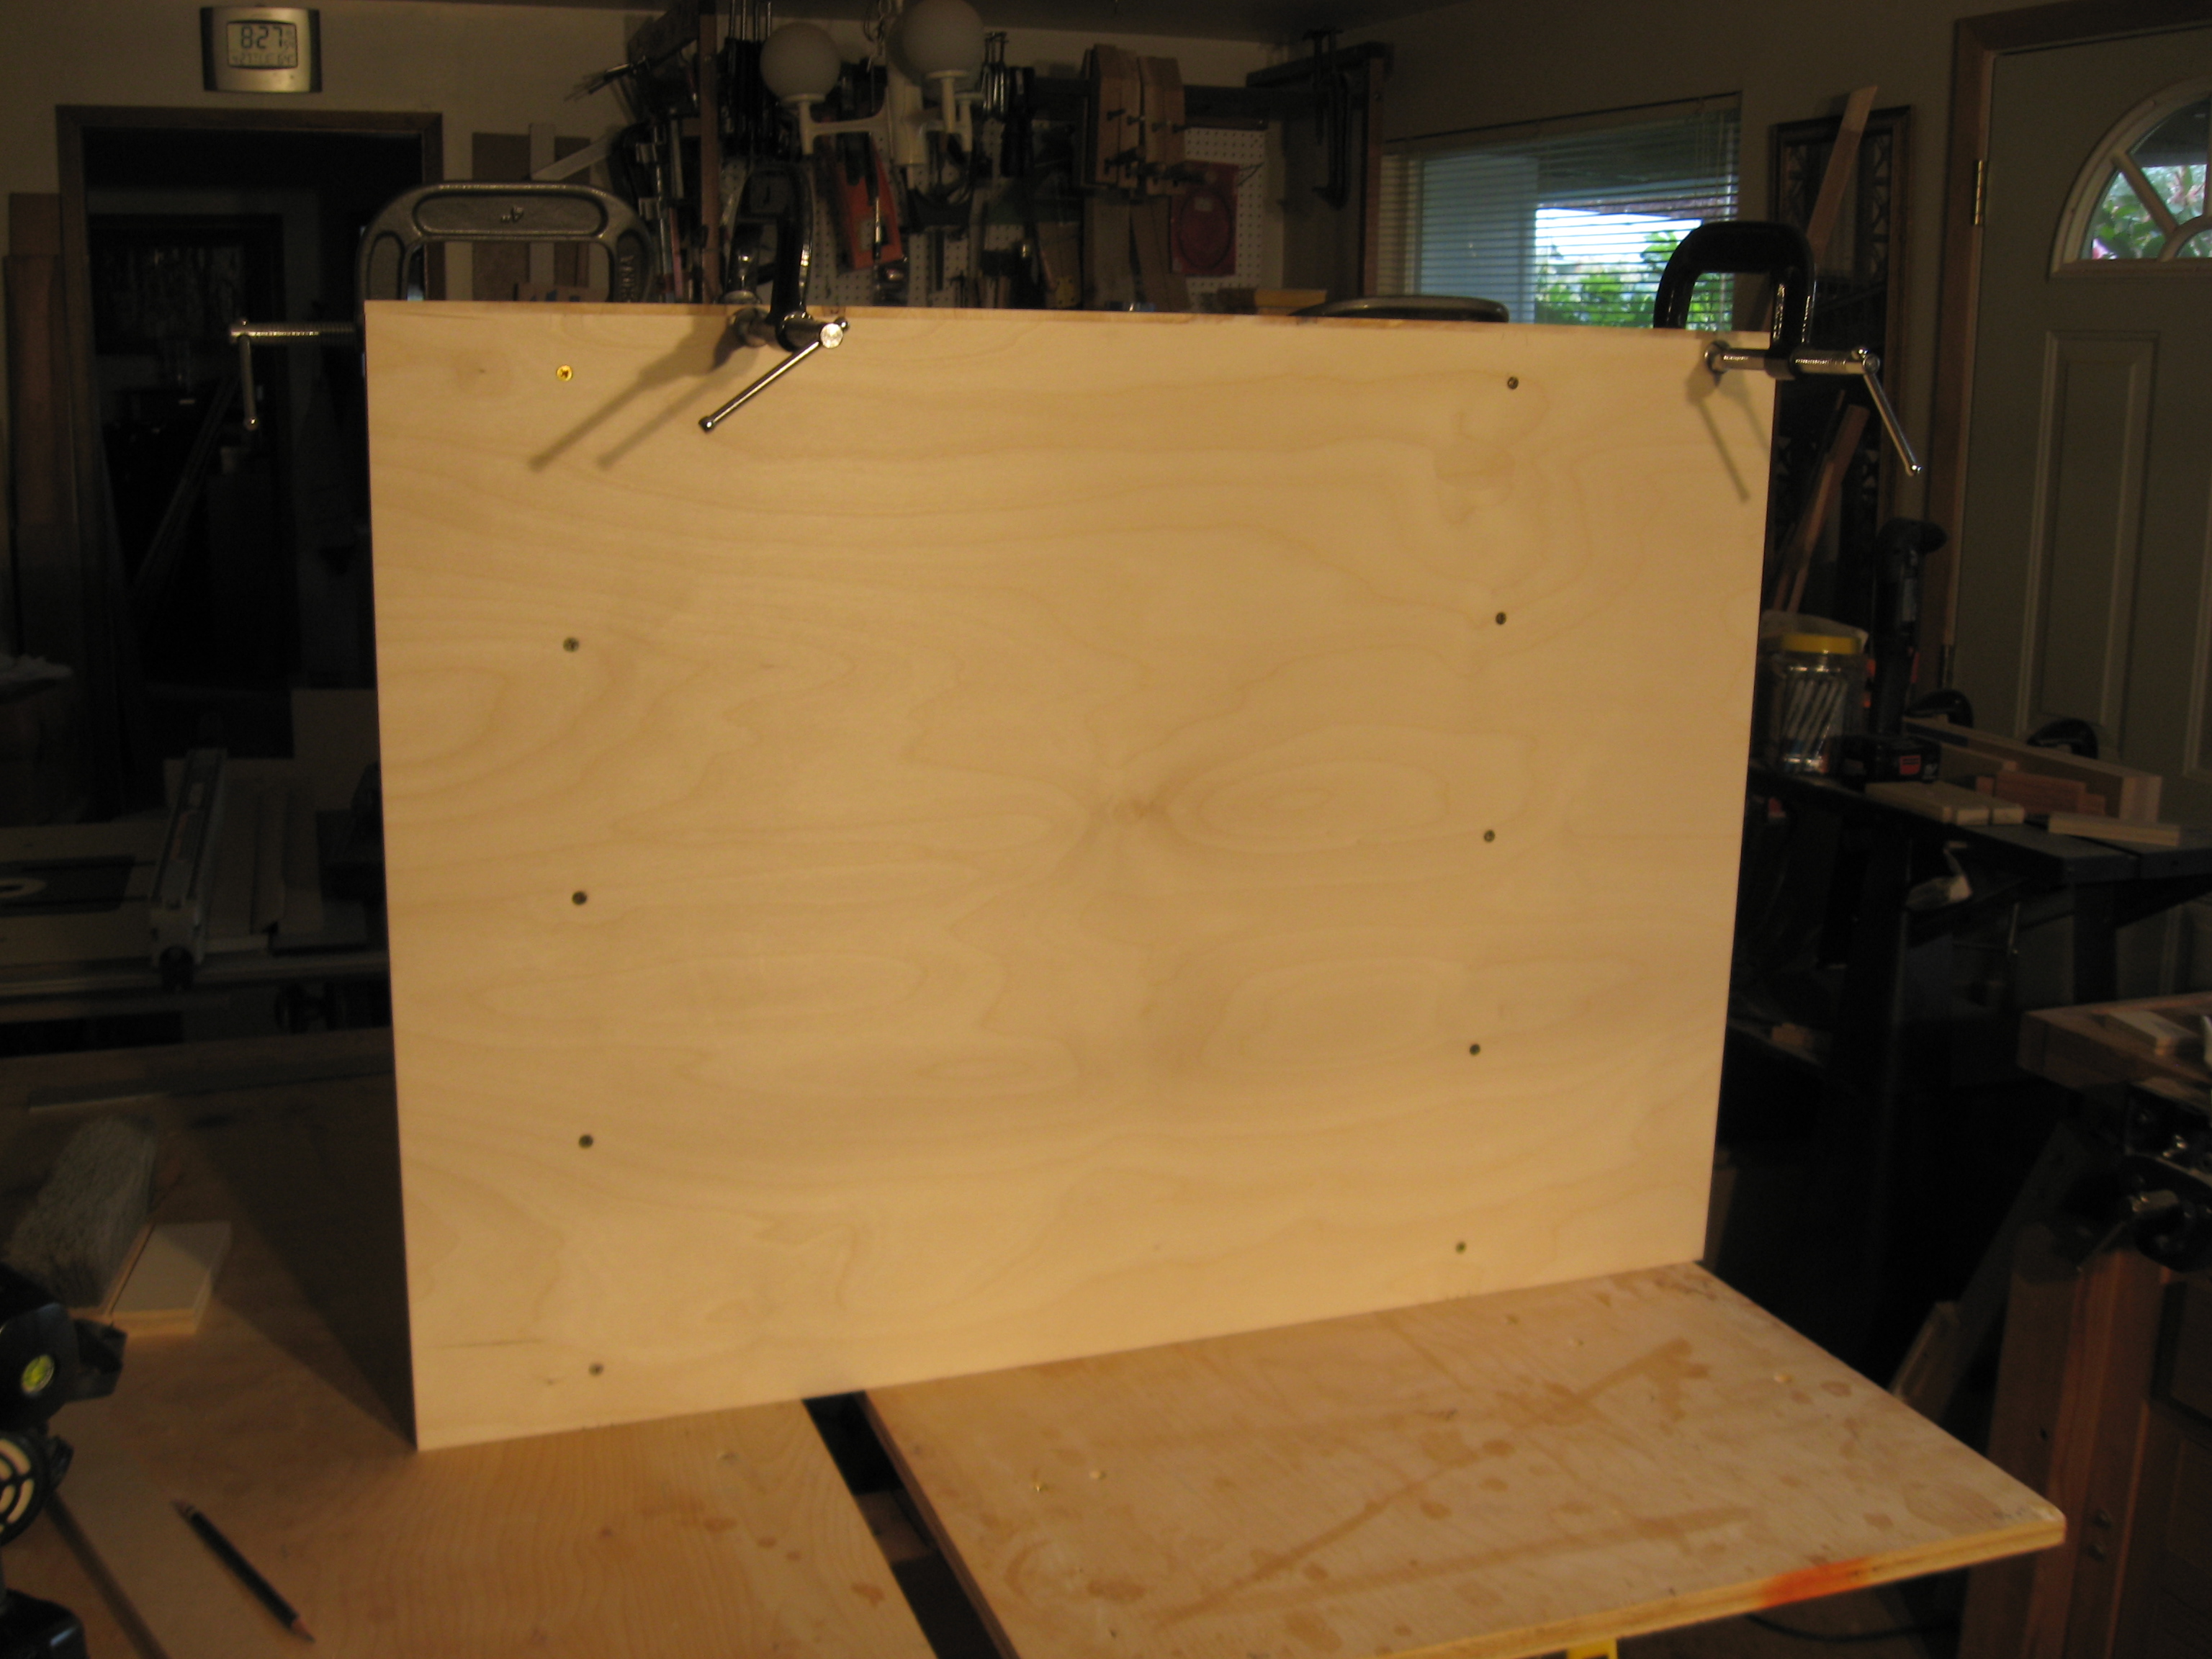
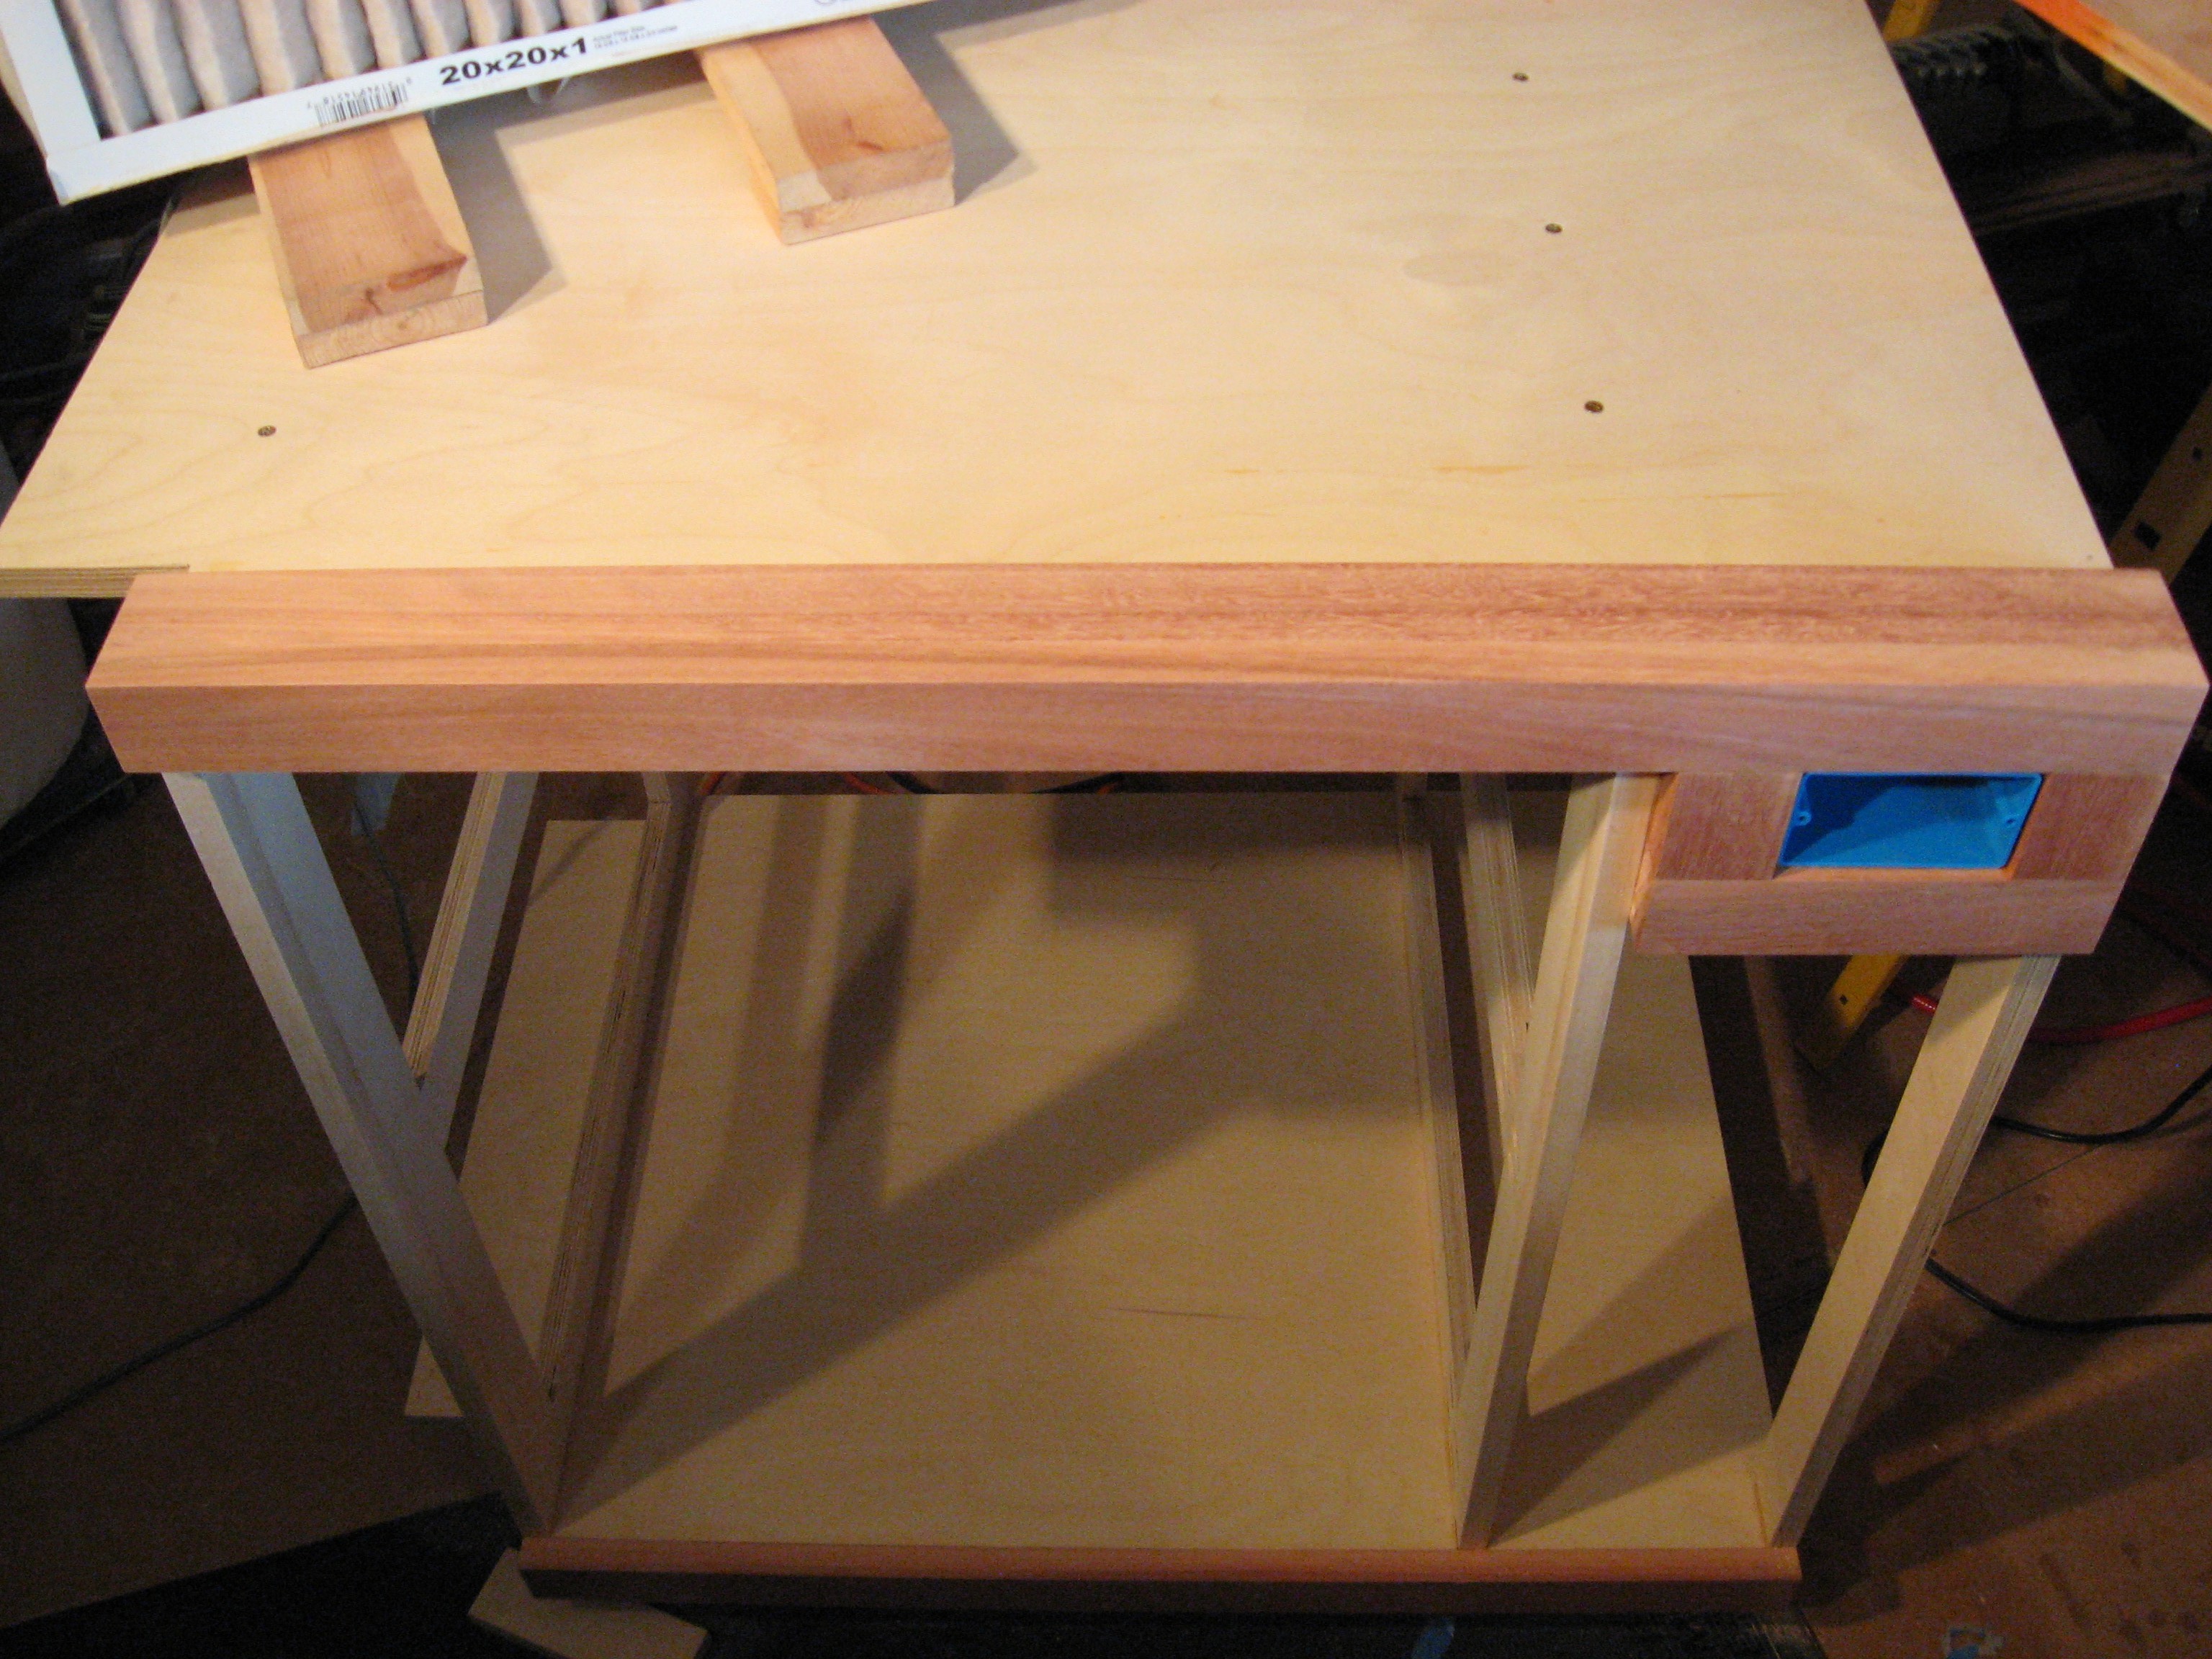
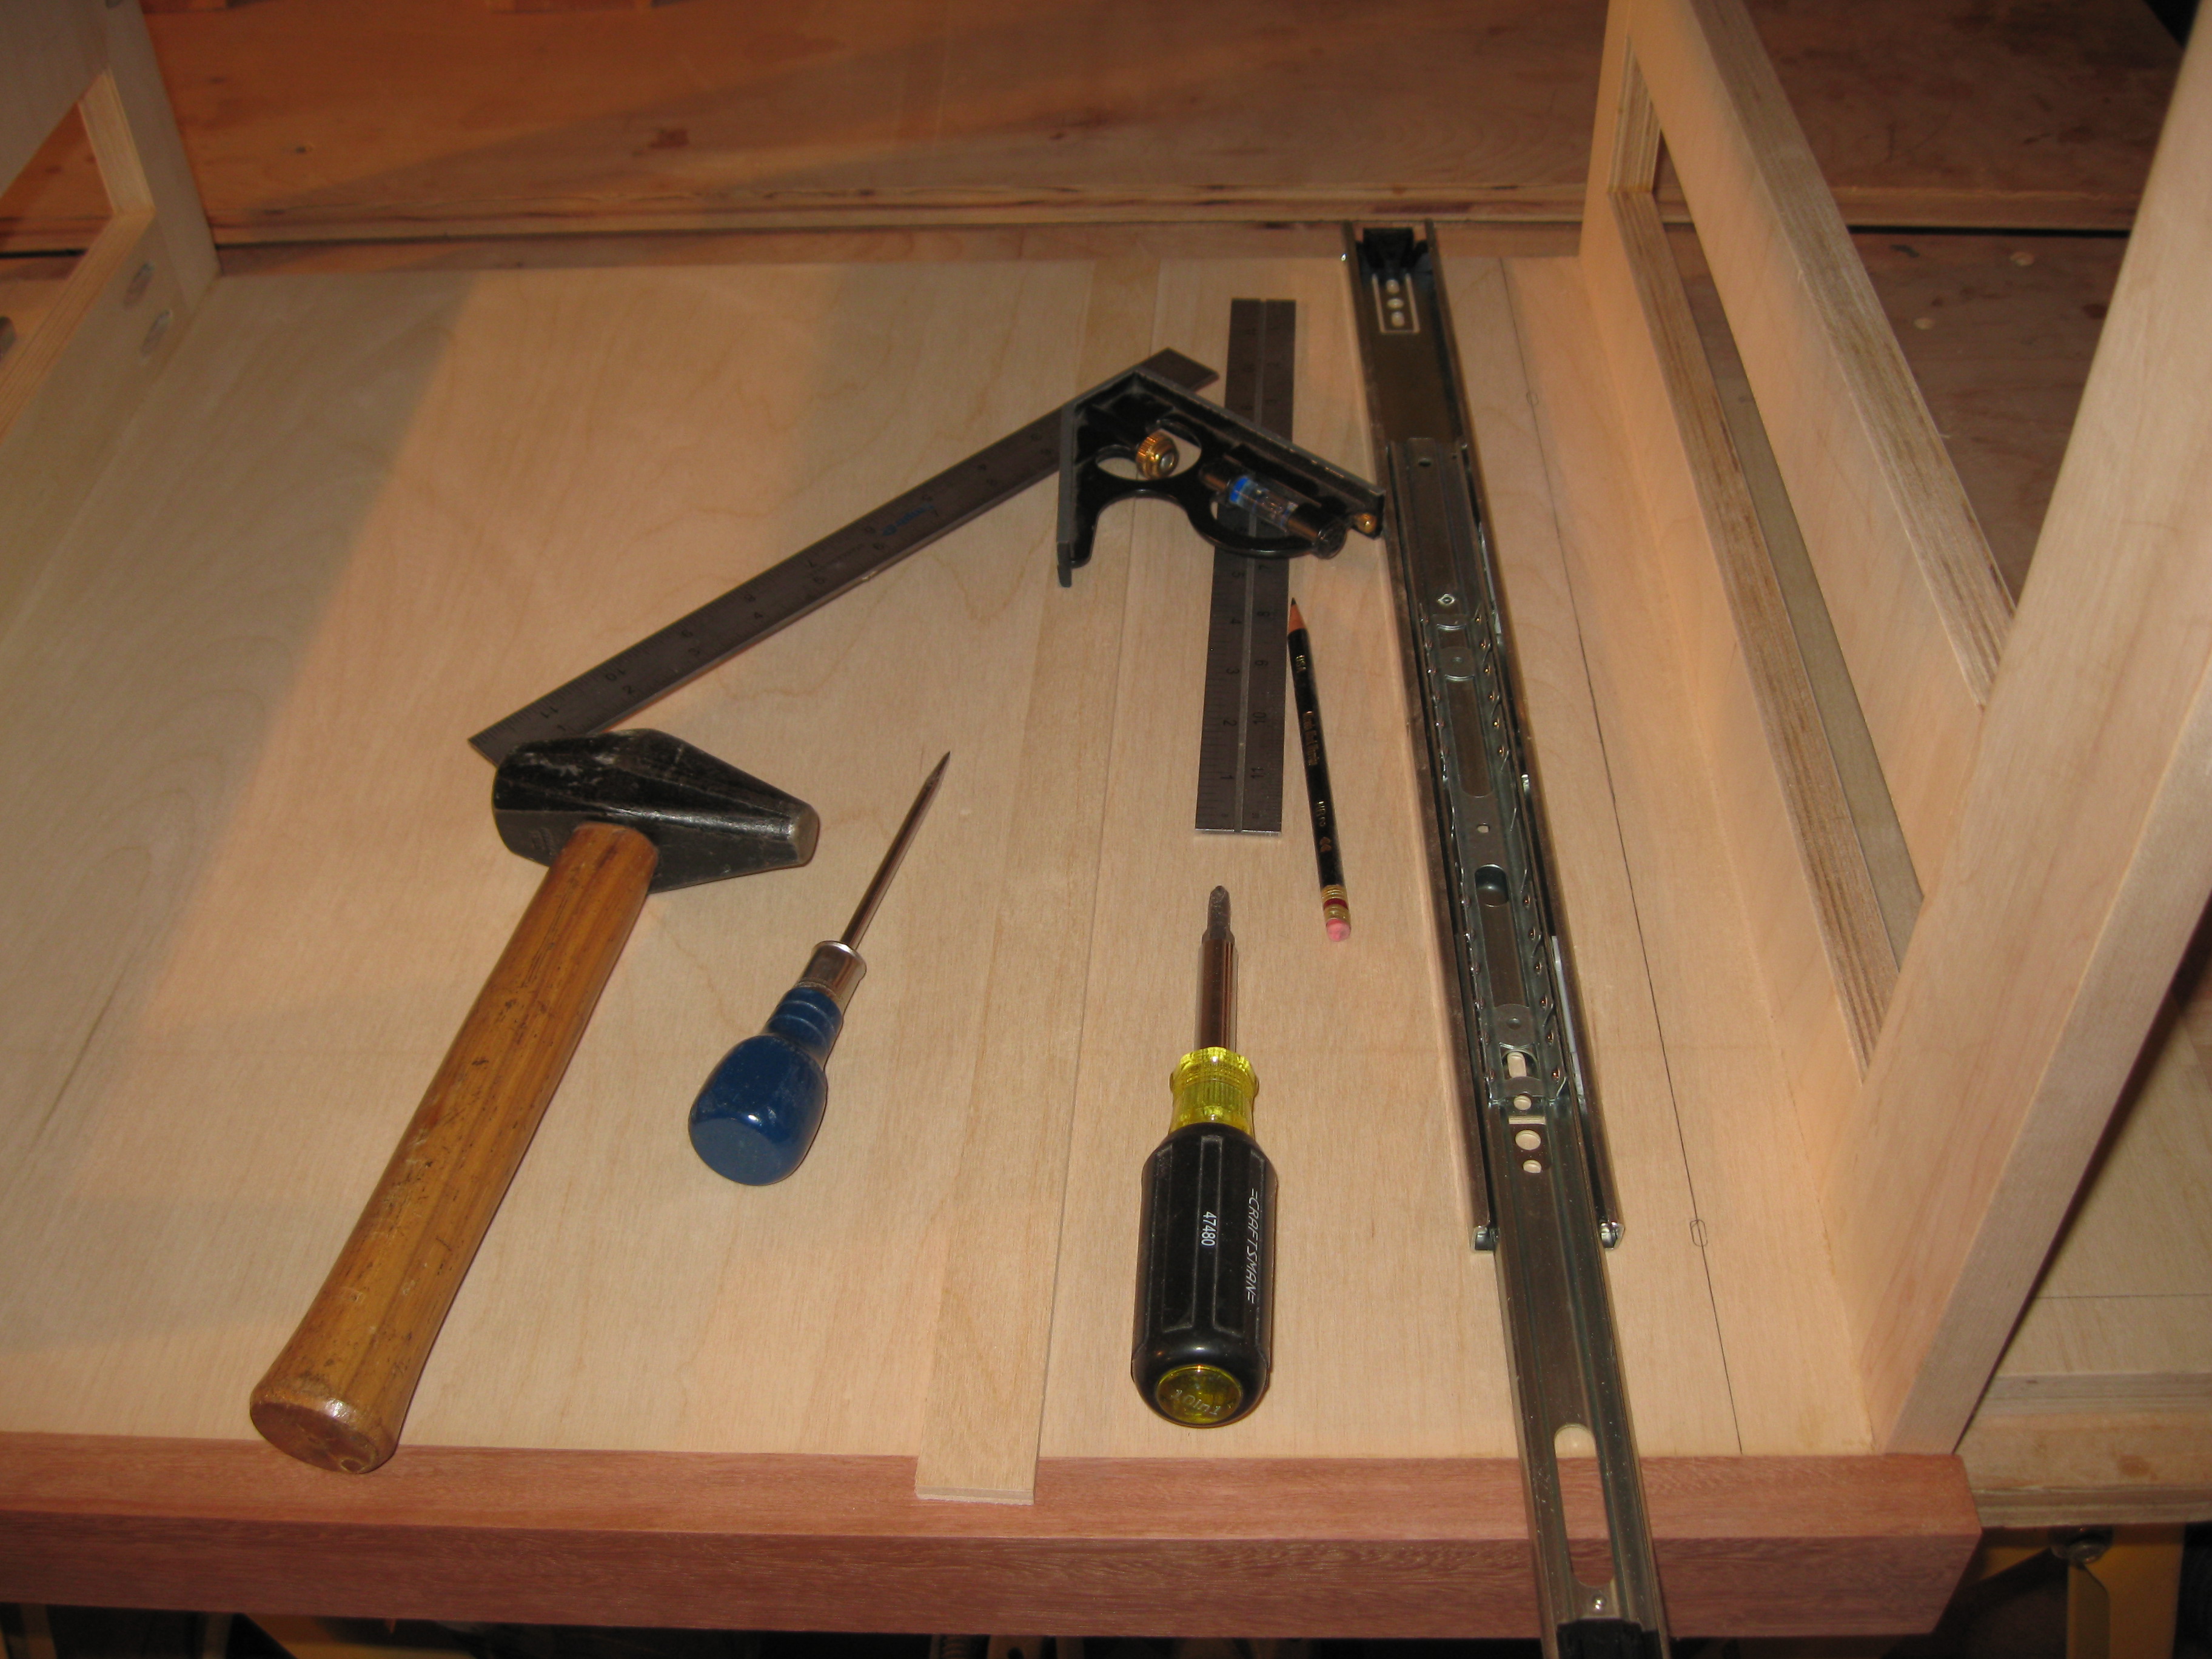
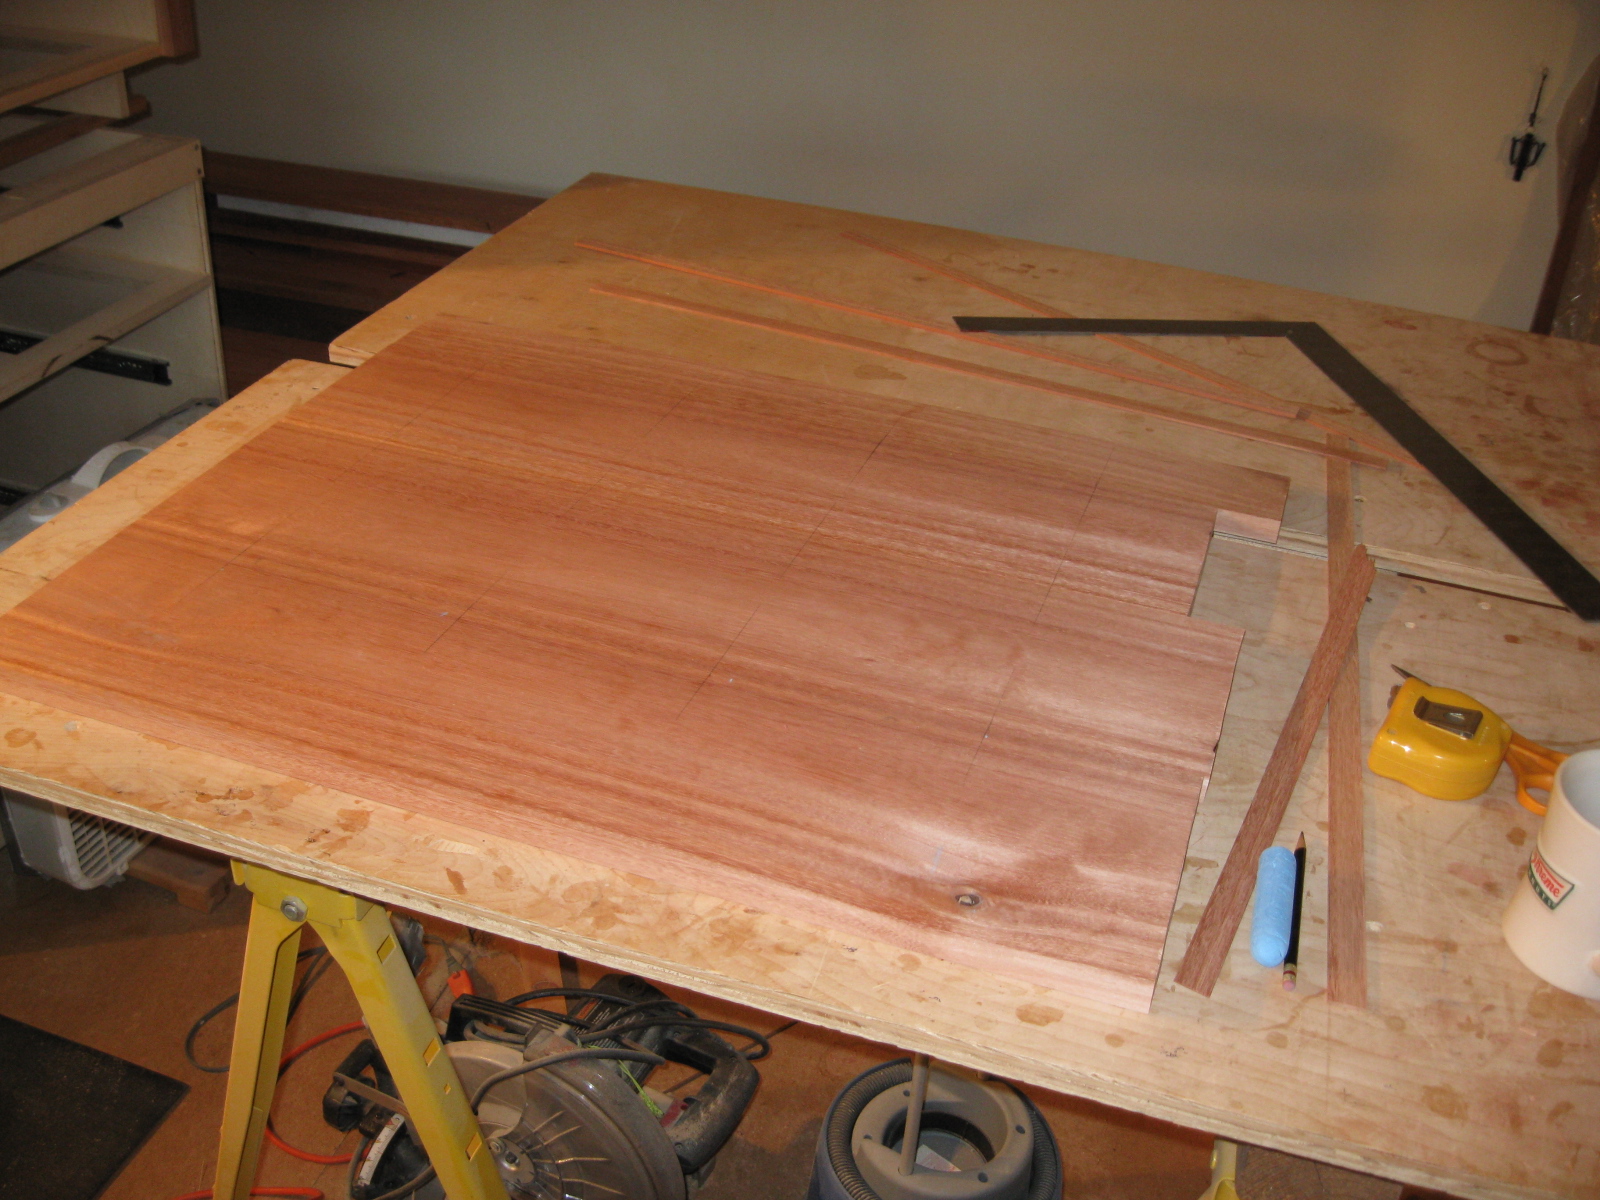
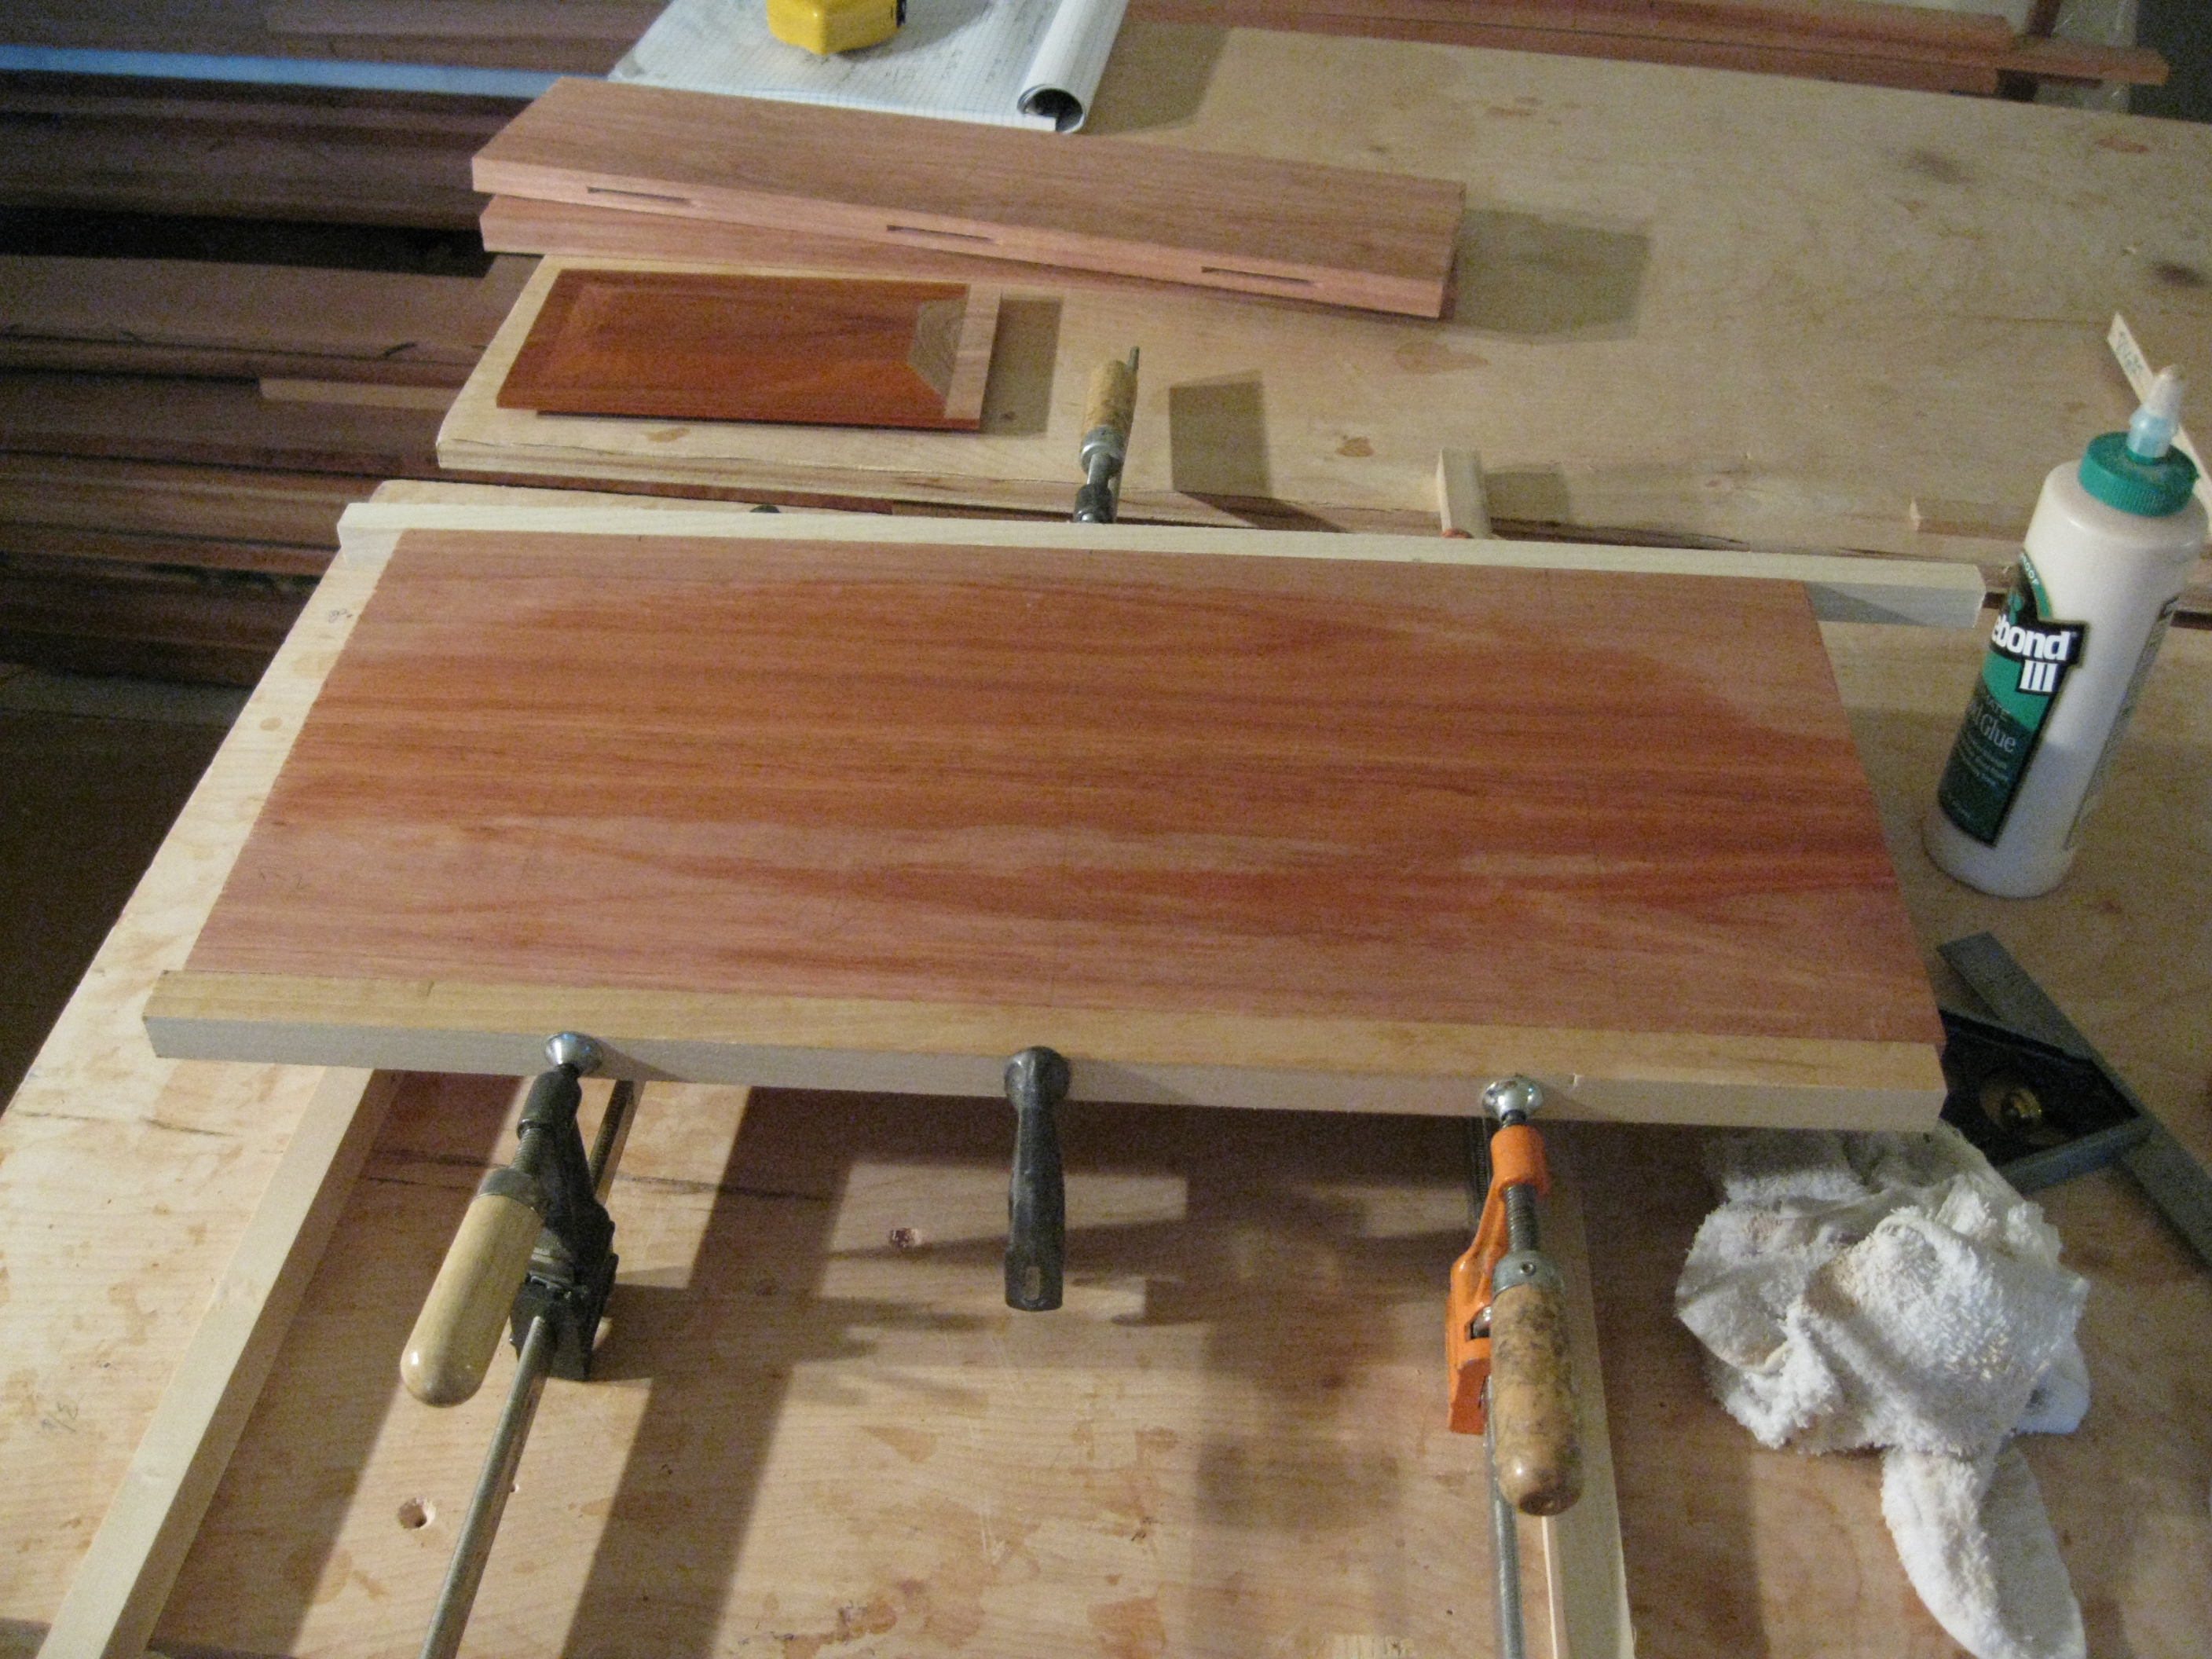
Three cabinets plus the dishwasher make up the peninsula. Two of the cabinets straddling the dishwasher face the kitchen and the cabinet at the wall faces the breakfast nook. Each of these cabinets will have a power outlet. Having power conveniently located near the work space will be a welcome enhancement to the old 1950's era kitchen.. I stared with cut sheets for the 5' x 5' baltic birch plywood. The controlling factors are the height established by the cabinets already completed, the toe kick and the dishwasher dimensions. I use the Bosch CS-20 with a edge guide to make the initial cut to get the plywood to a size I can manage on the table saw. I use the rip fence to get the long edges cut parallel and to size. Then I use the Dubby to cut the ends to 90 degrees and to the final height.
:
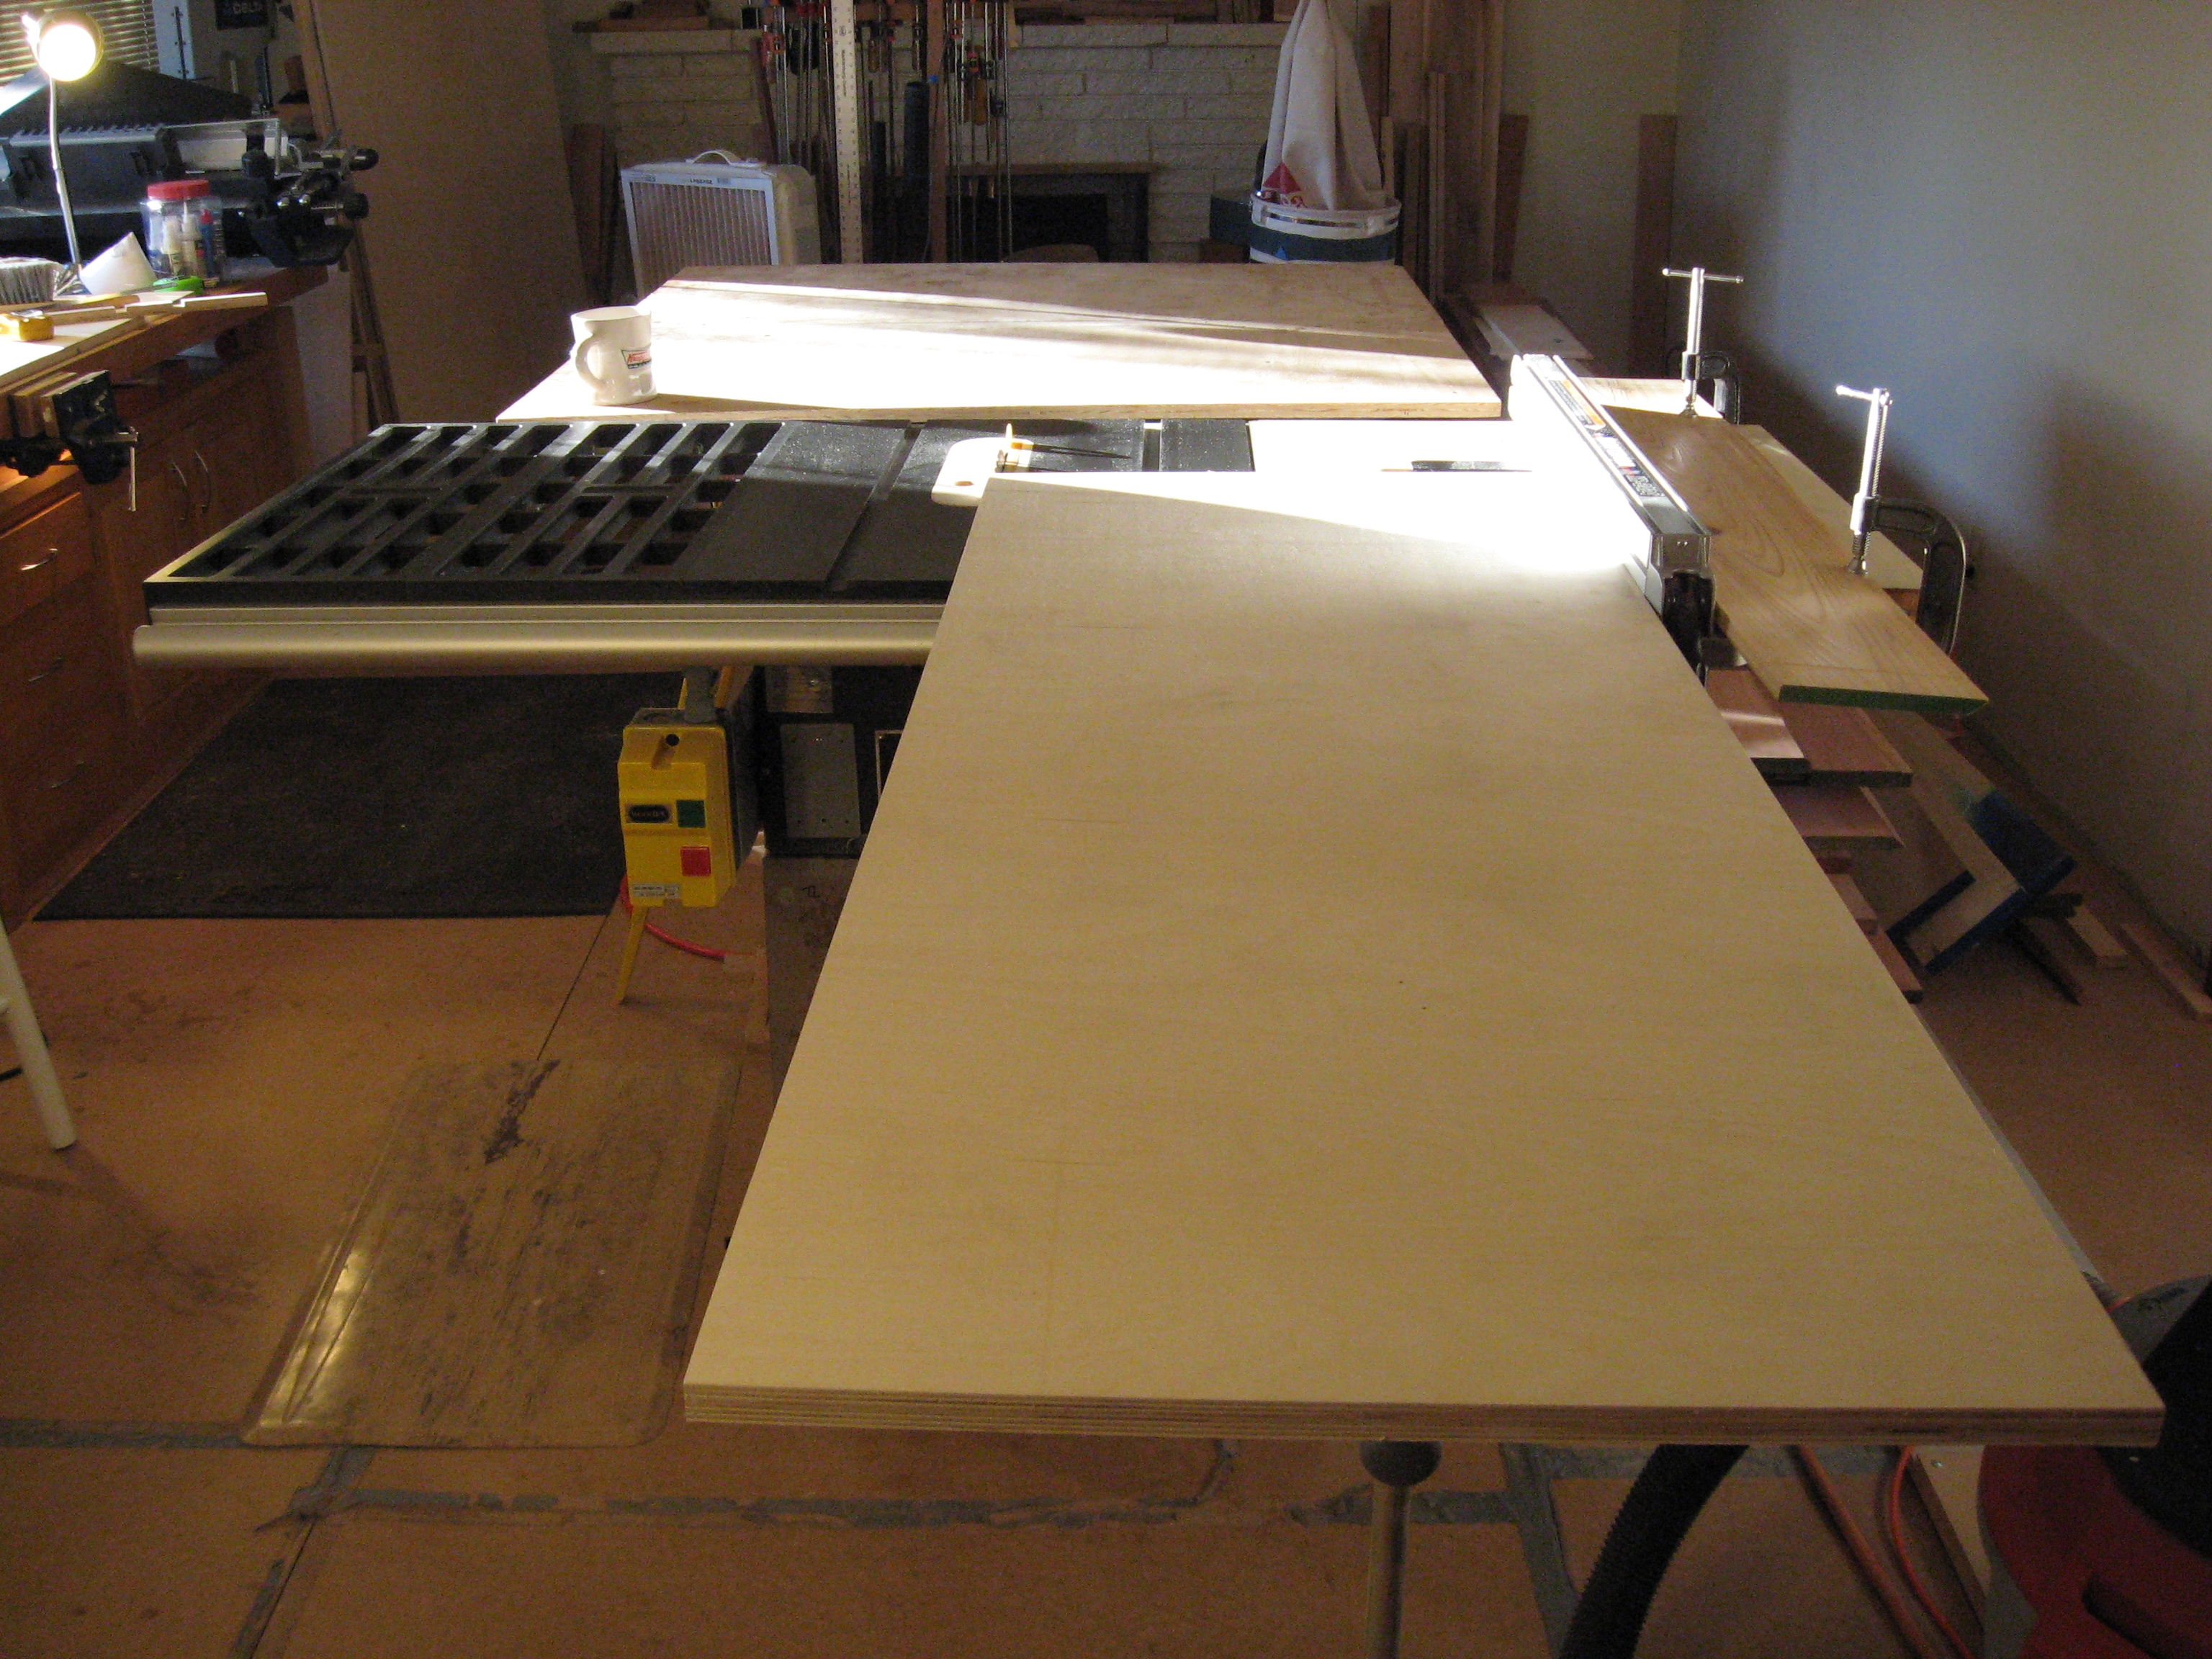
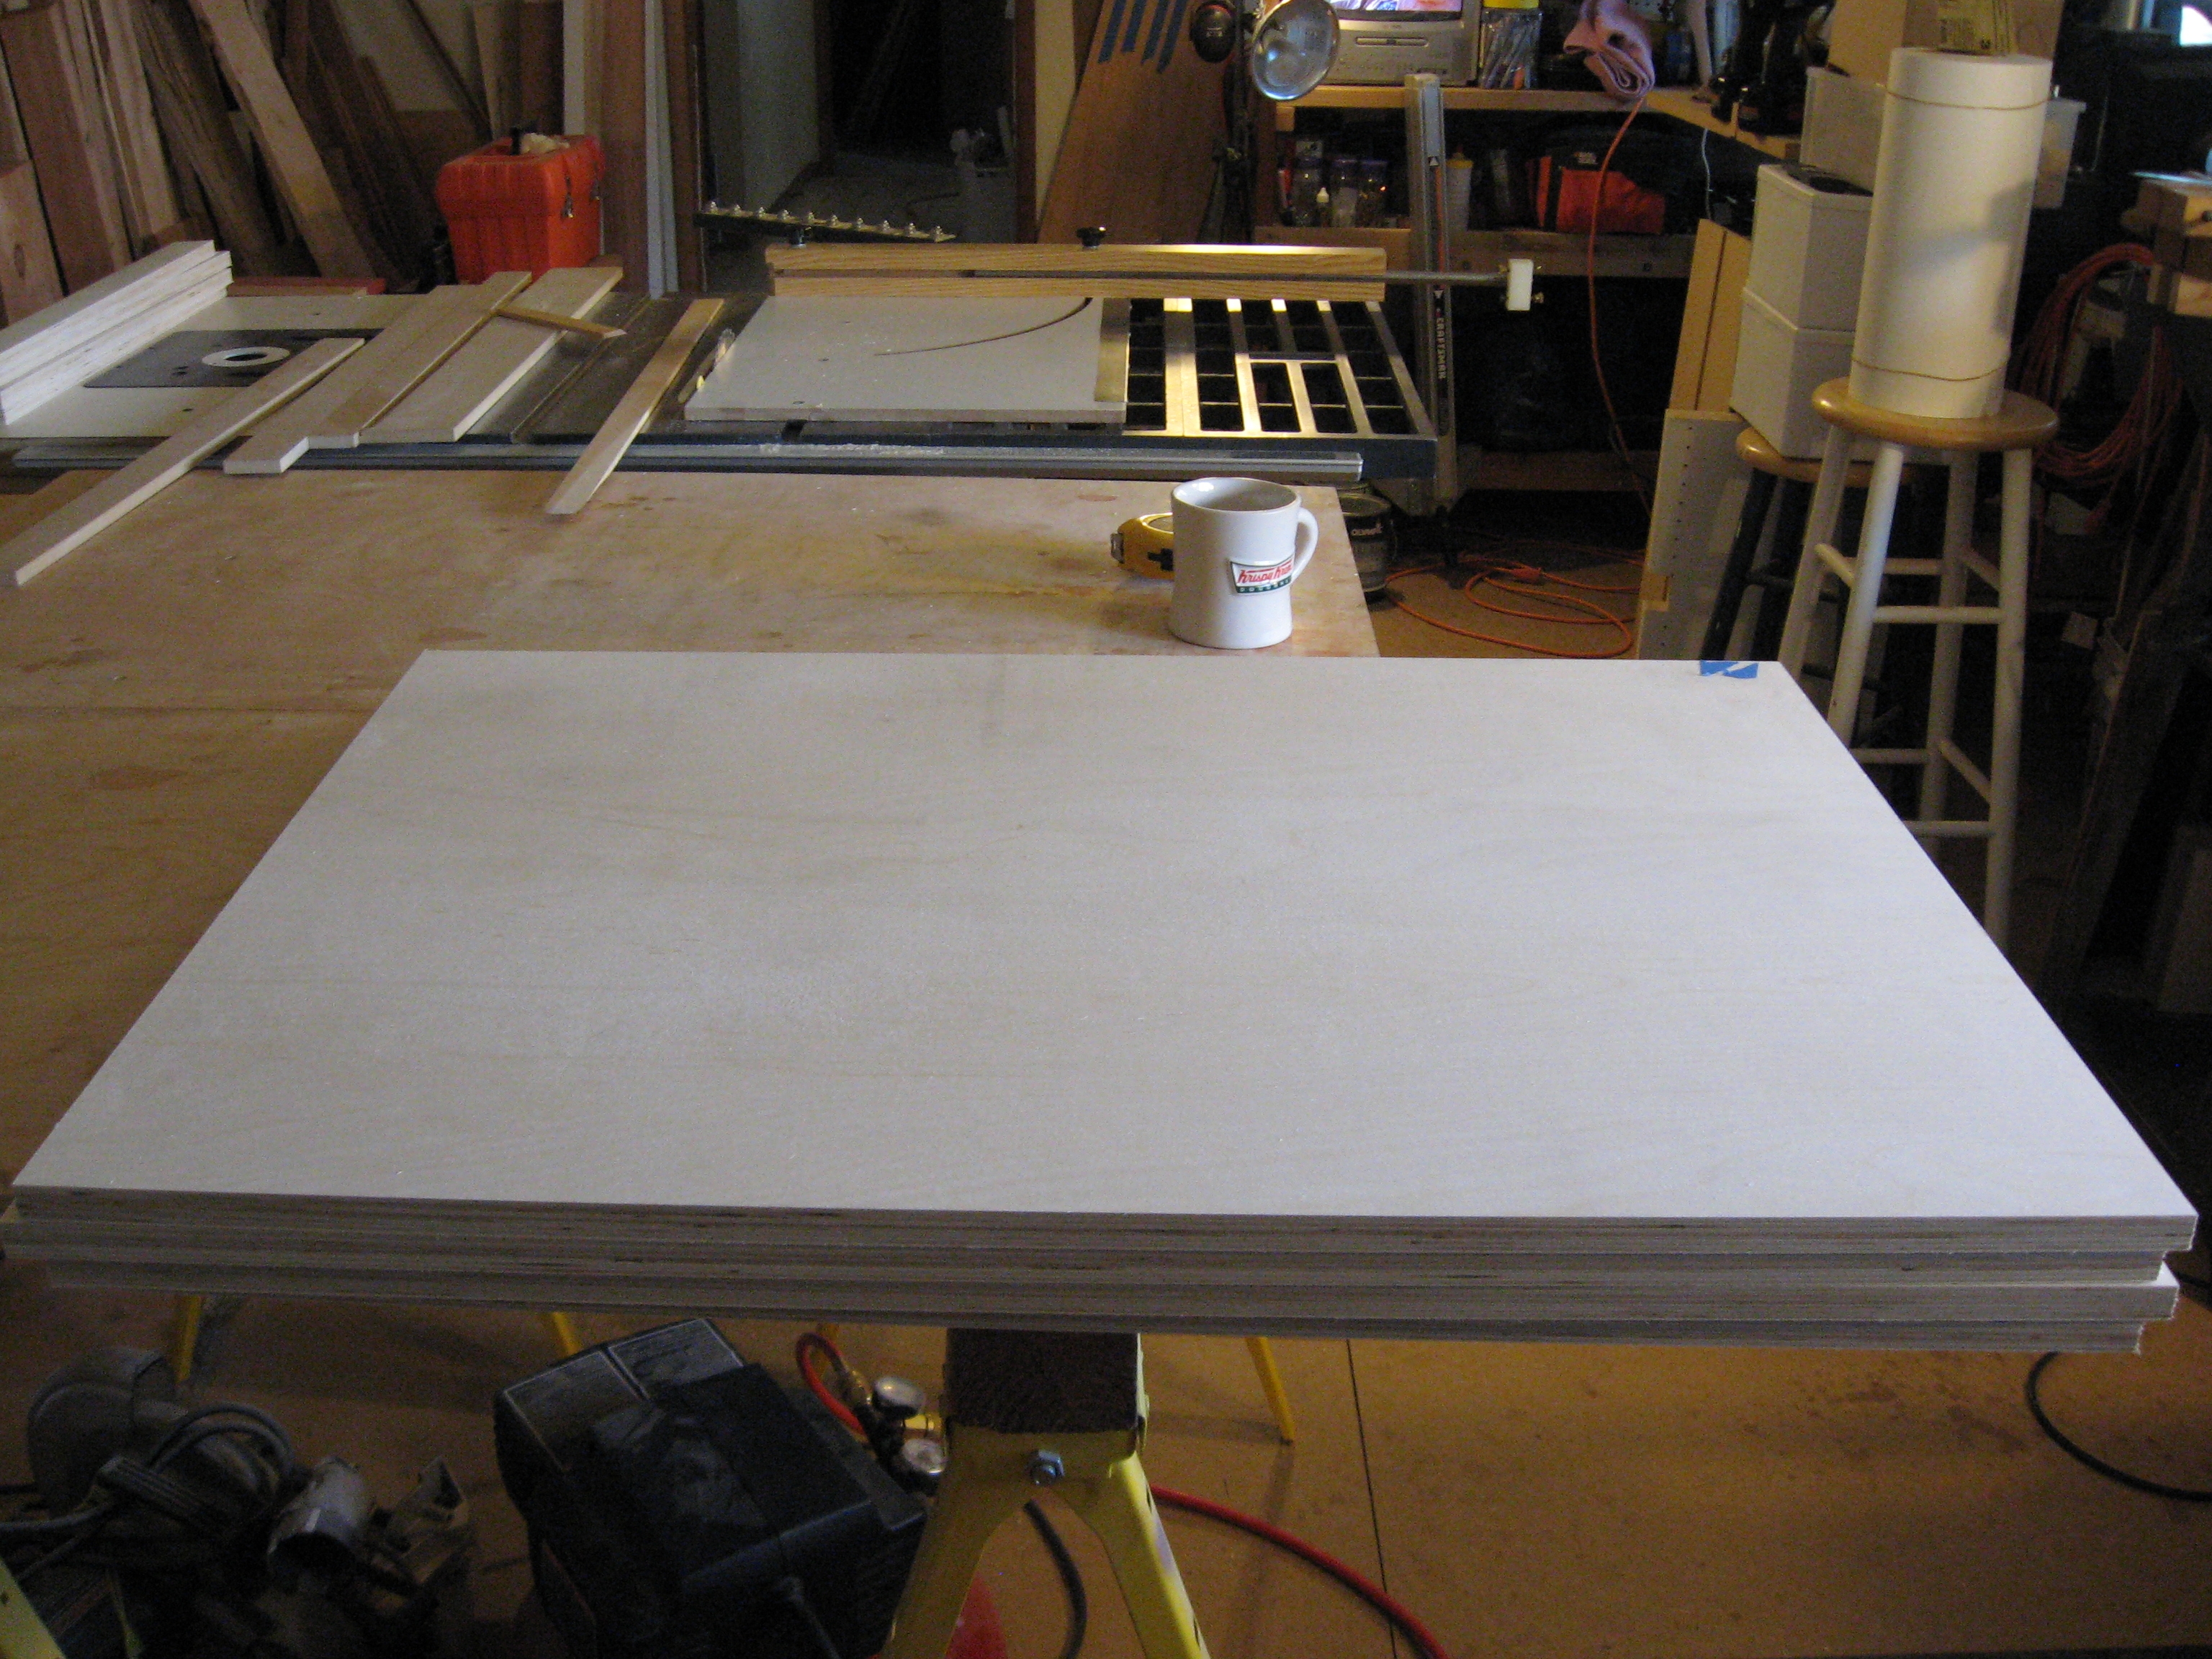
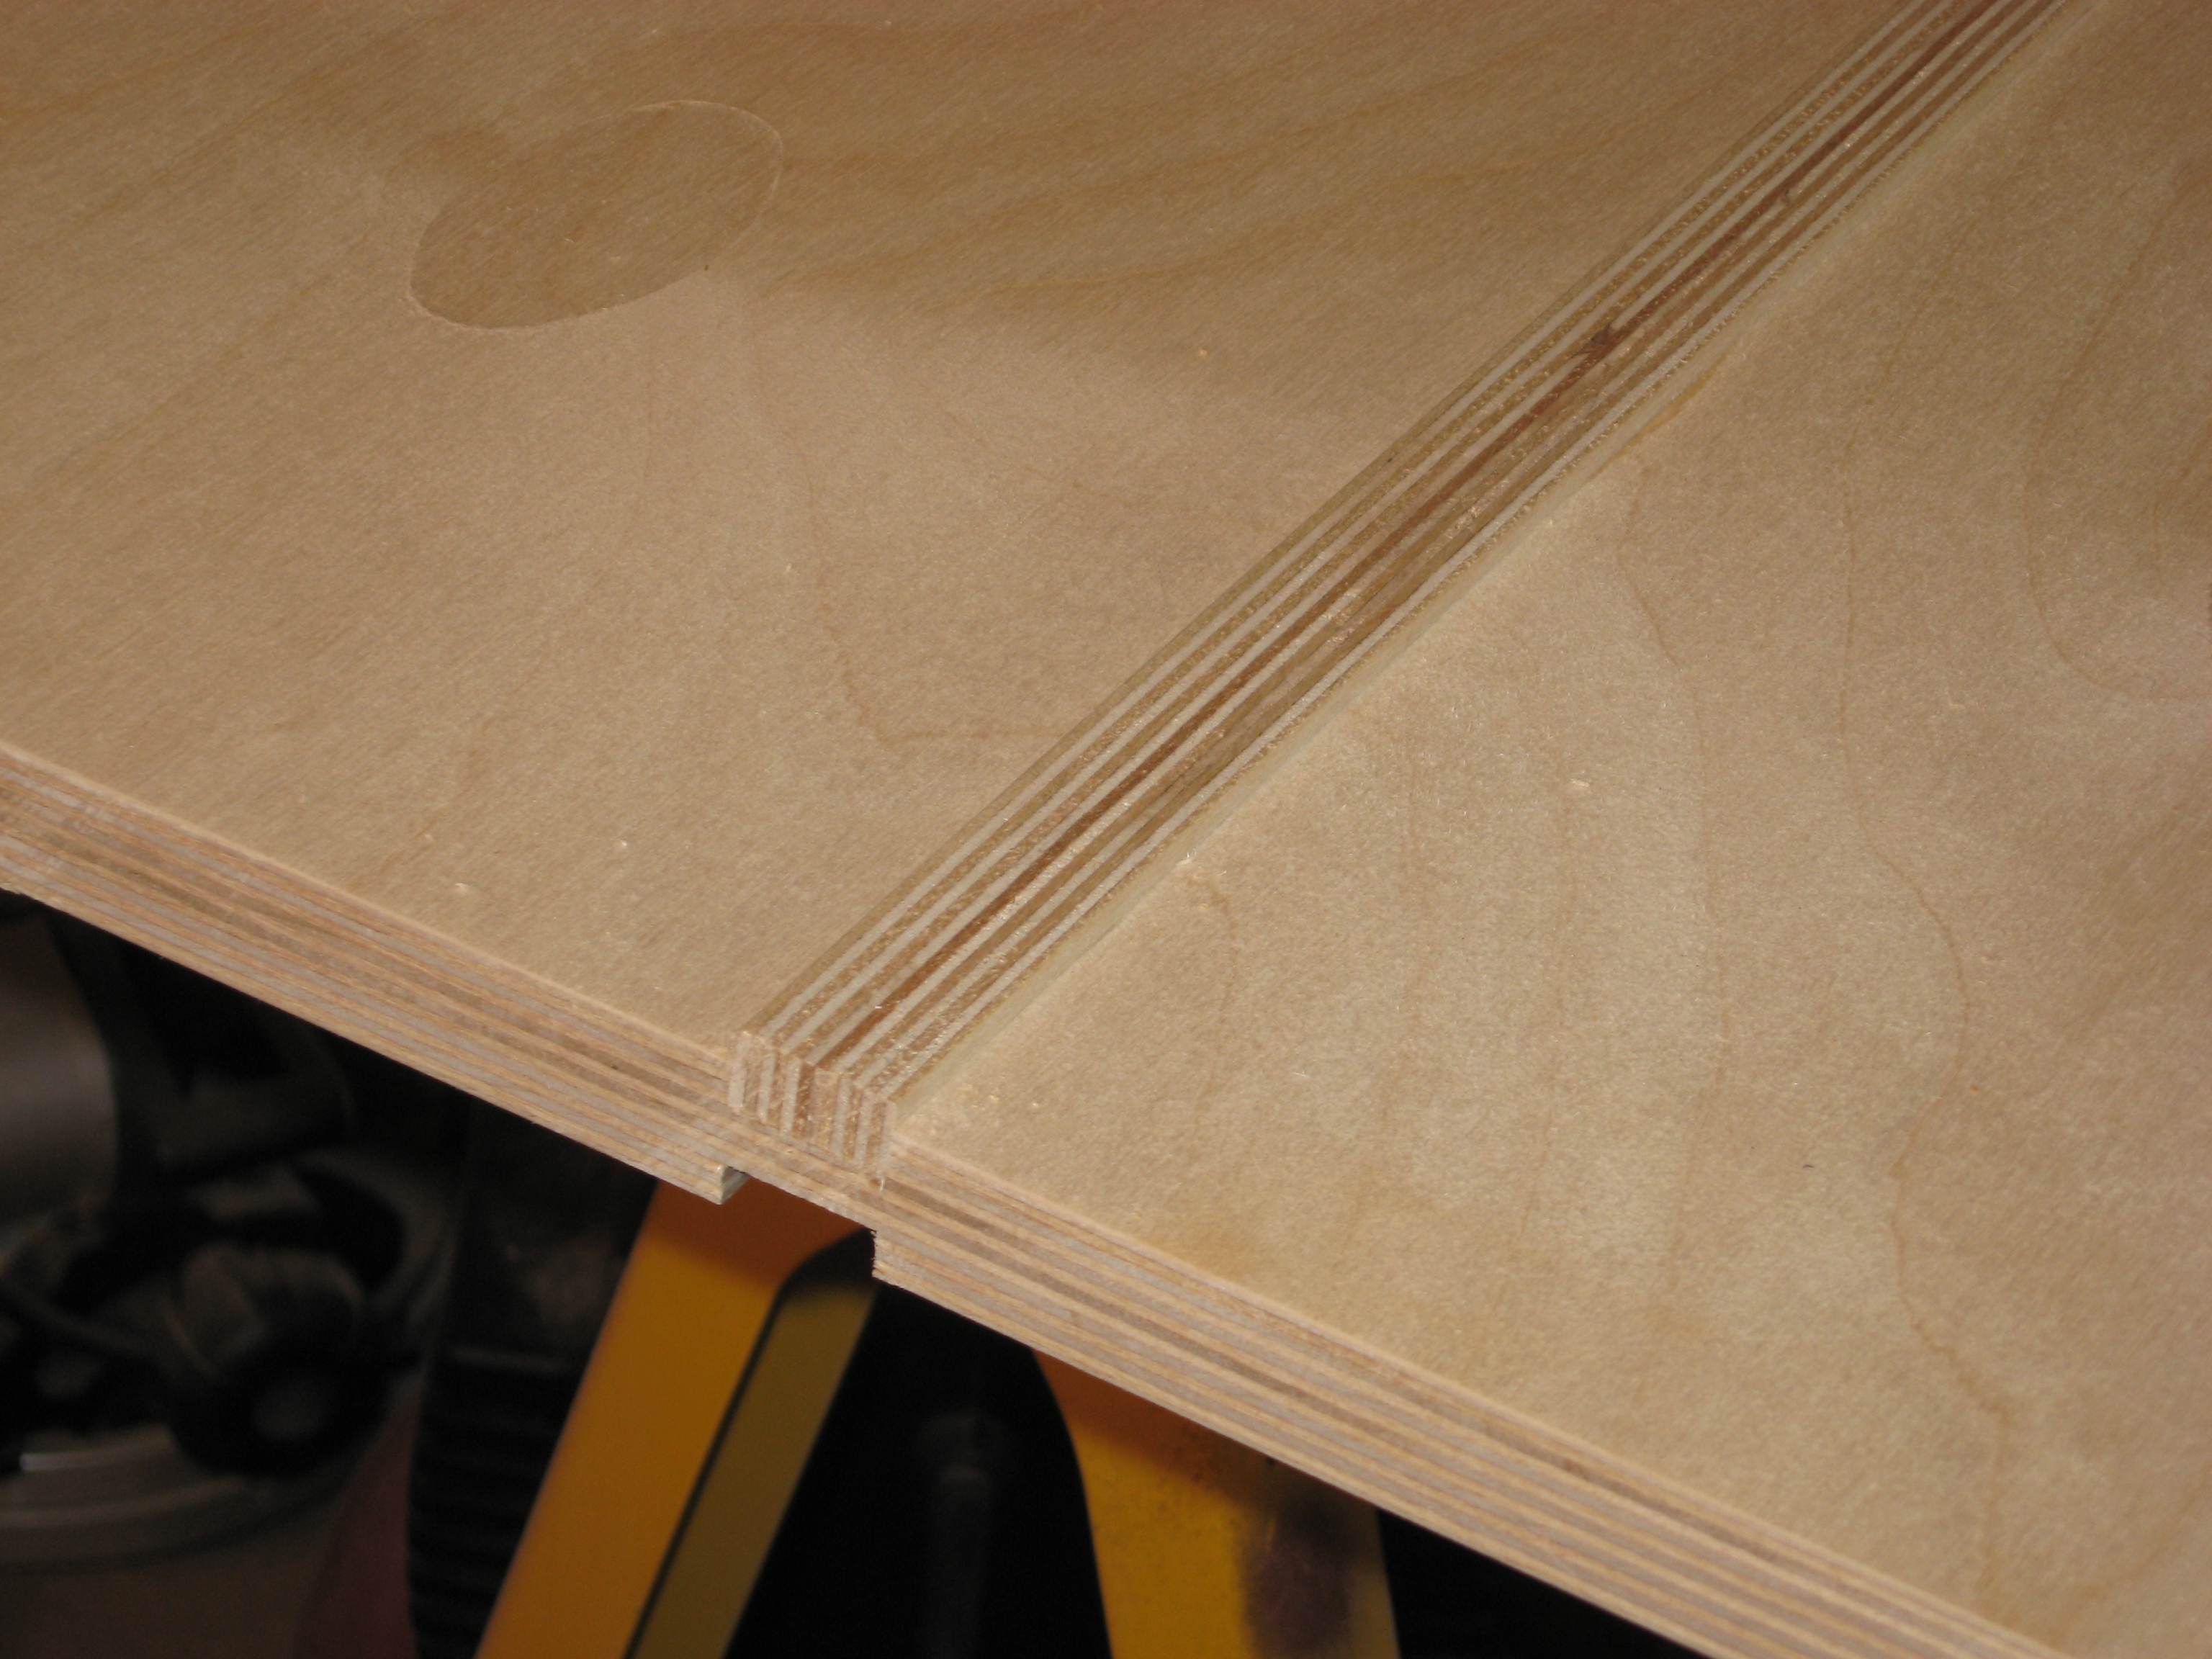
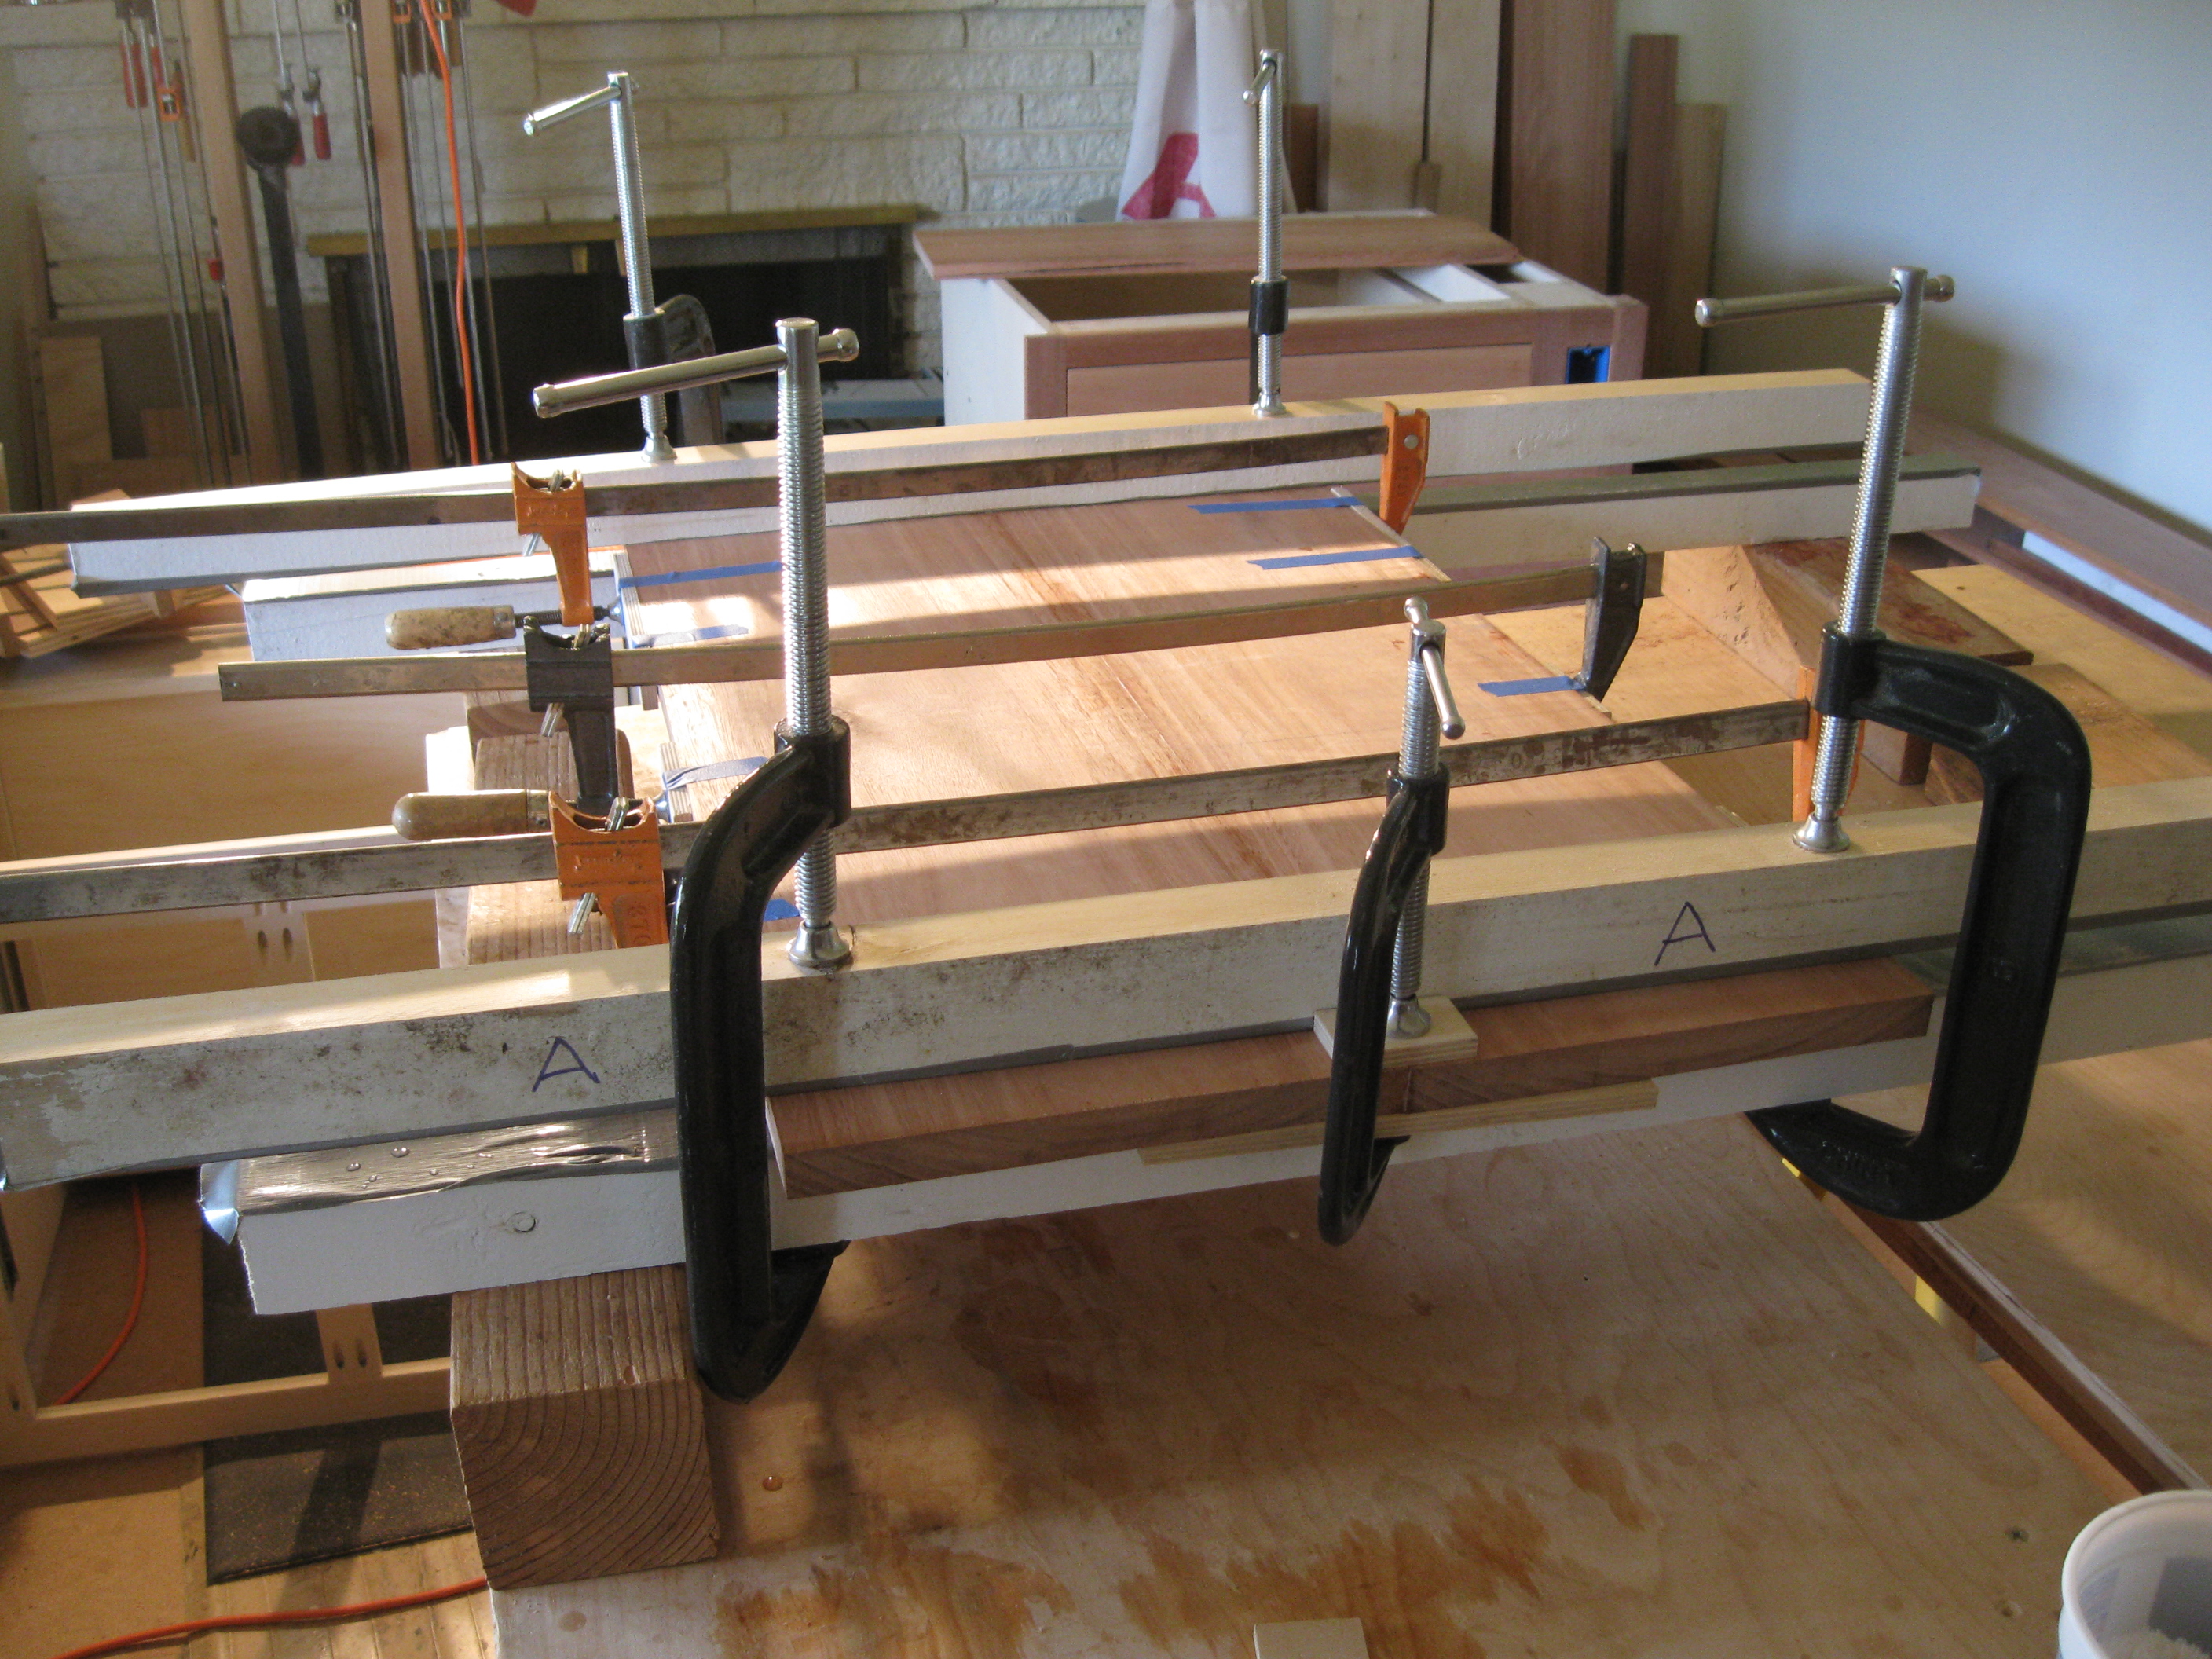
From rough to final square the panels move through the process. I end up with six rectangles with perfectly square corners. I double check all the measurements and the diagonals. You can see that I have a T support with roller bearings under the Dubby to provide support to the wide panels. Every edge was cut at least once through the process, no factory edges or corners remain.


:
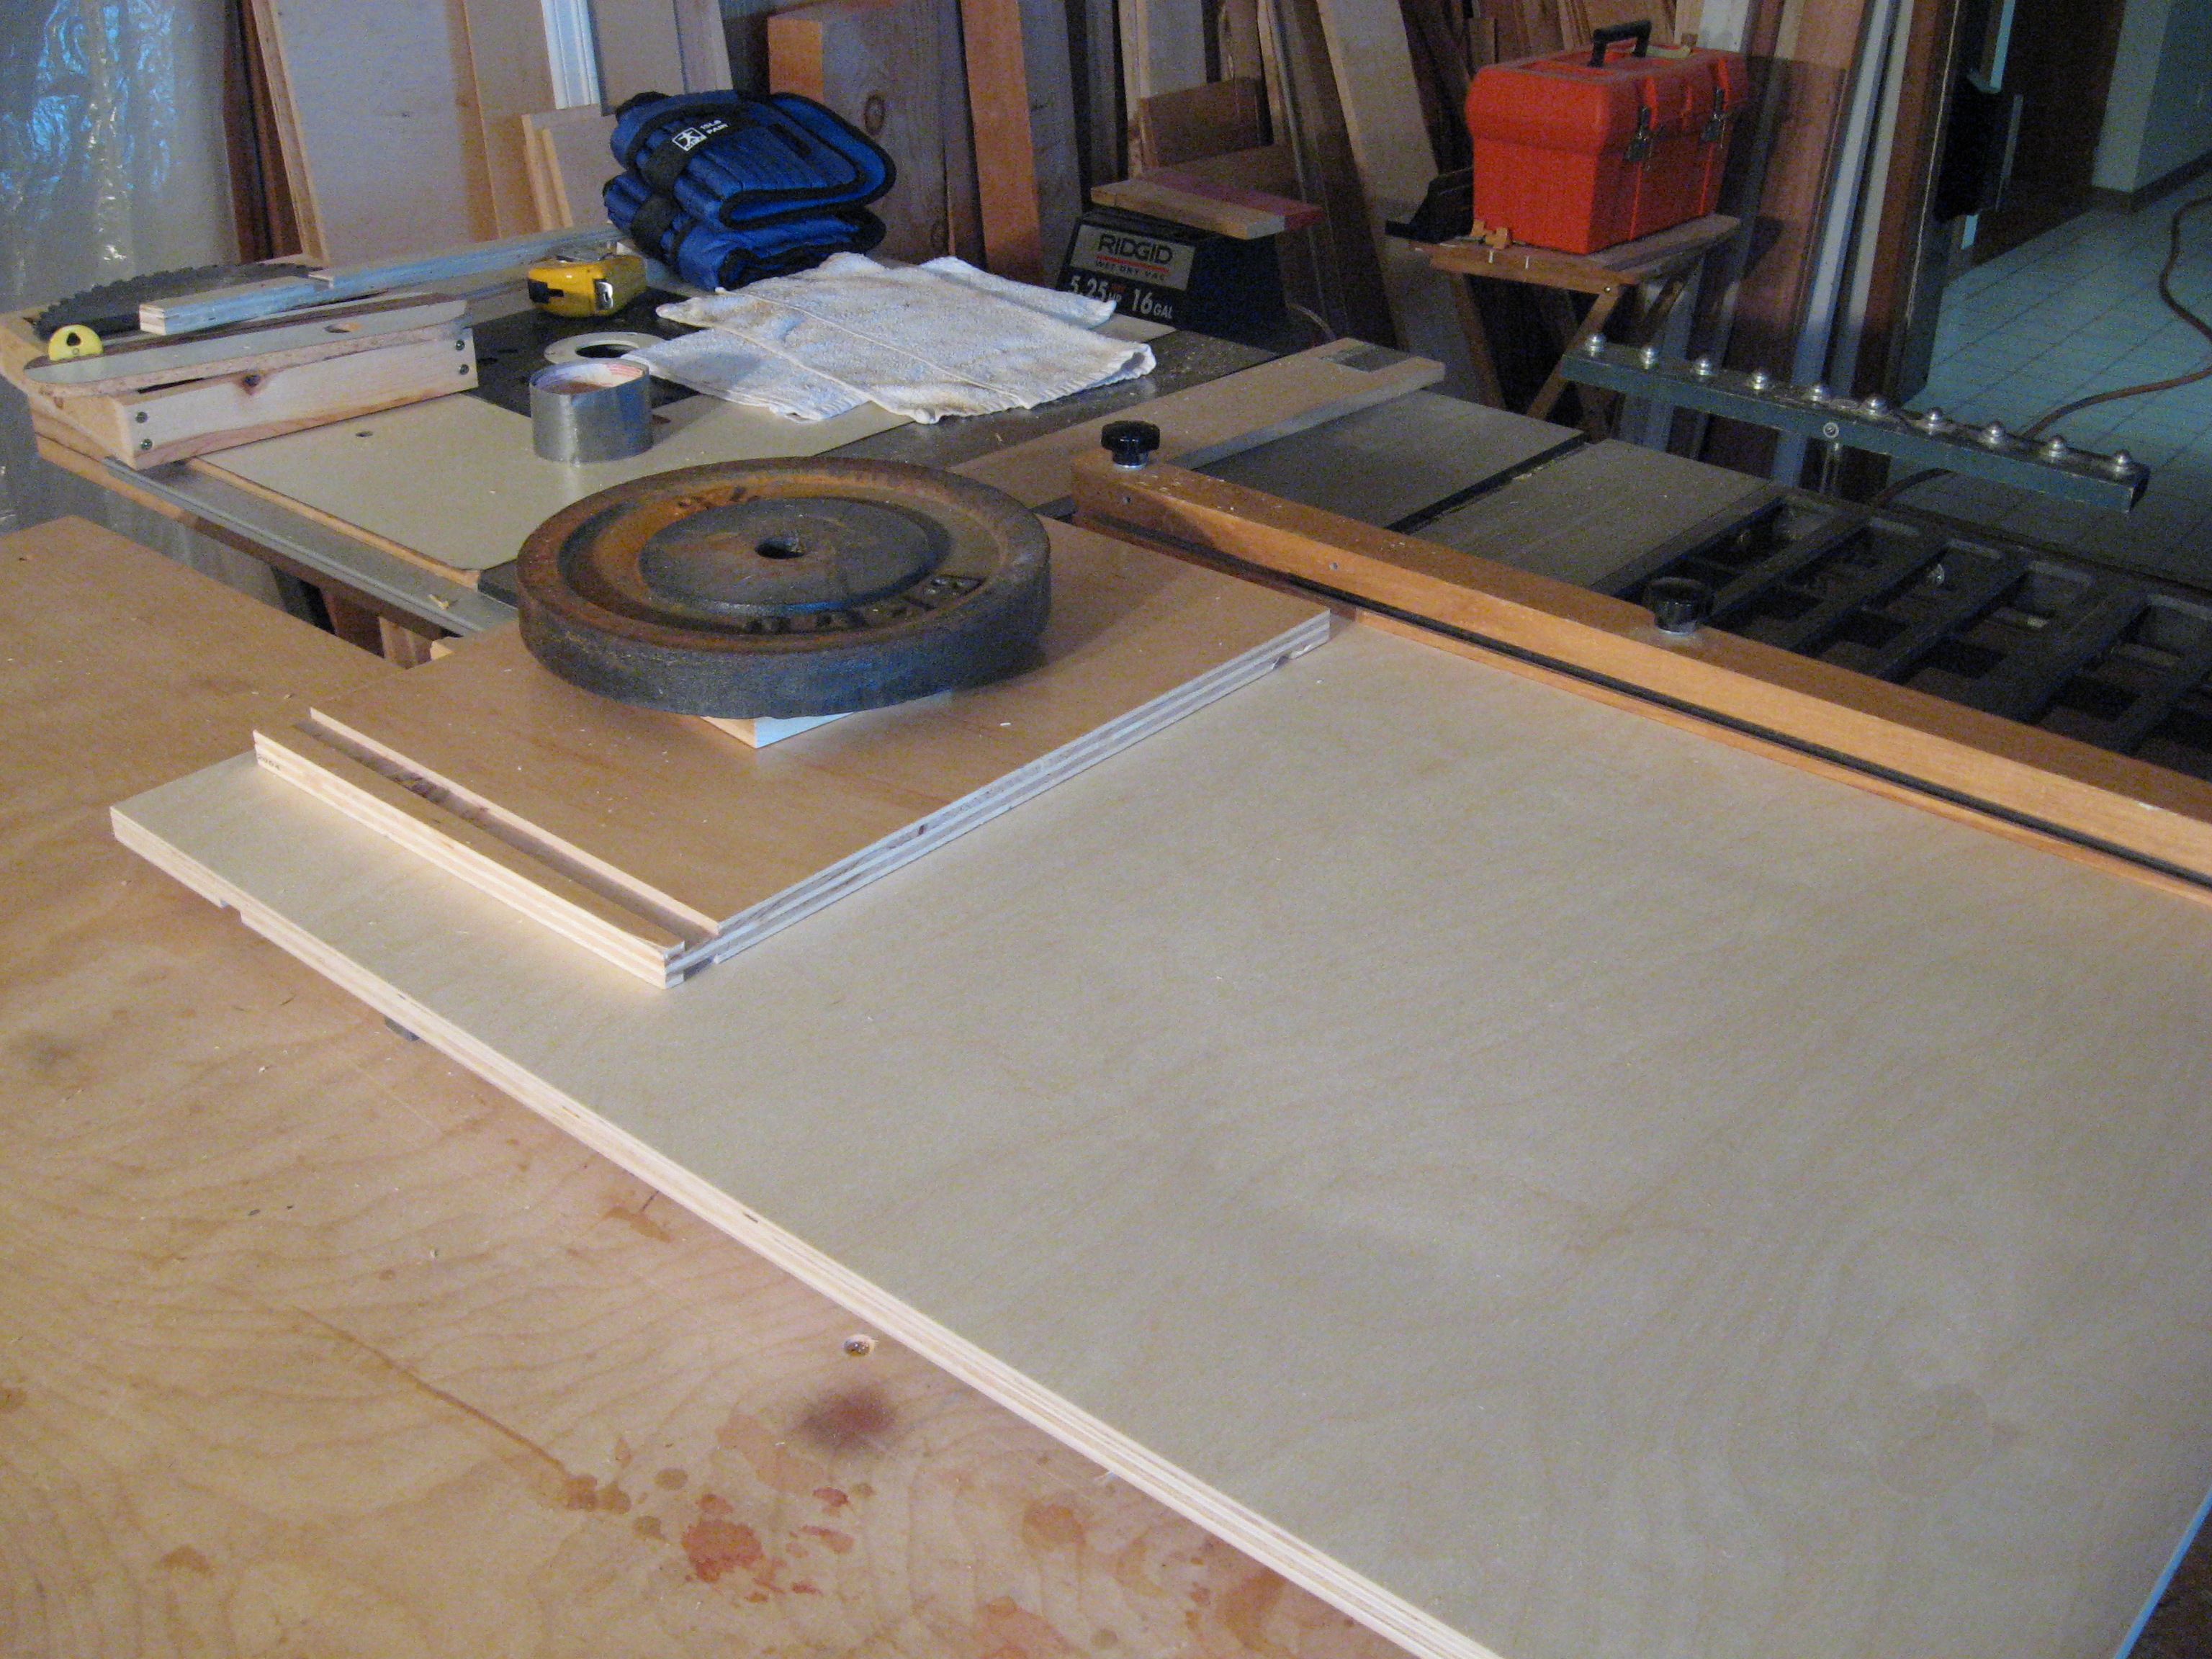
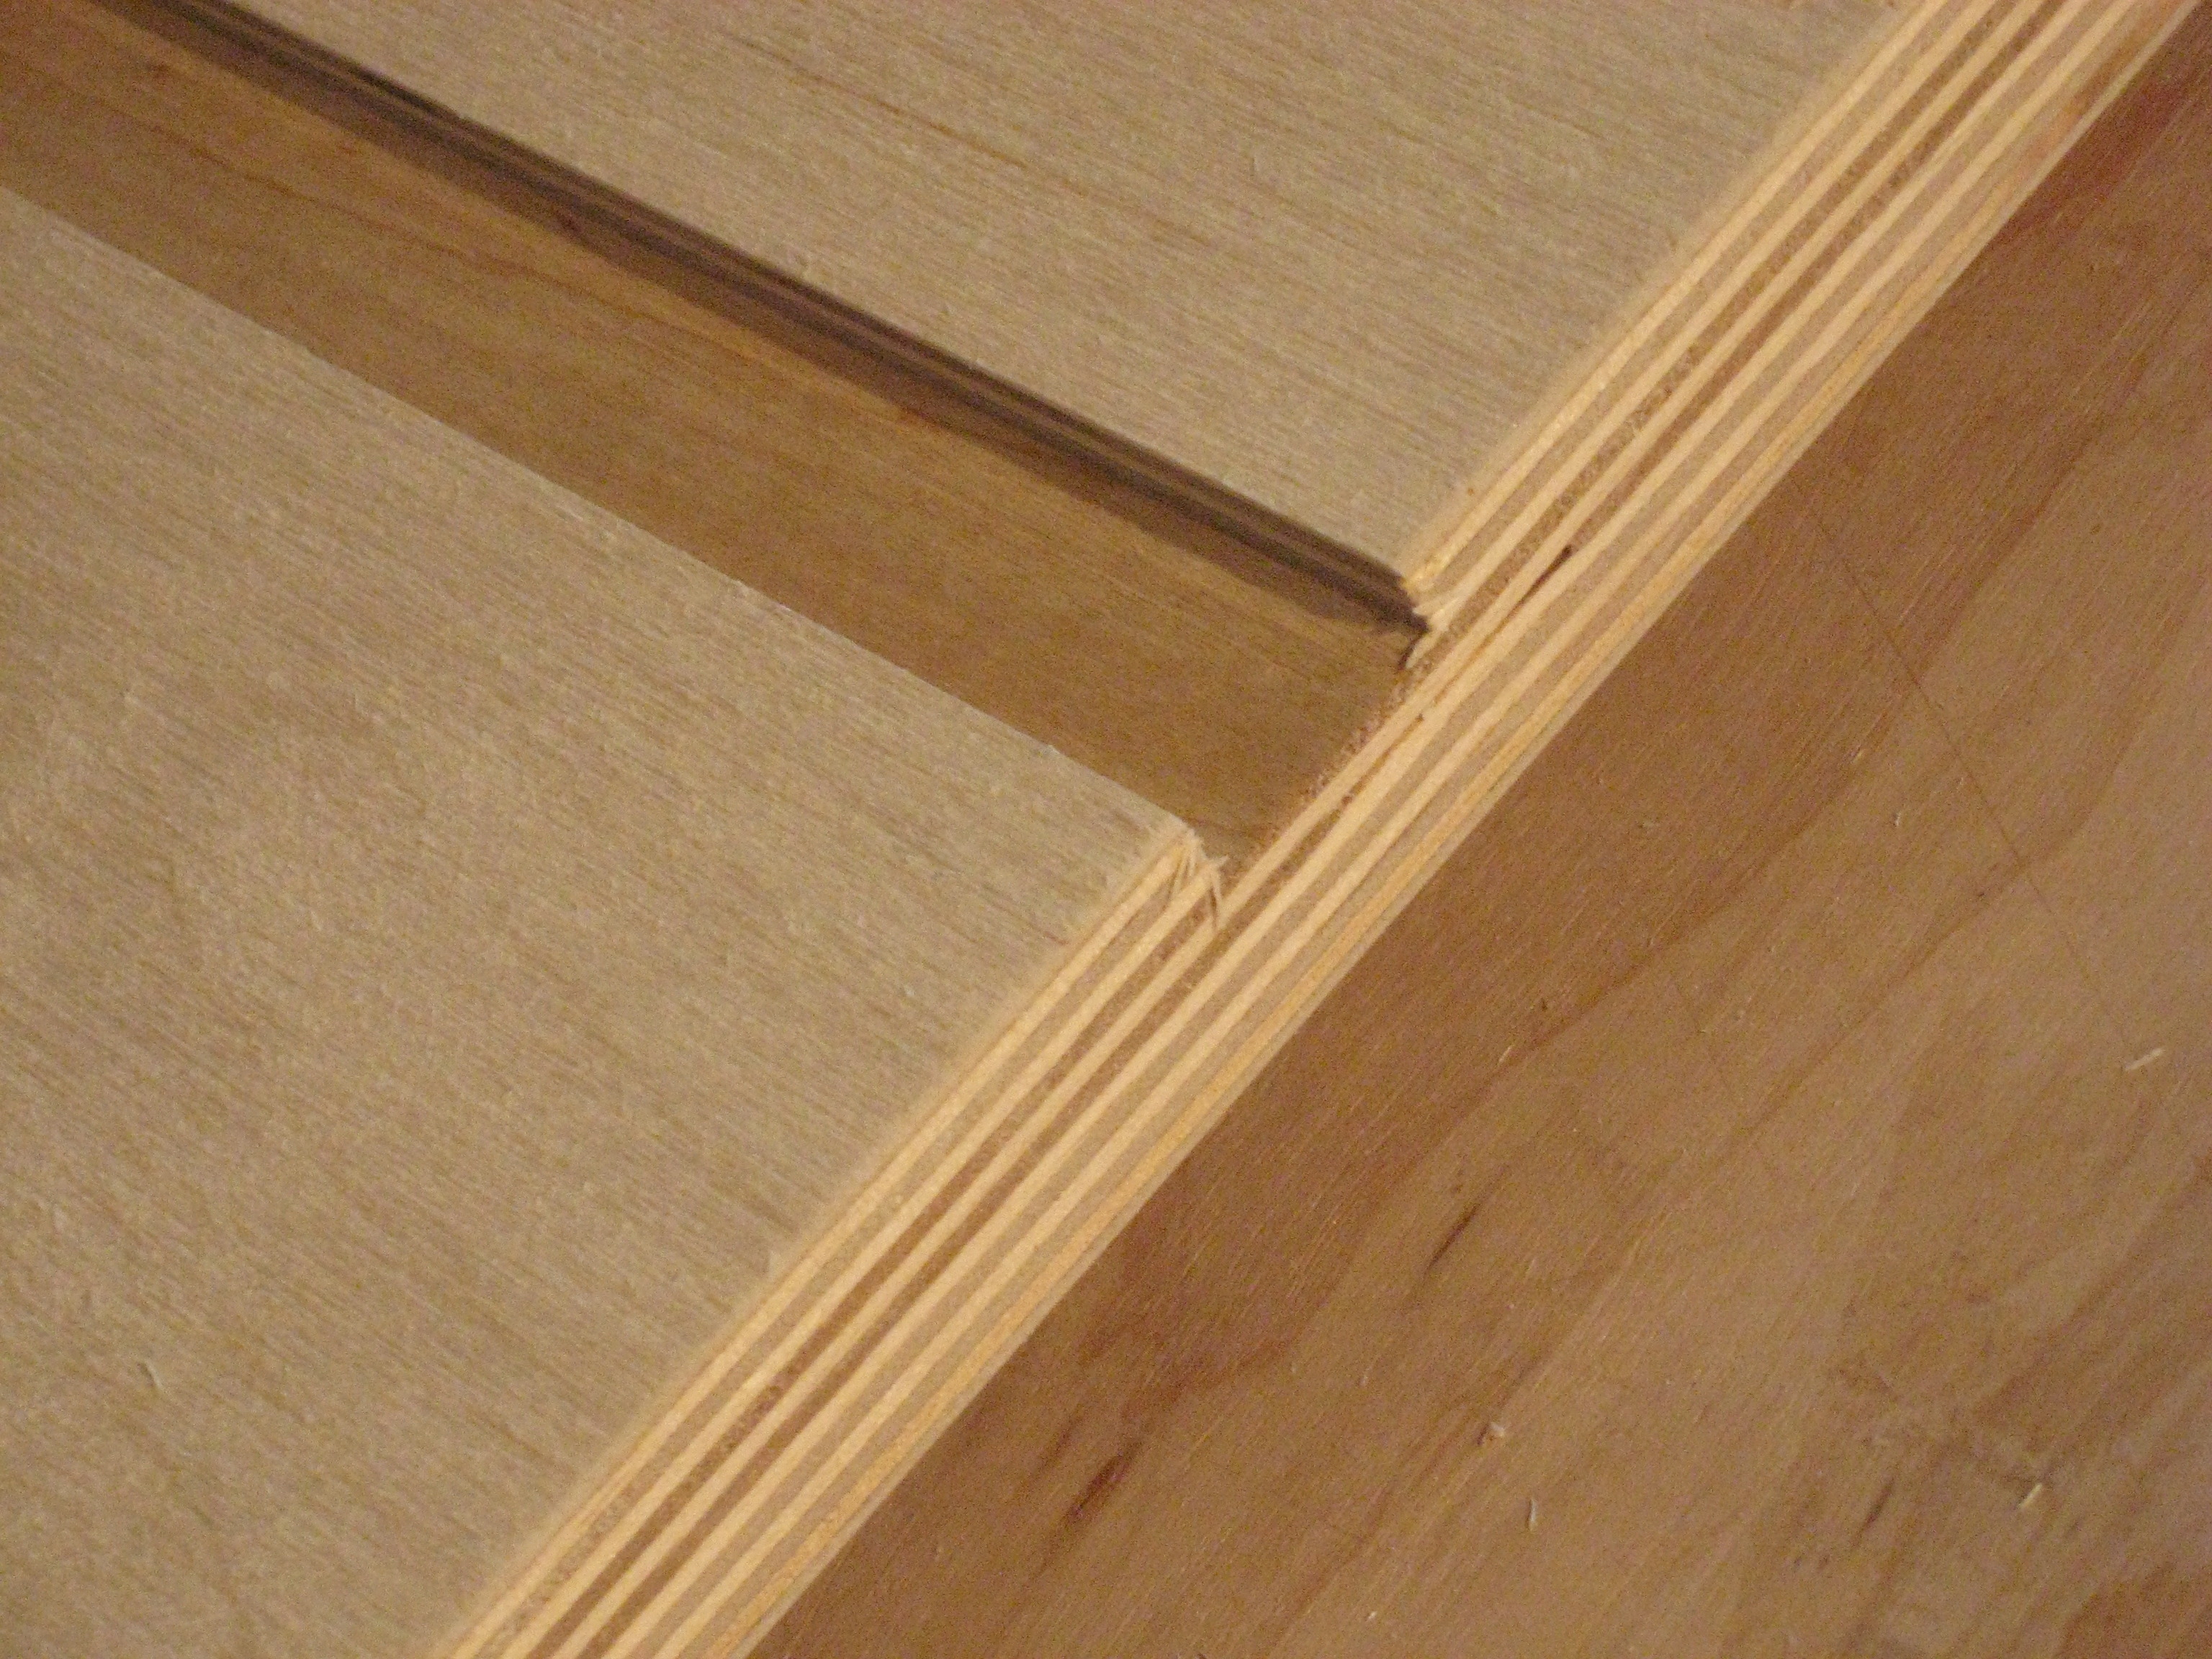
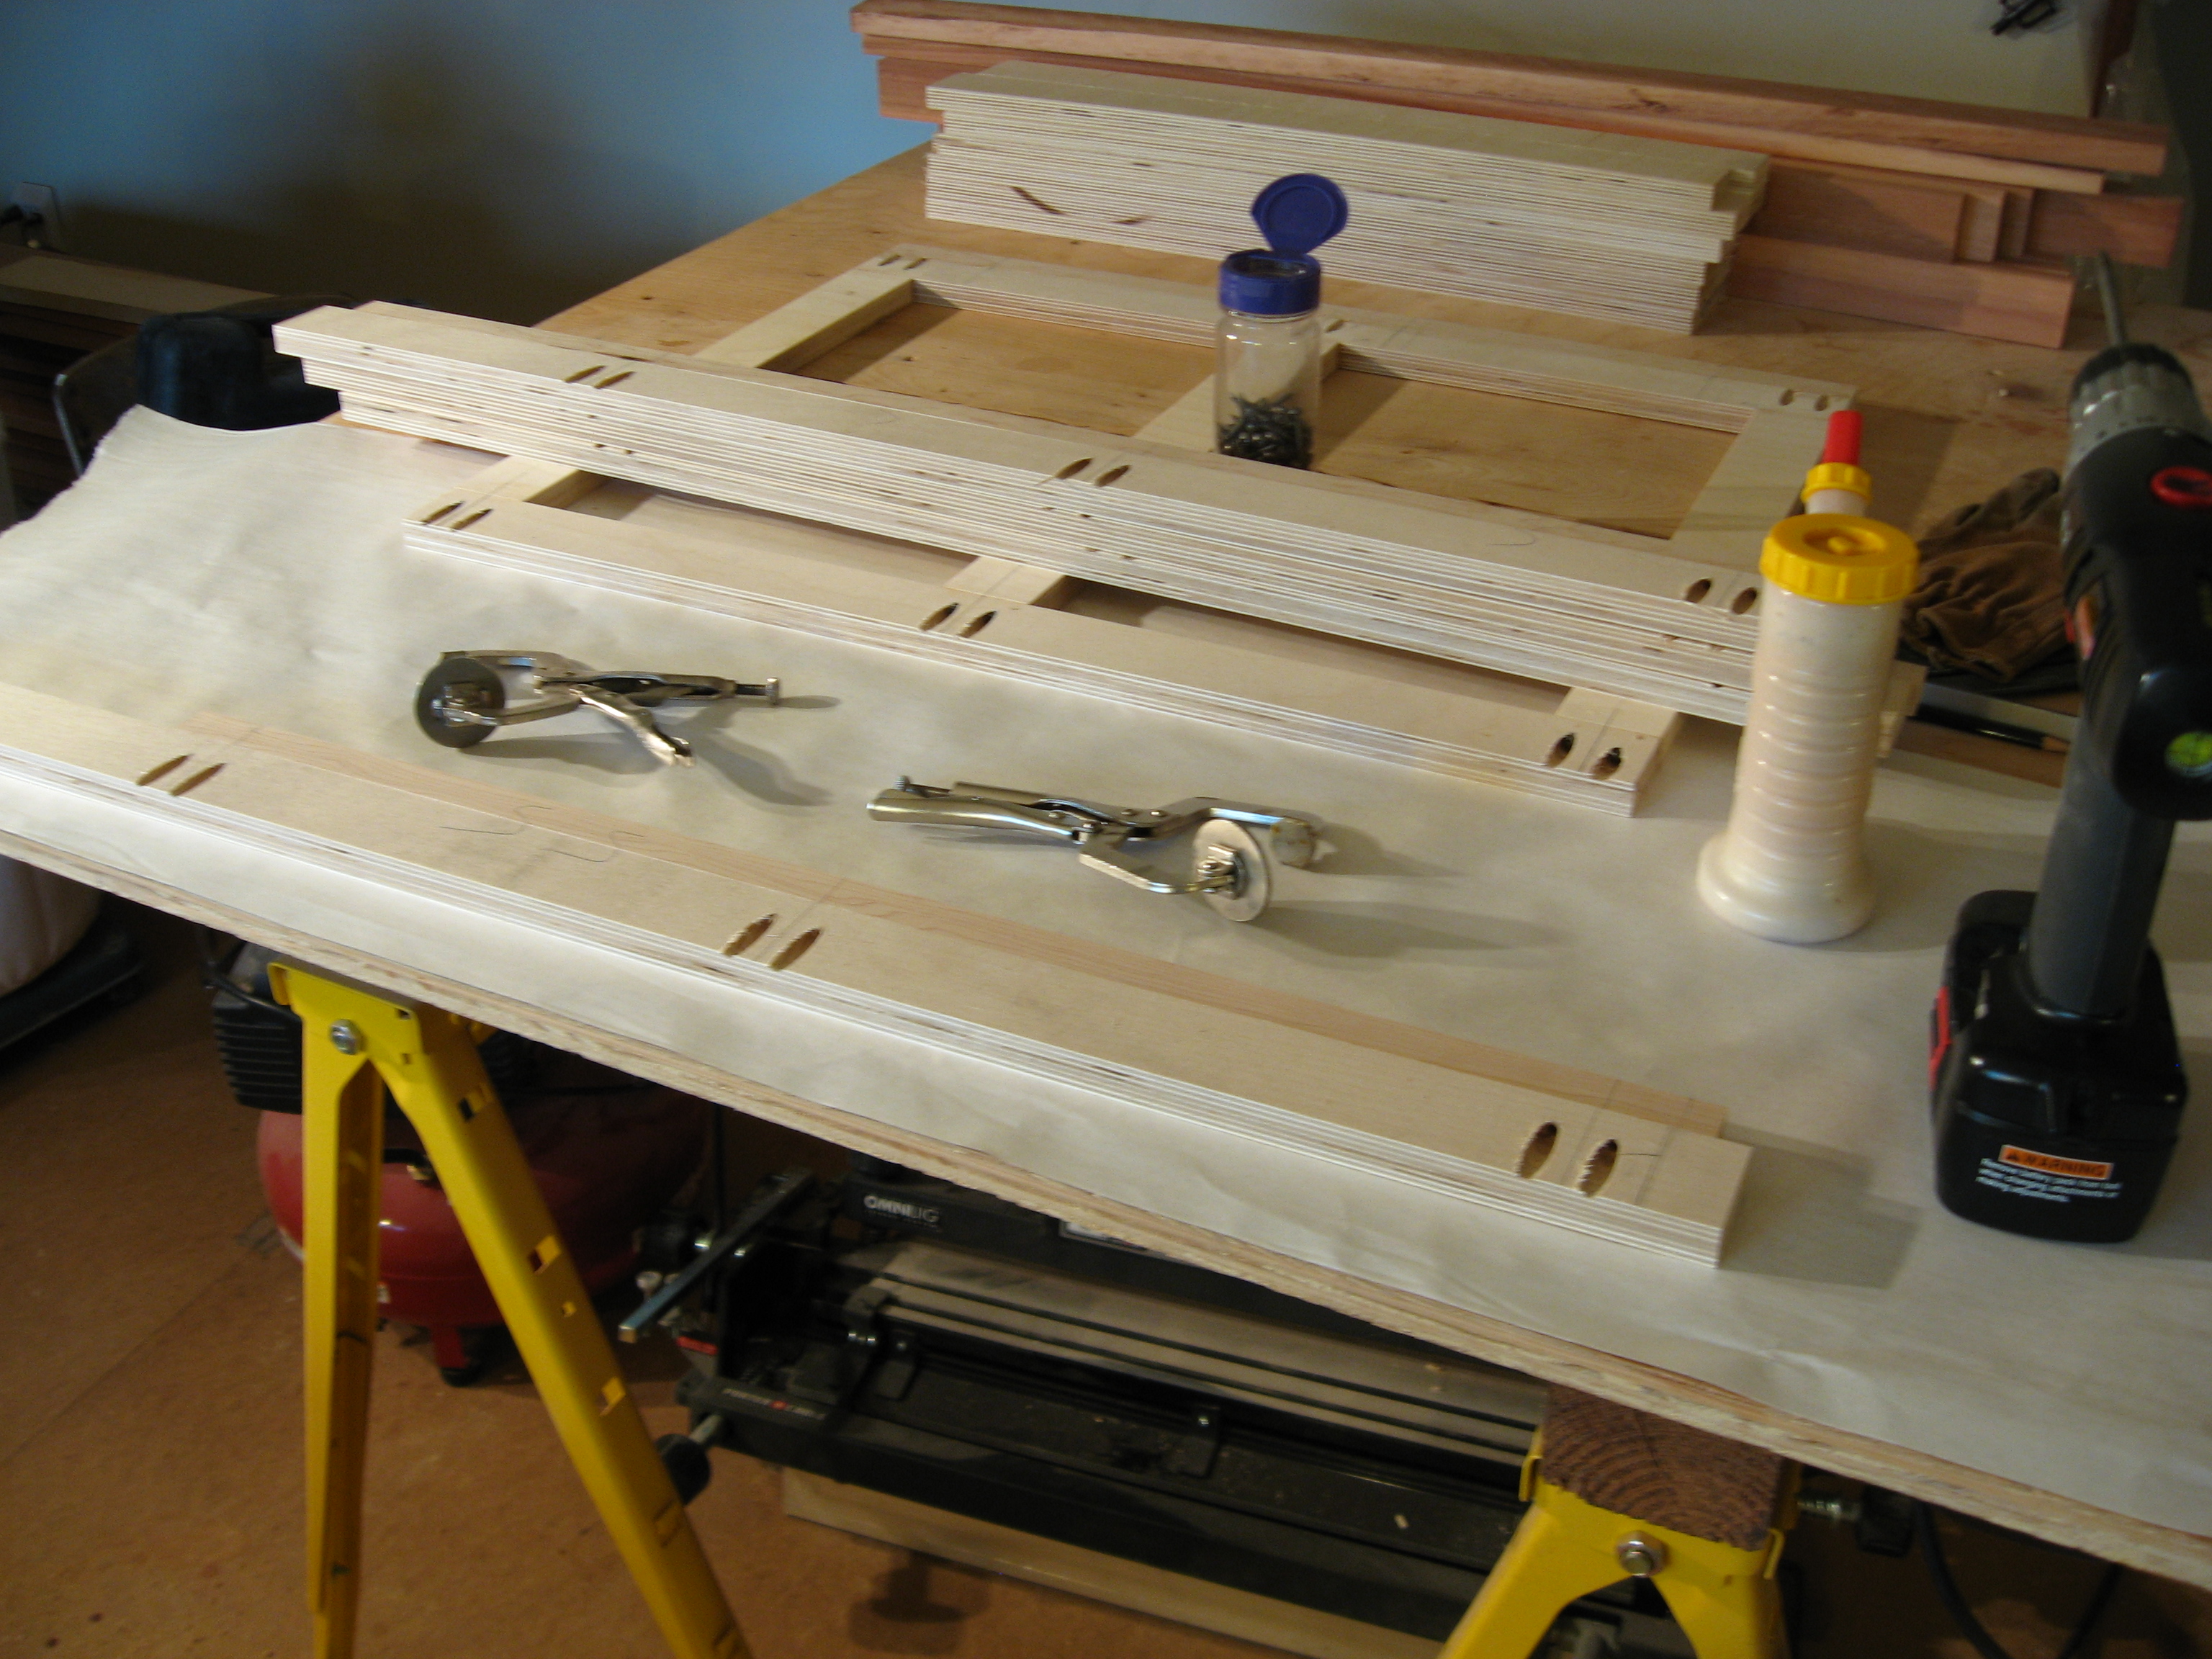
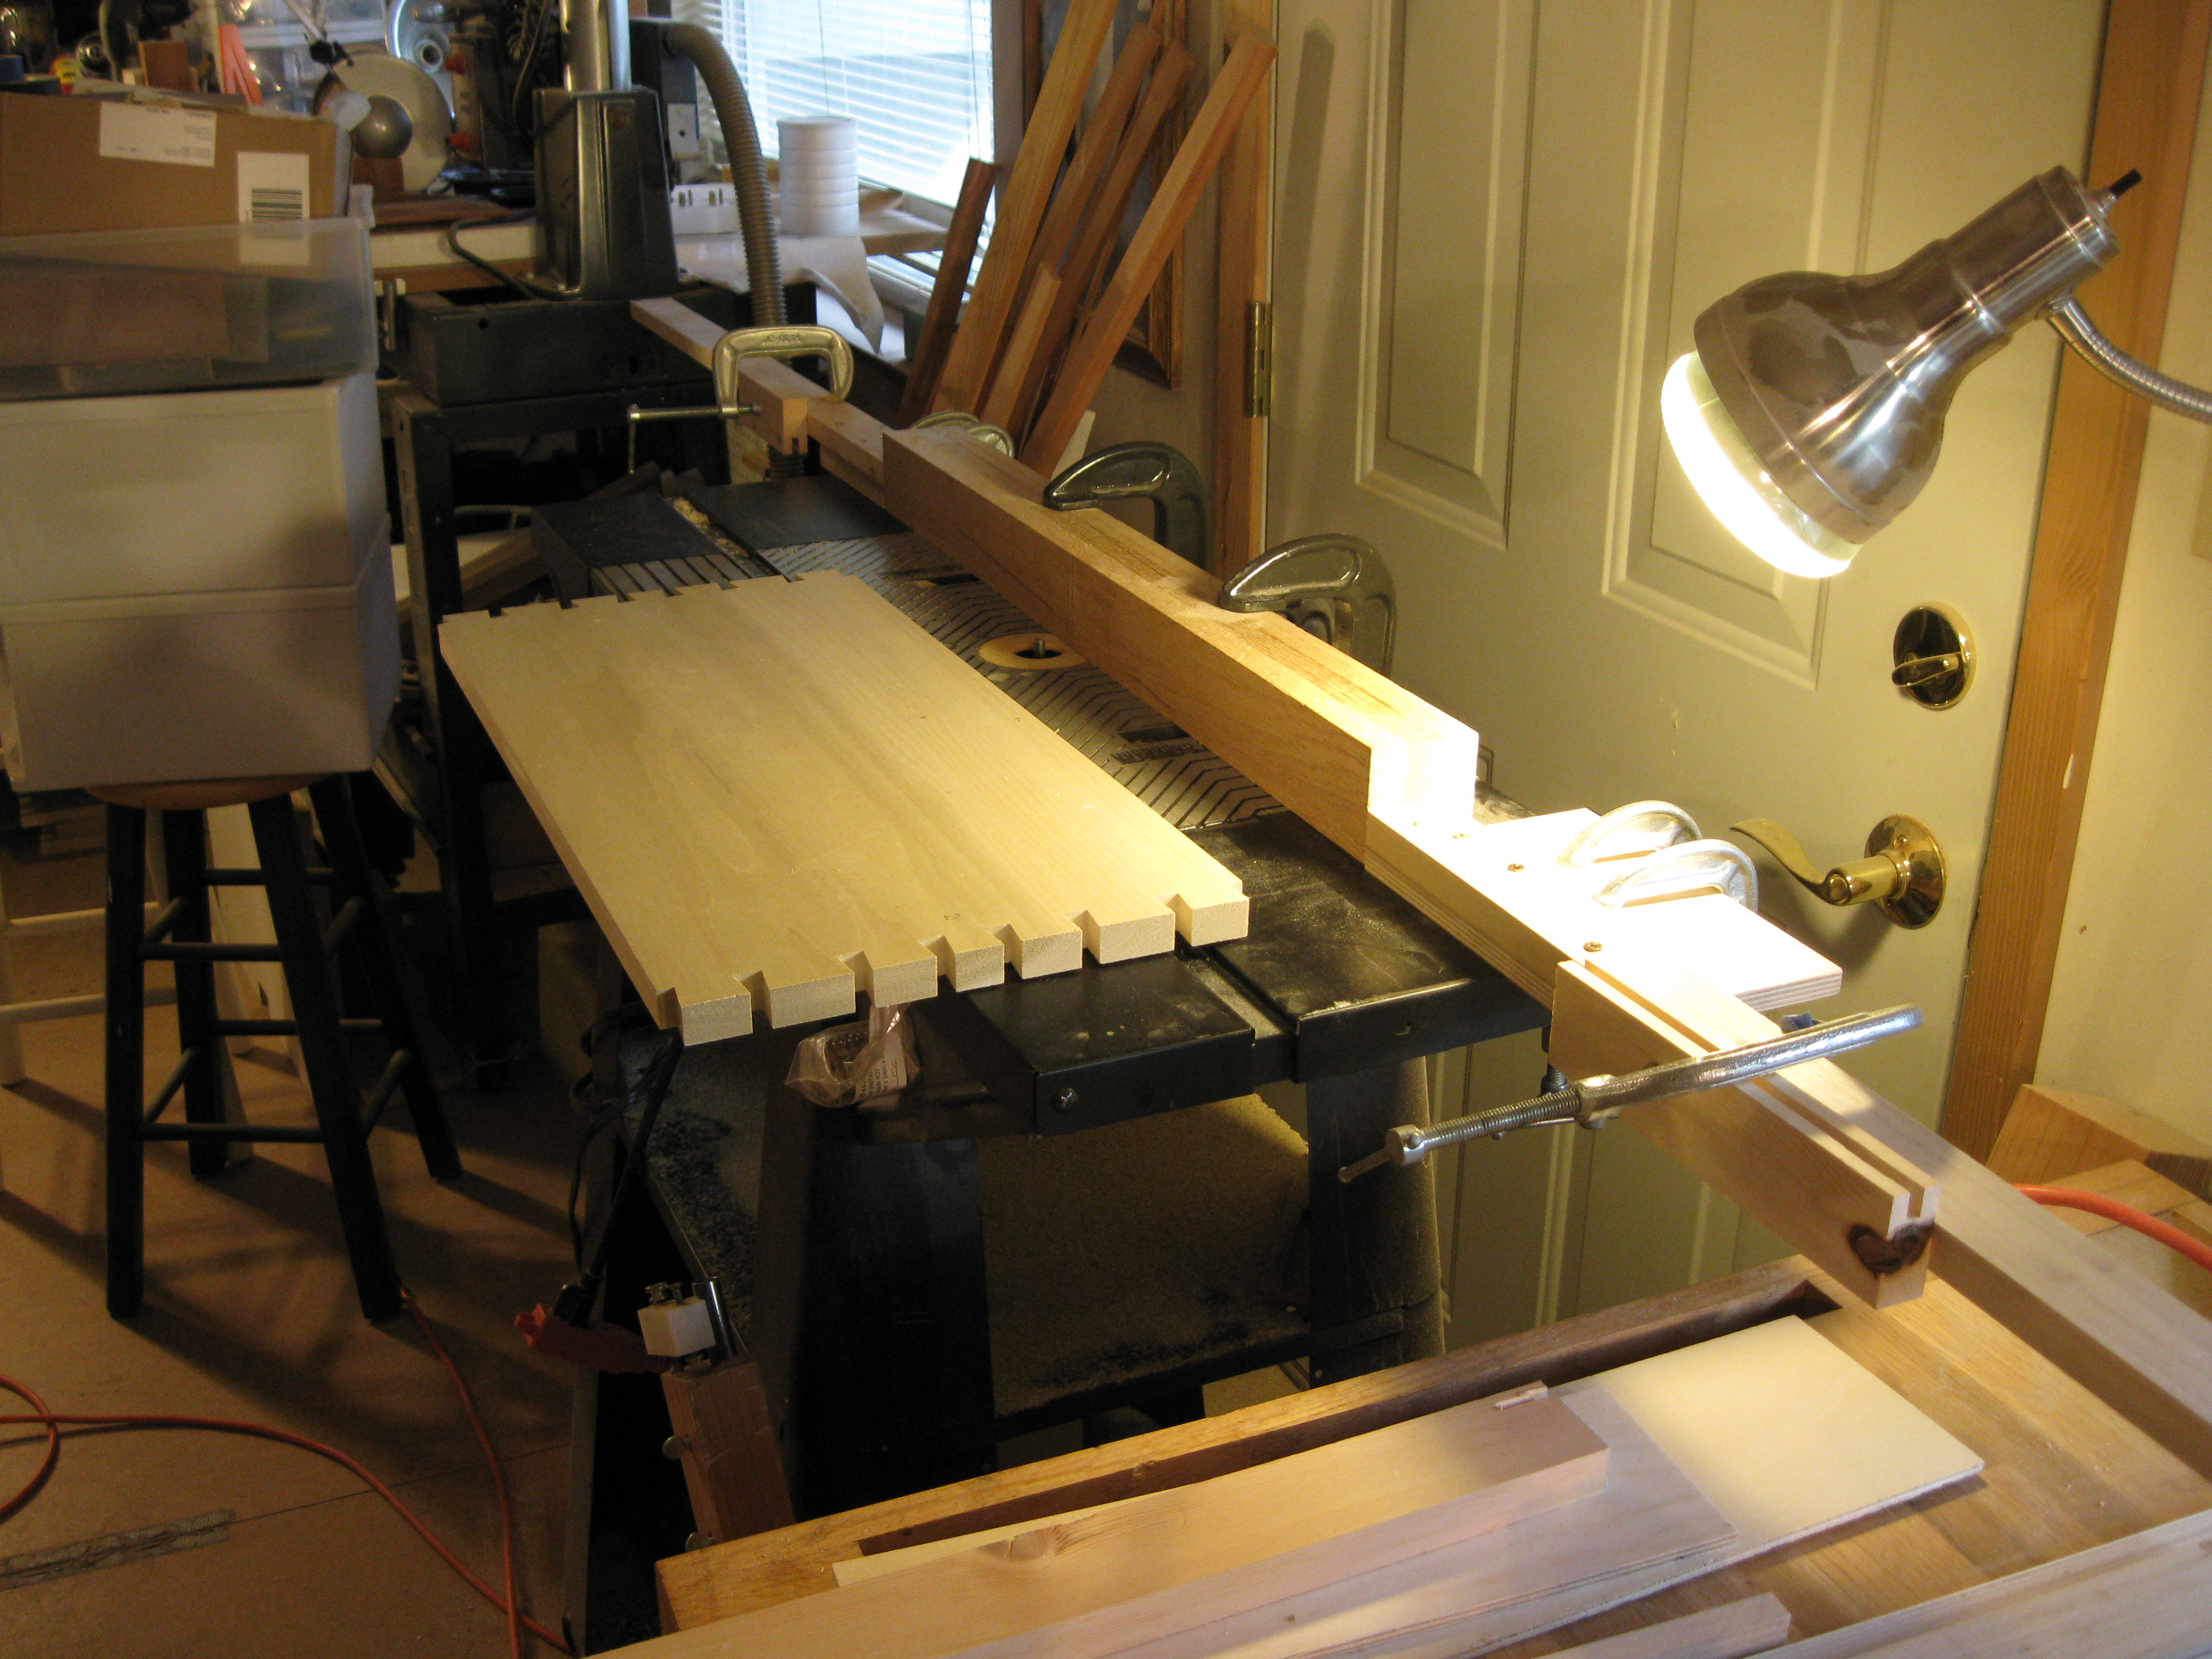
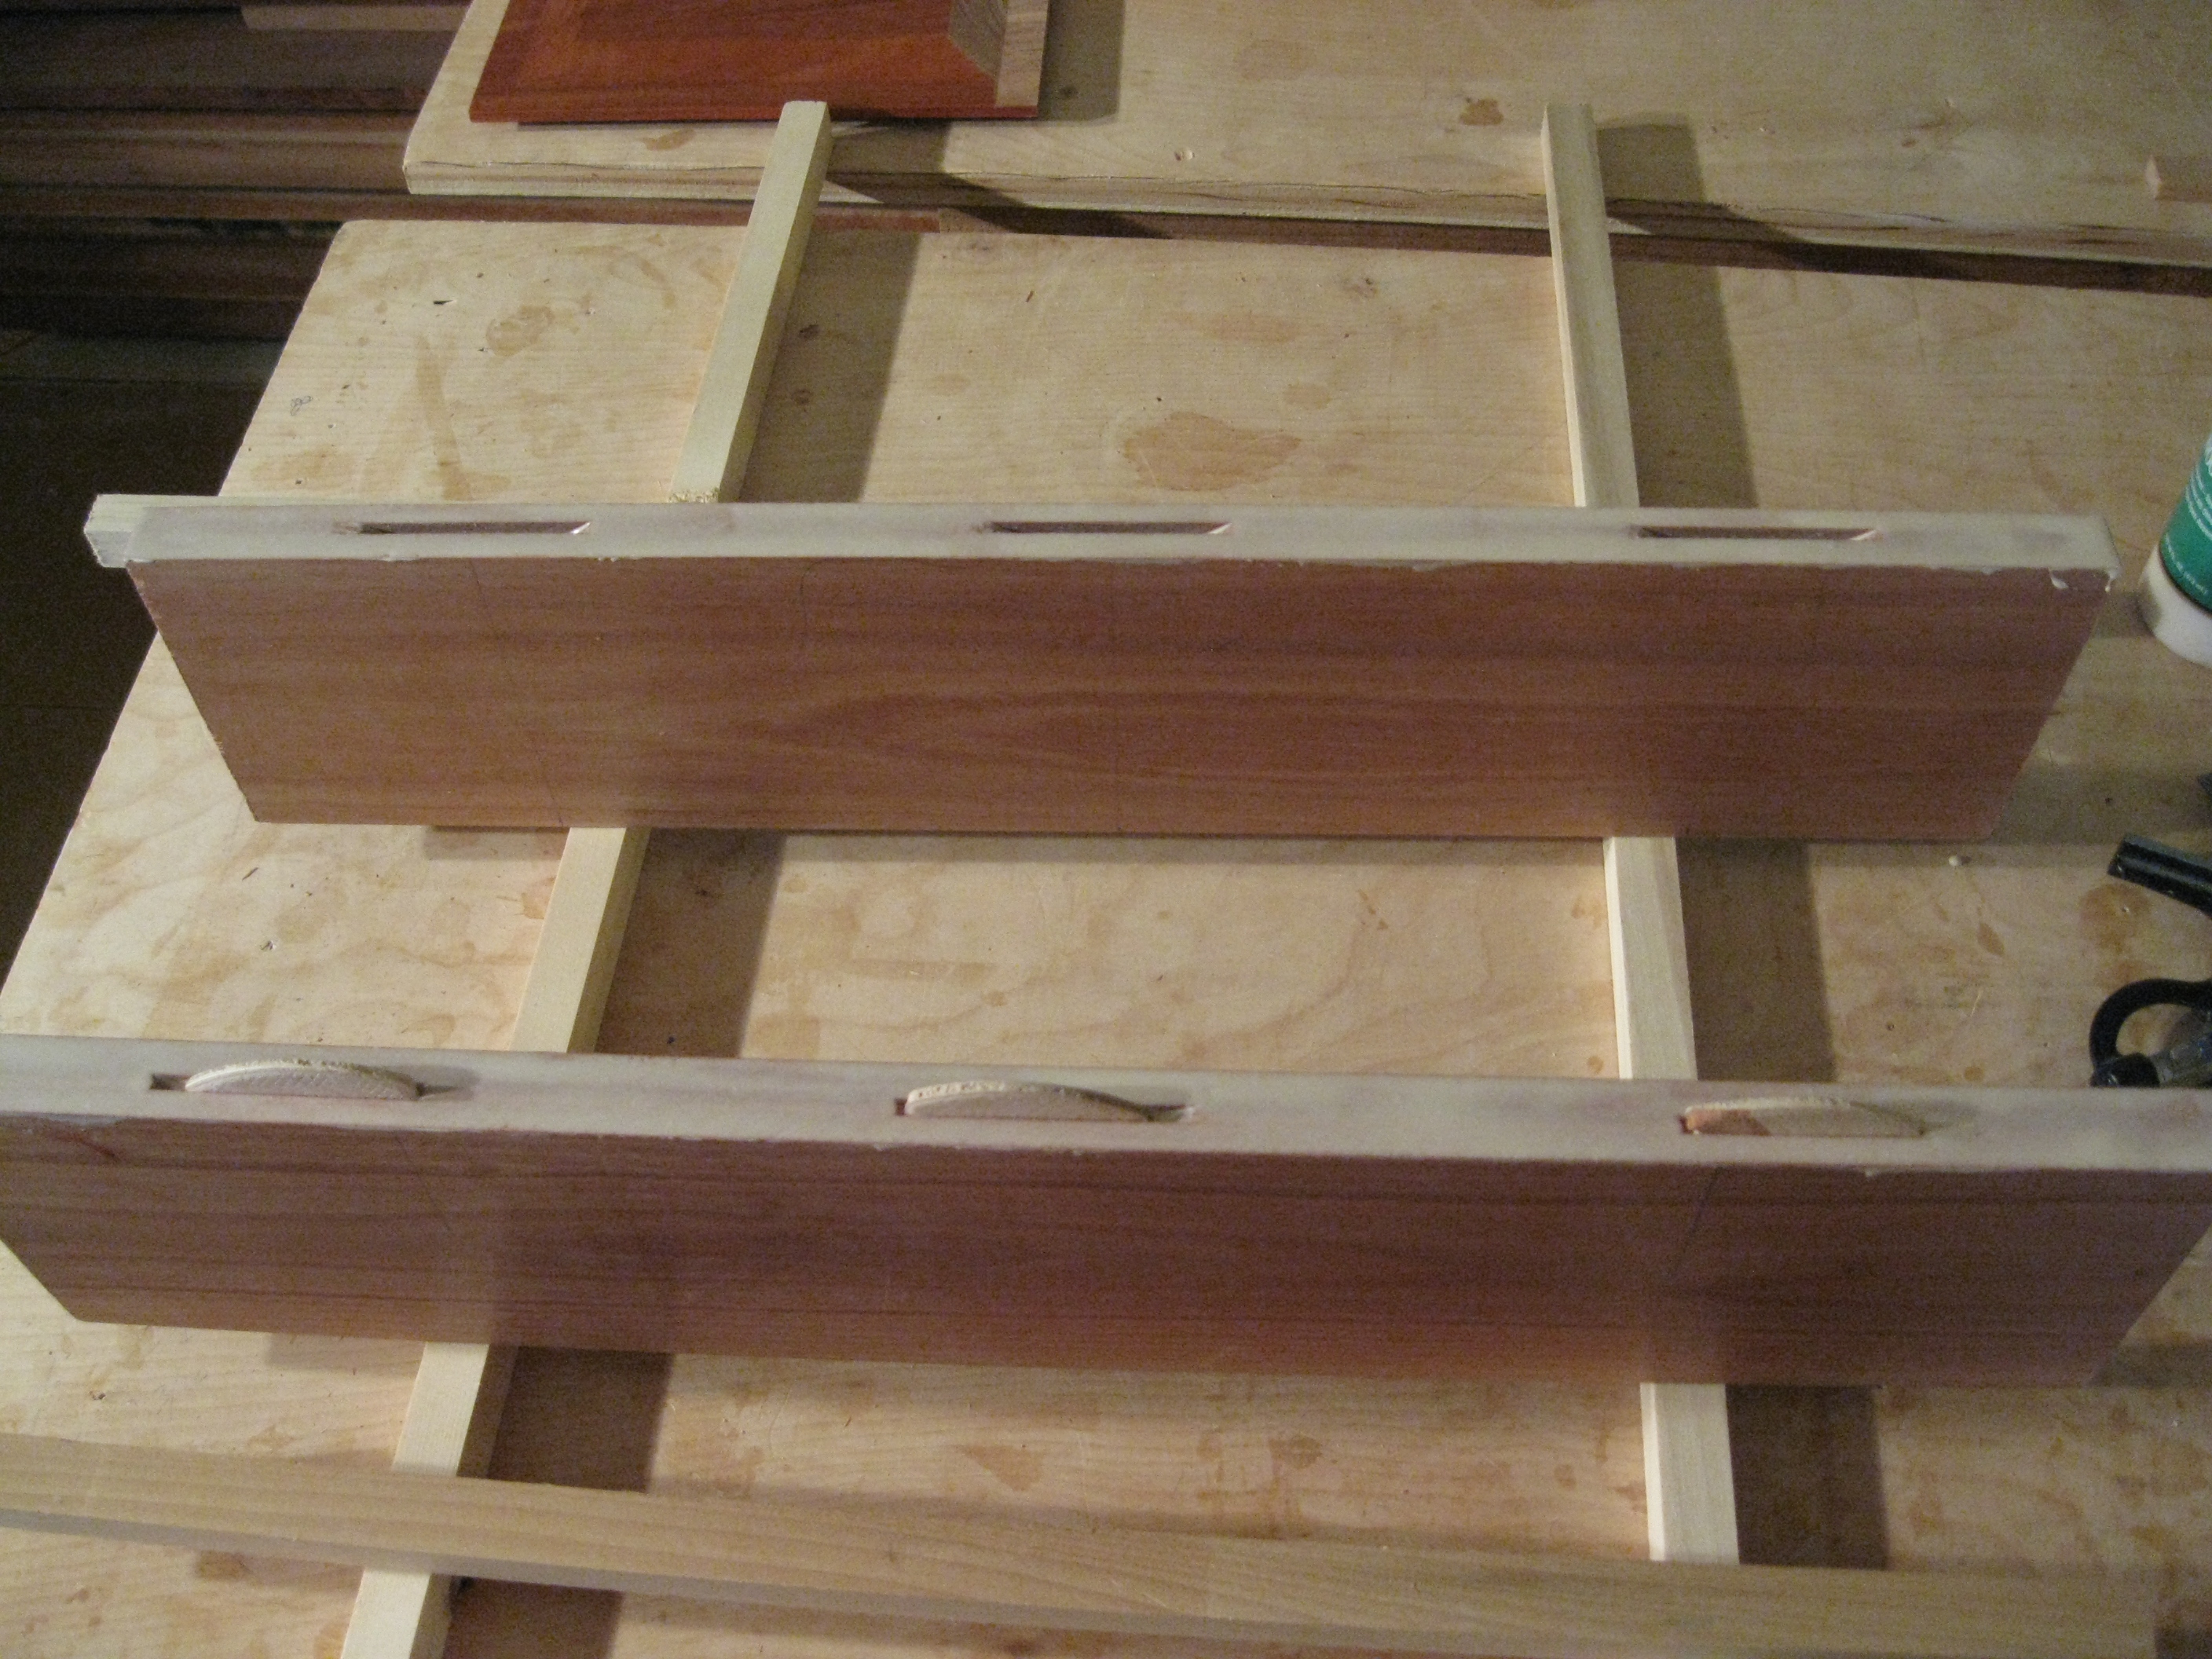
DADO
Cutting dados is a complex operation in that it requires cutting control of all three dimensions: the kerf width, depth of cut, and the location on the board. The setup takes a long time. For example, to set up the kerf width I found that a single sheet of notebook paper used as a shim was too much or not enough. Through trial and error I found that two candy bar wrappers provided the perfect shim to accommodate the plywood. I use the 25 lb plate to provide down force so the cut depth is consistent. The plate acts a another hand.
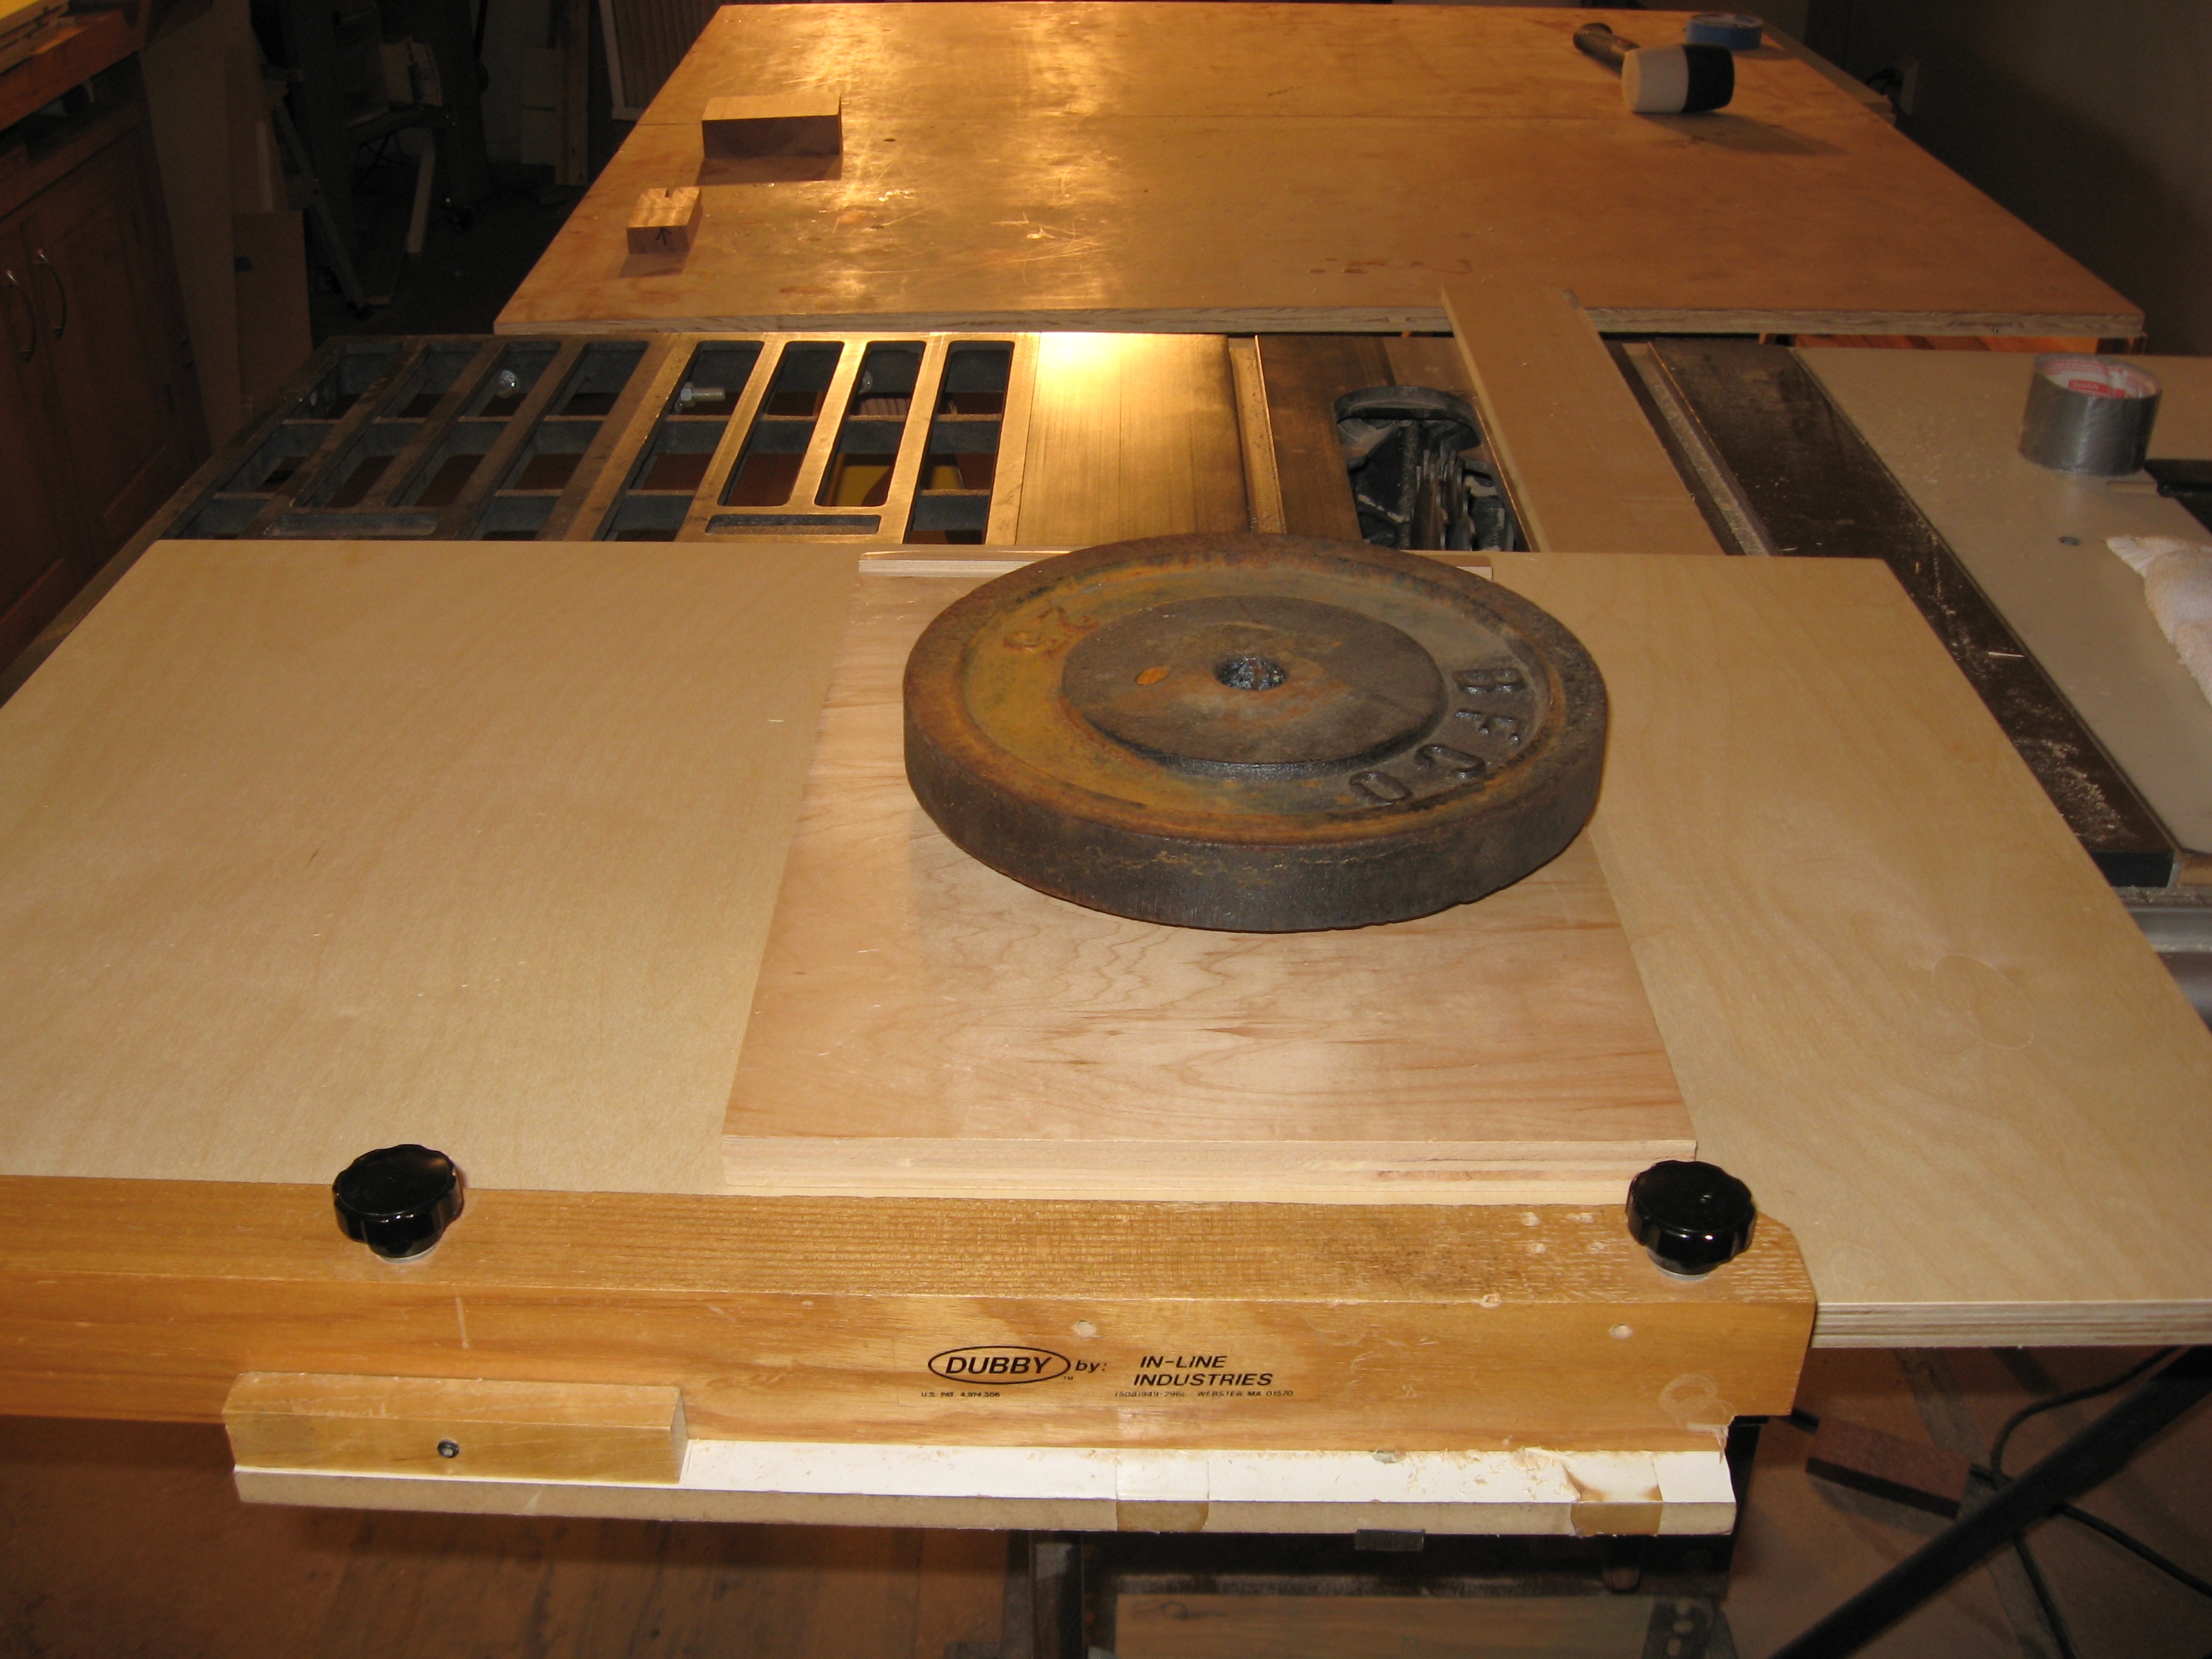
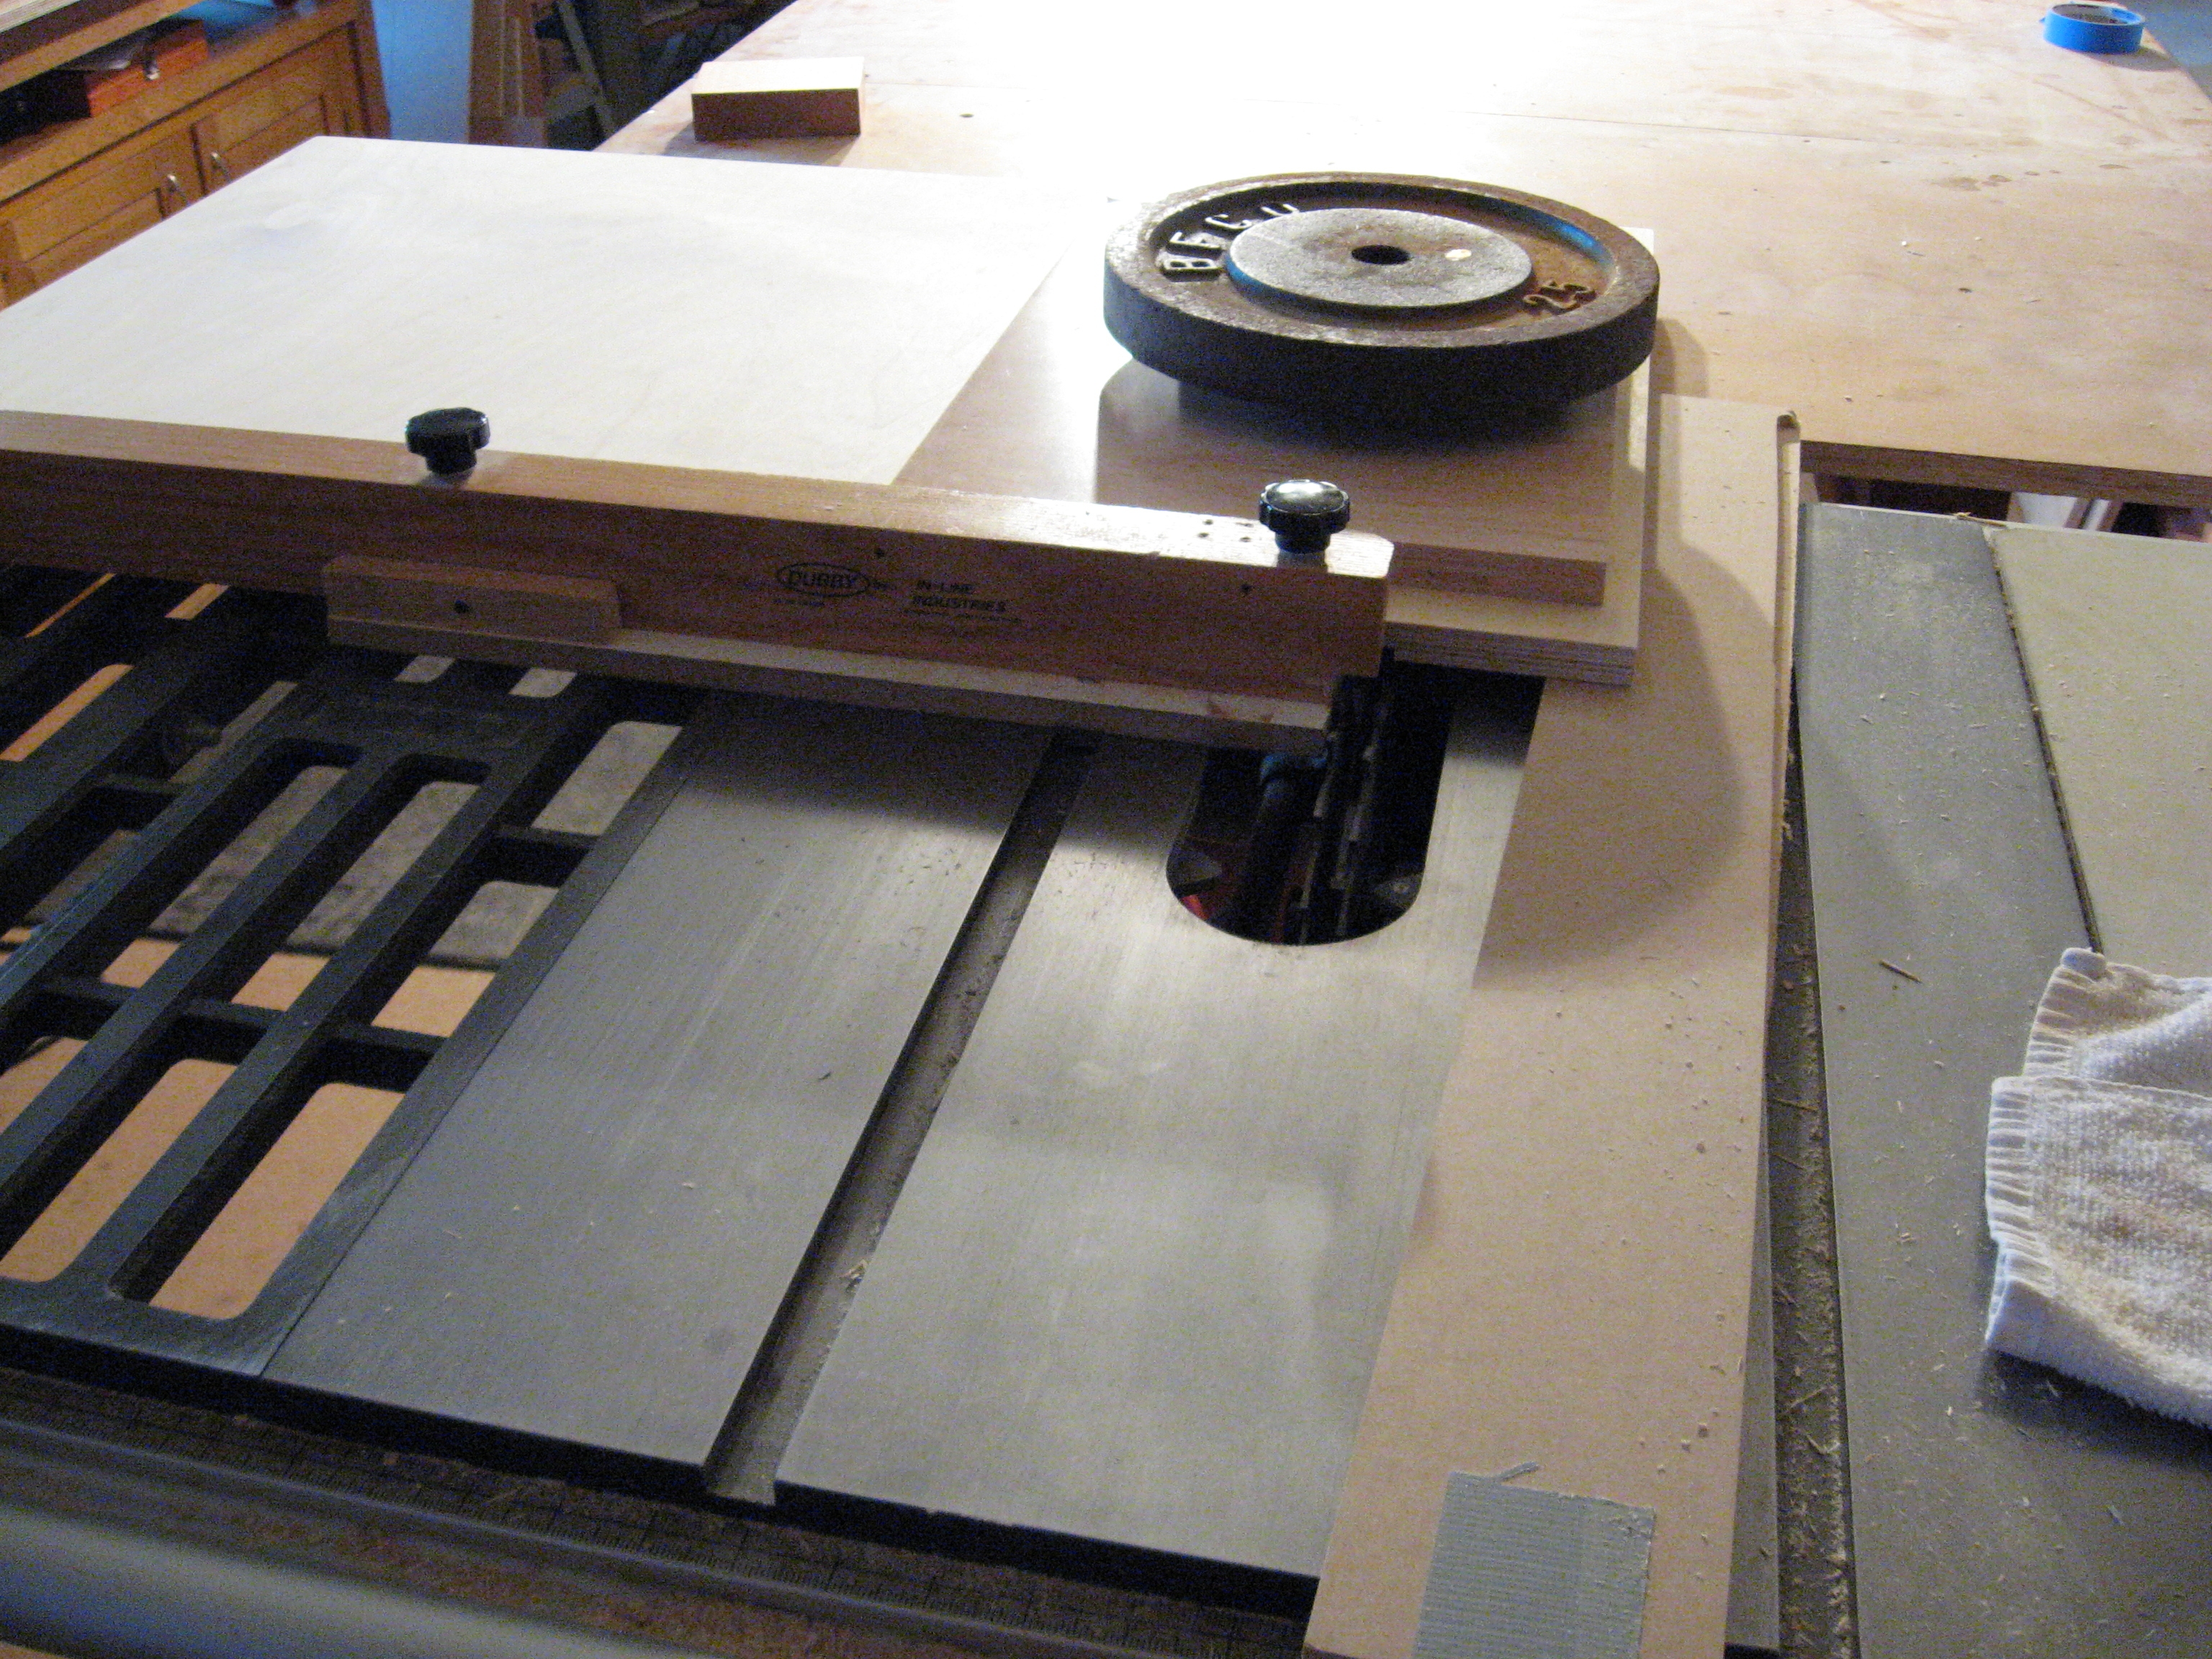
The first picture below shows the first panel with the second dado completed. Do you see the set up goof at the saw? I'm about to cut the second dado on the second board on the wrong side. Darn it! This will be on a hidden face so I glued in a strip to fill the gap.
:
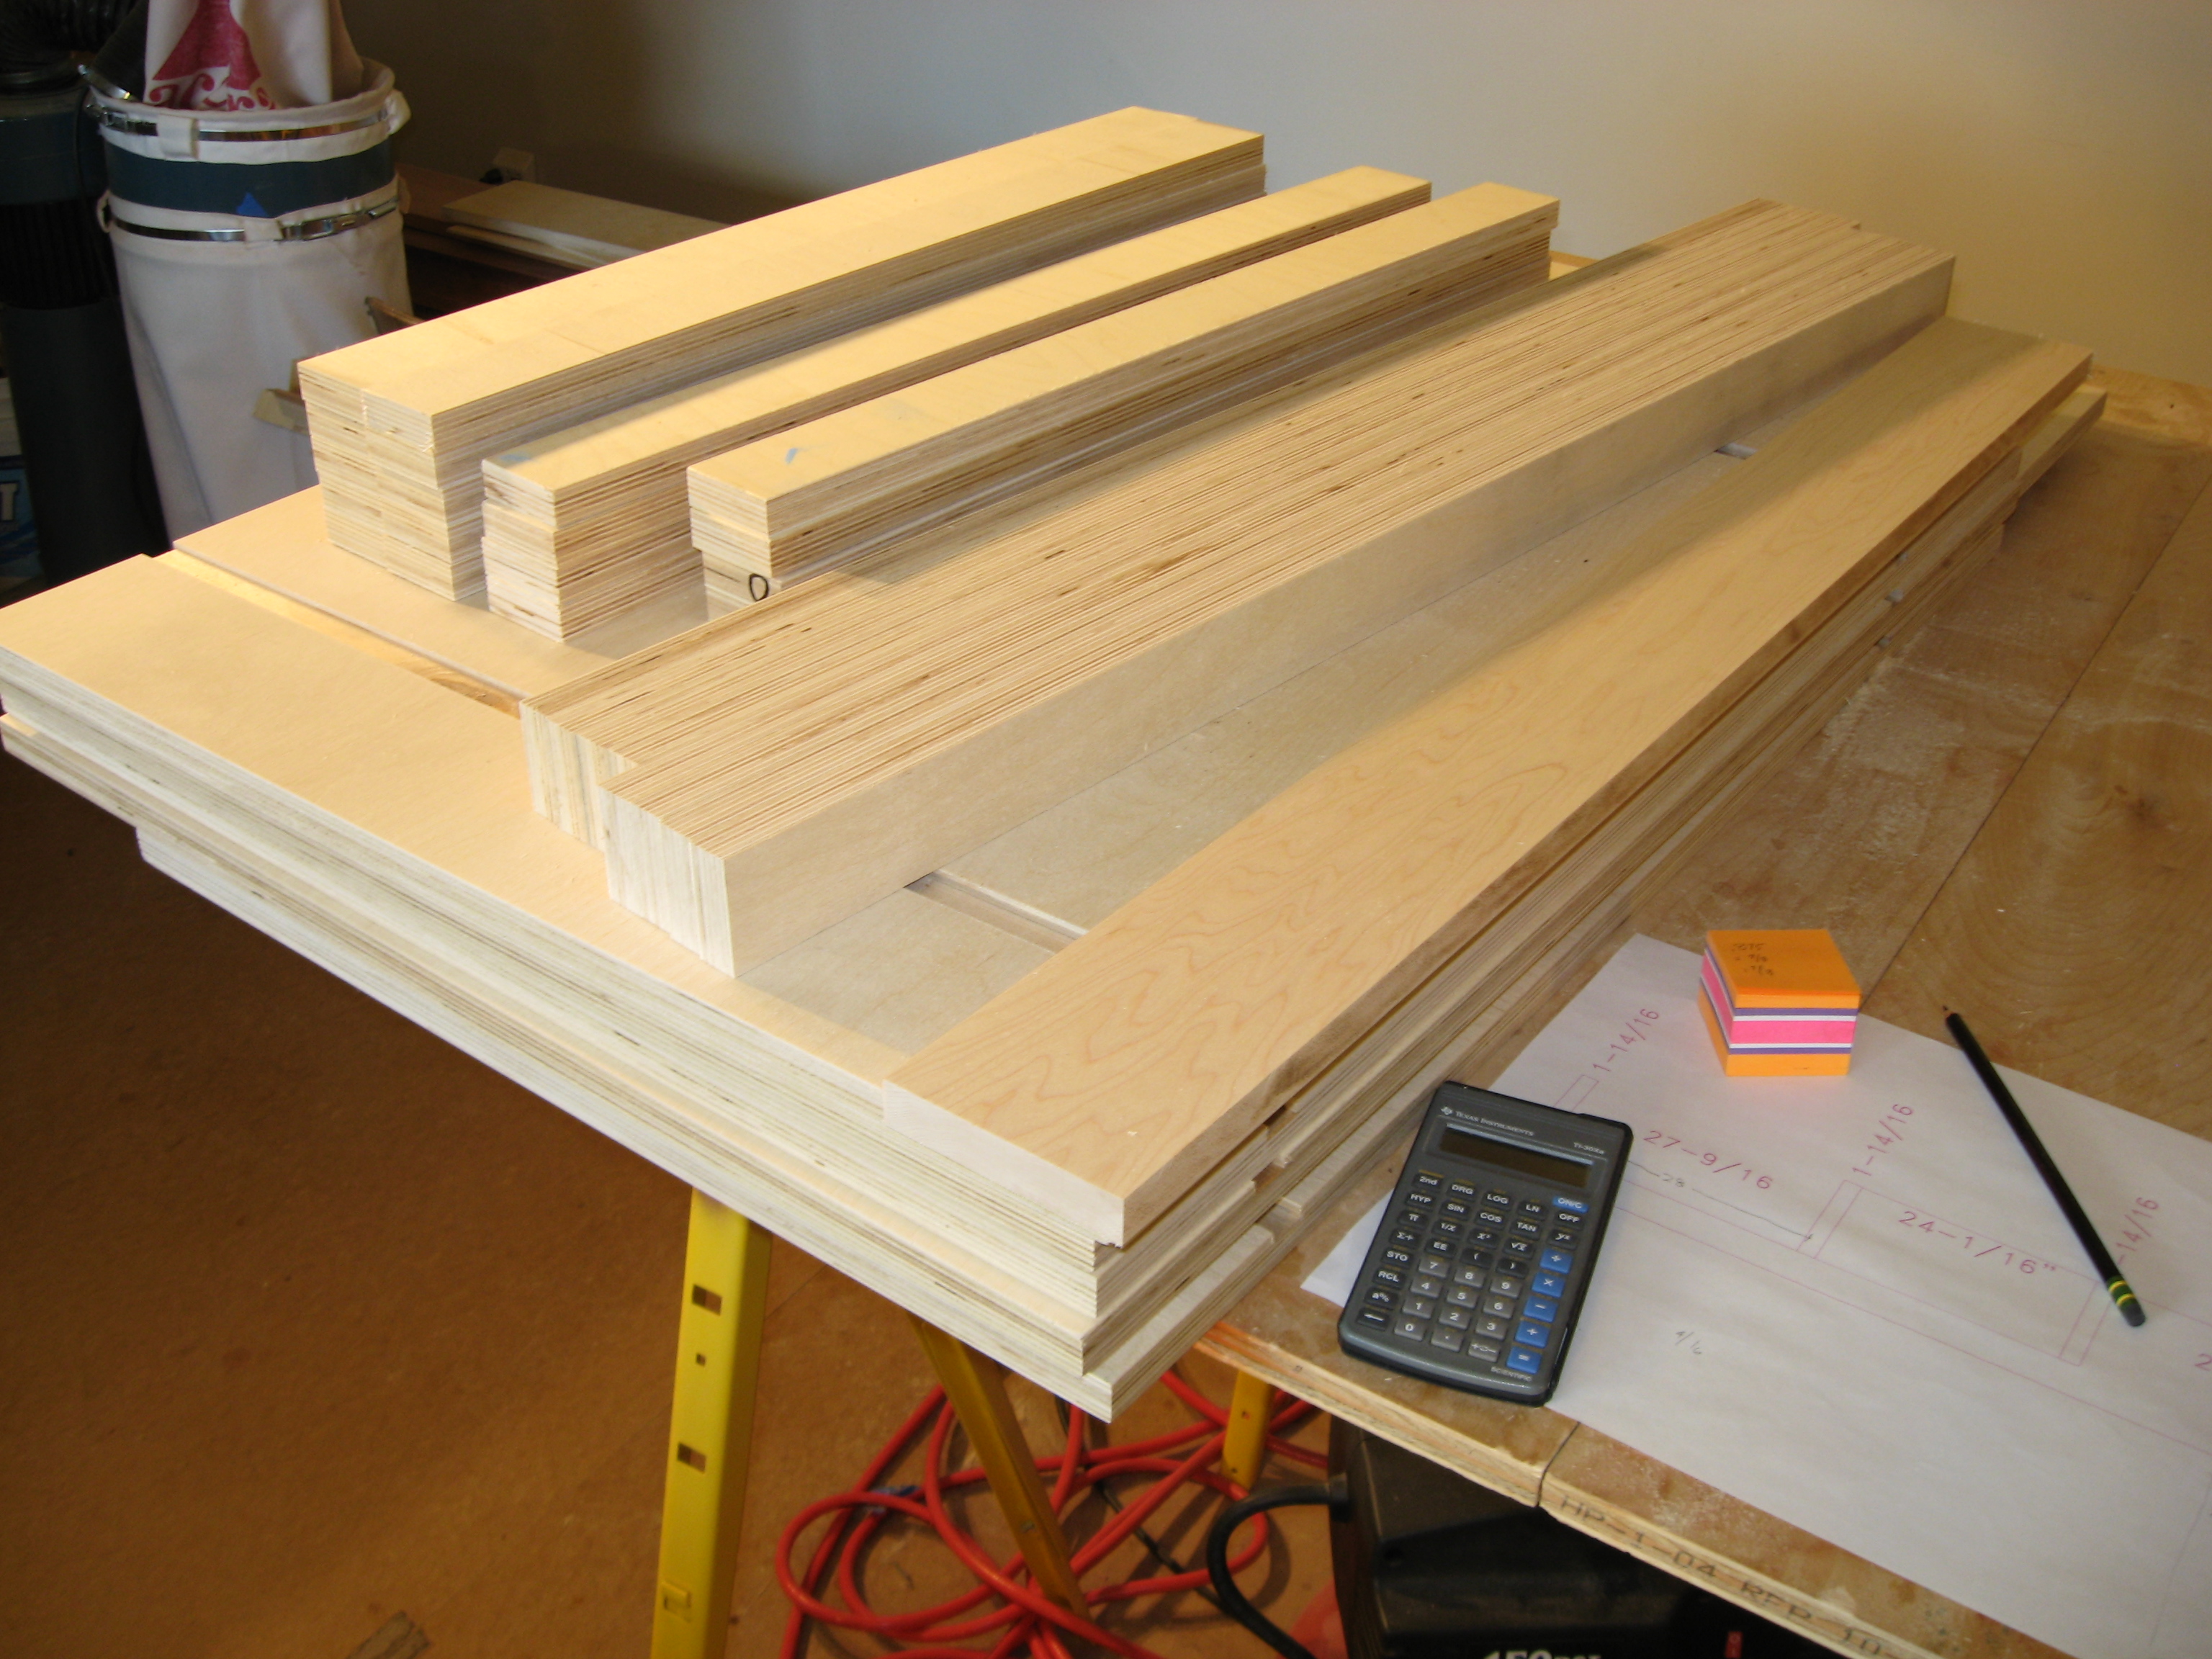
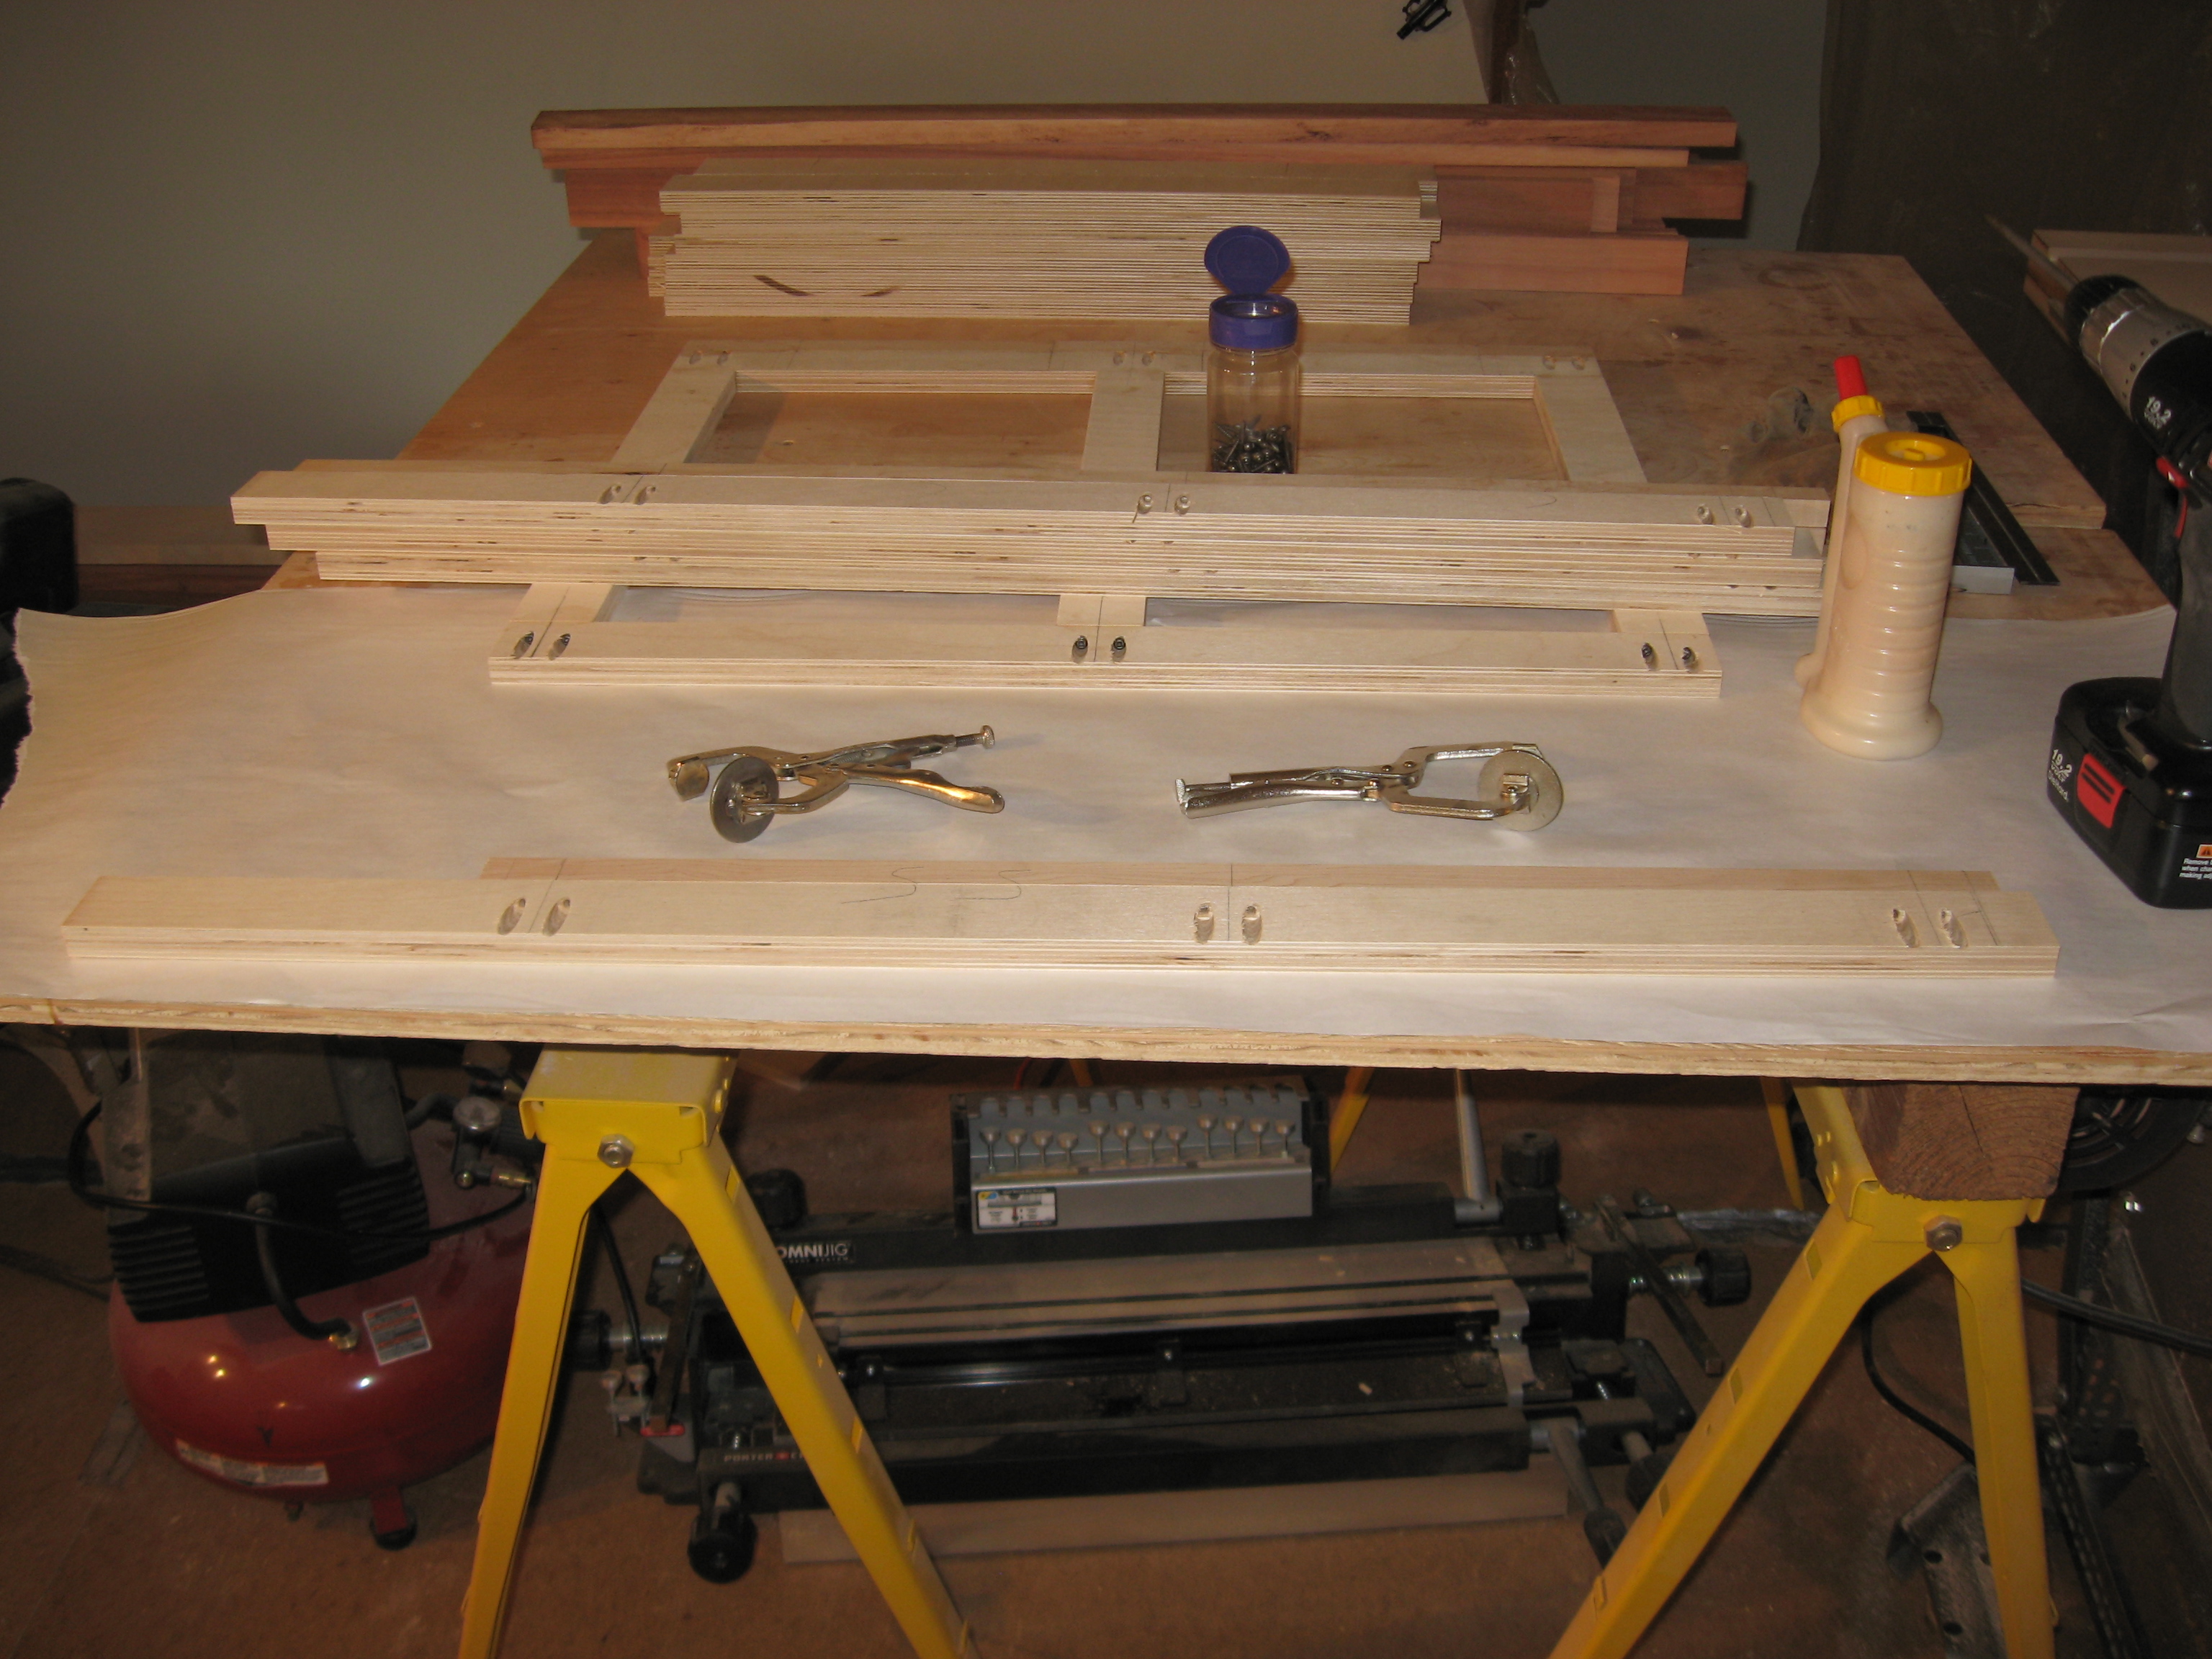
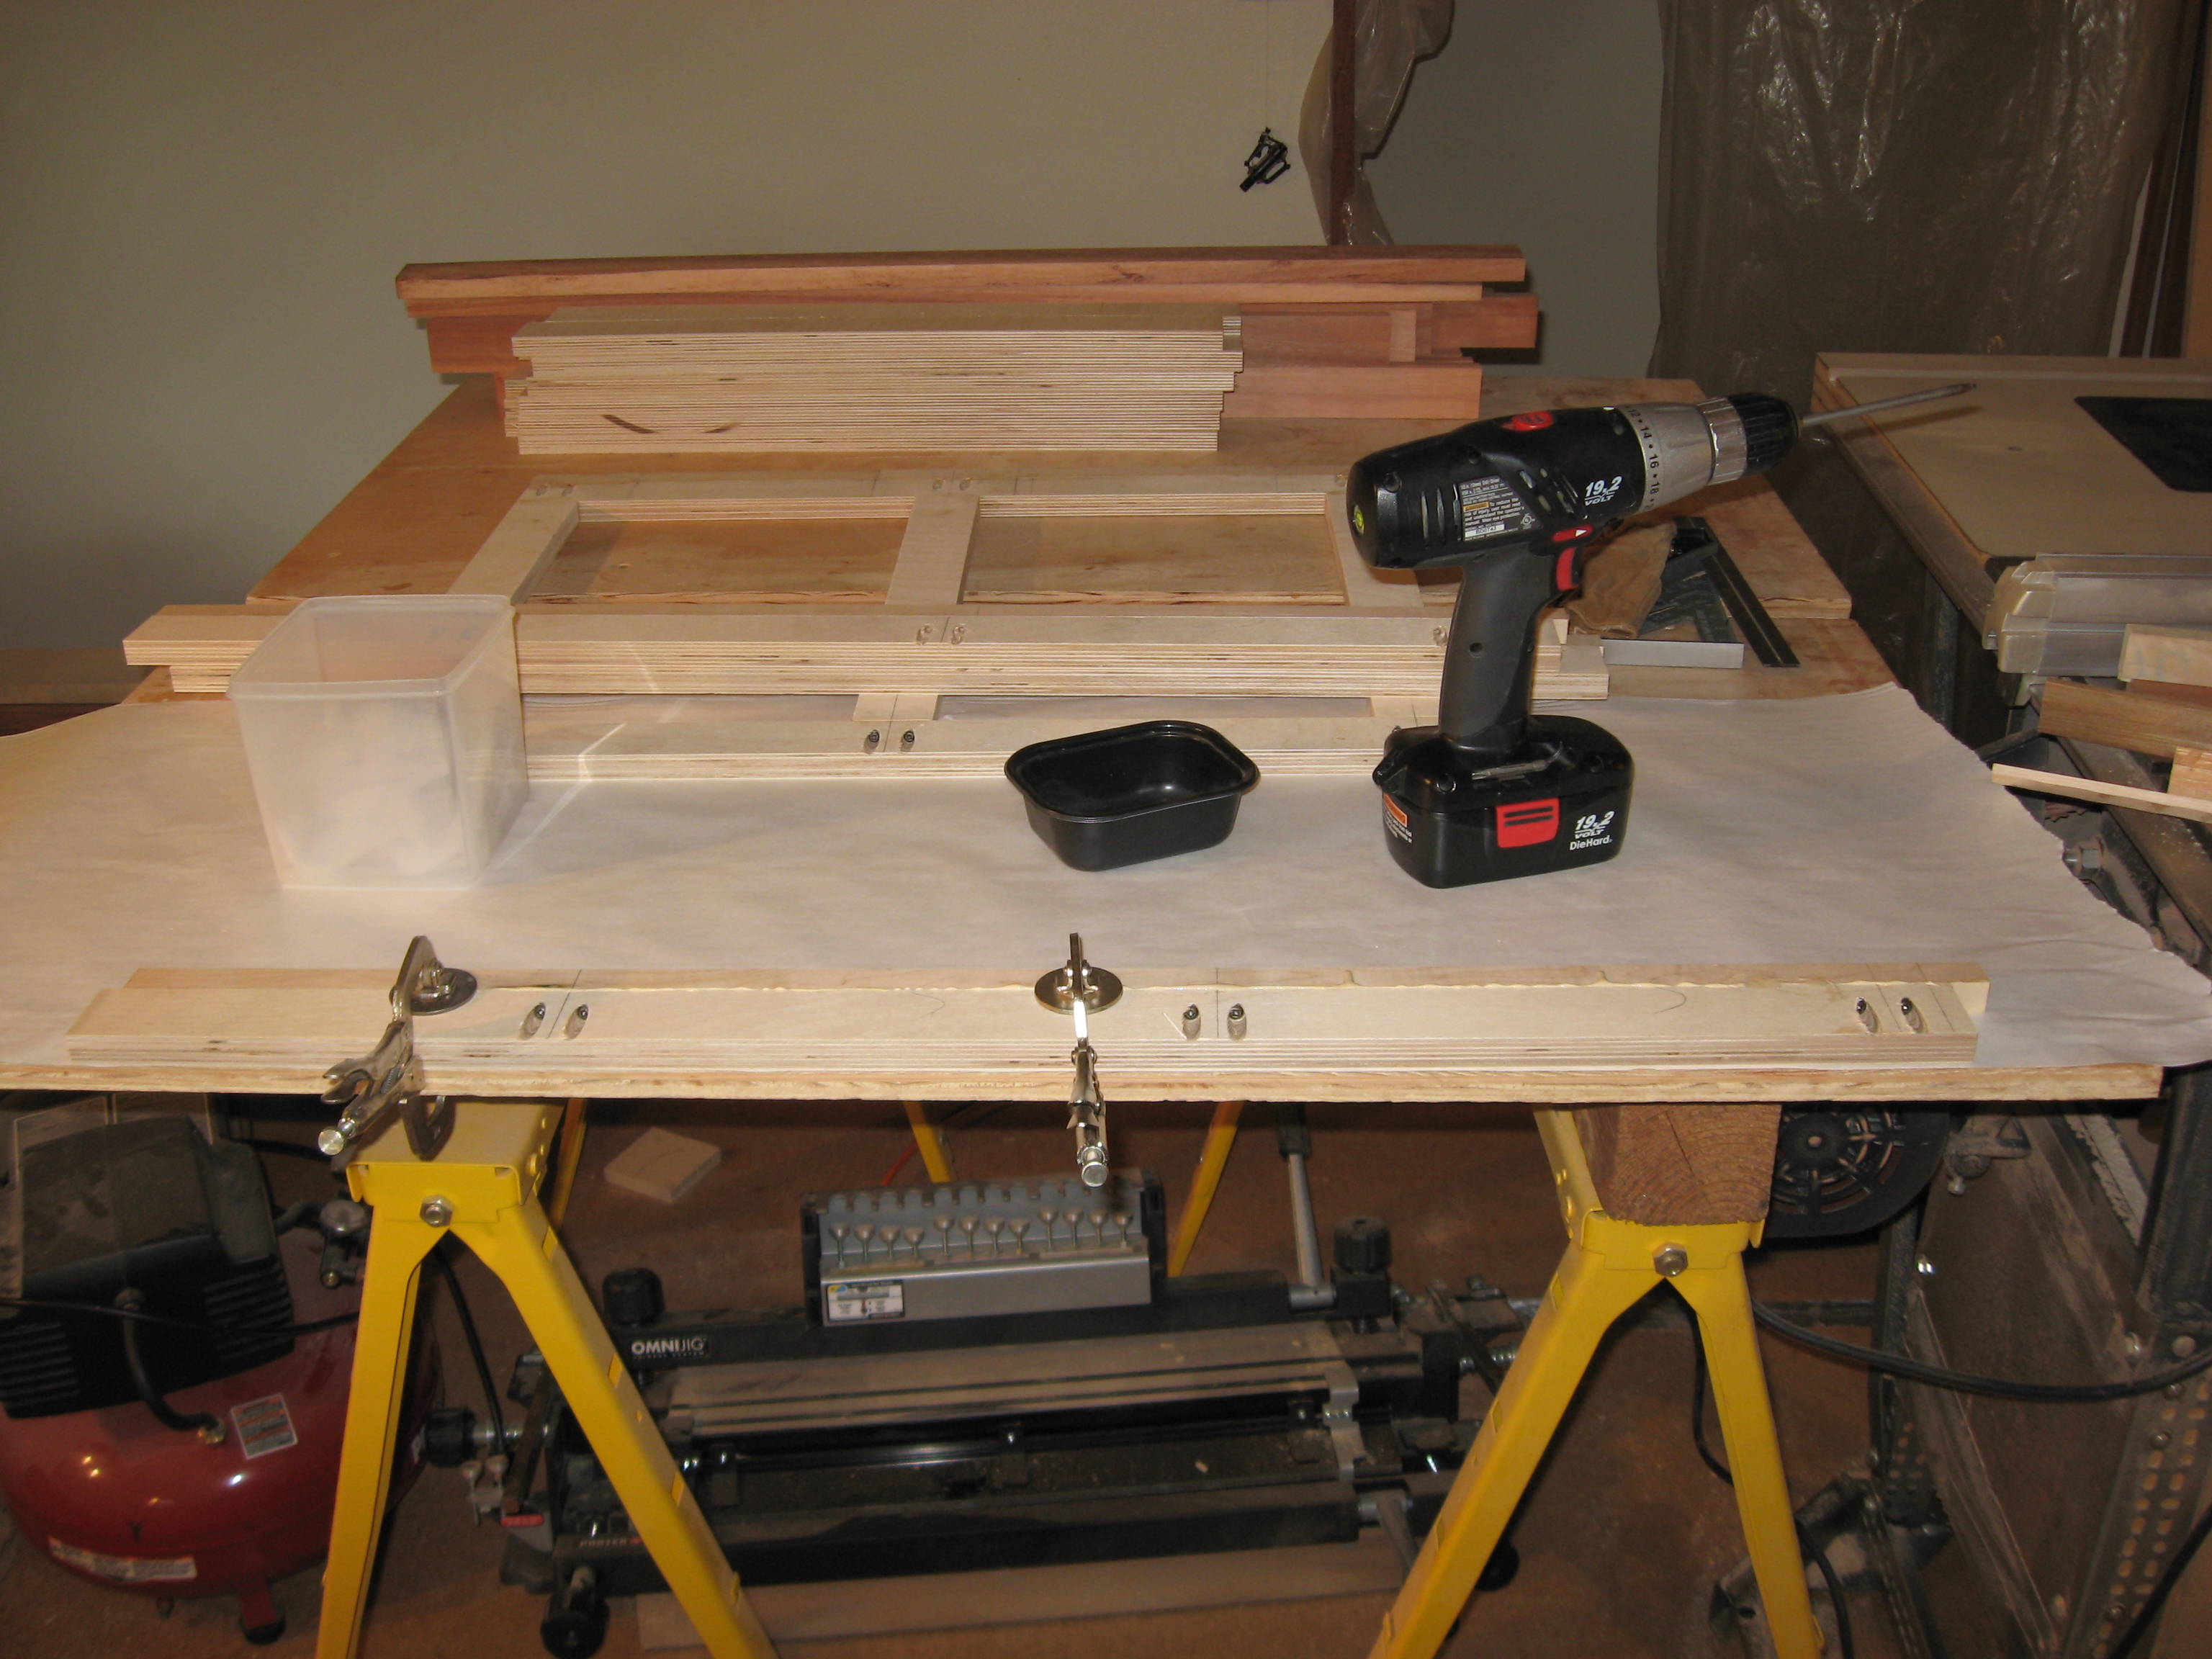
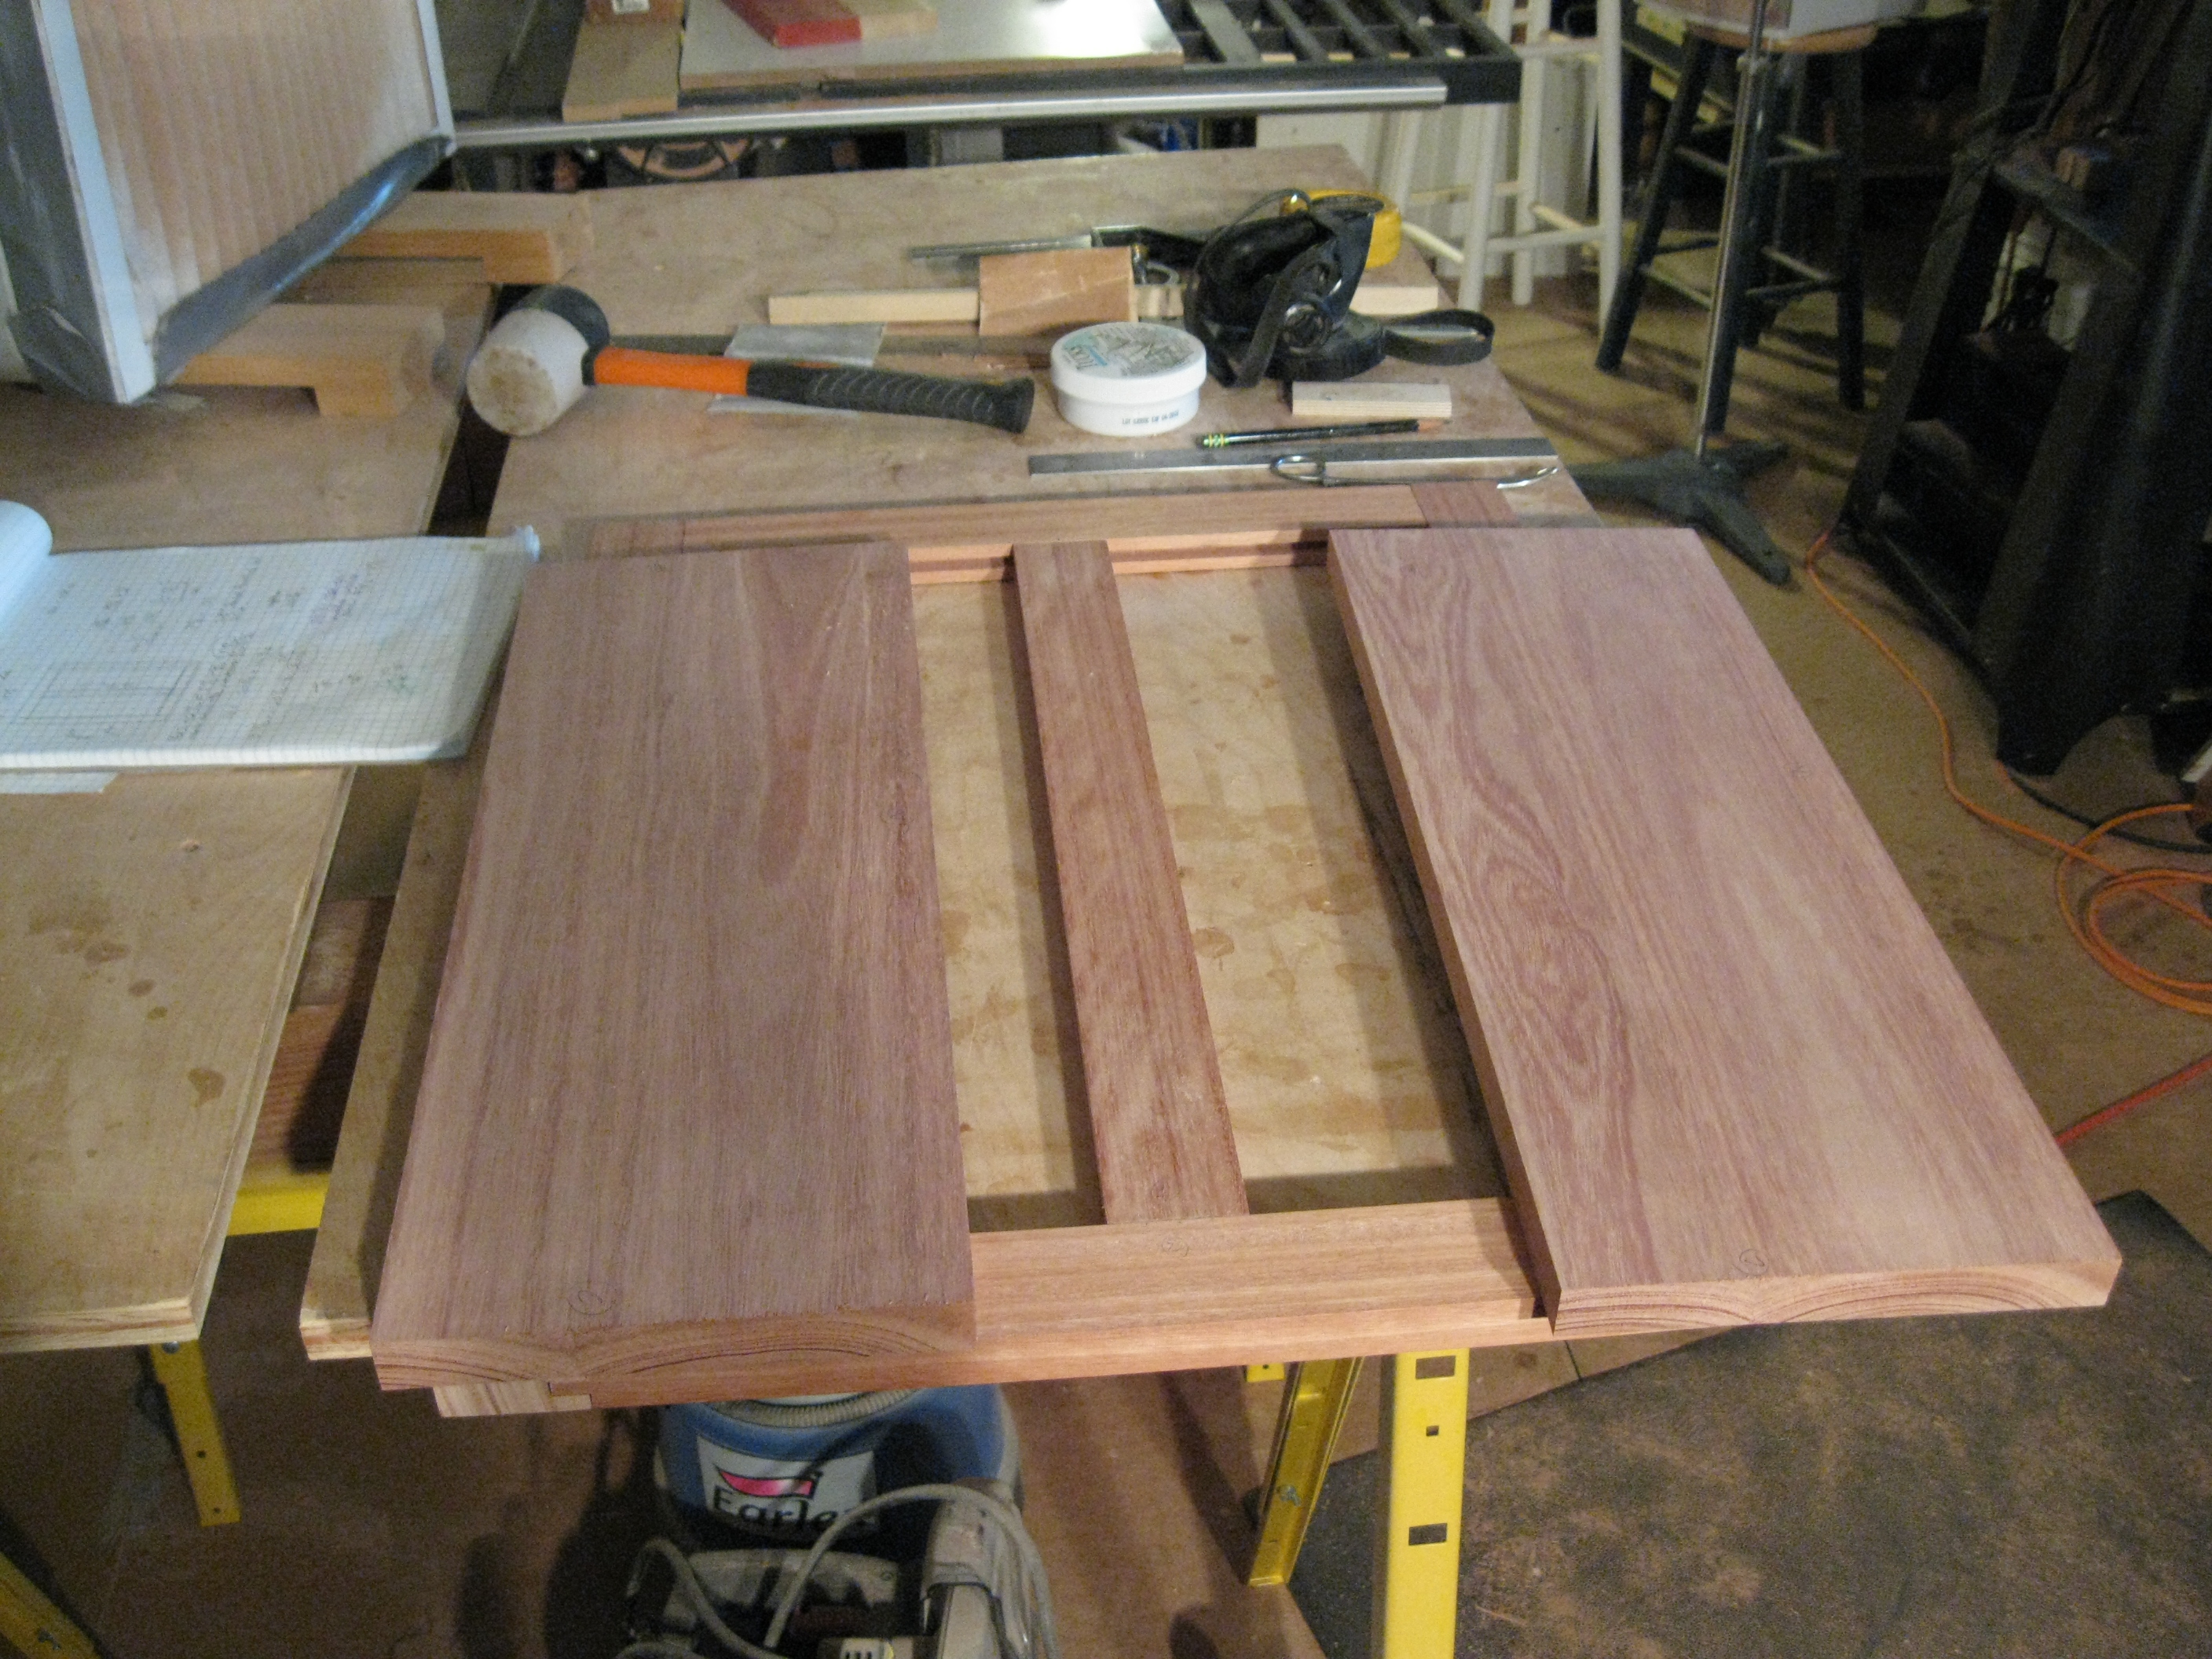
Birch Plywood Frames
Below you will see the rough cuts for the horizontal frames that make the boxes square and strong. This material came from the cutoffs from the 5' x 5' plywood sheets. The white maple will be the front (show side) of the frames.

:
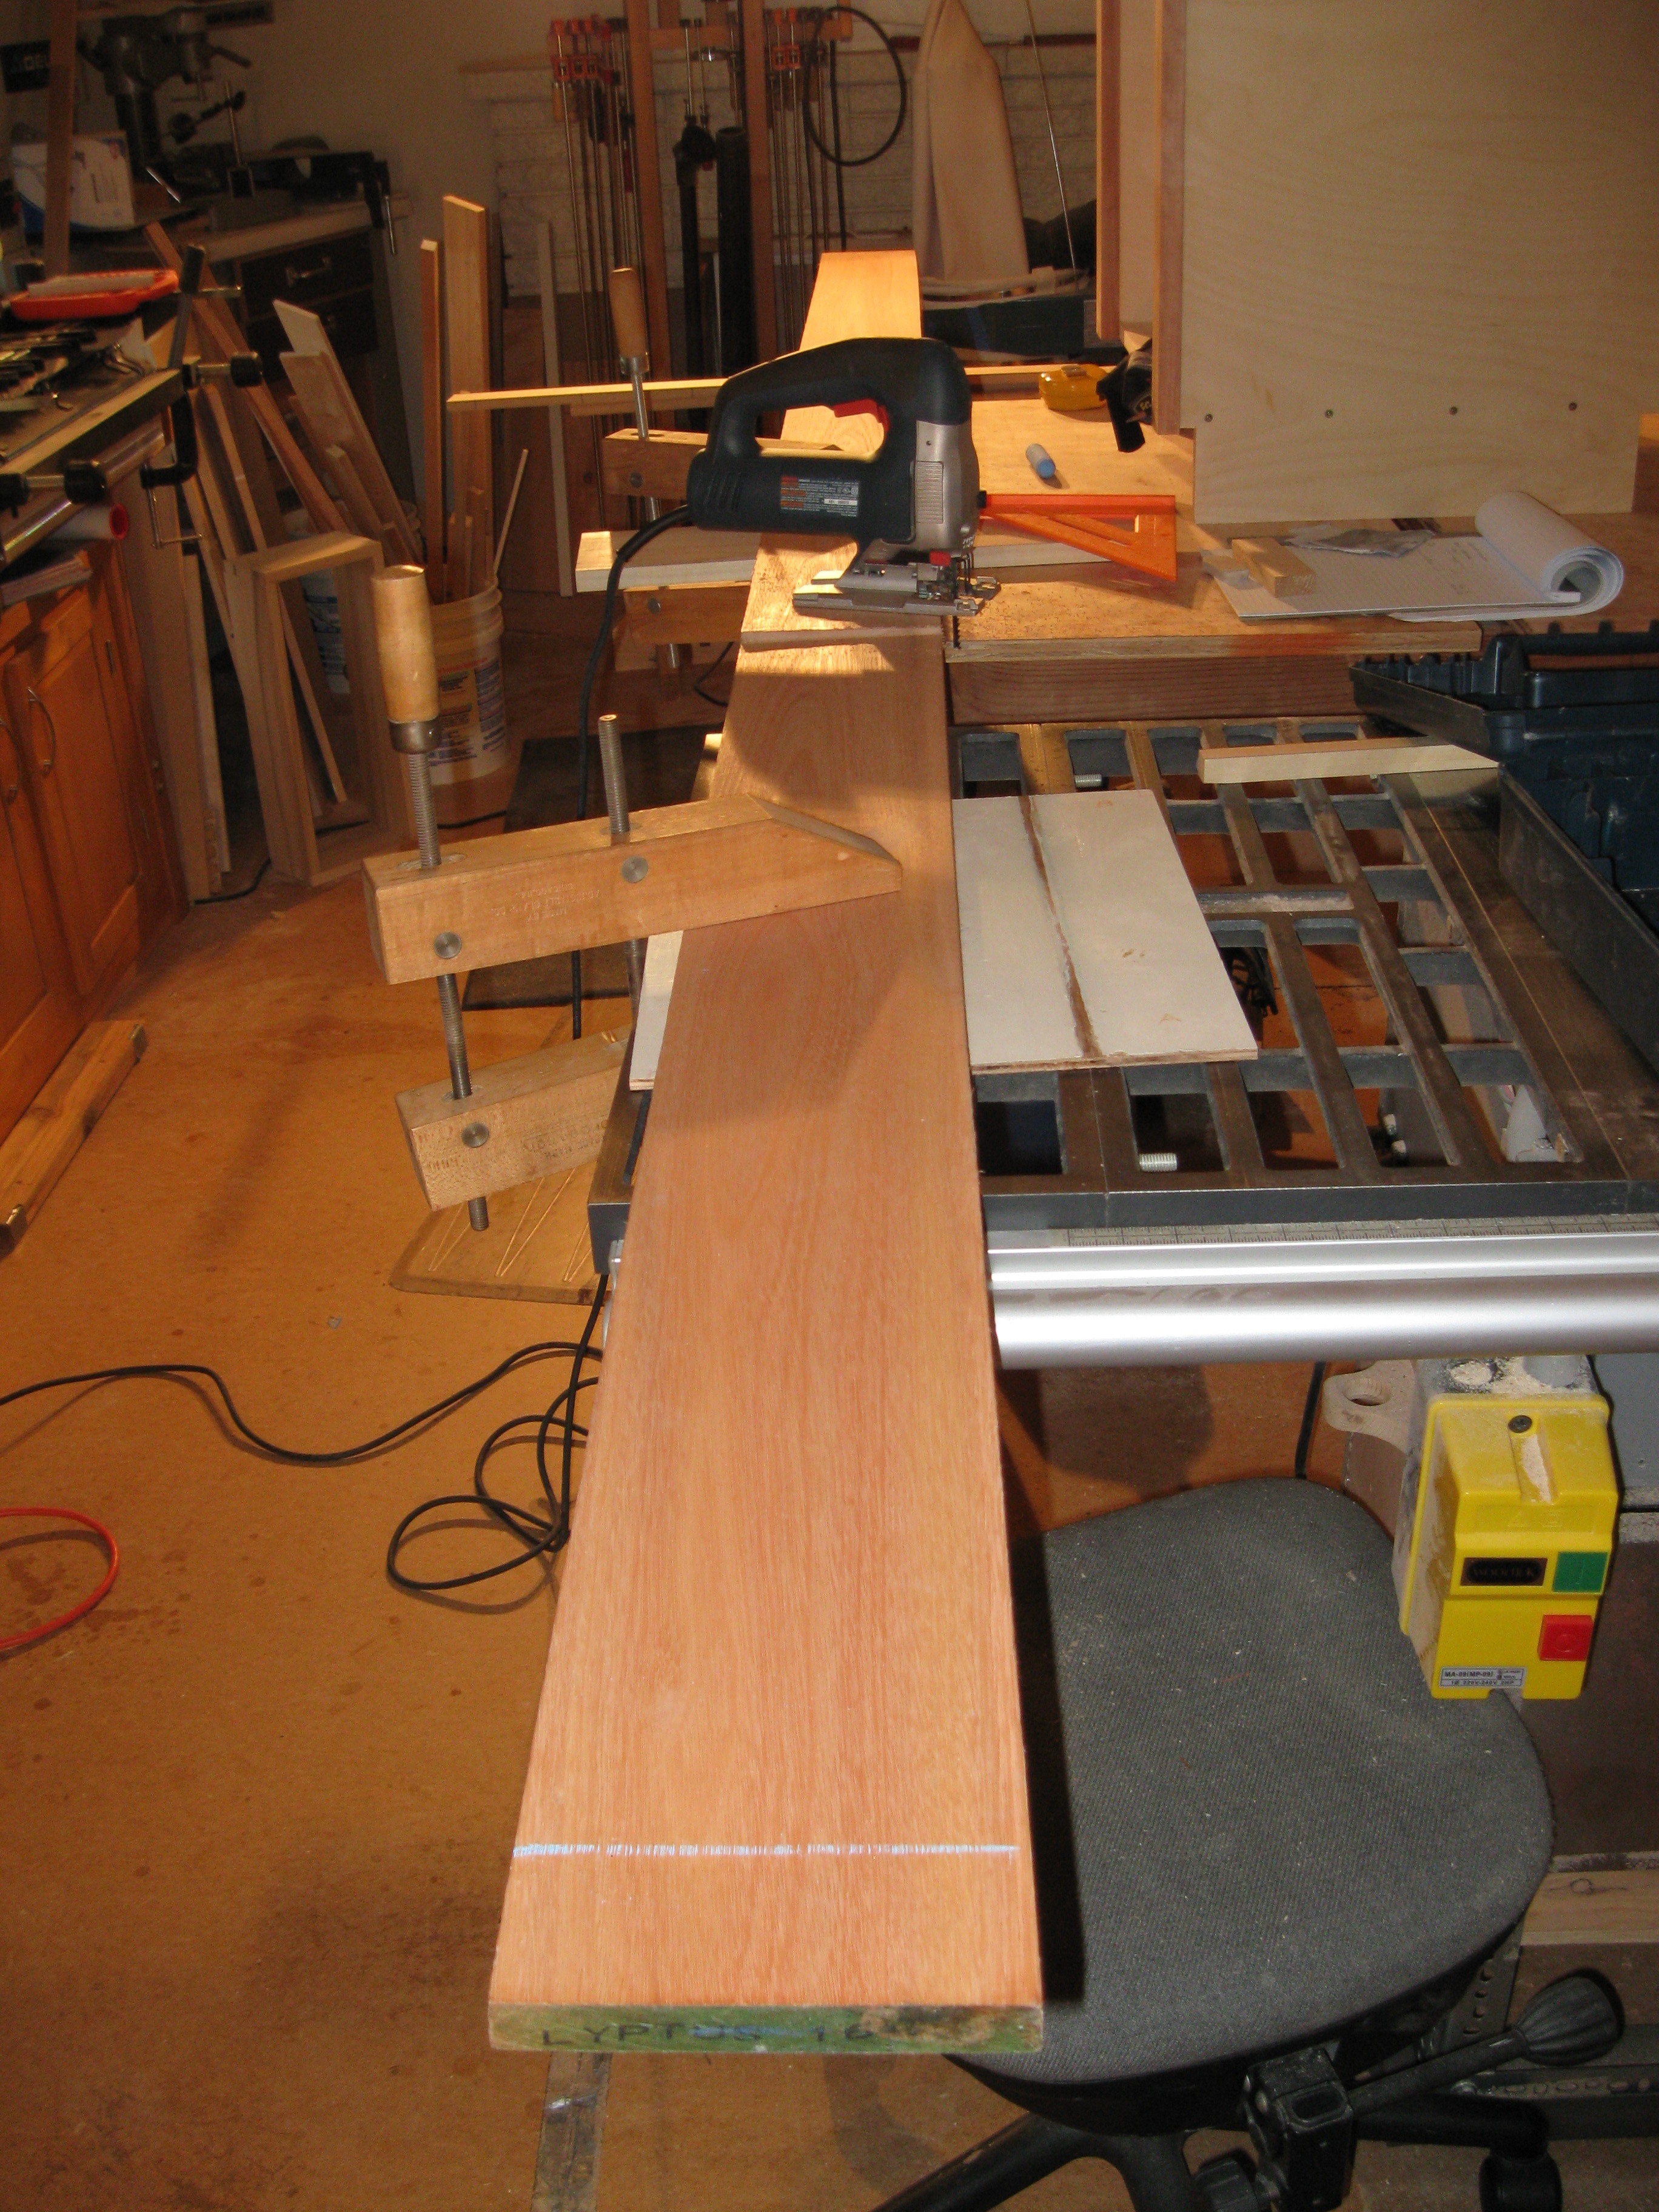
Stiles
Using a sled to rip the first straight edge of rough cut lumber is a fundamental and essential process. Then I have a straight edge to crosscut and rip to width from. The Lyptus burns real bad when ripping sometimes. The cuts require planing or sanding to establish a clean edge. So, I got the Forest WW-2 Special Fast Rip. While this blade does not burn, the cut is rough and I'm back to sanding. All things being even, it is a bit easier to sand a rough cut than a burn in hard wood.


:
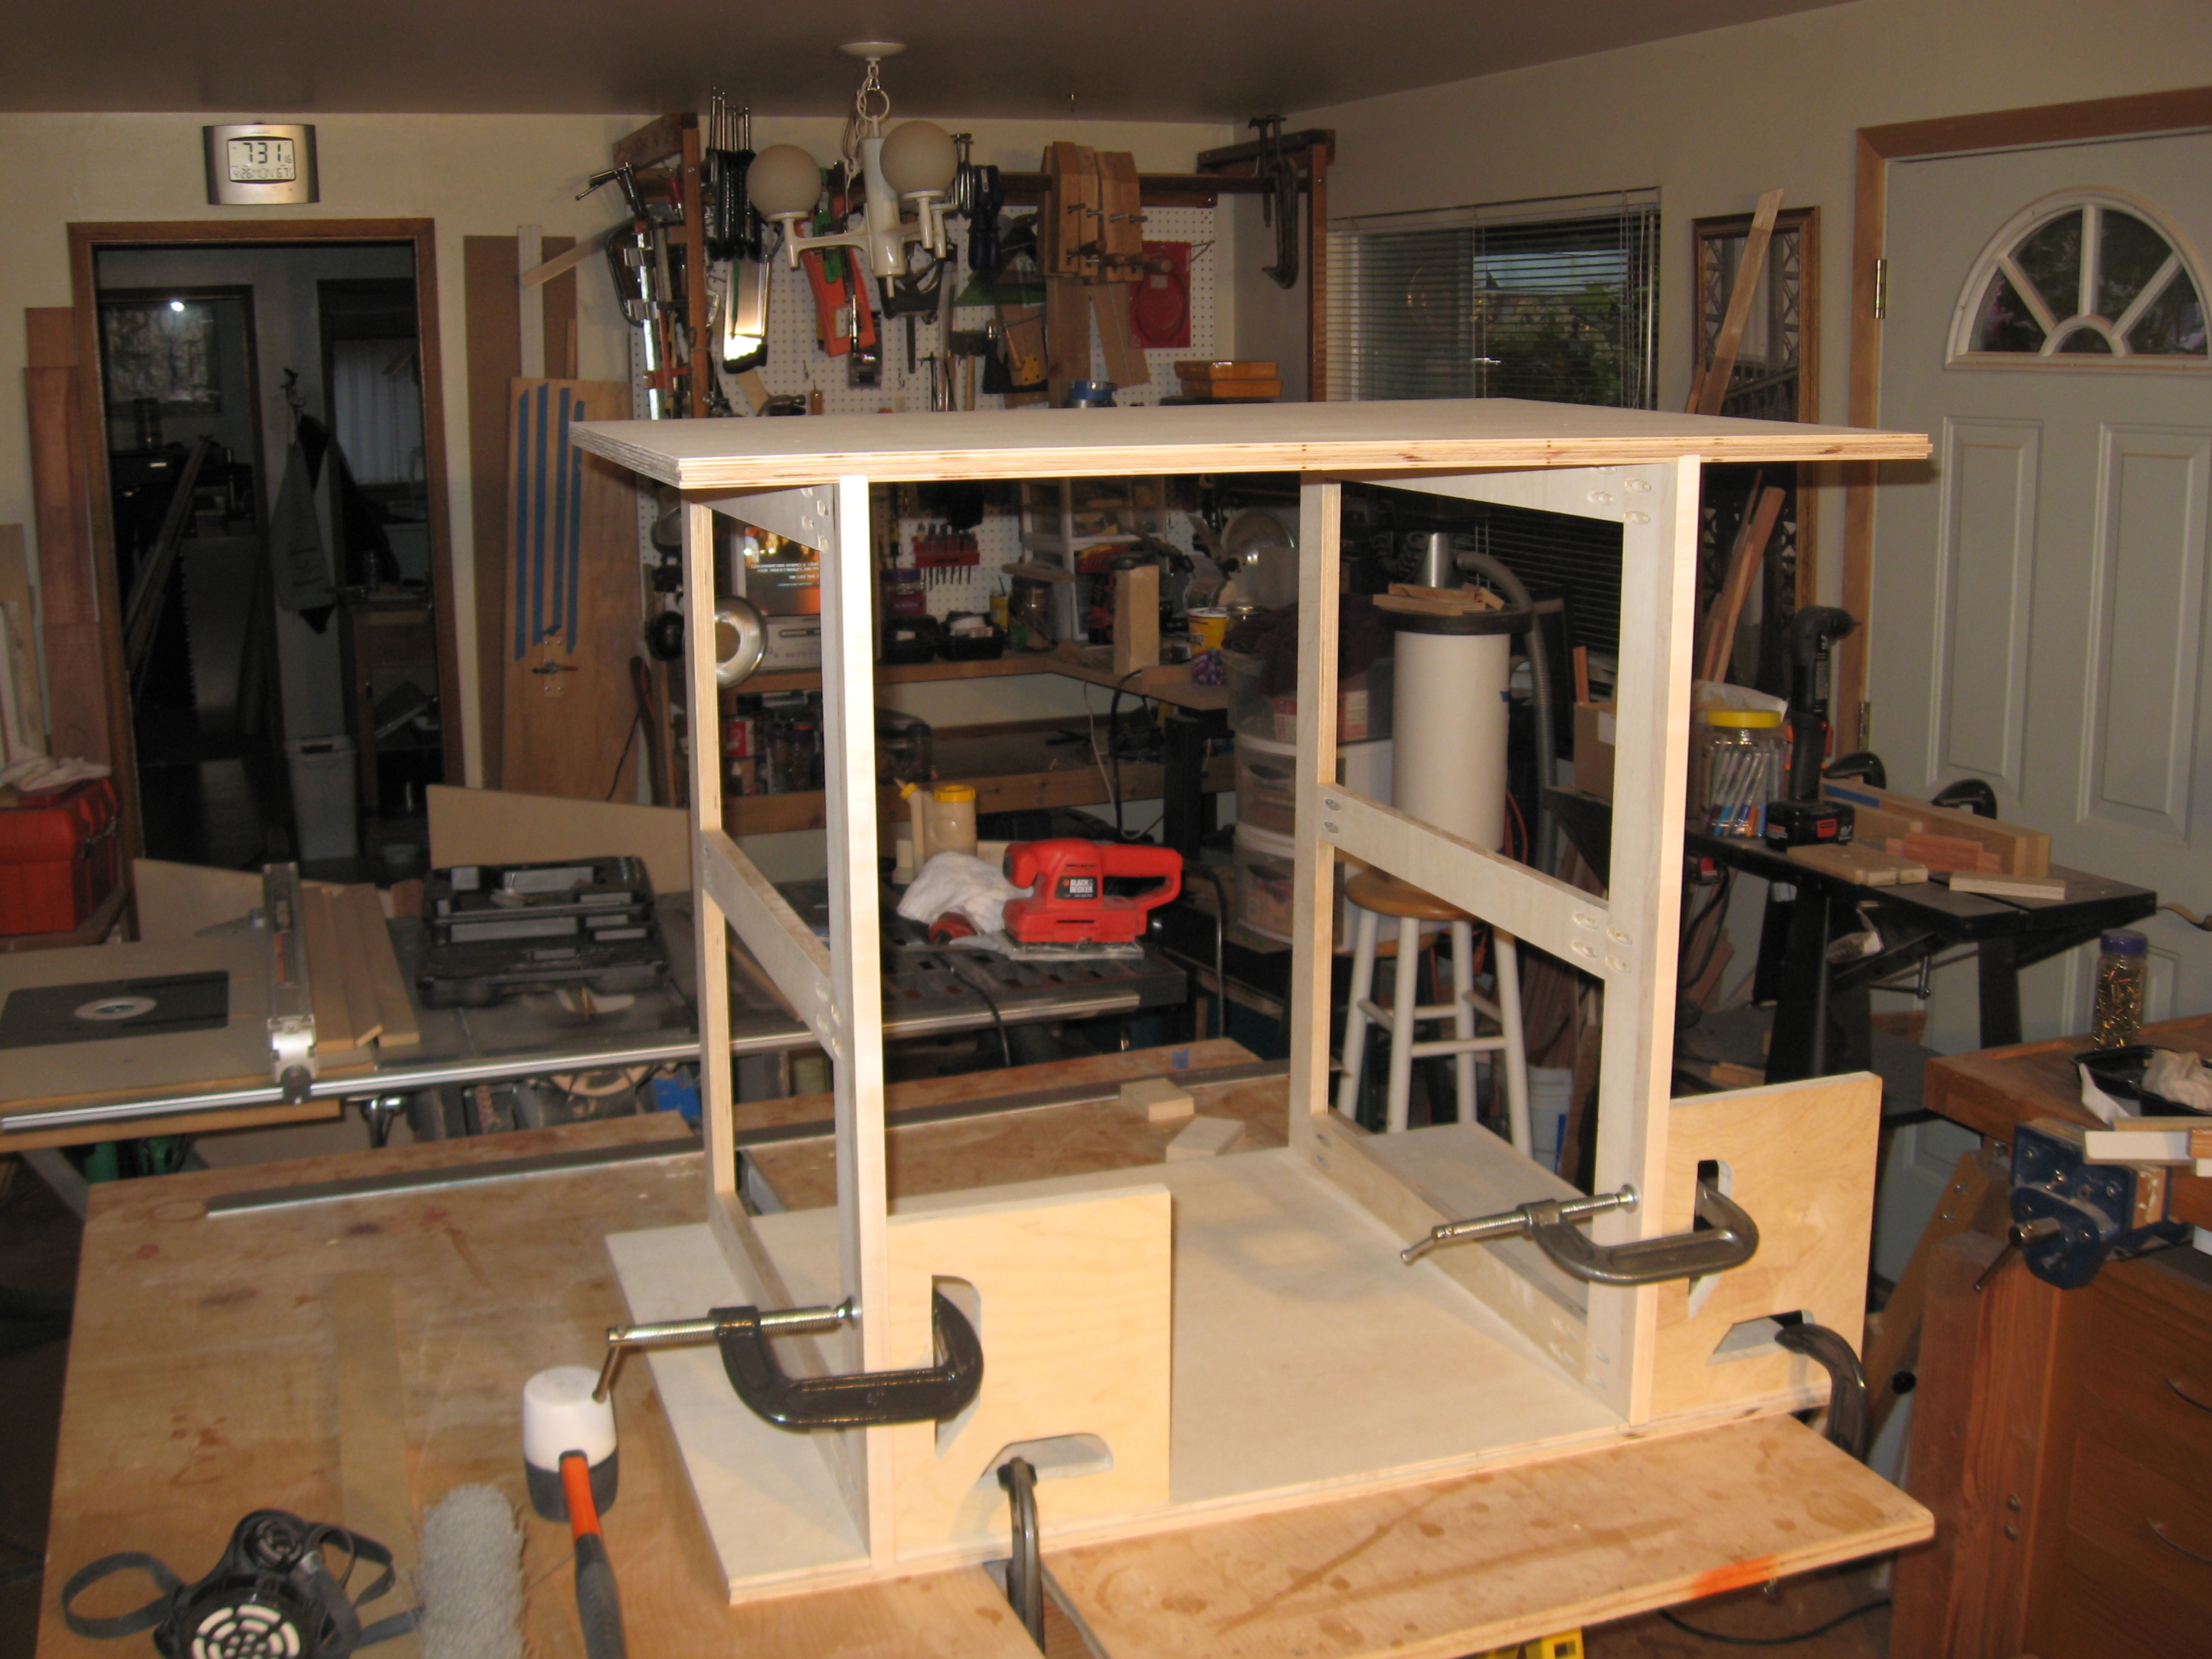
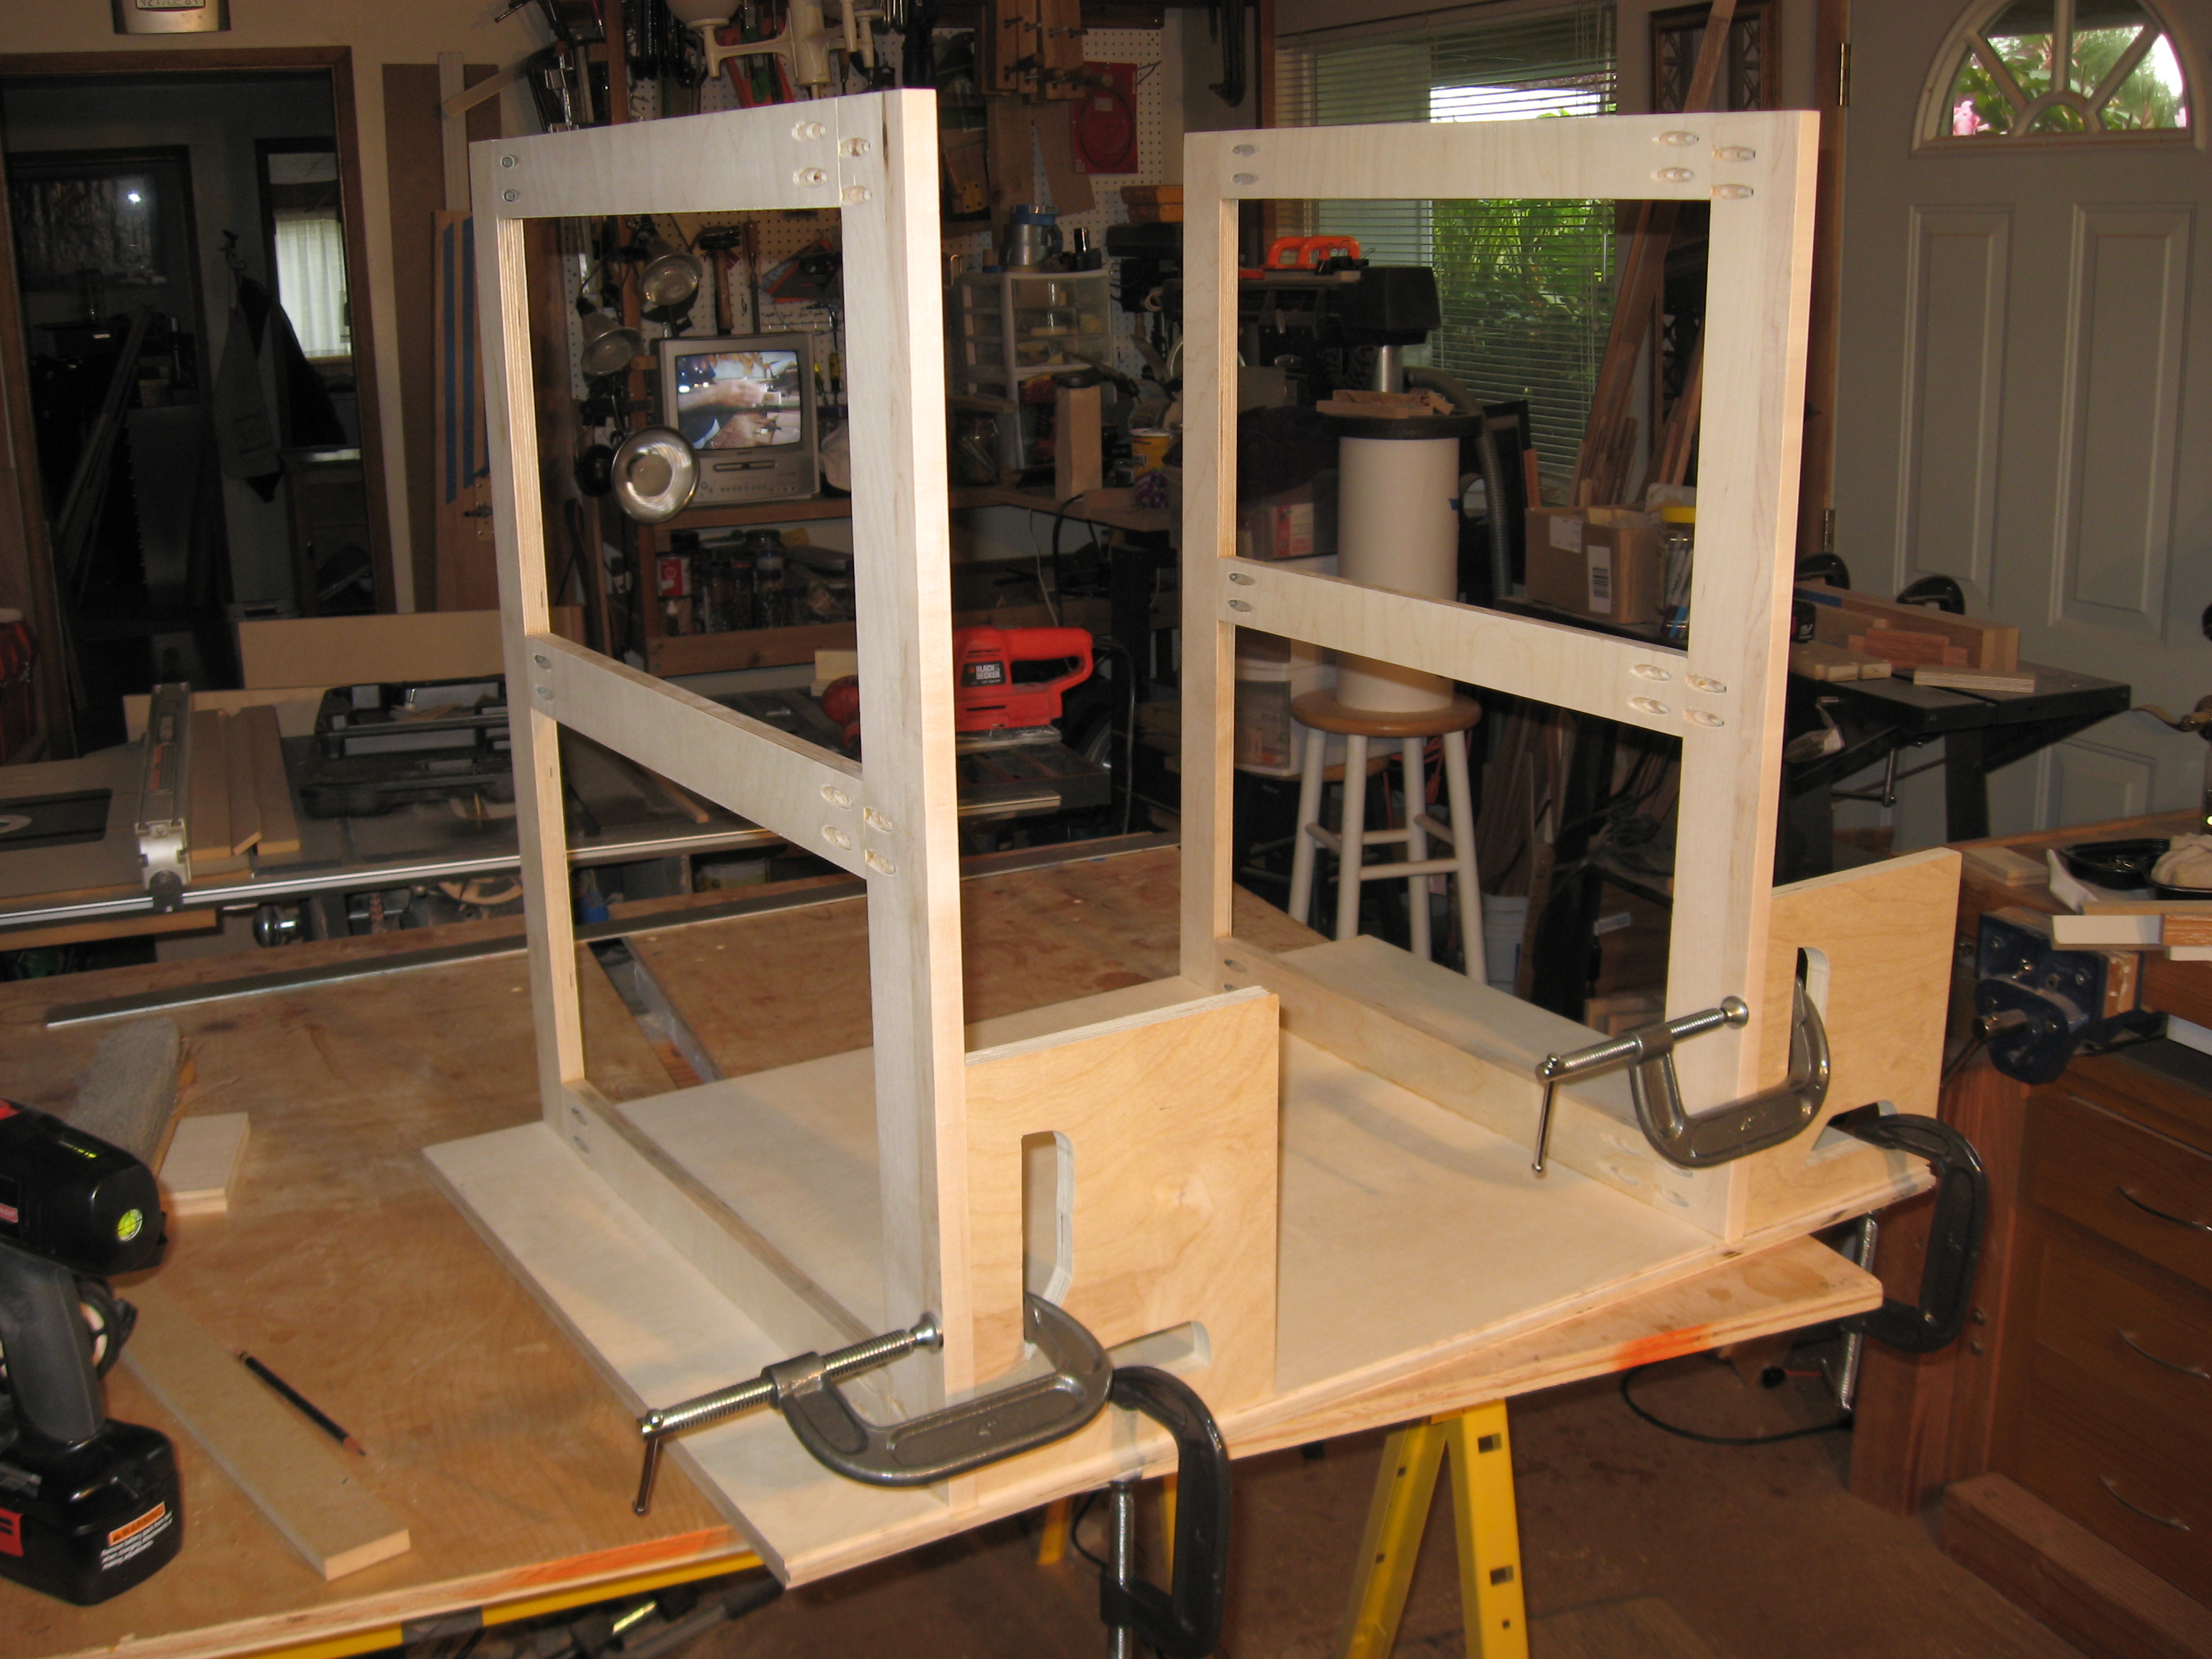
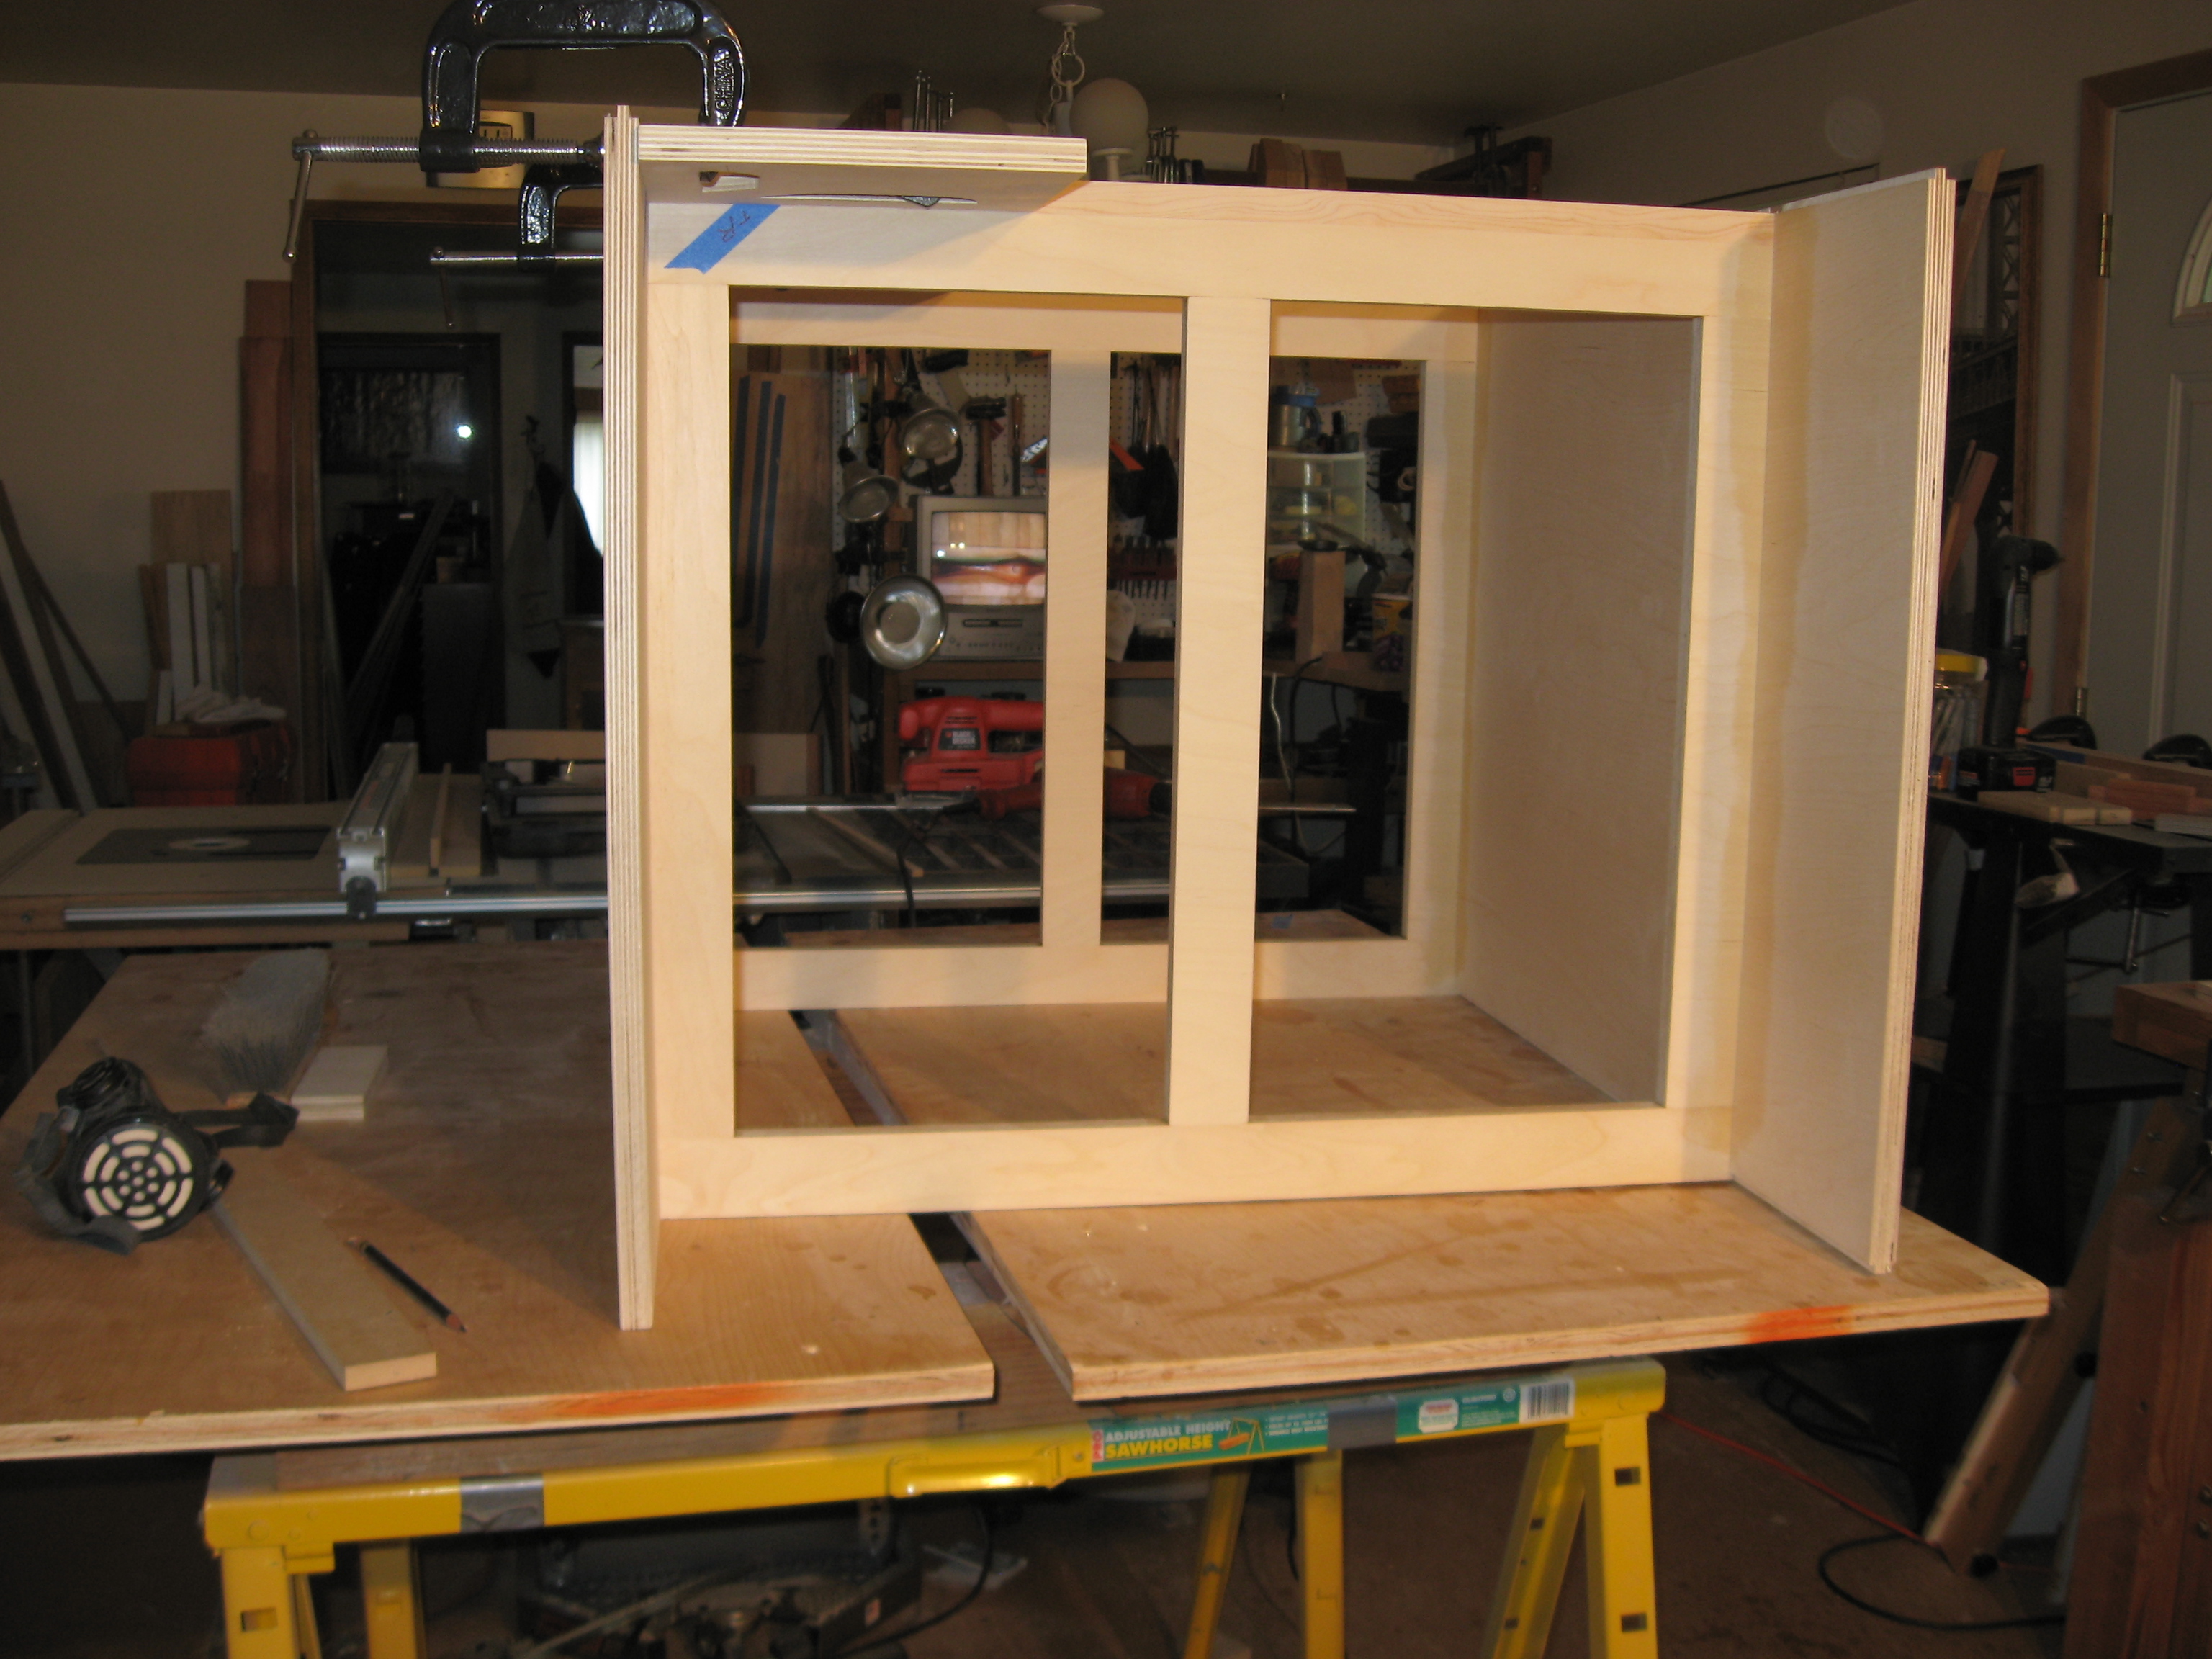
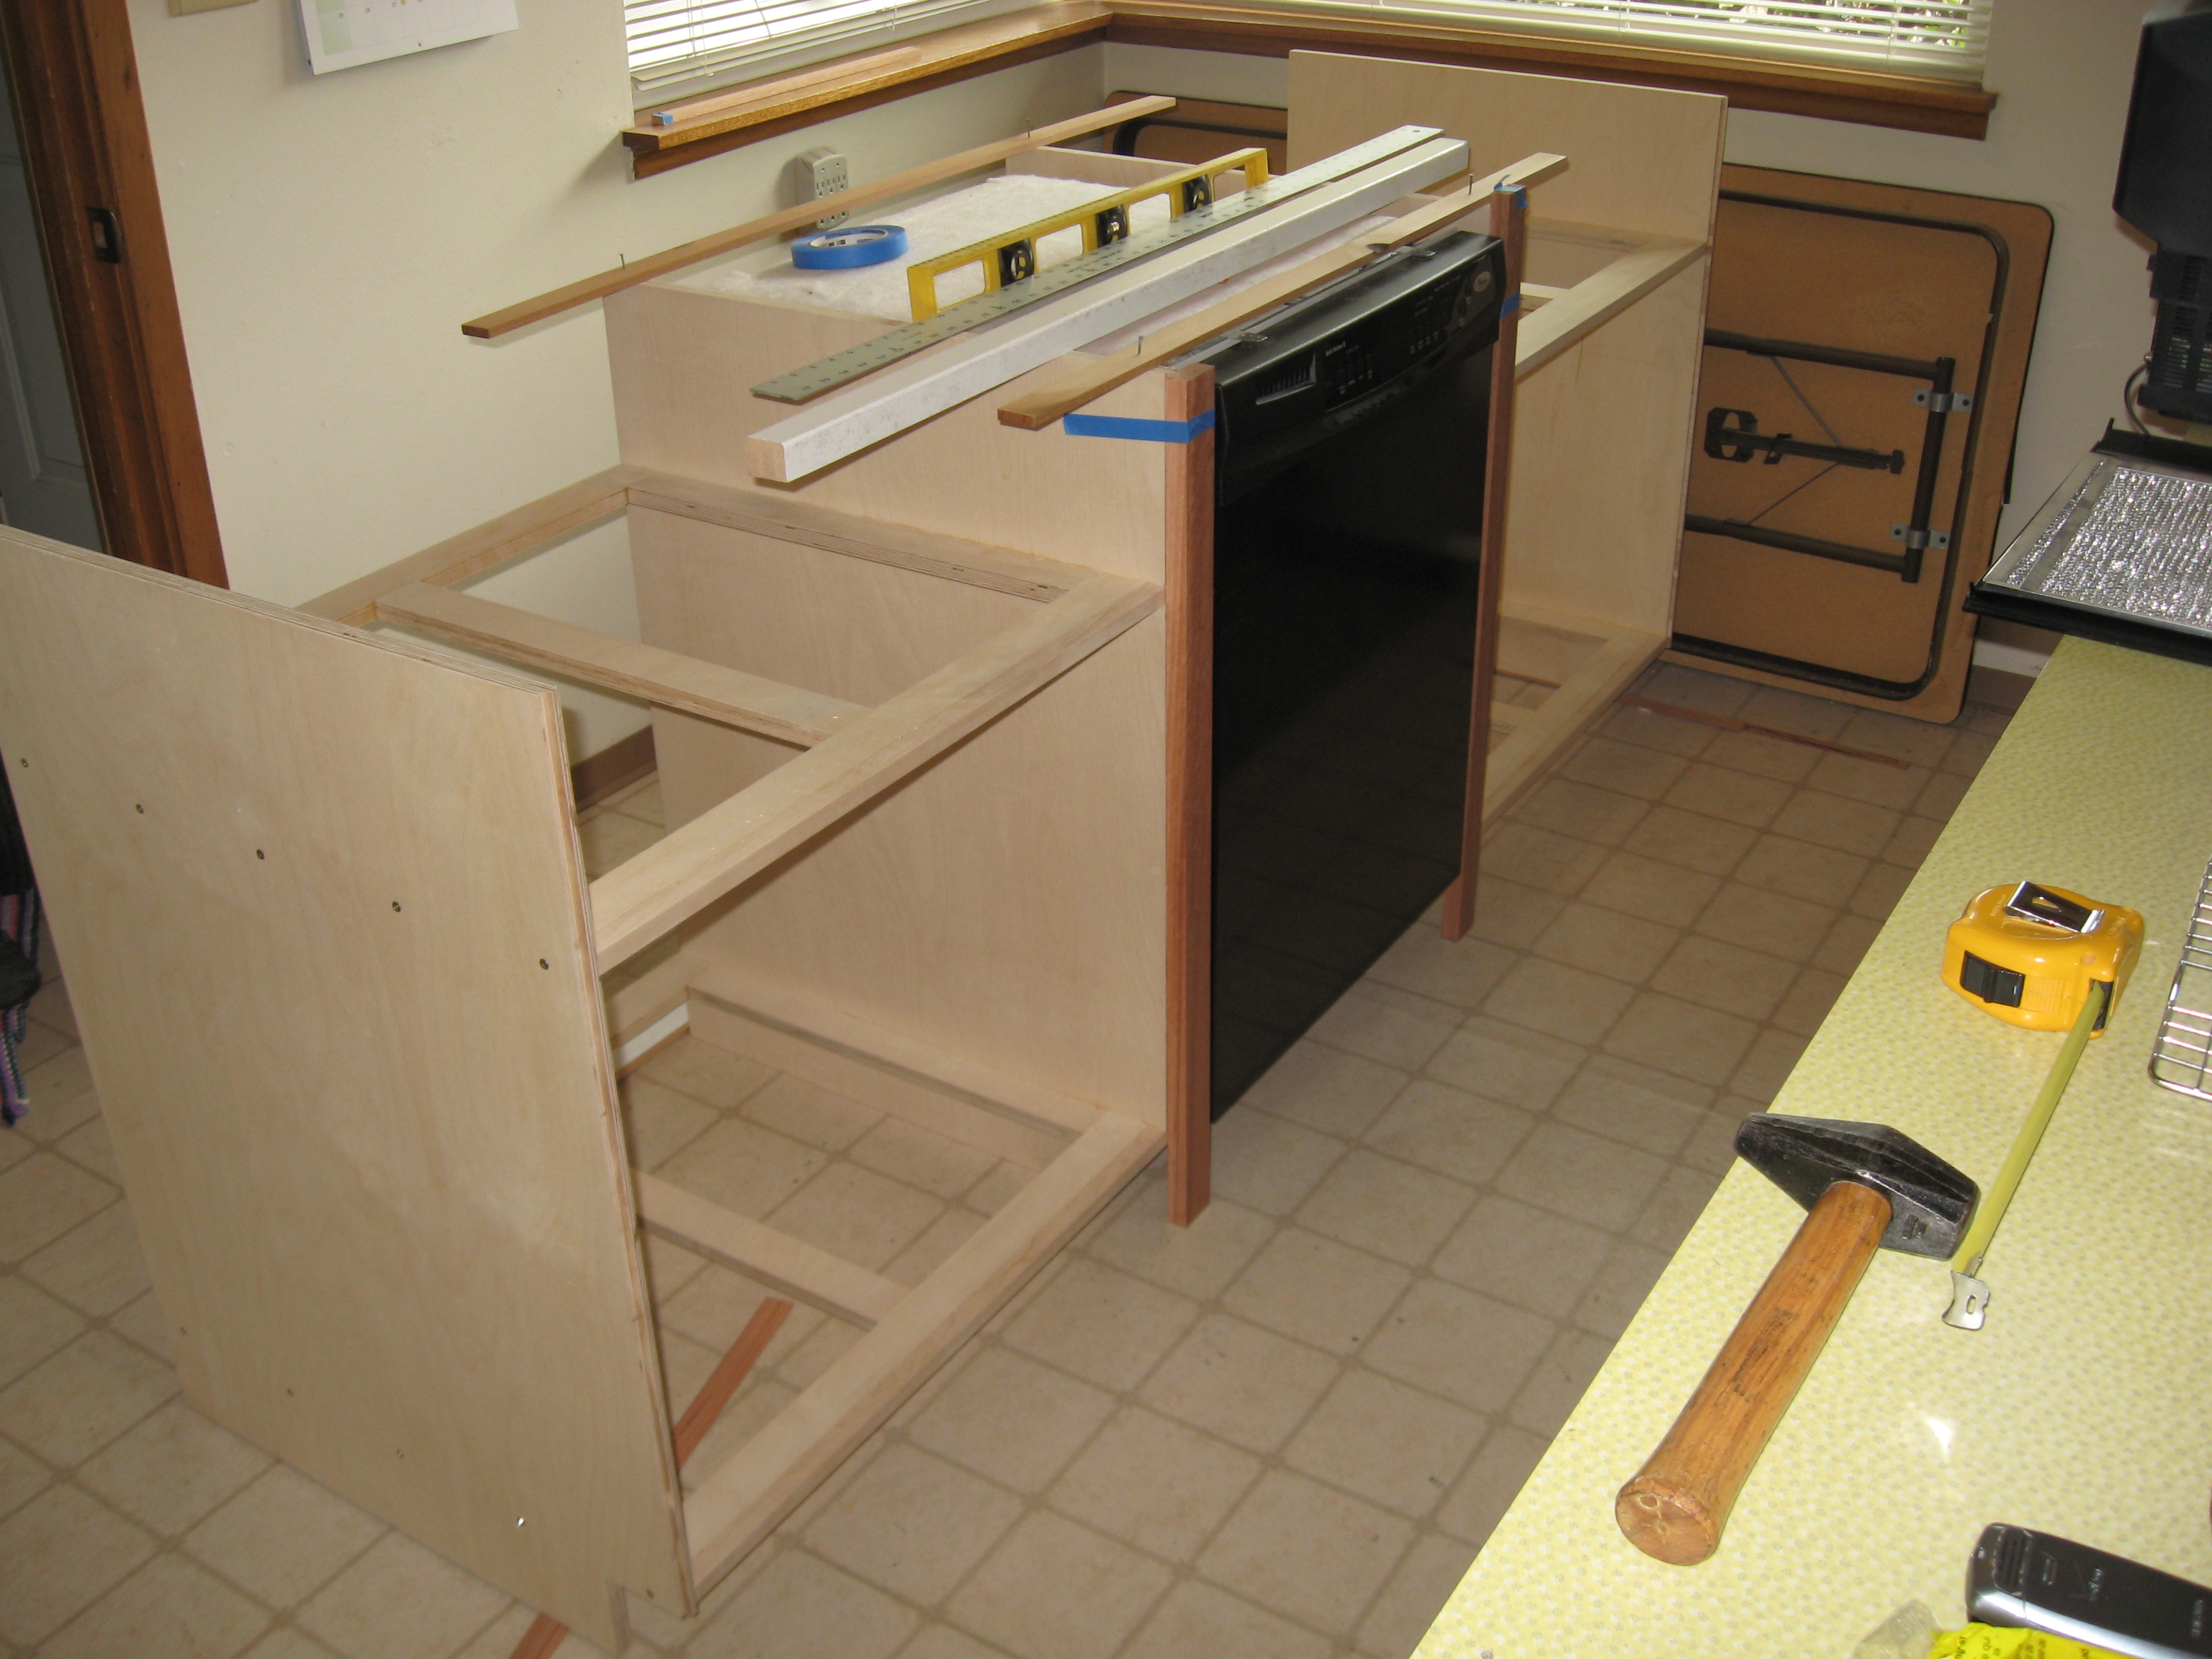
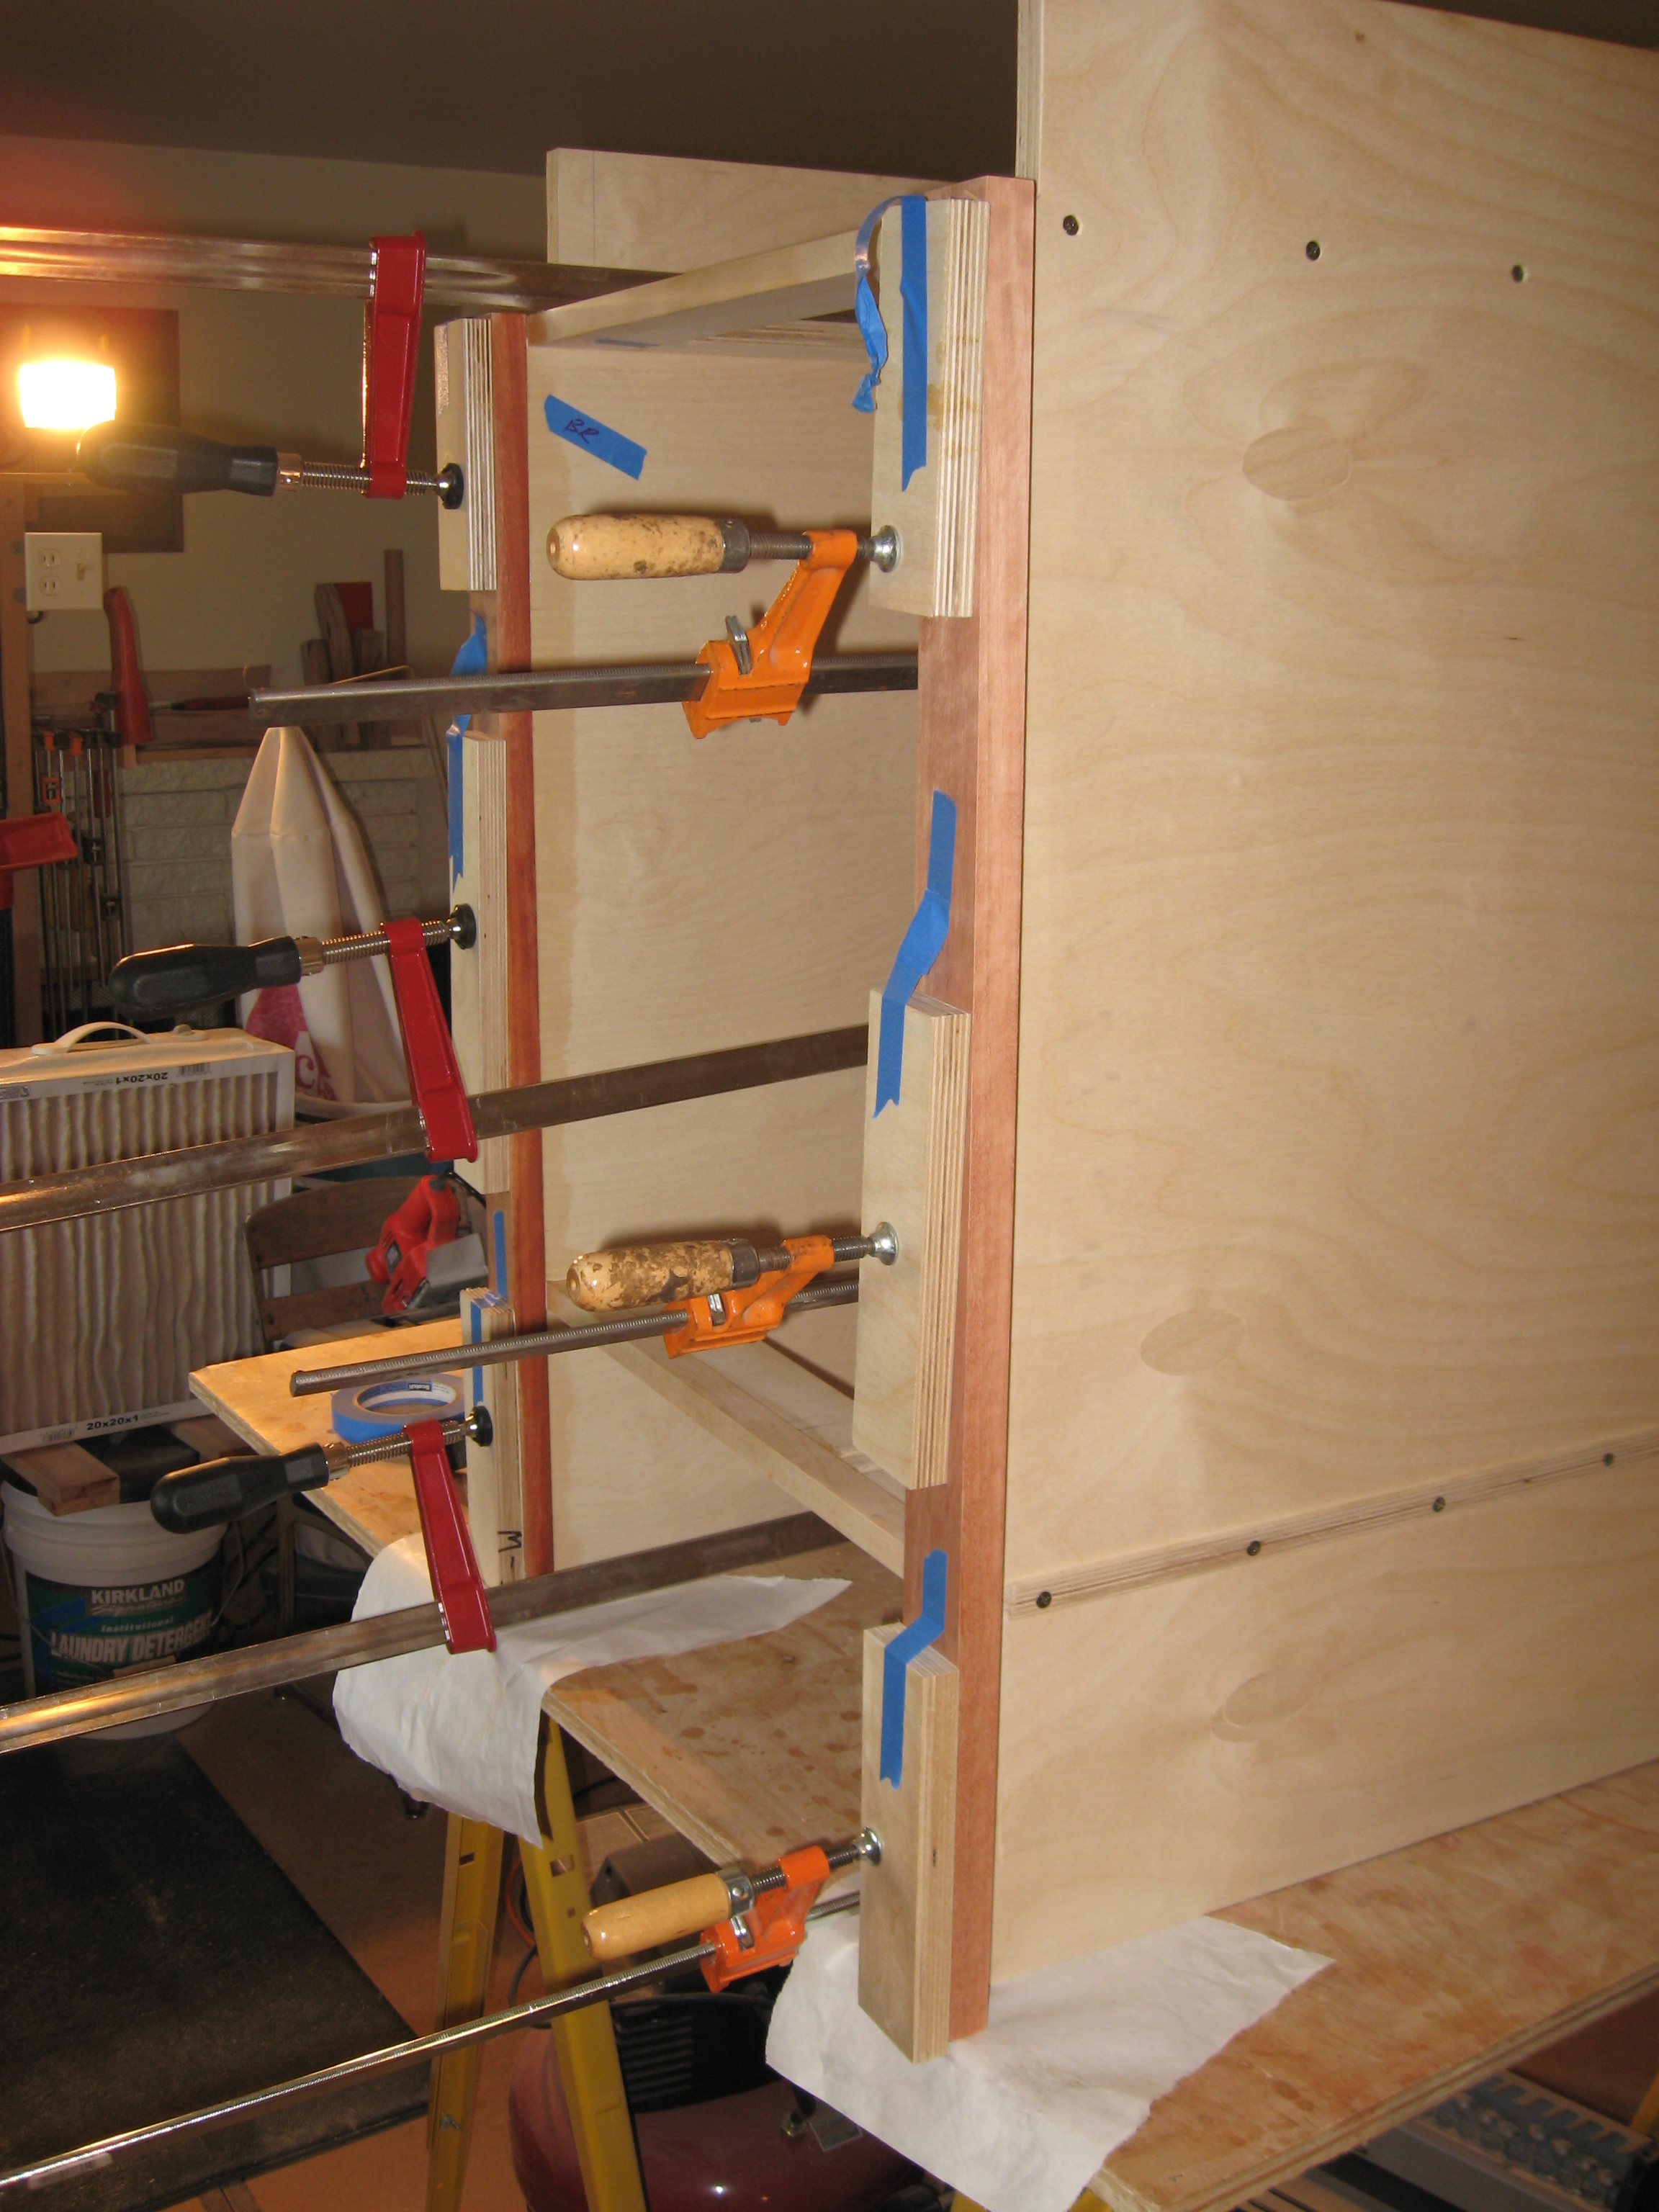
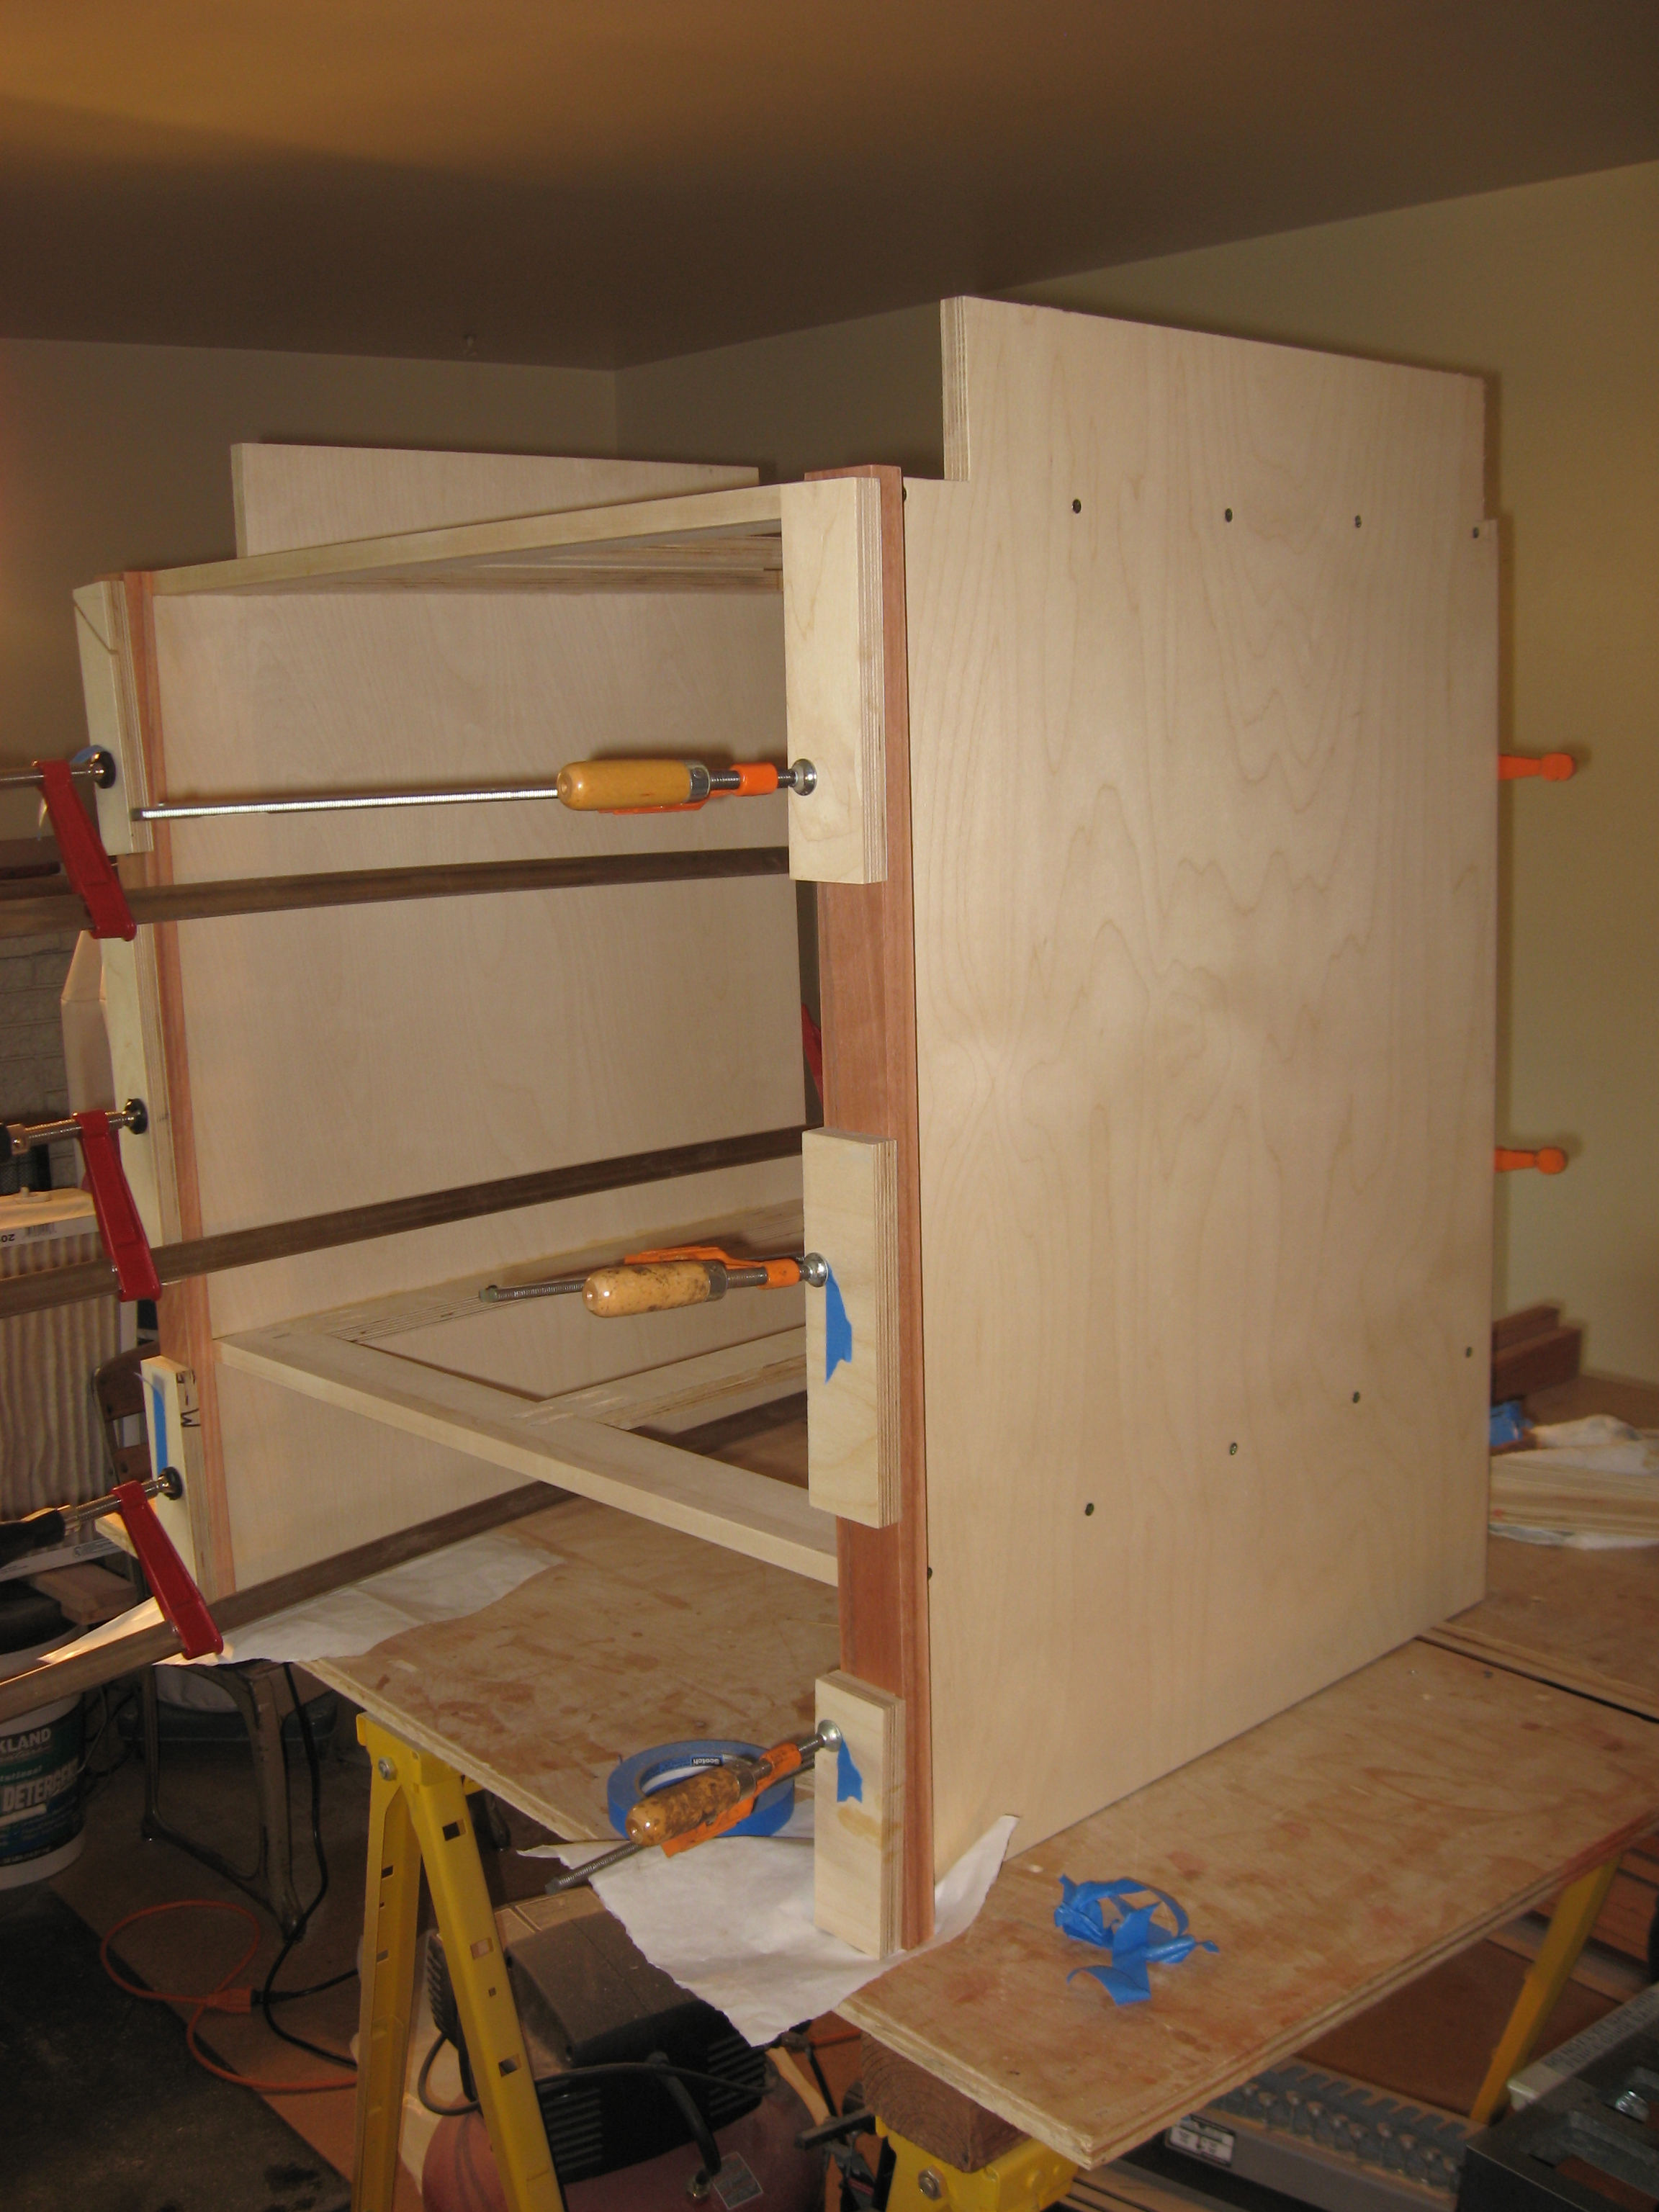
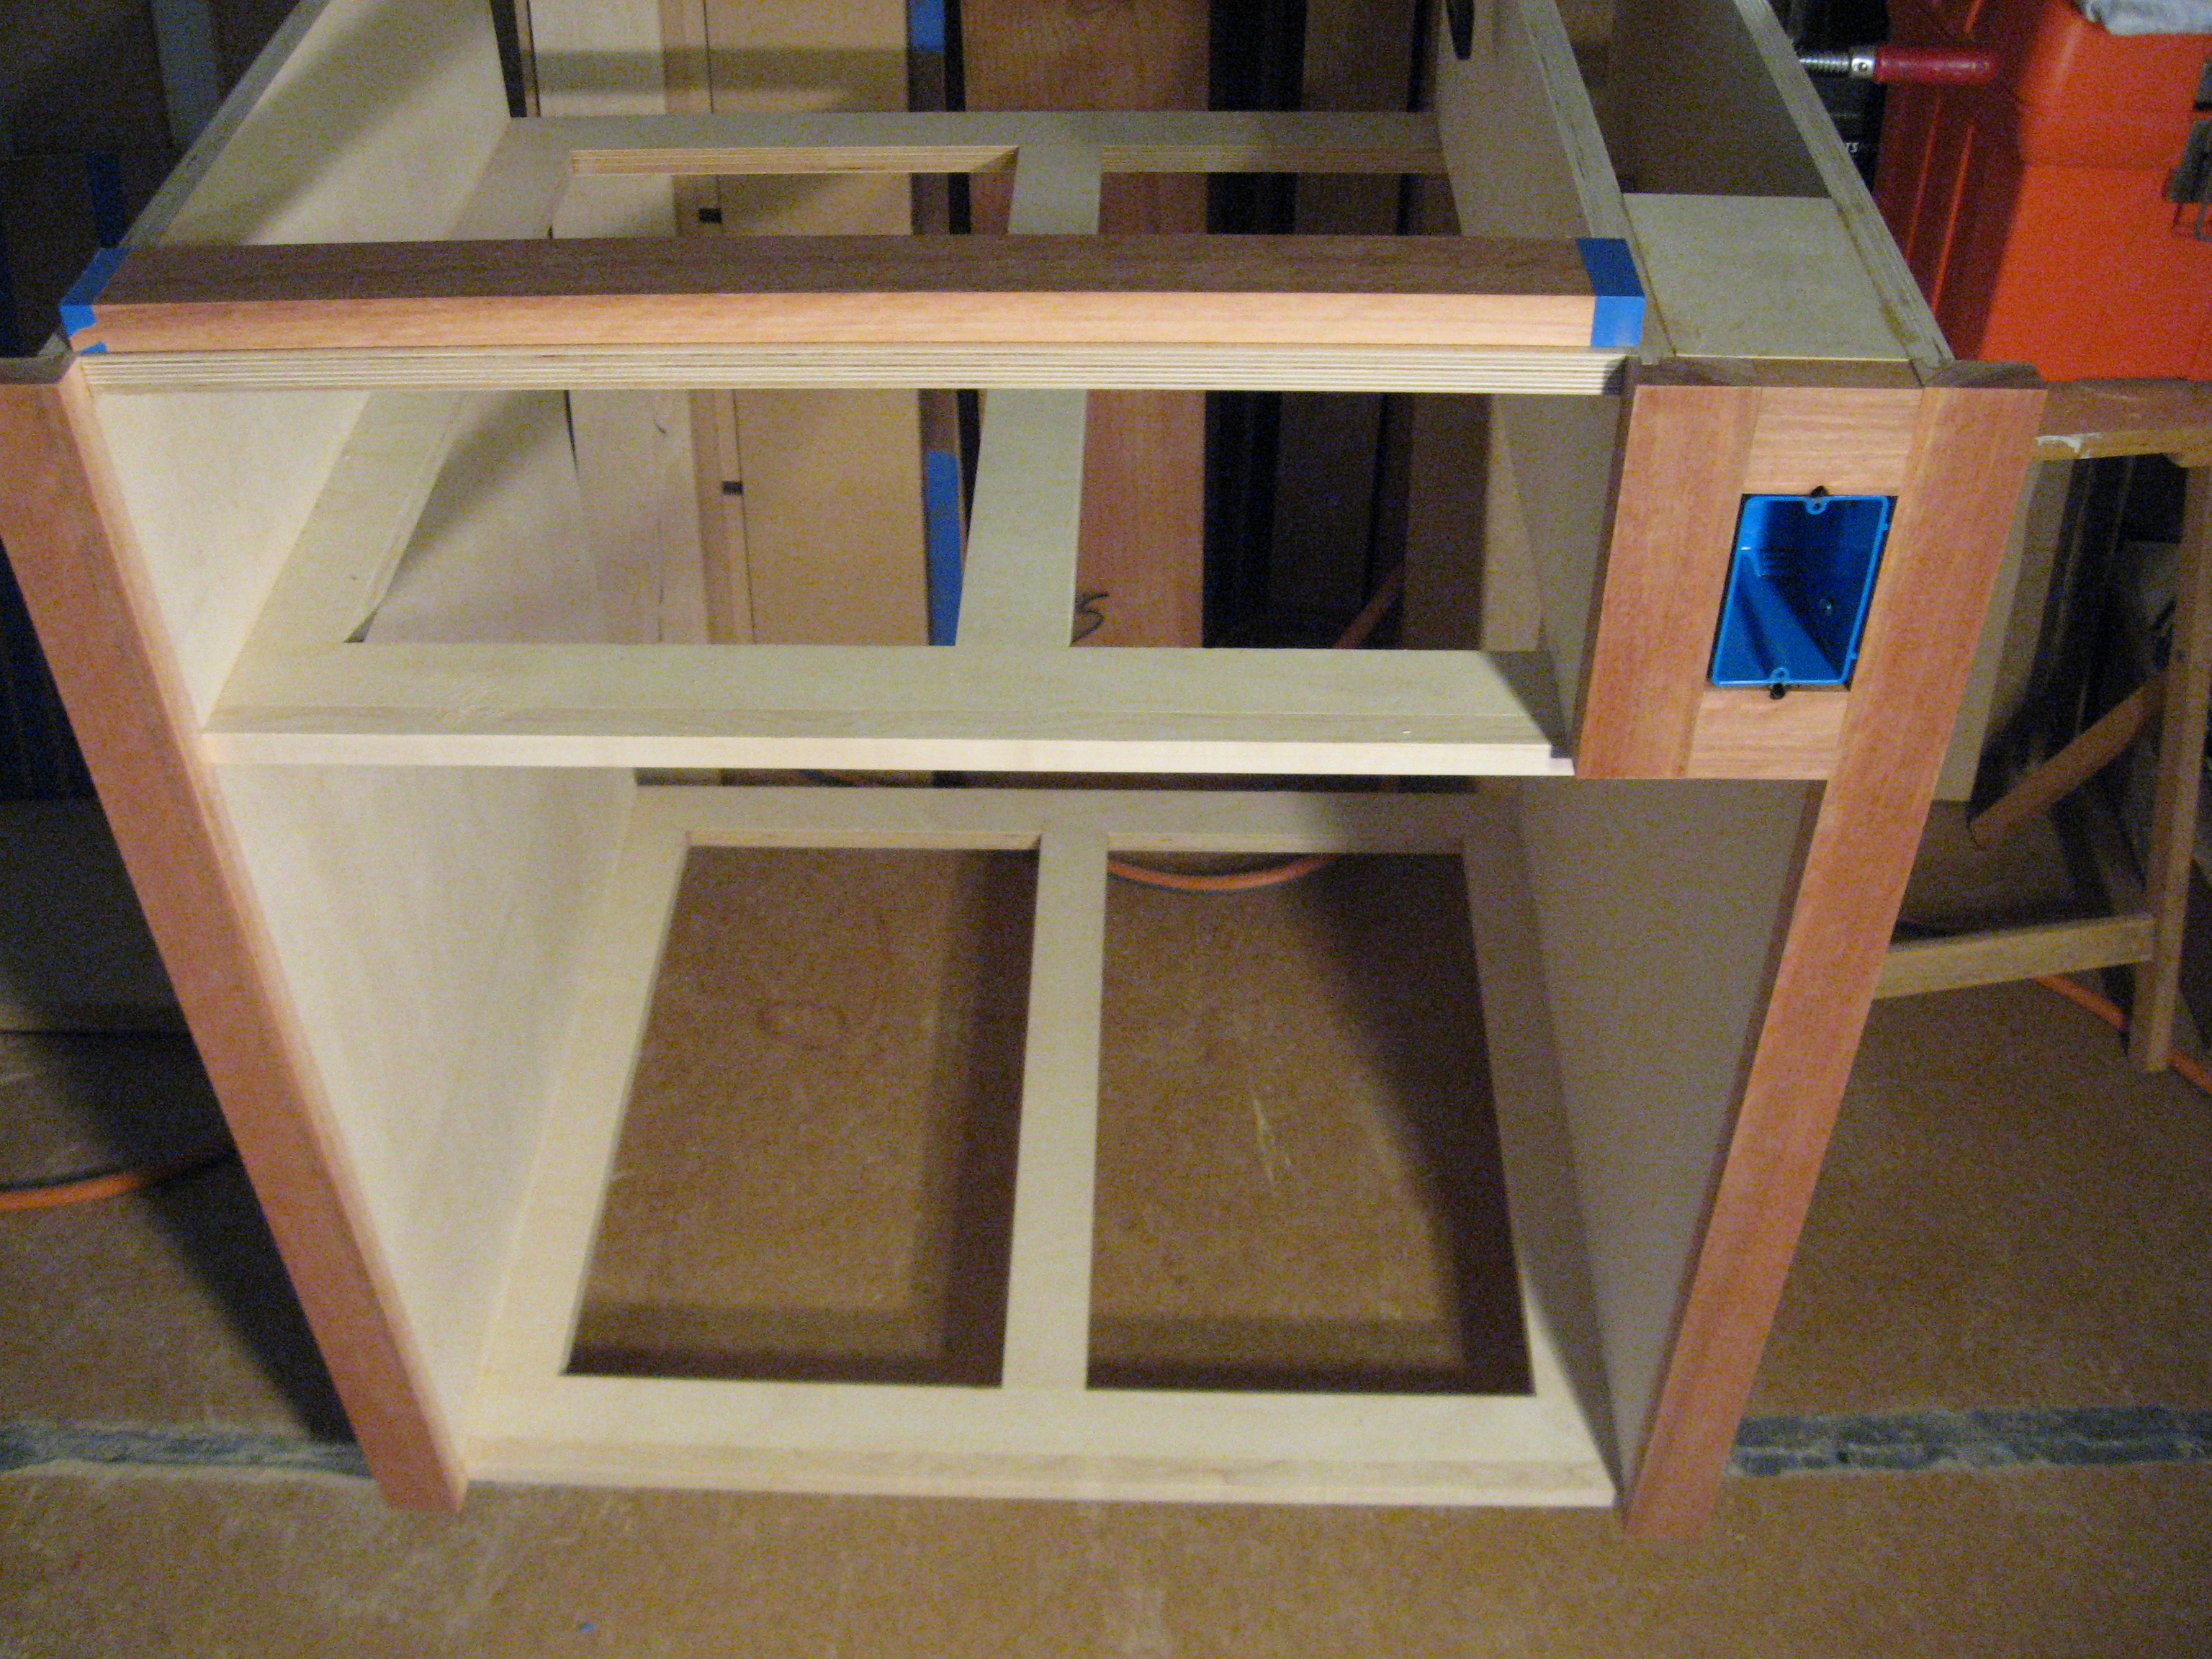
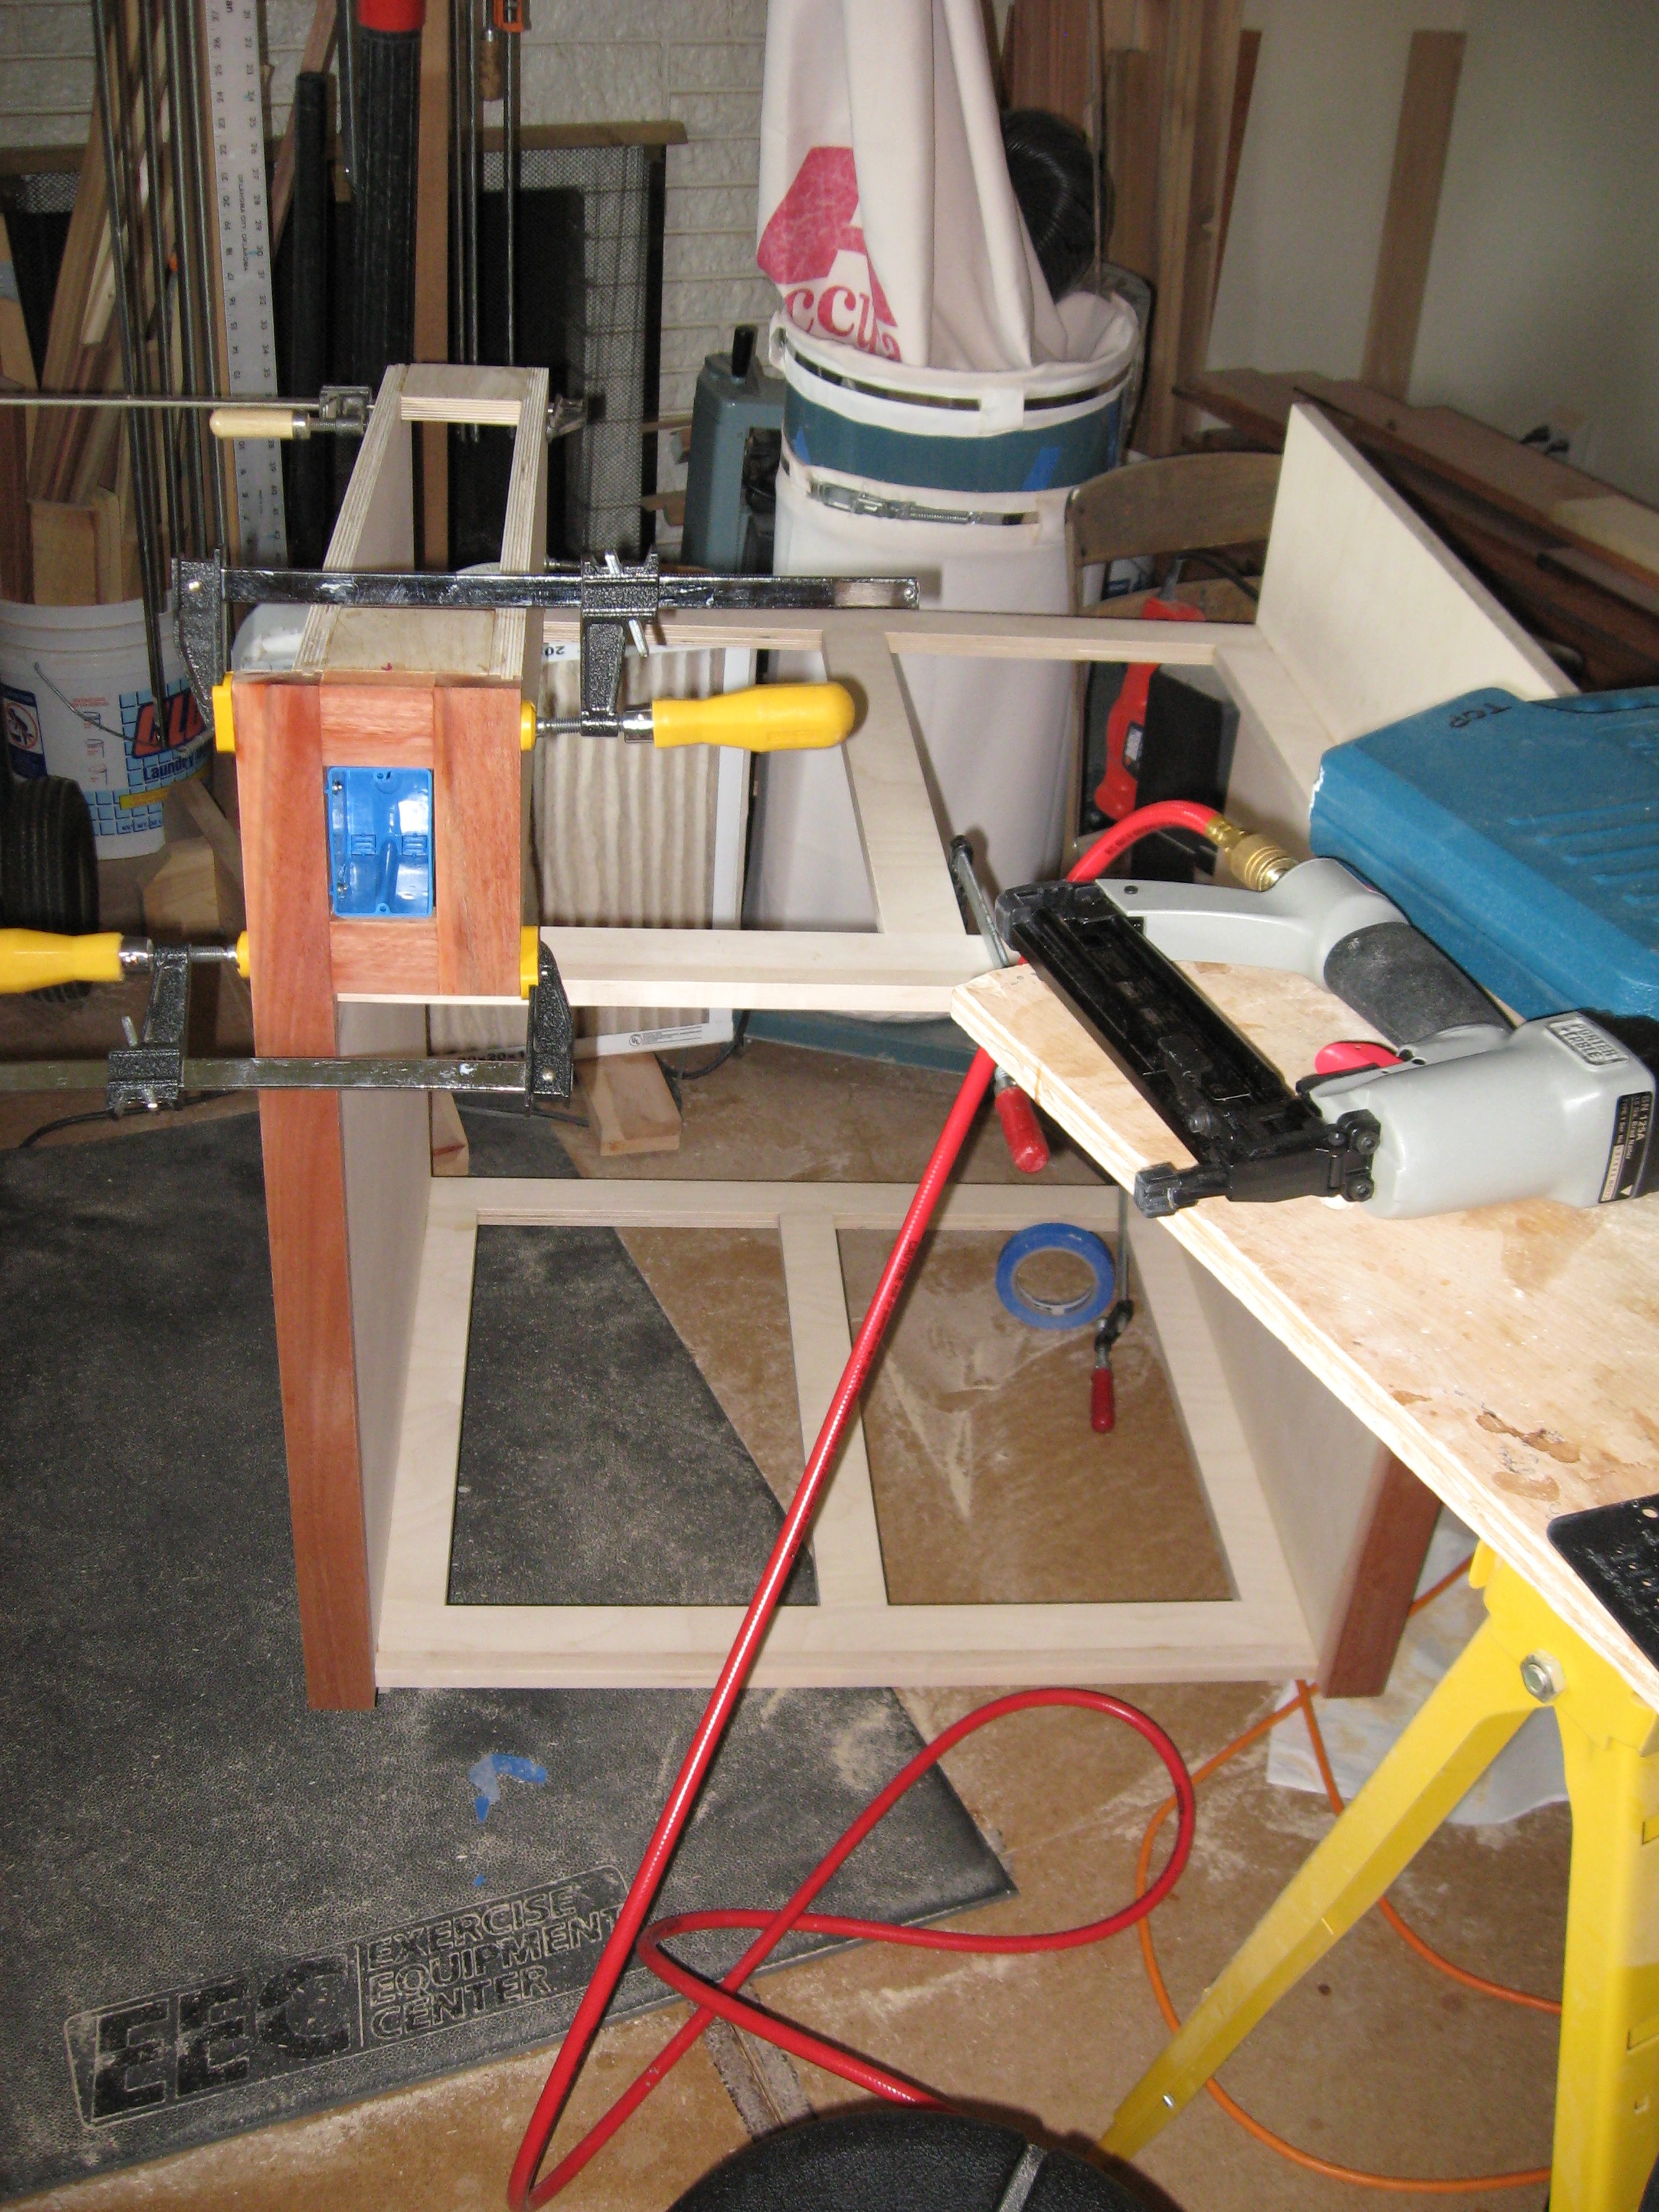
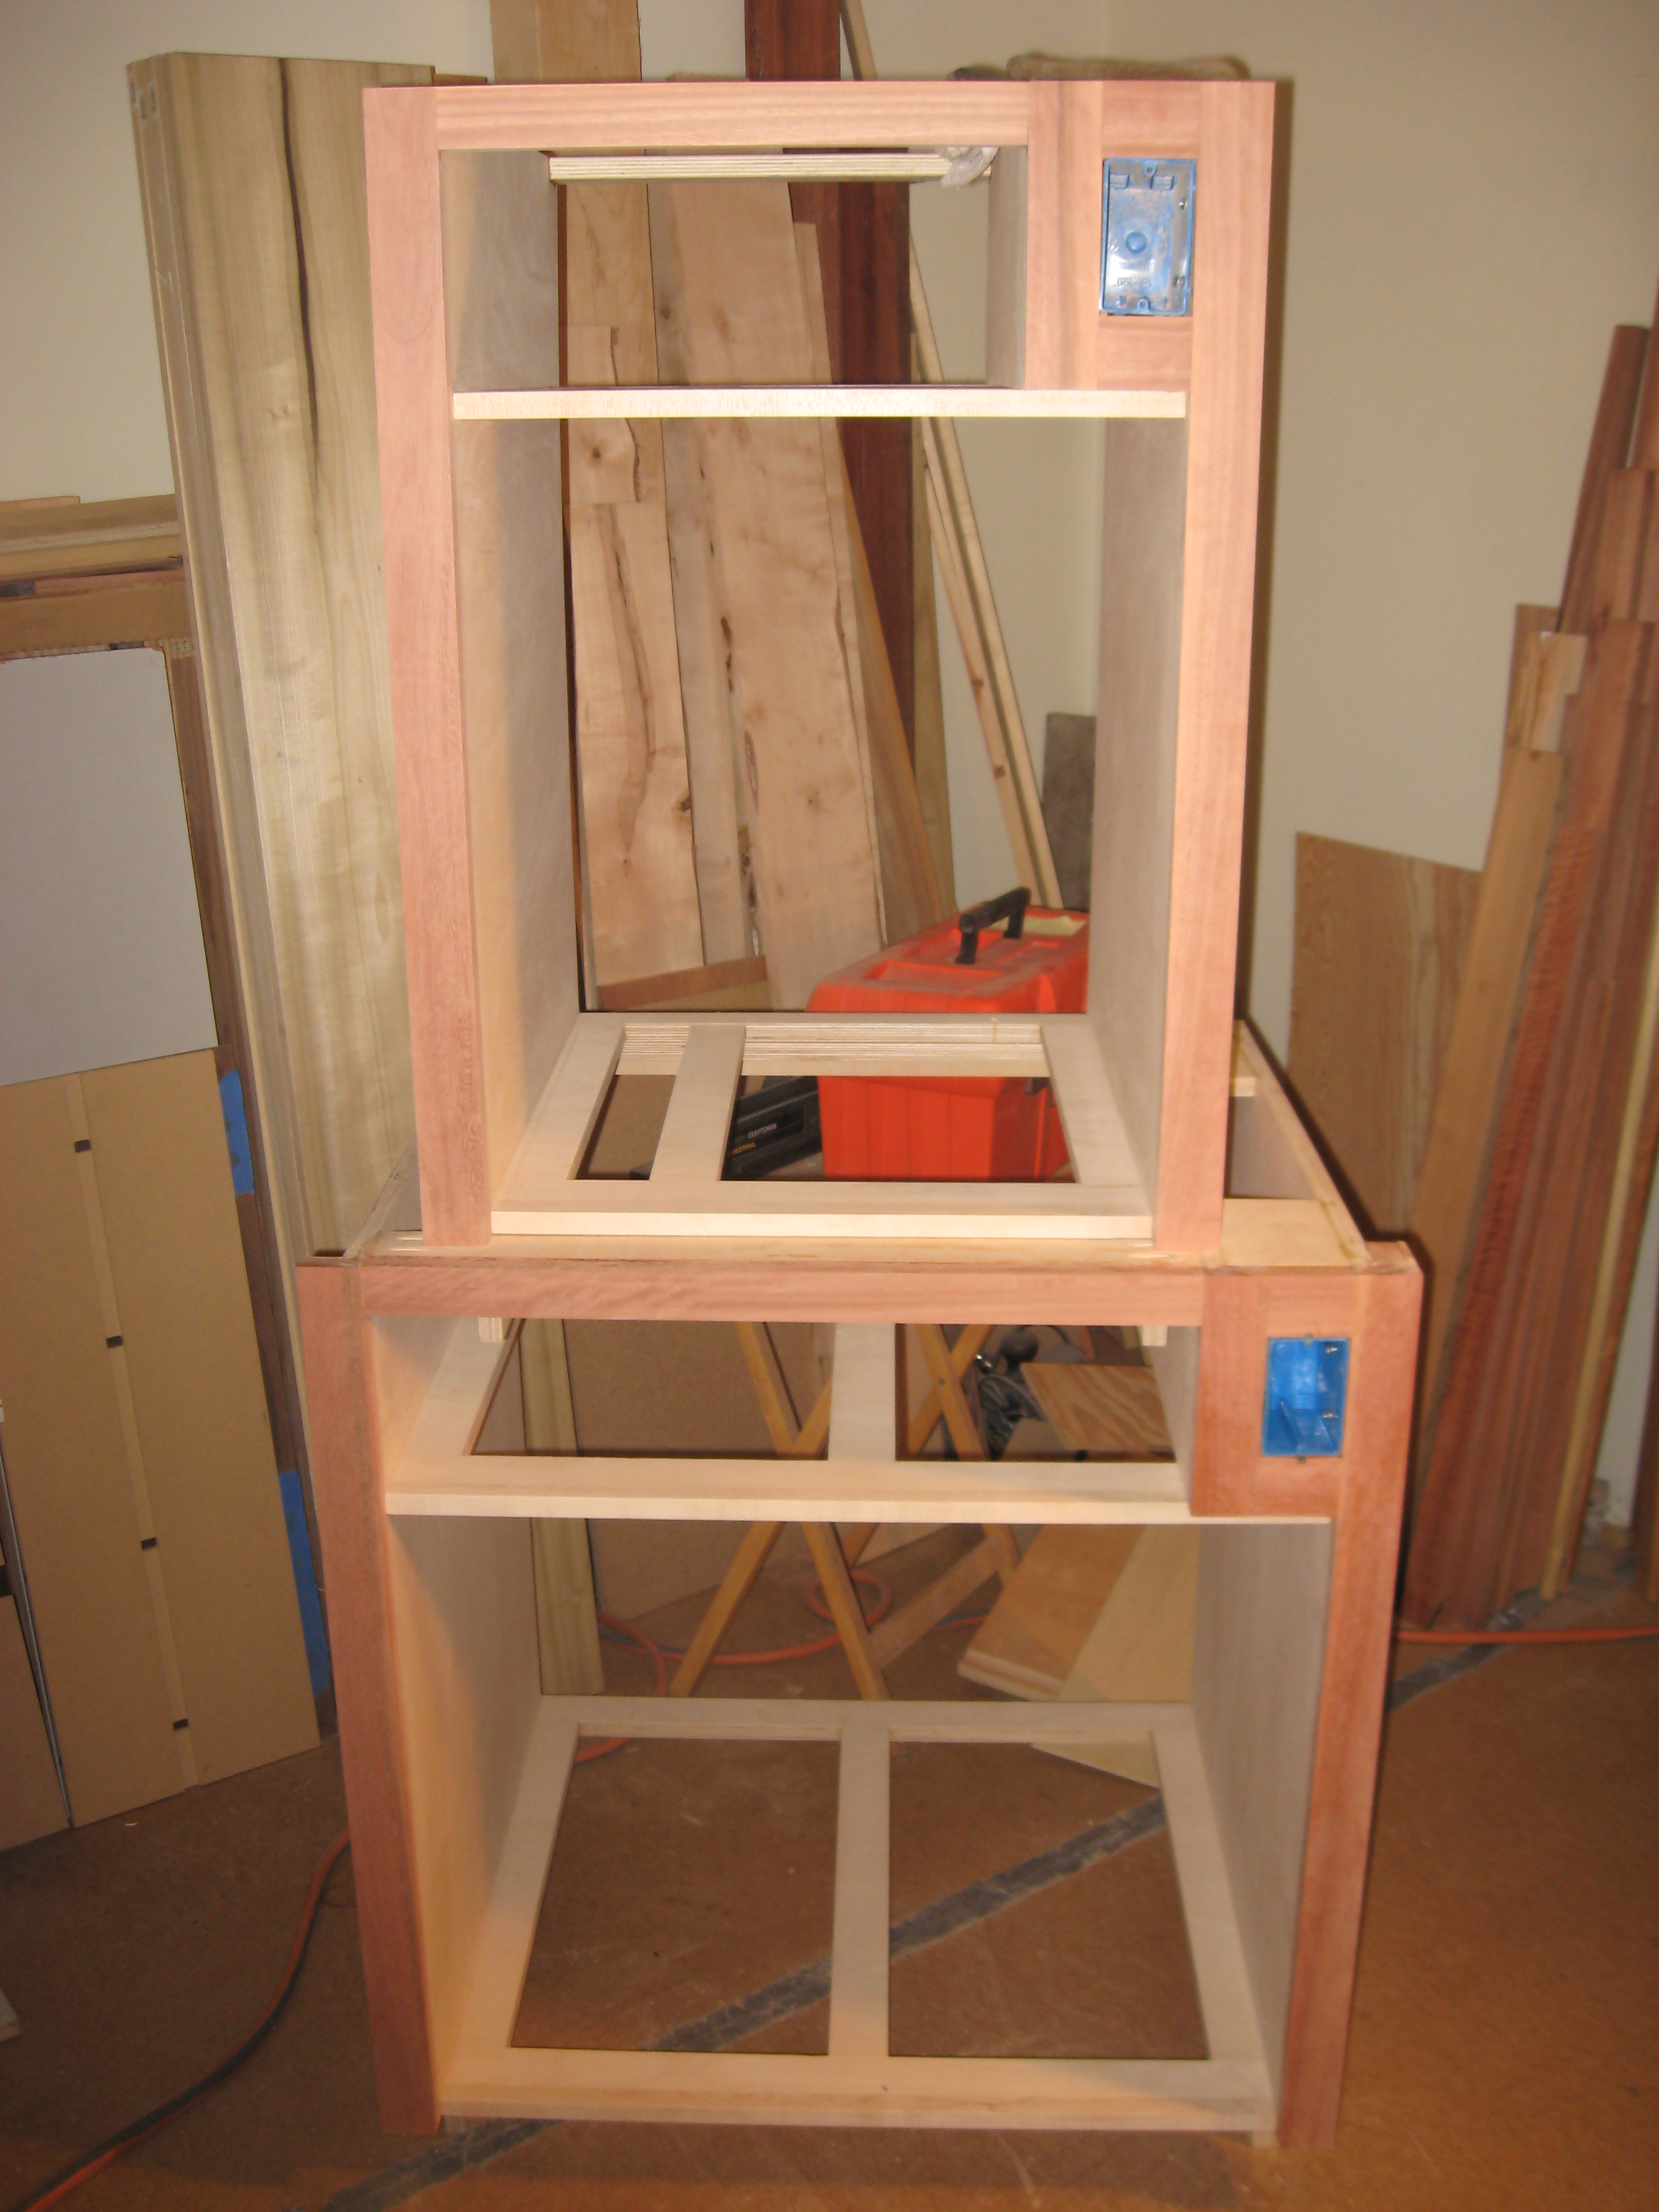
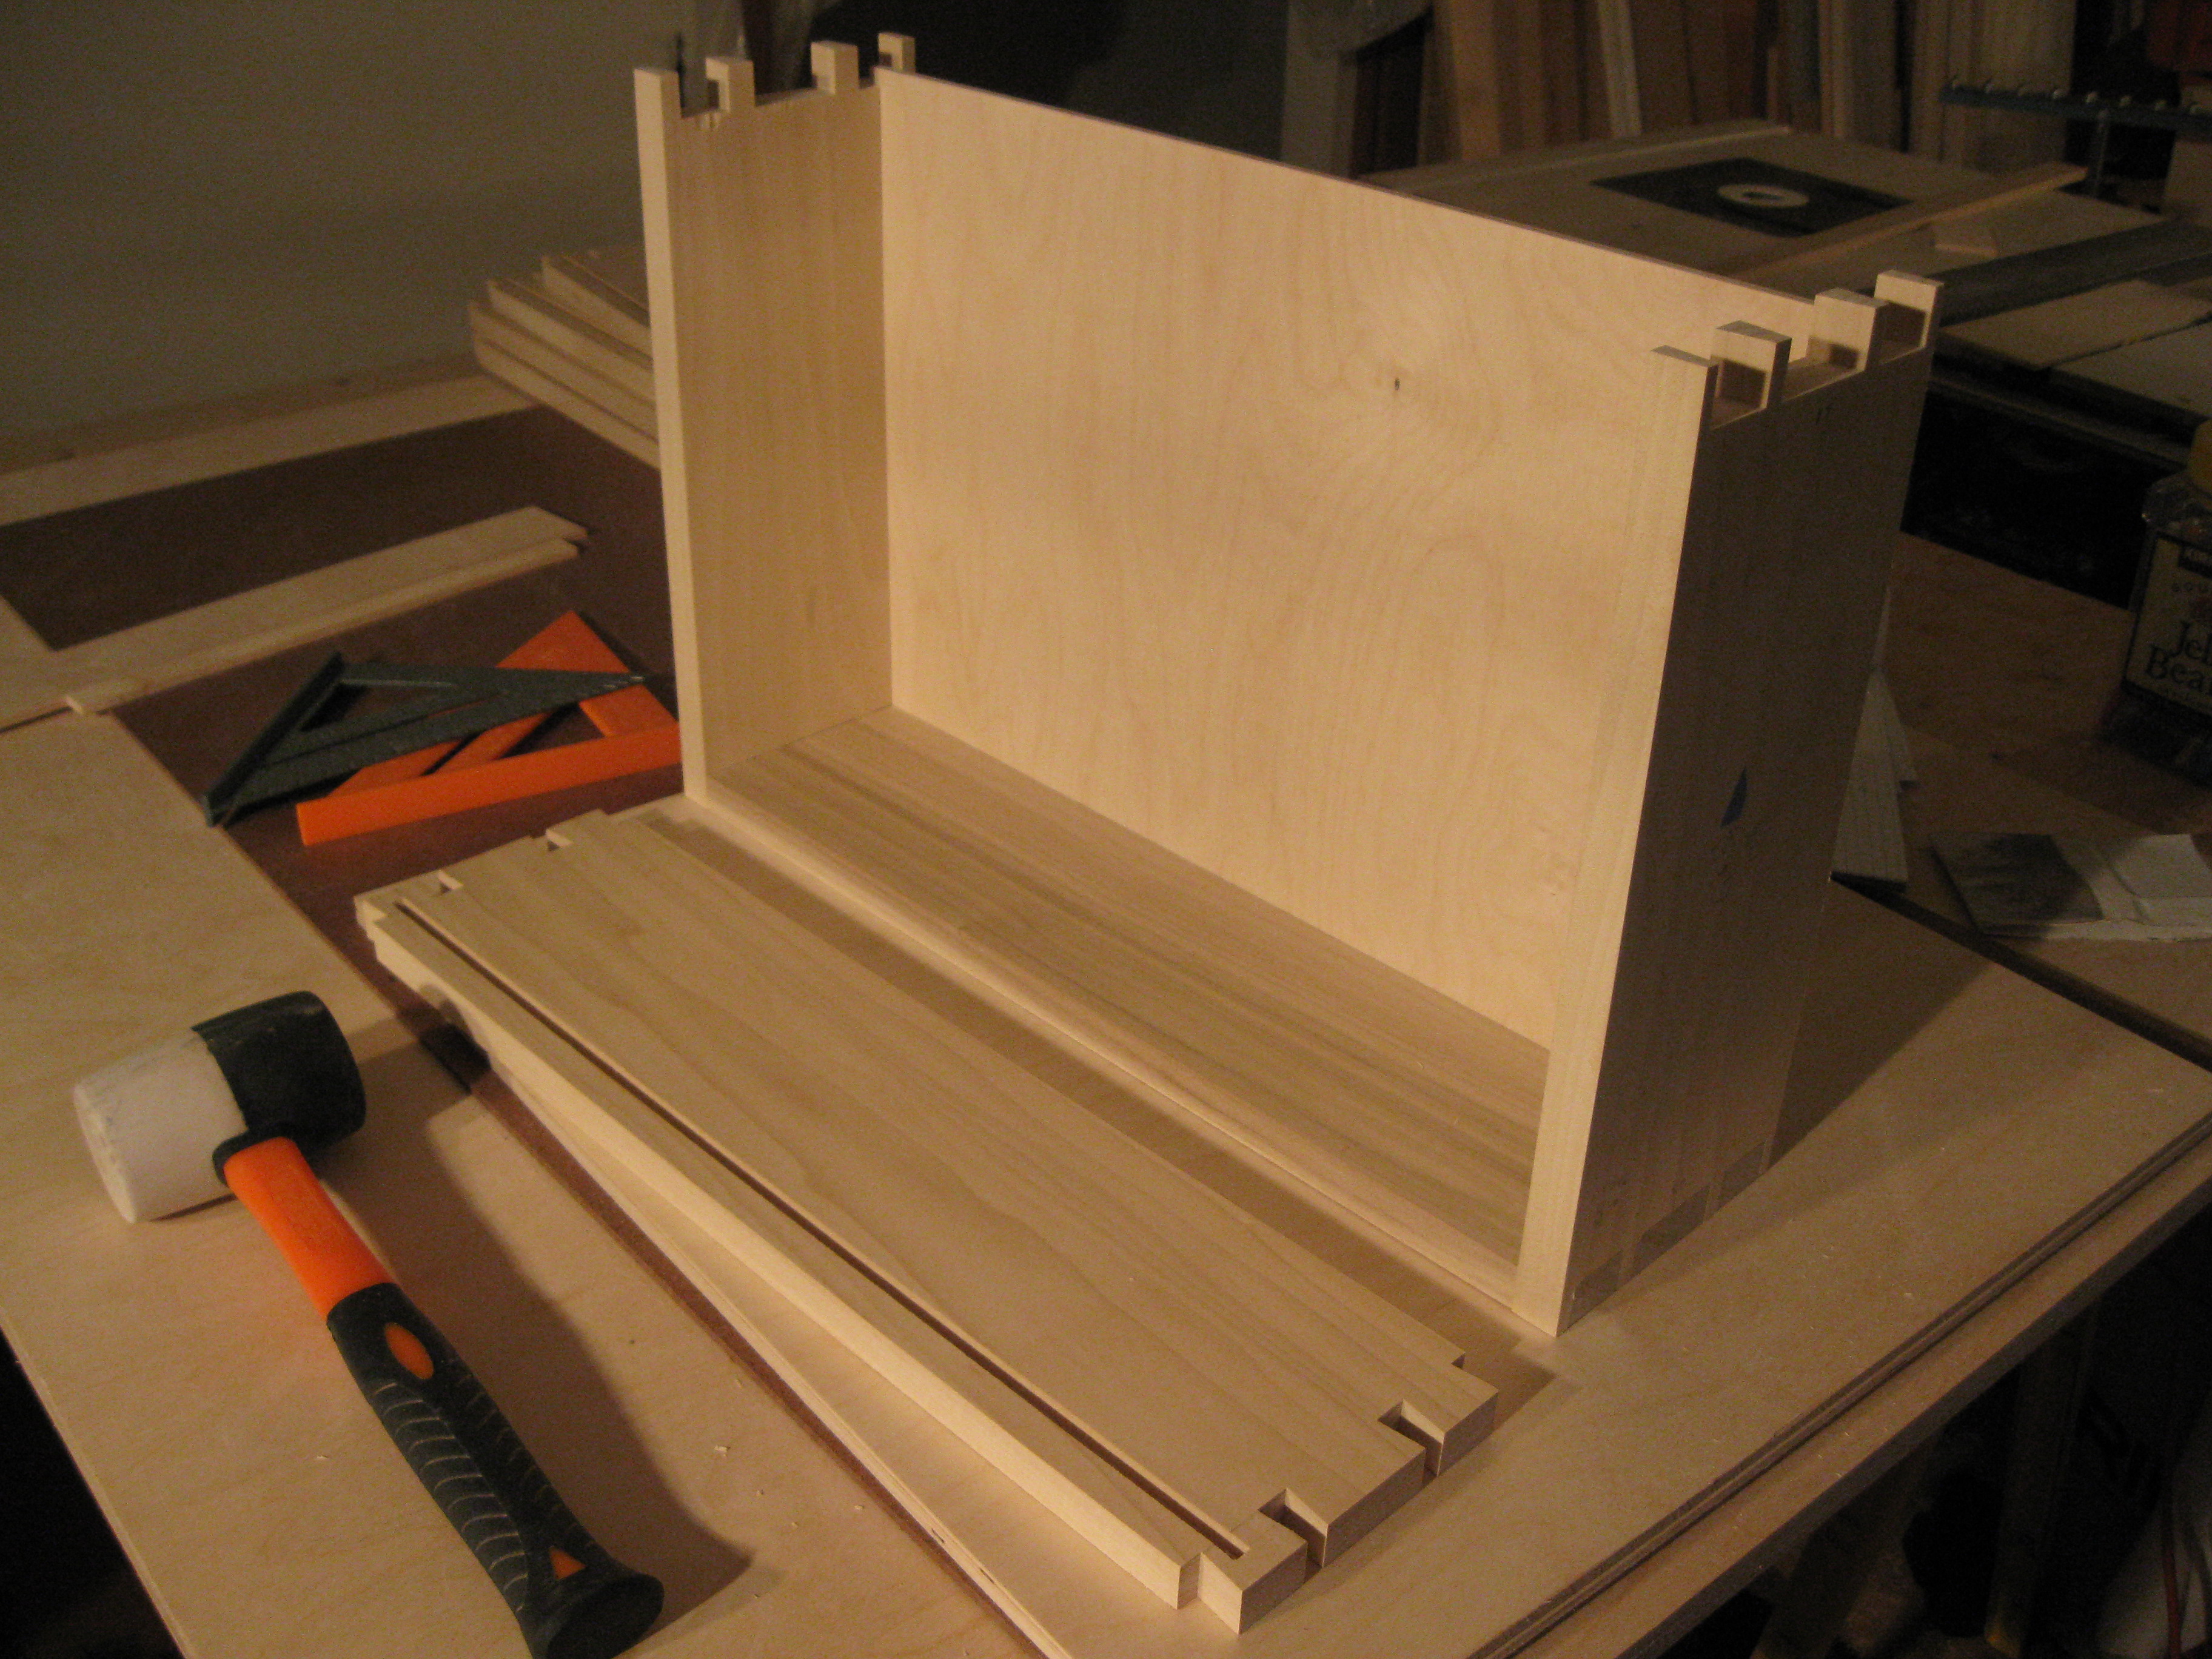
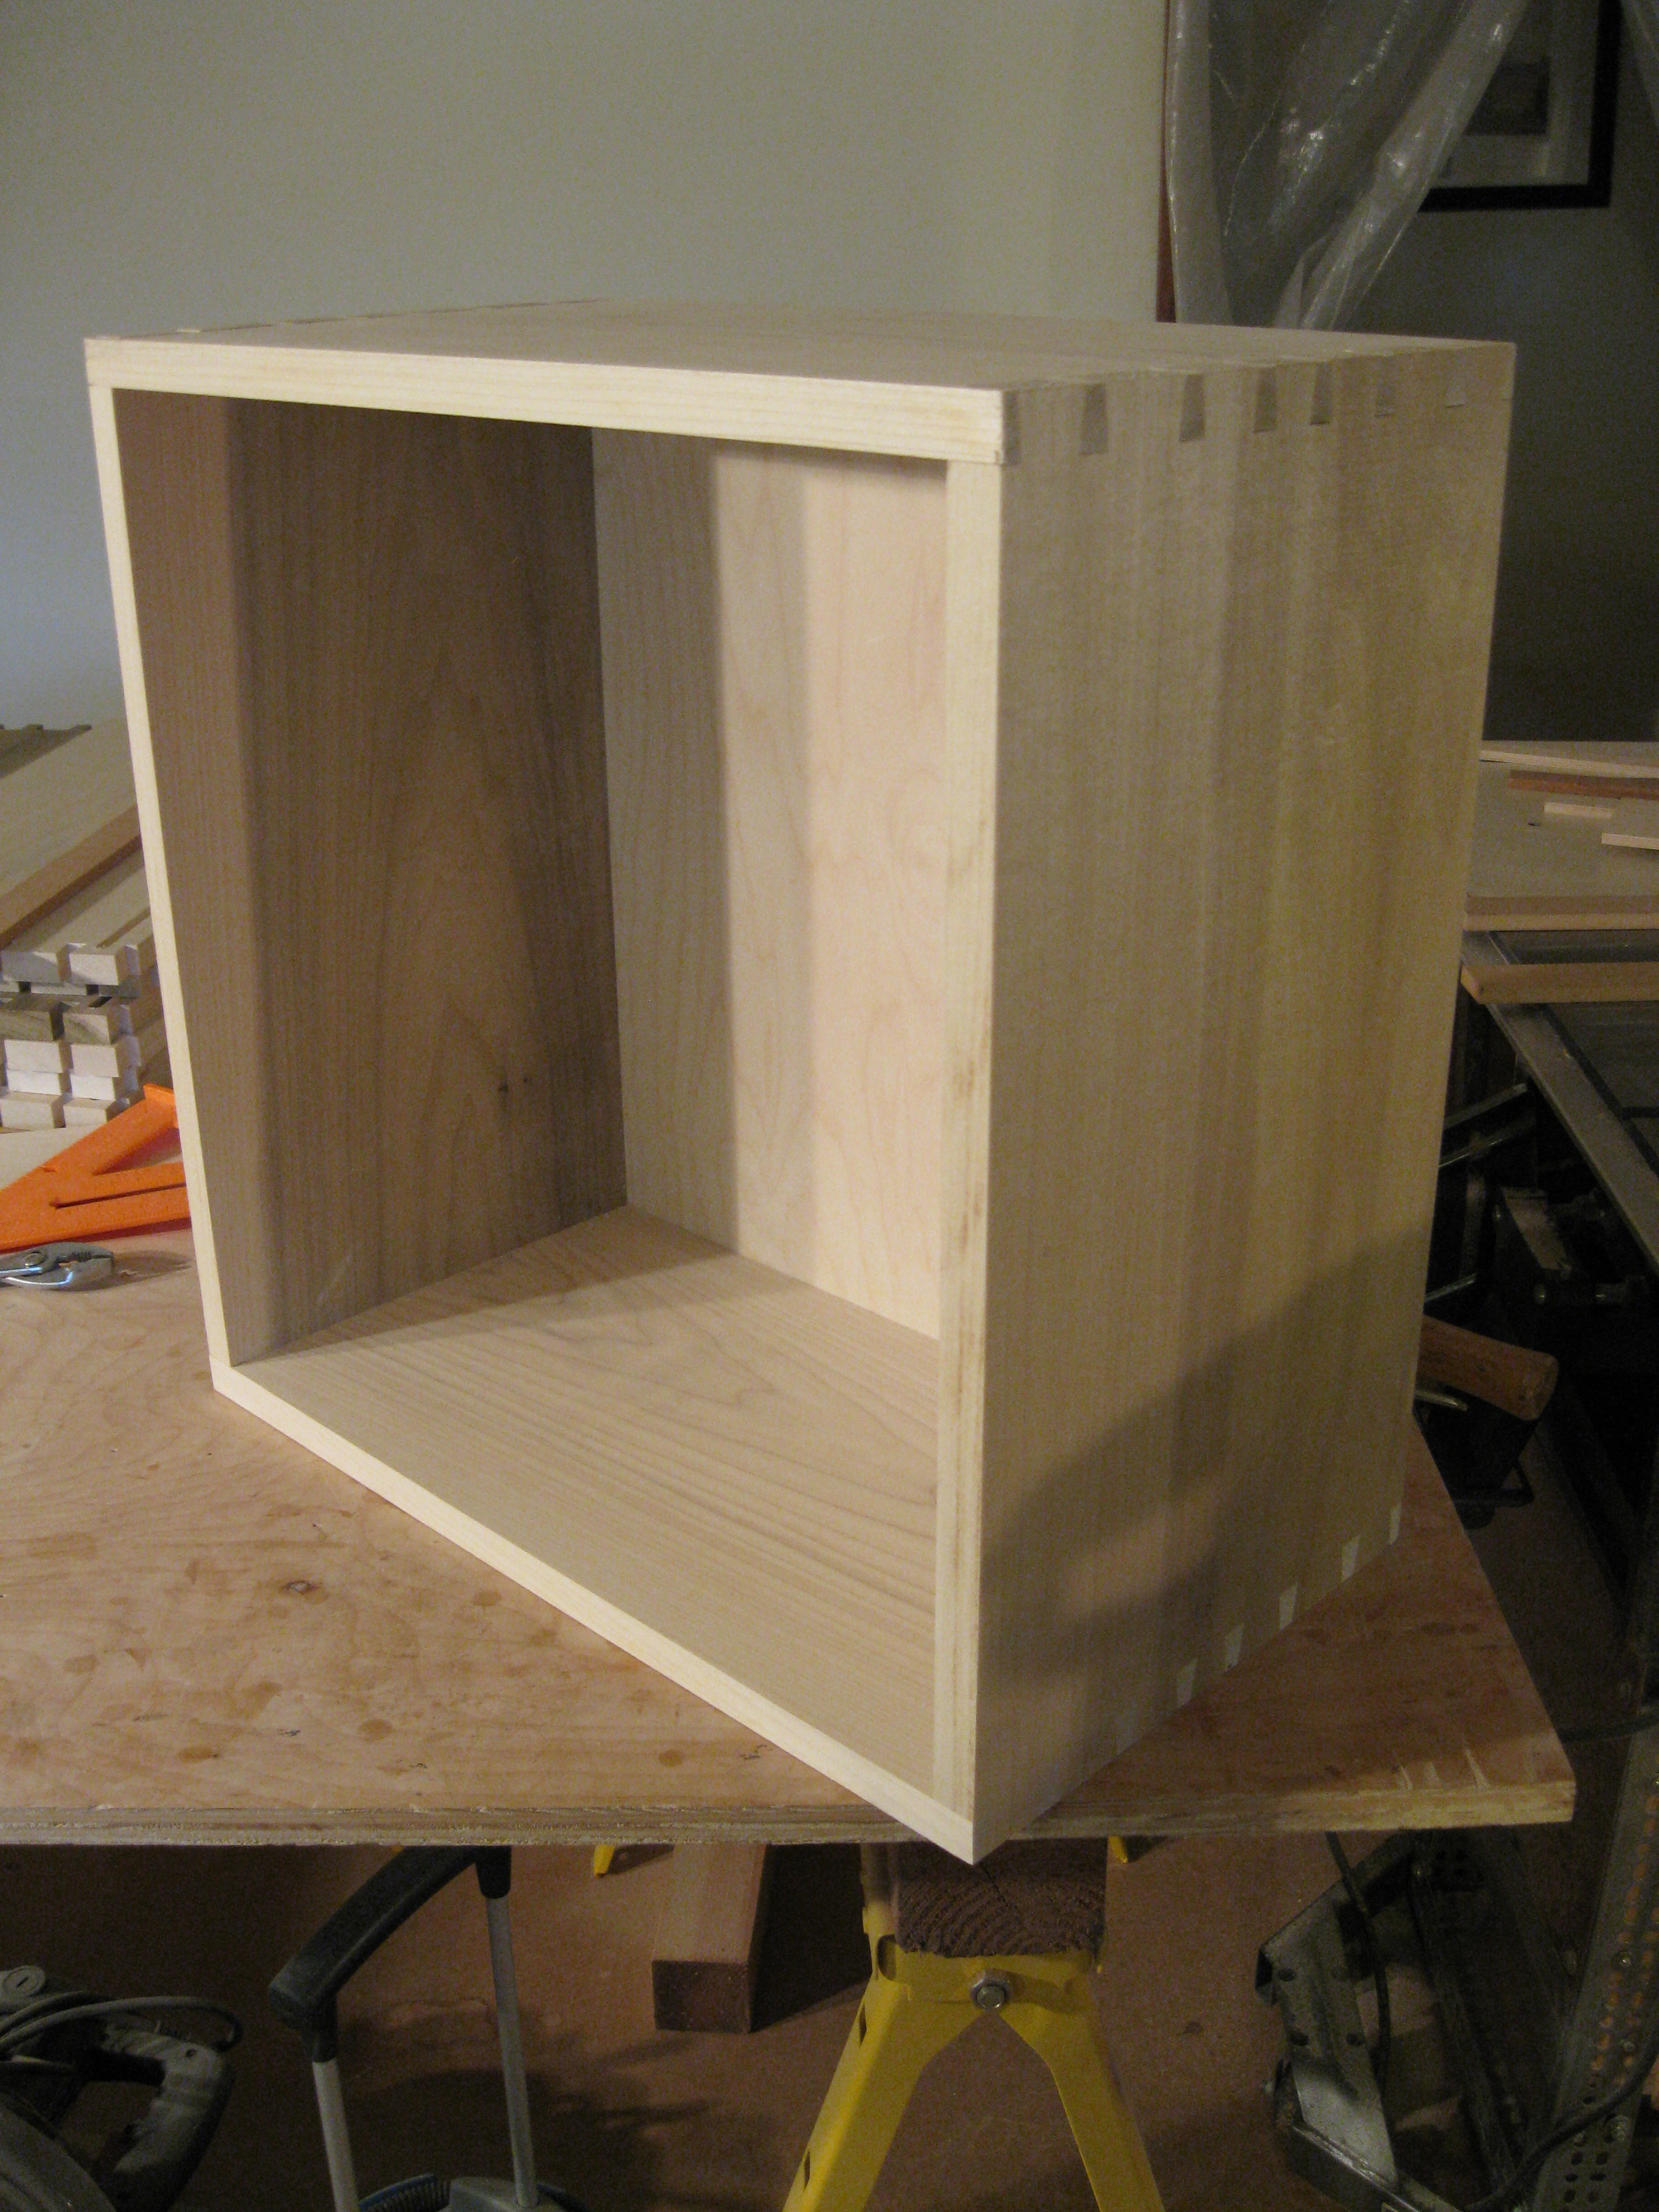
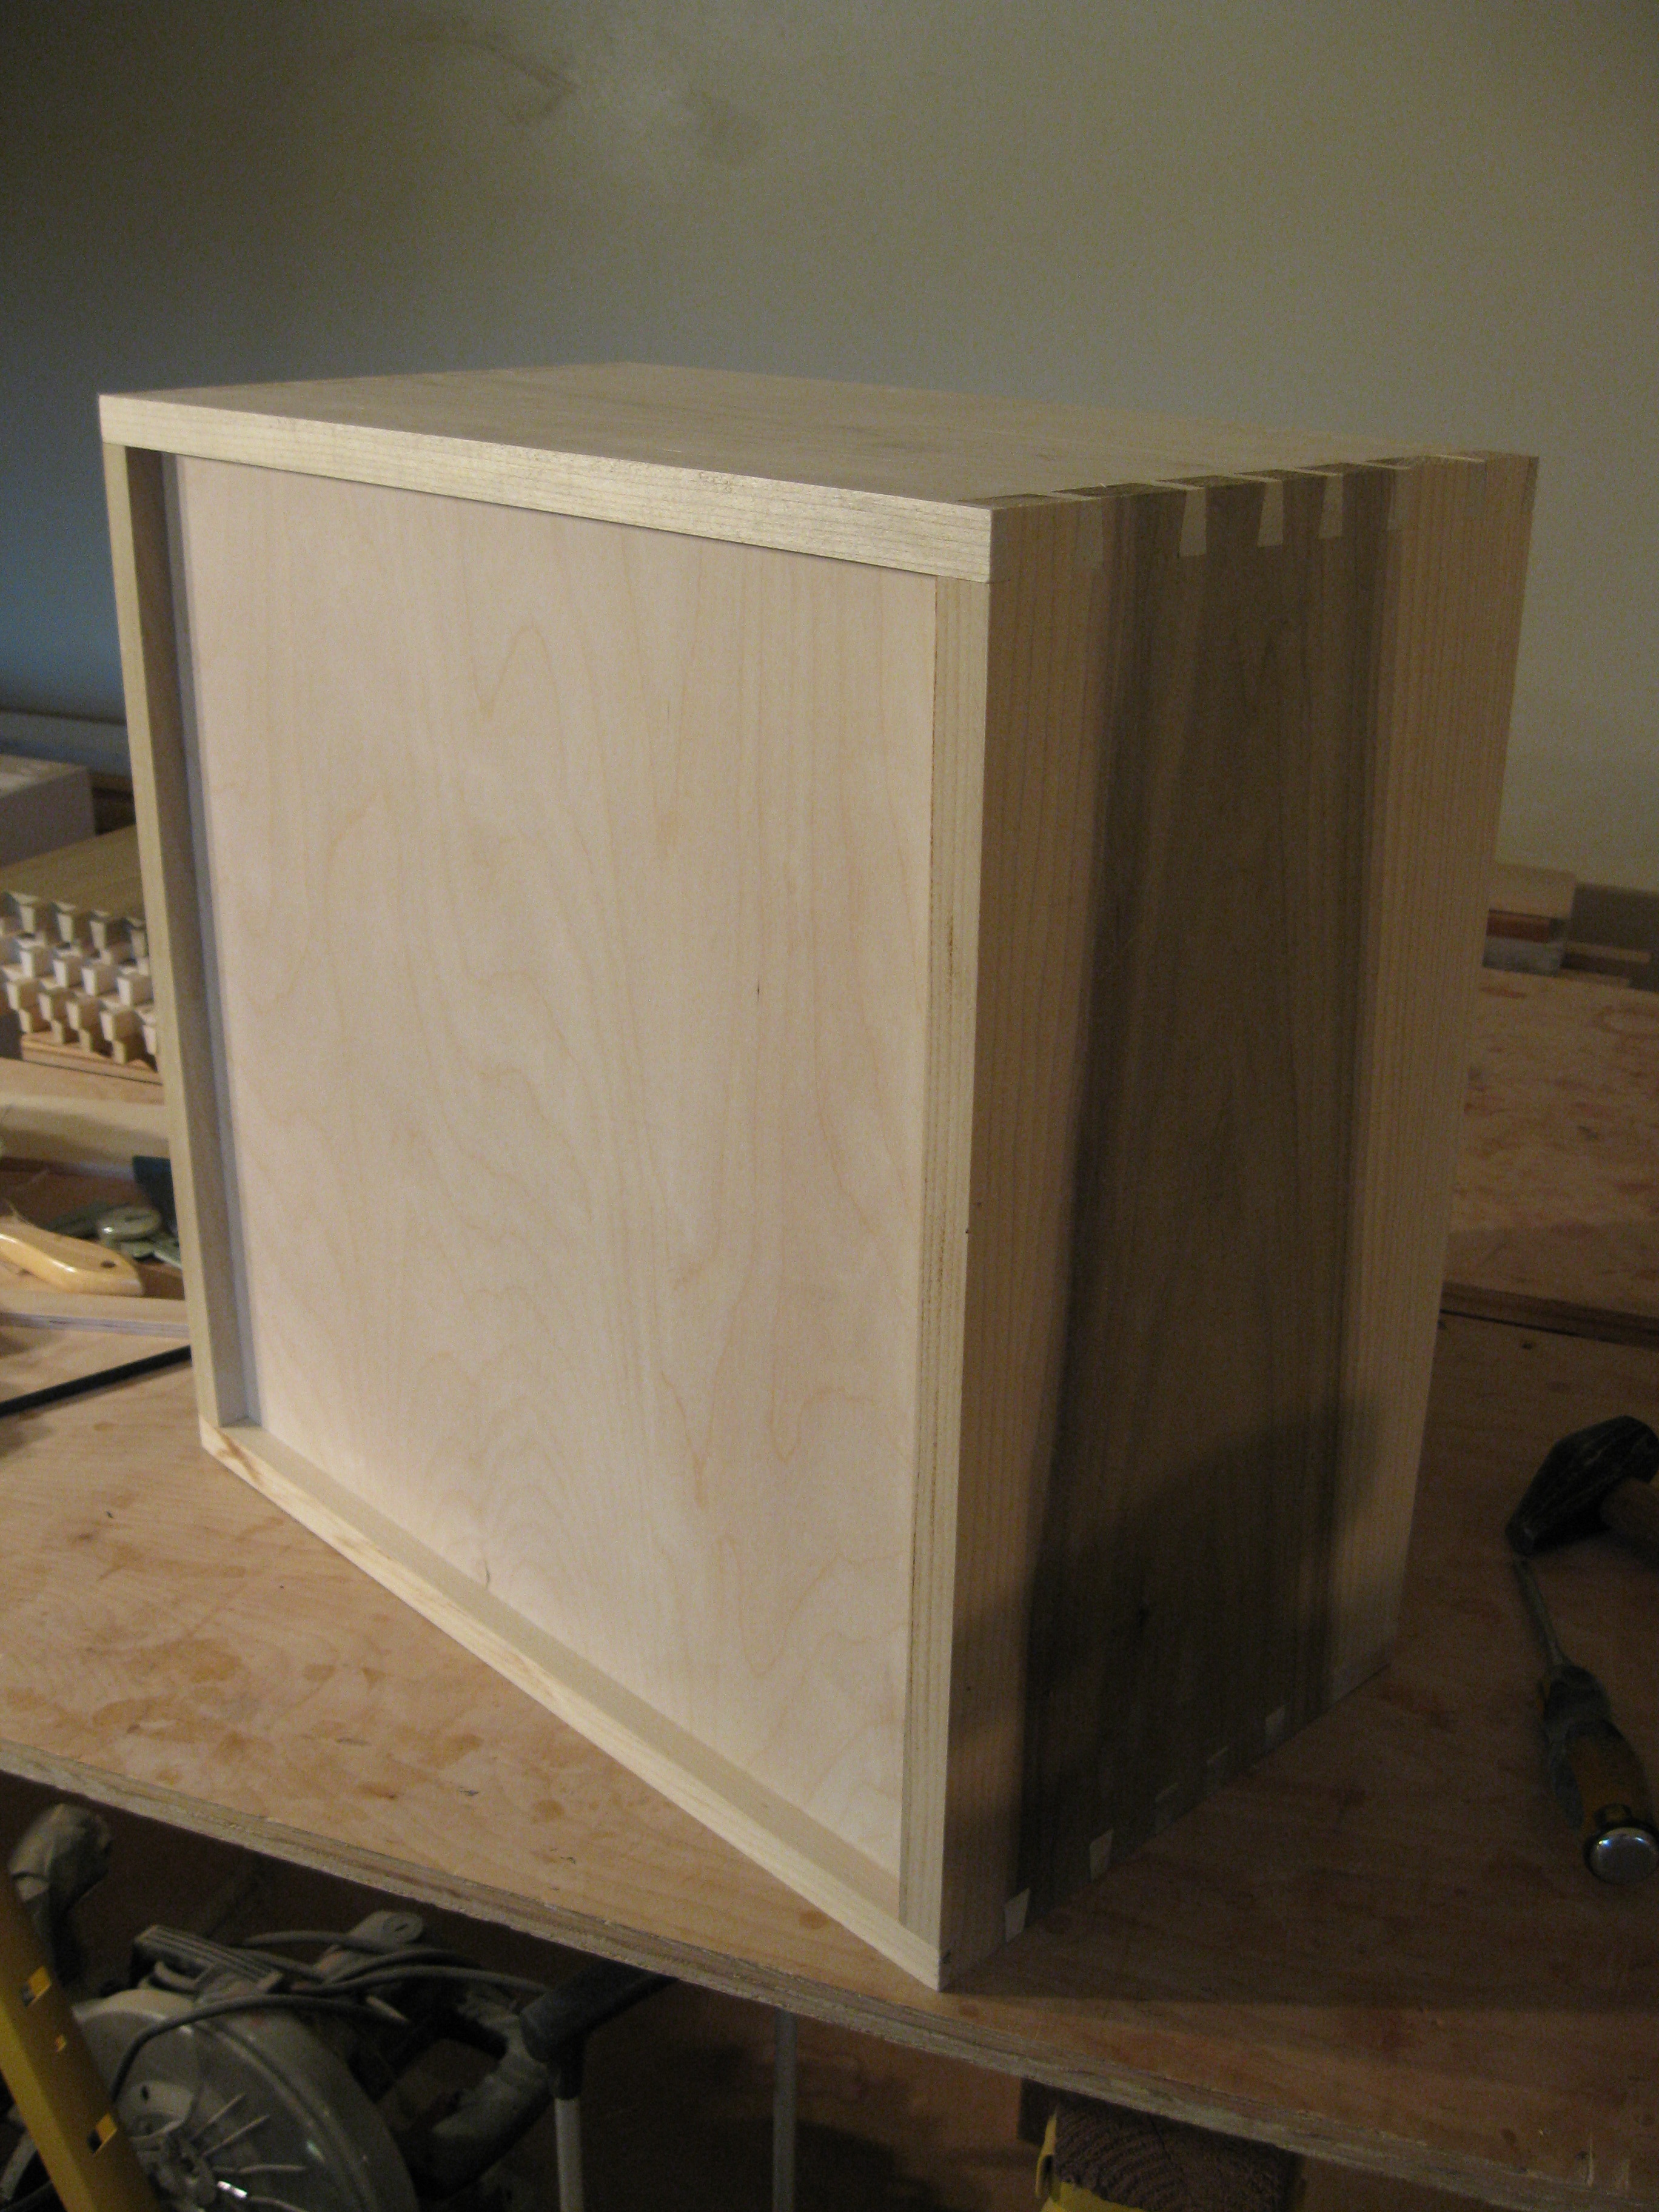
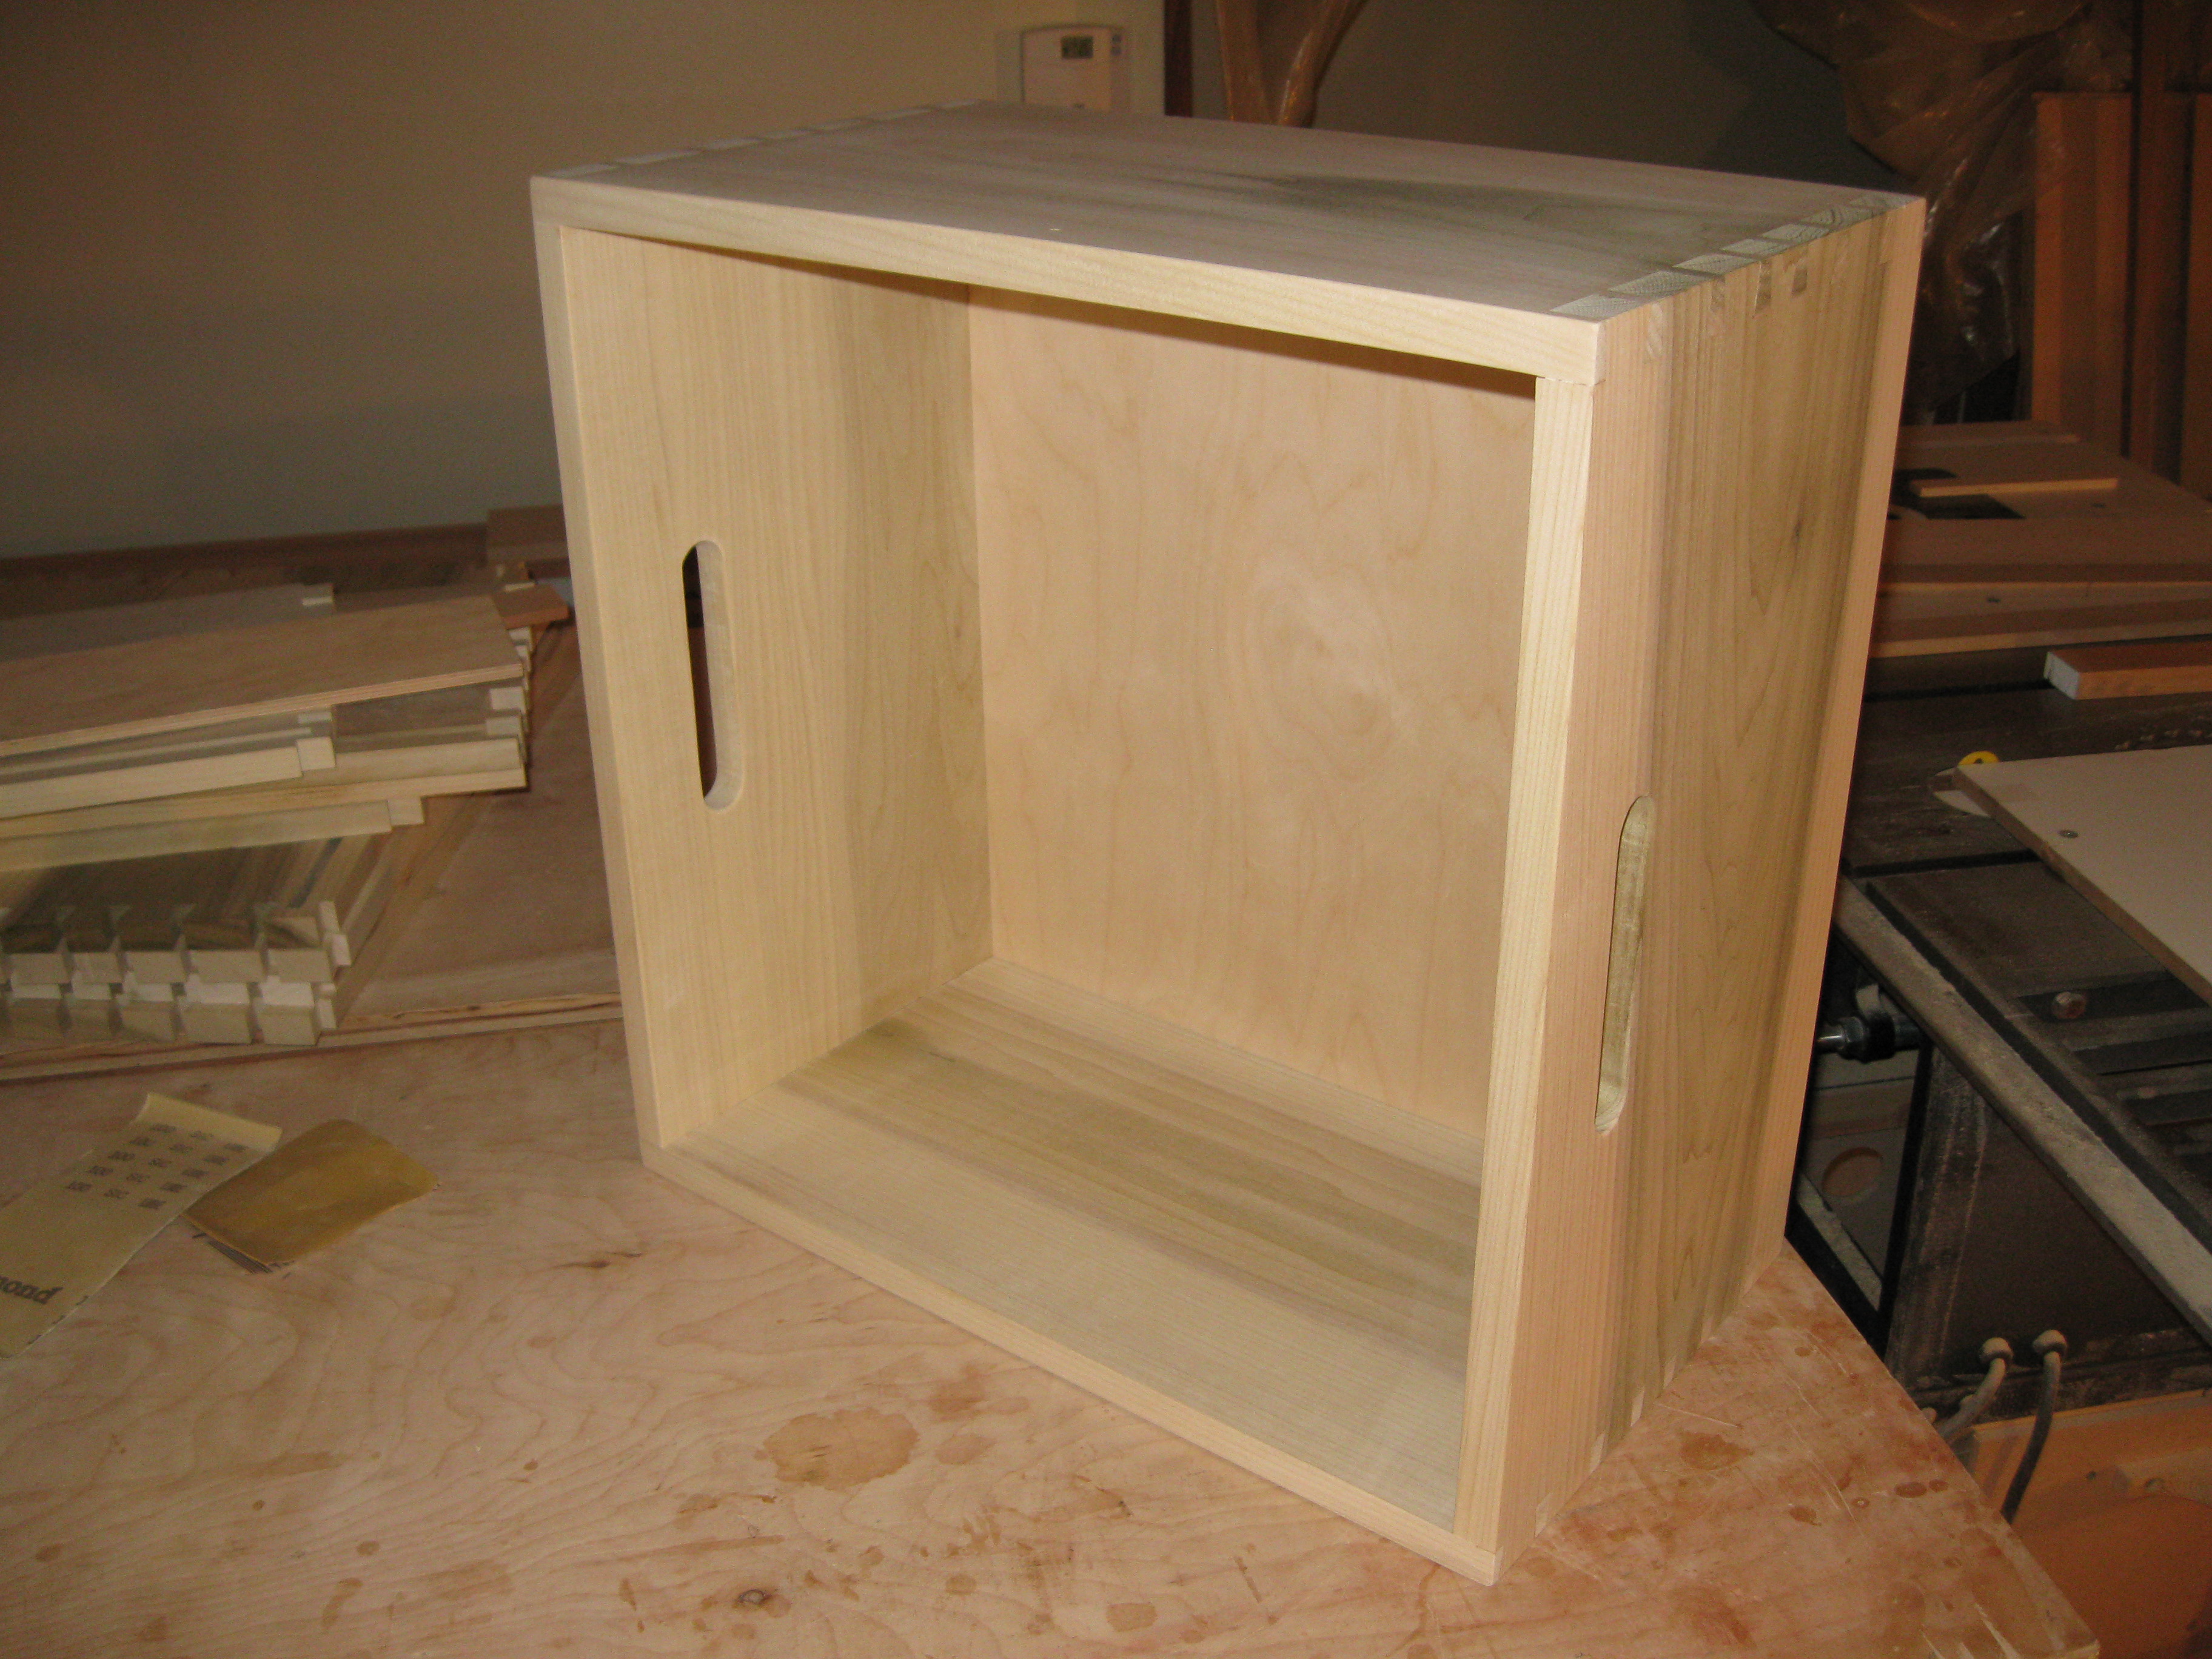
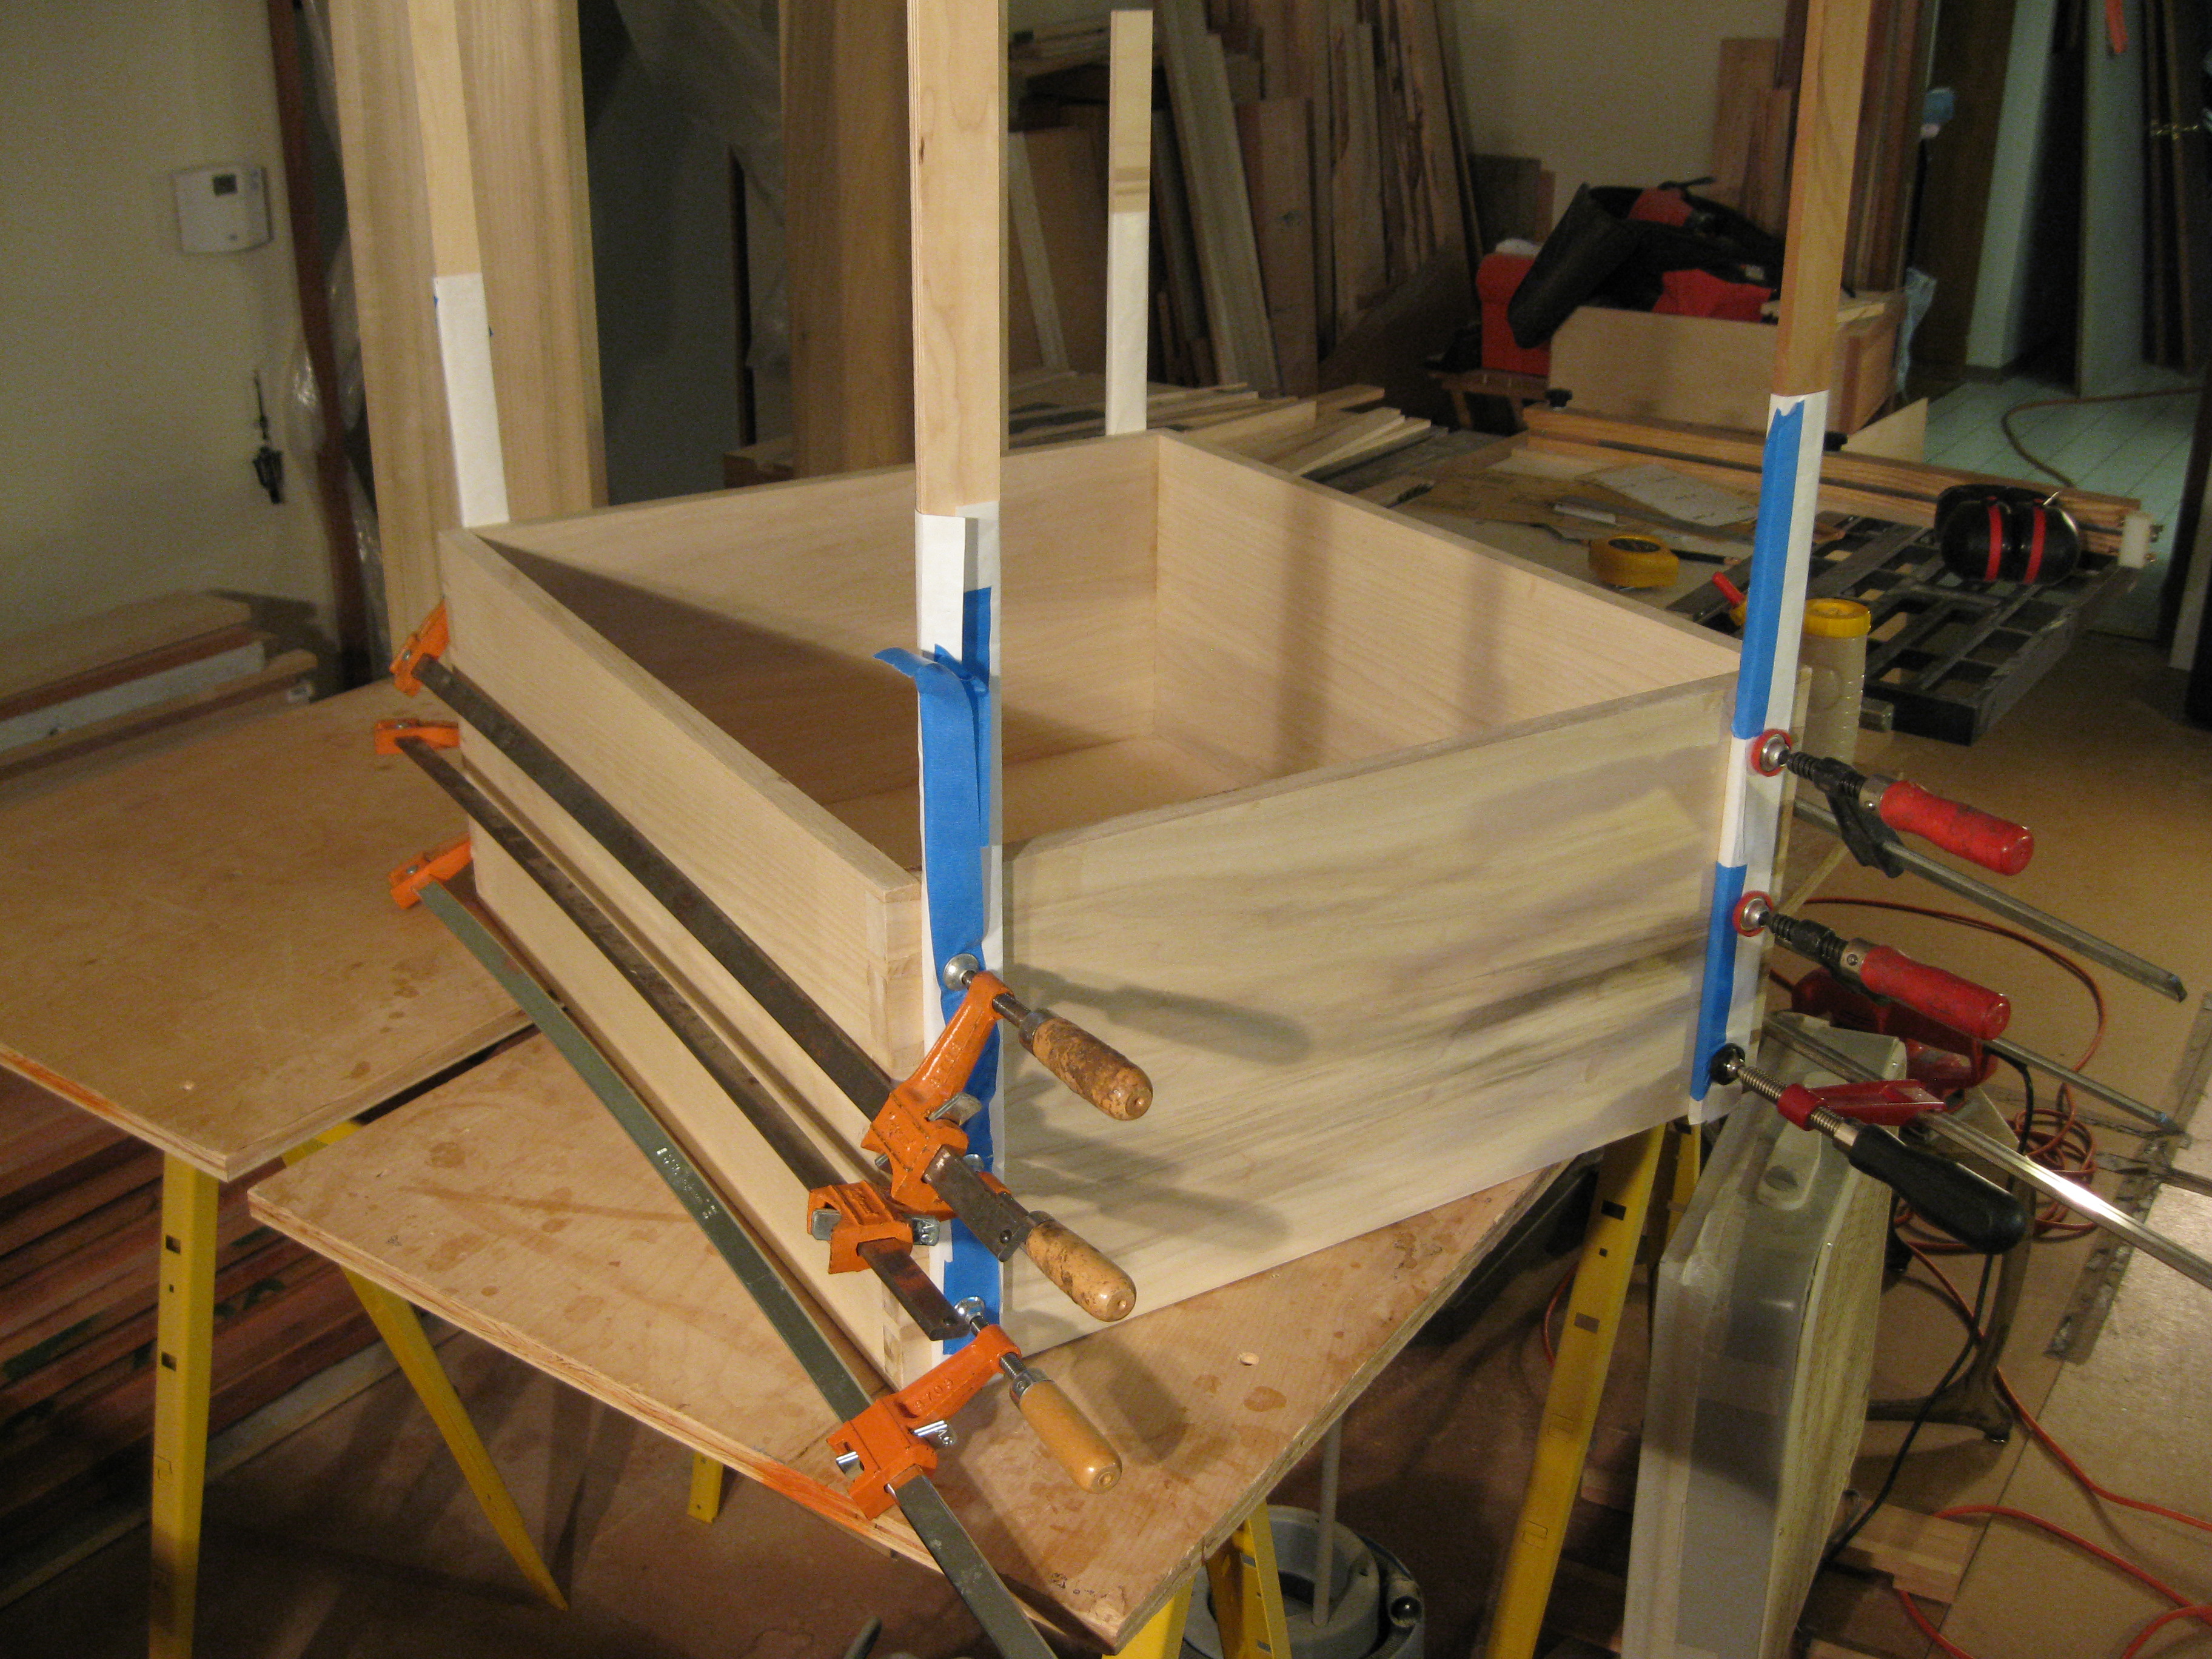
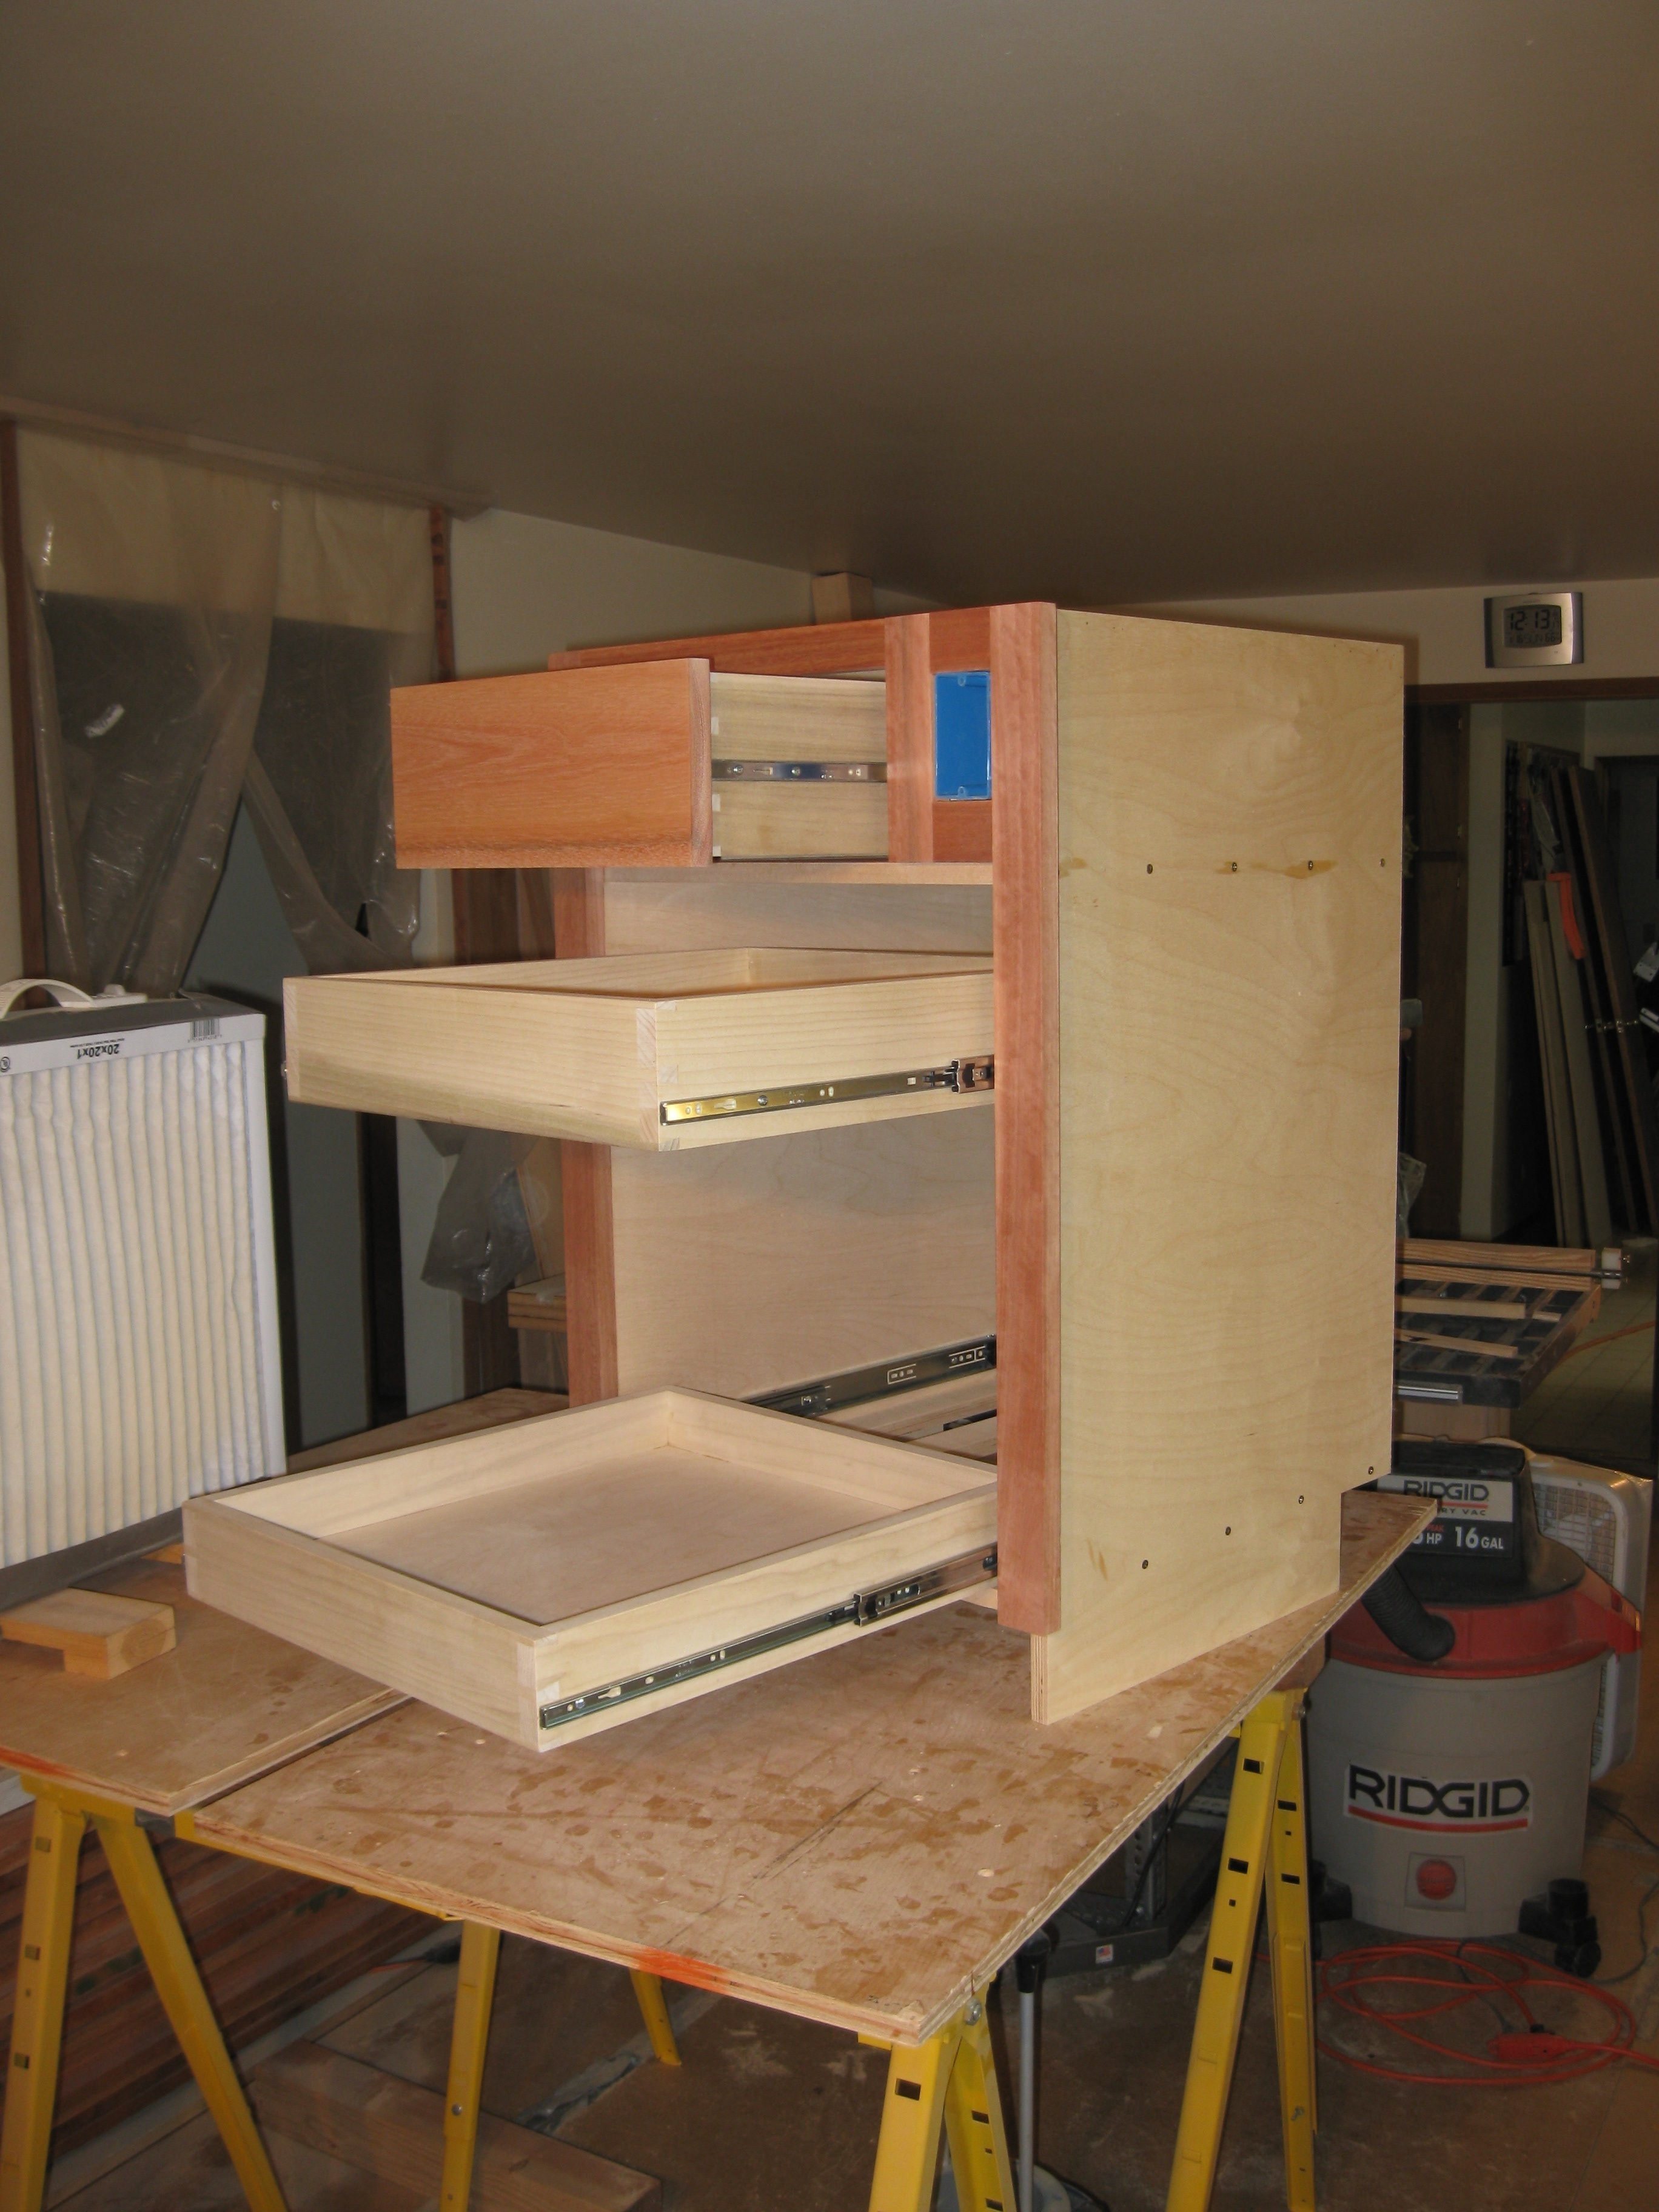
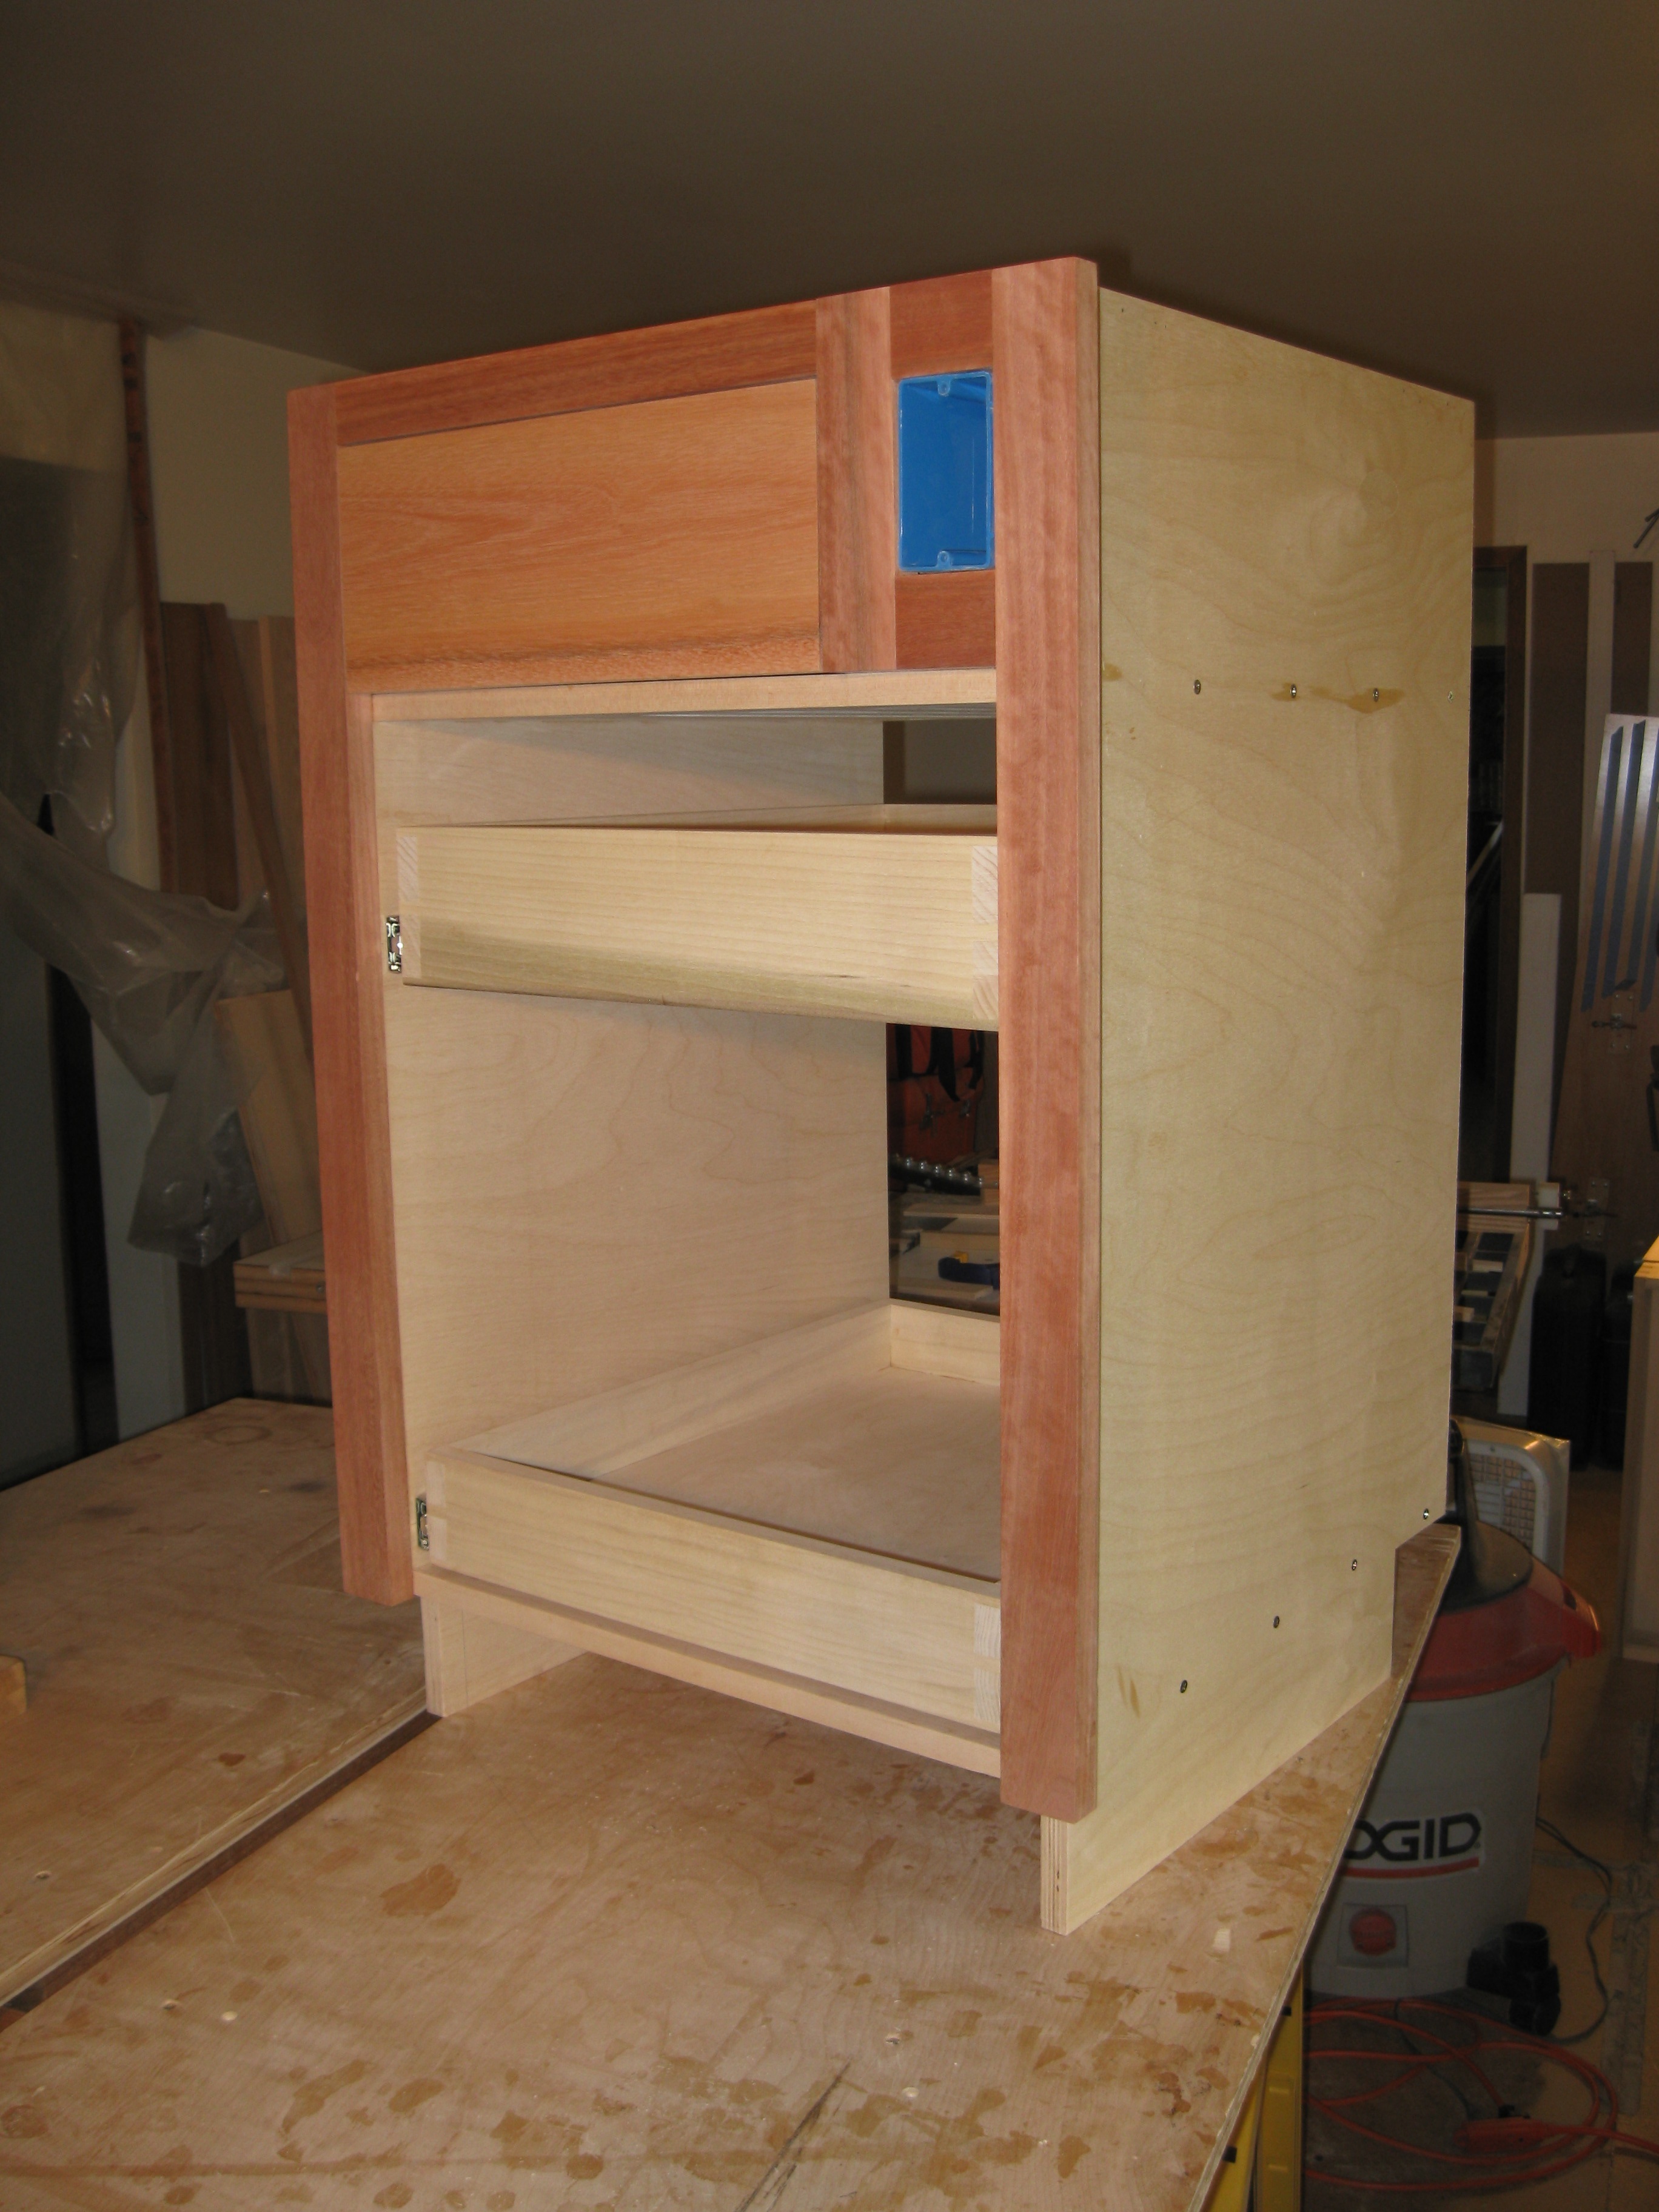
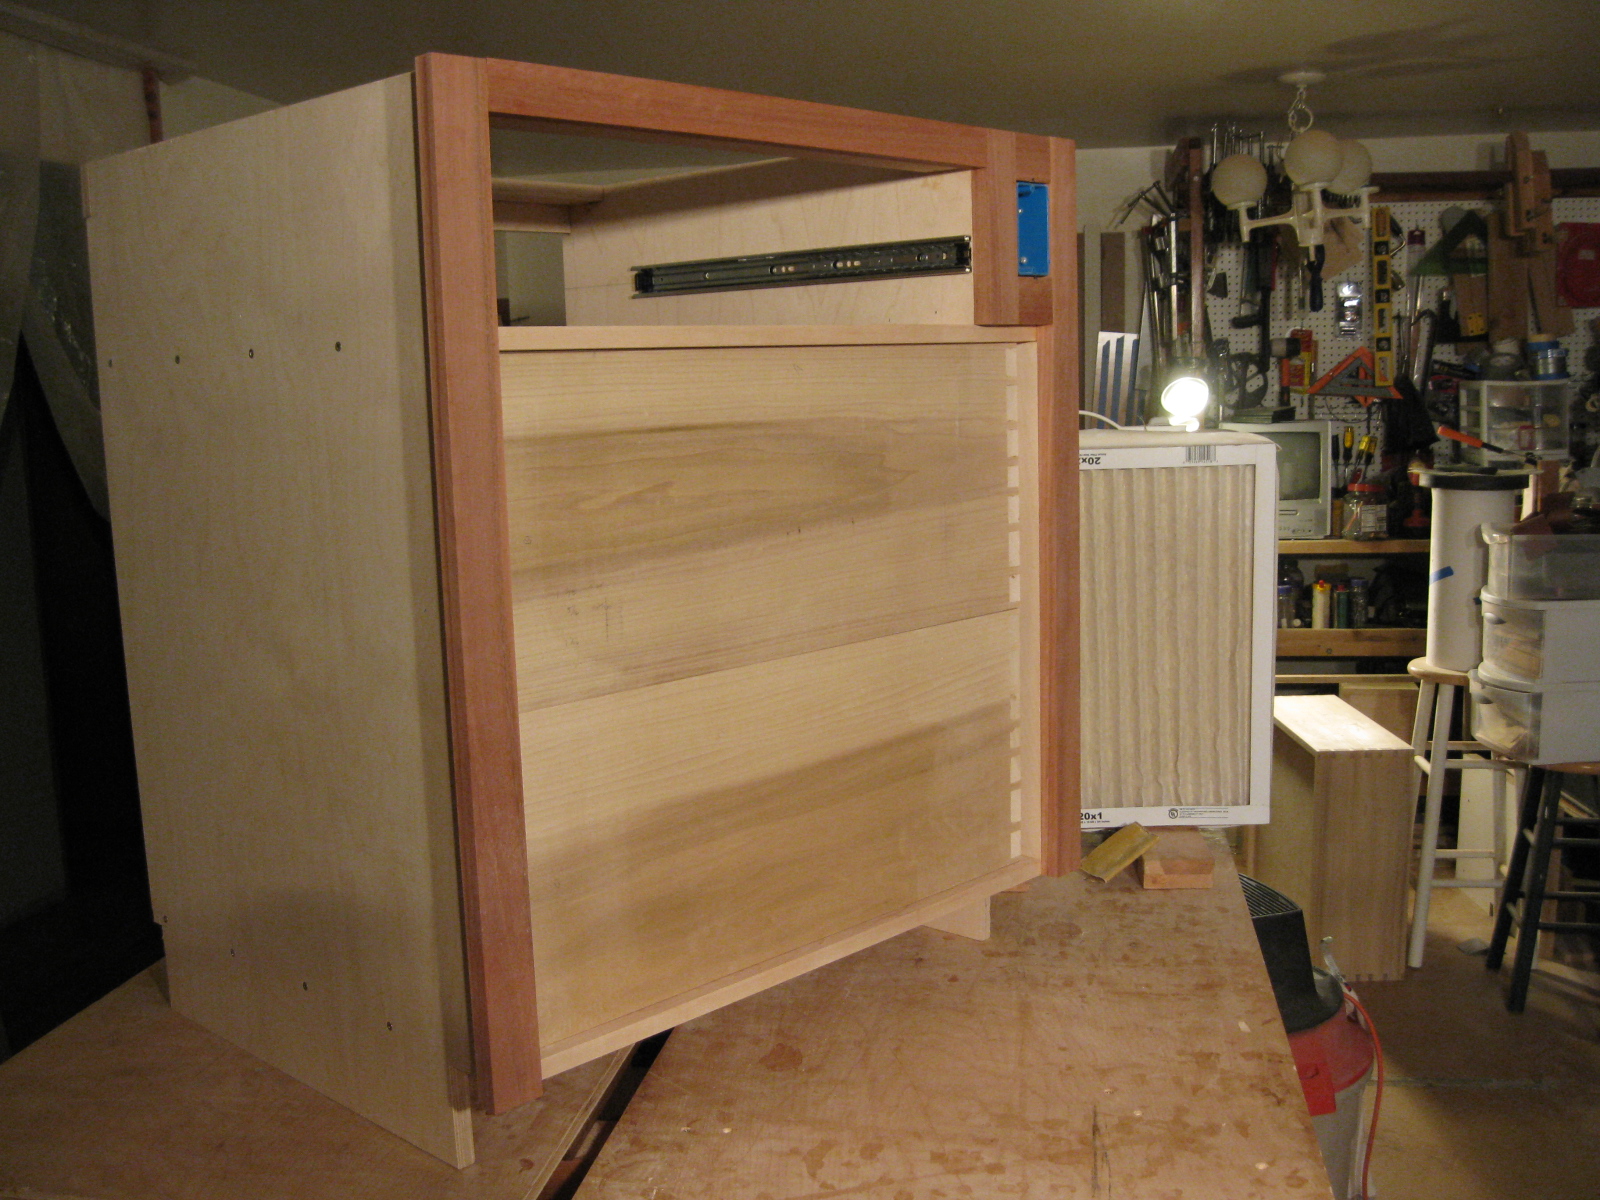
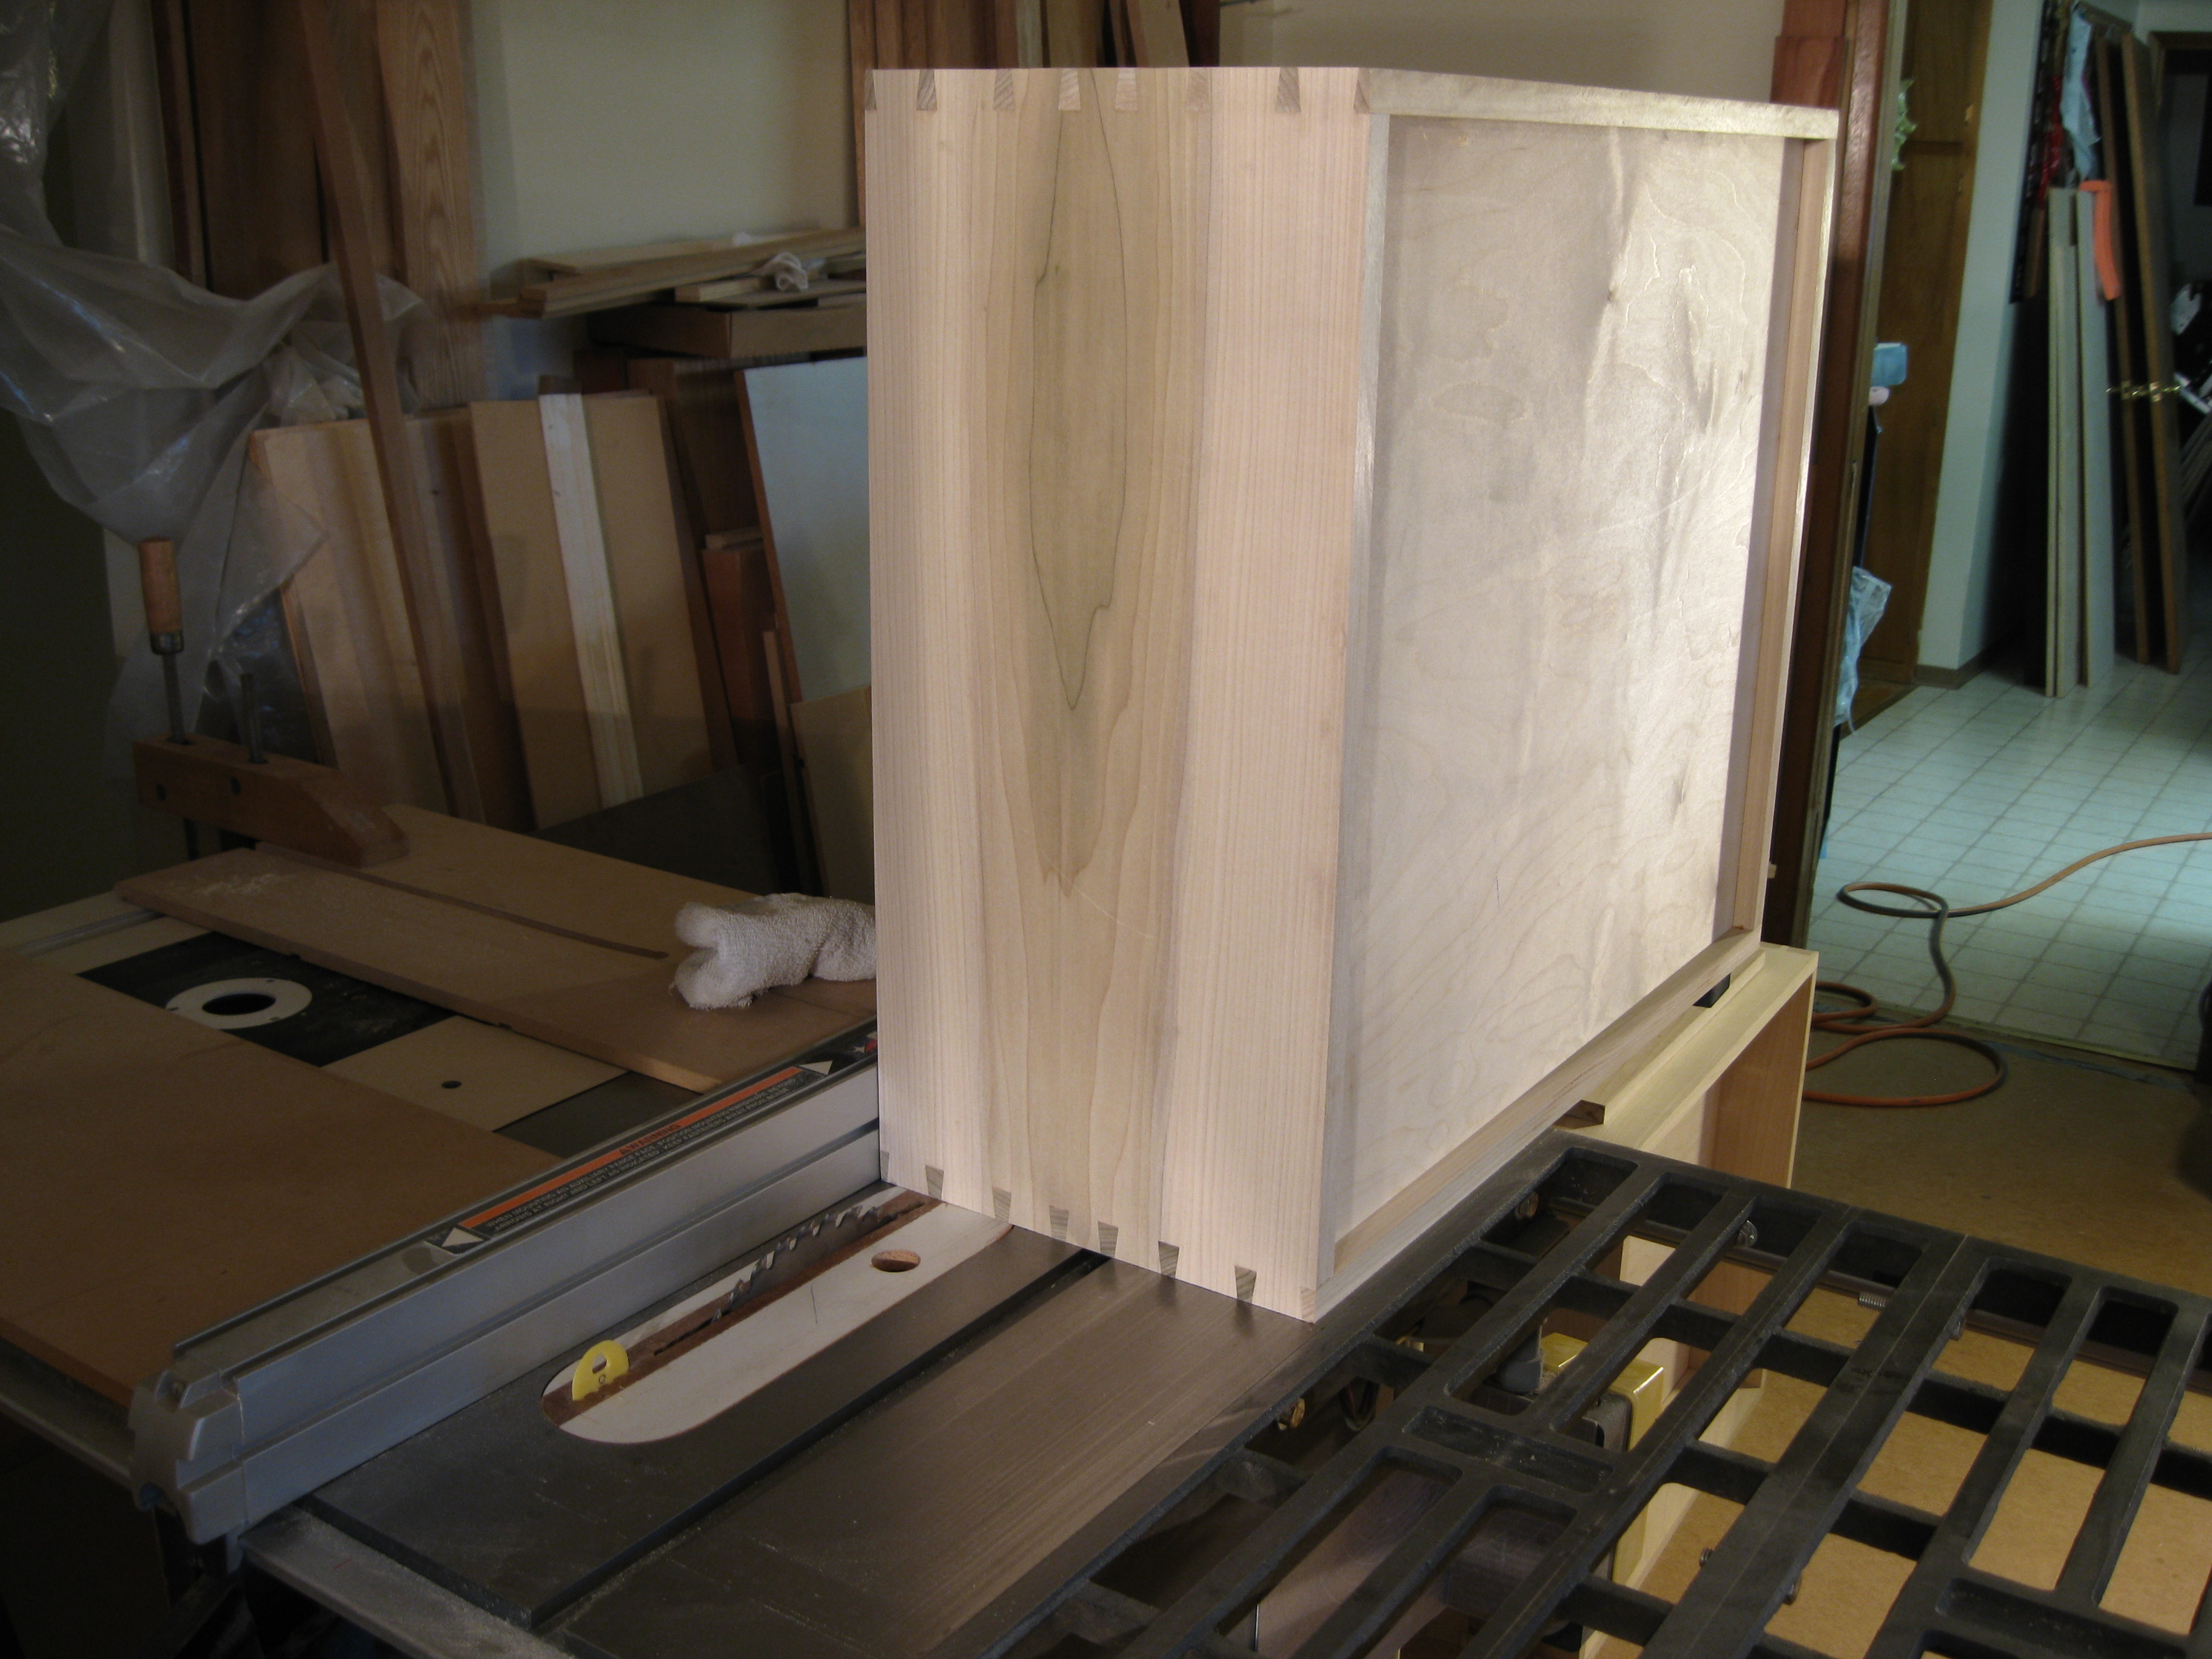
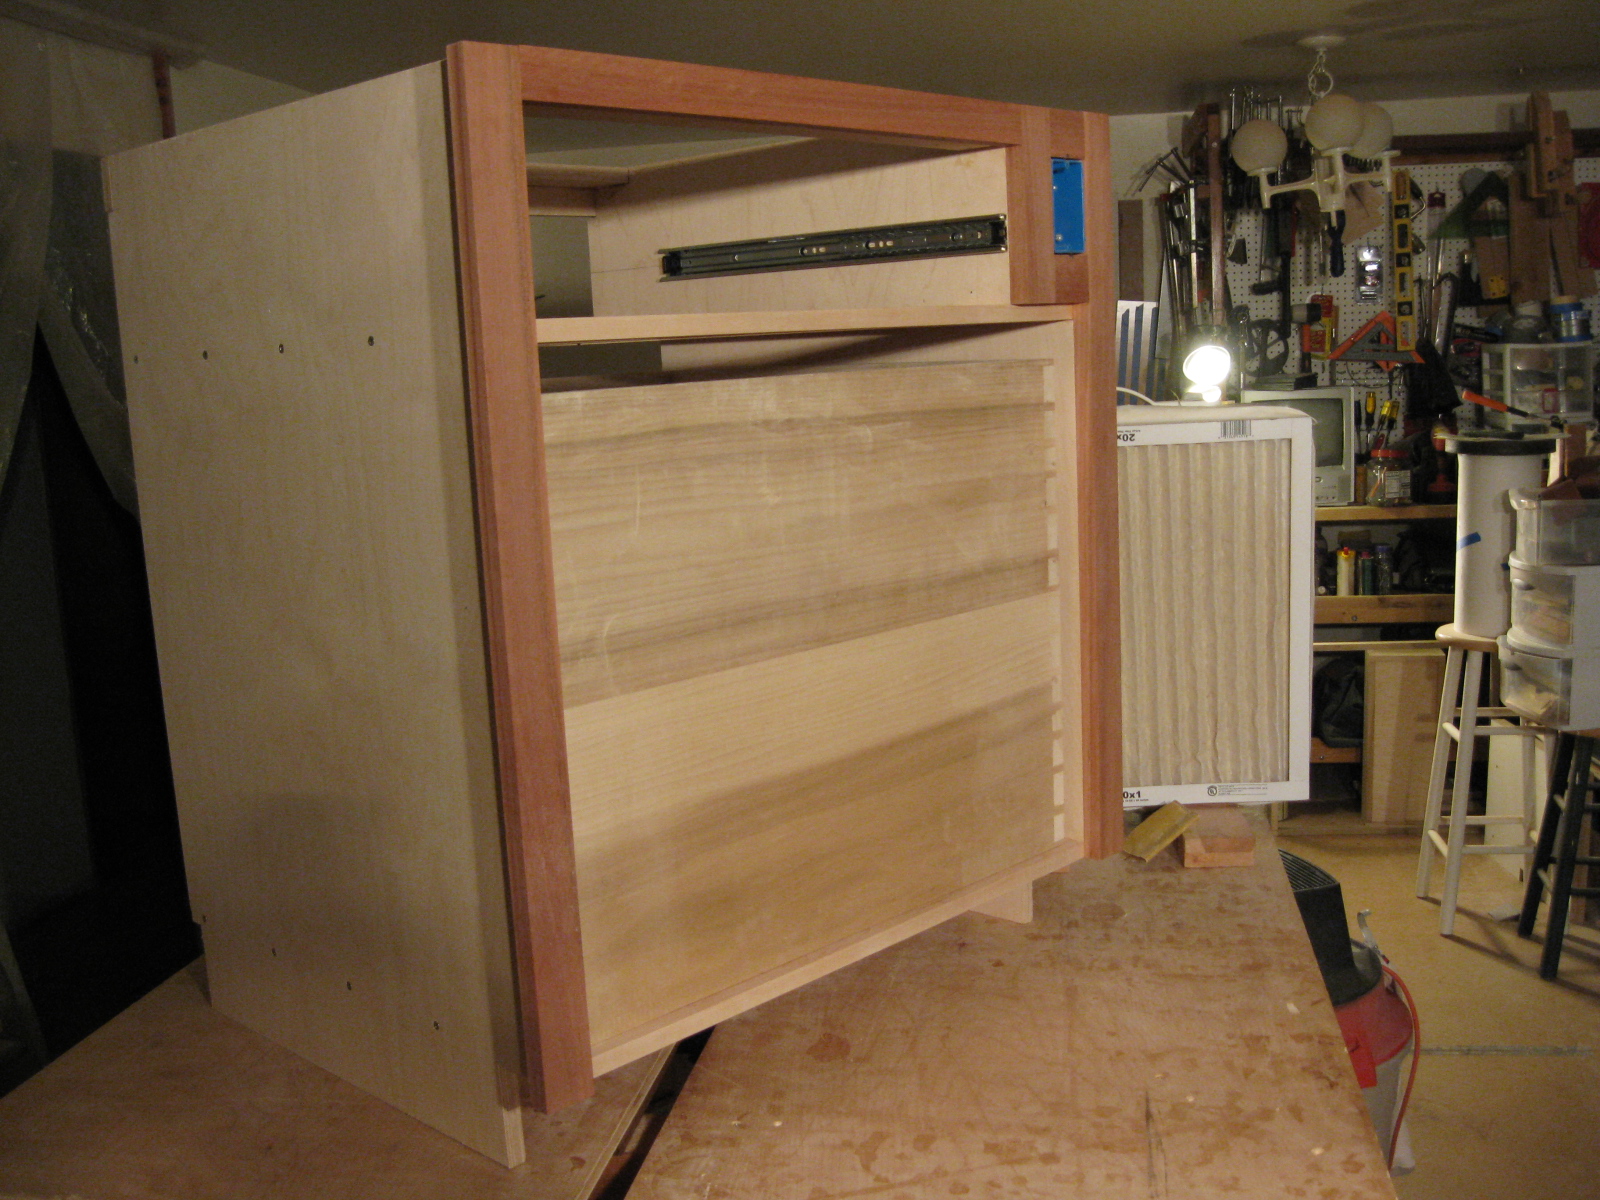
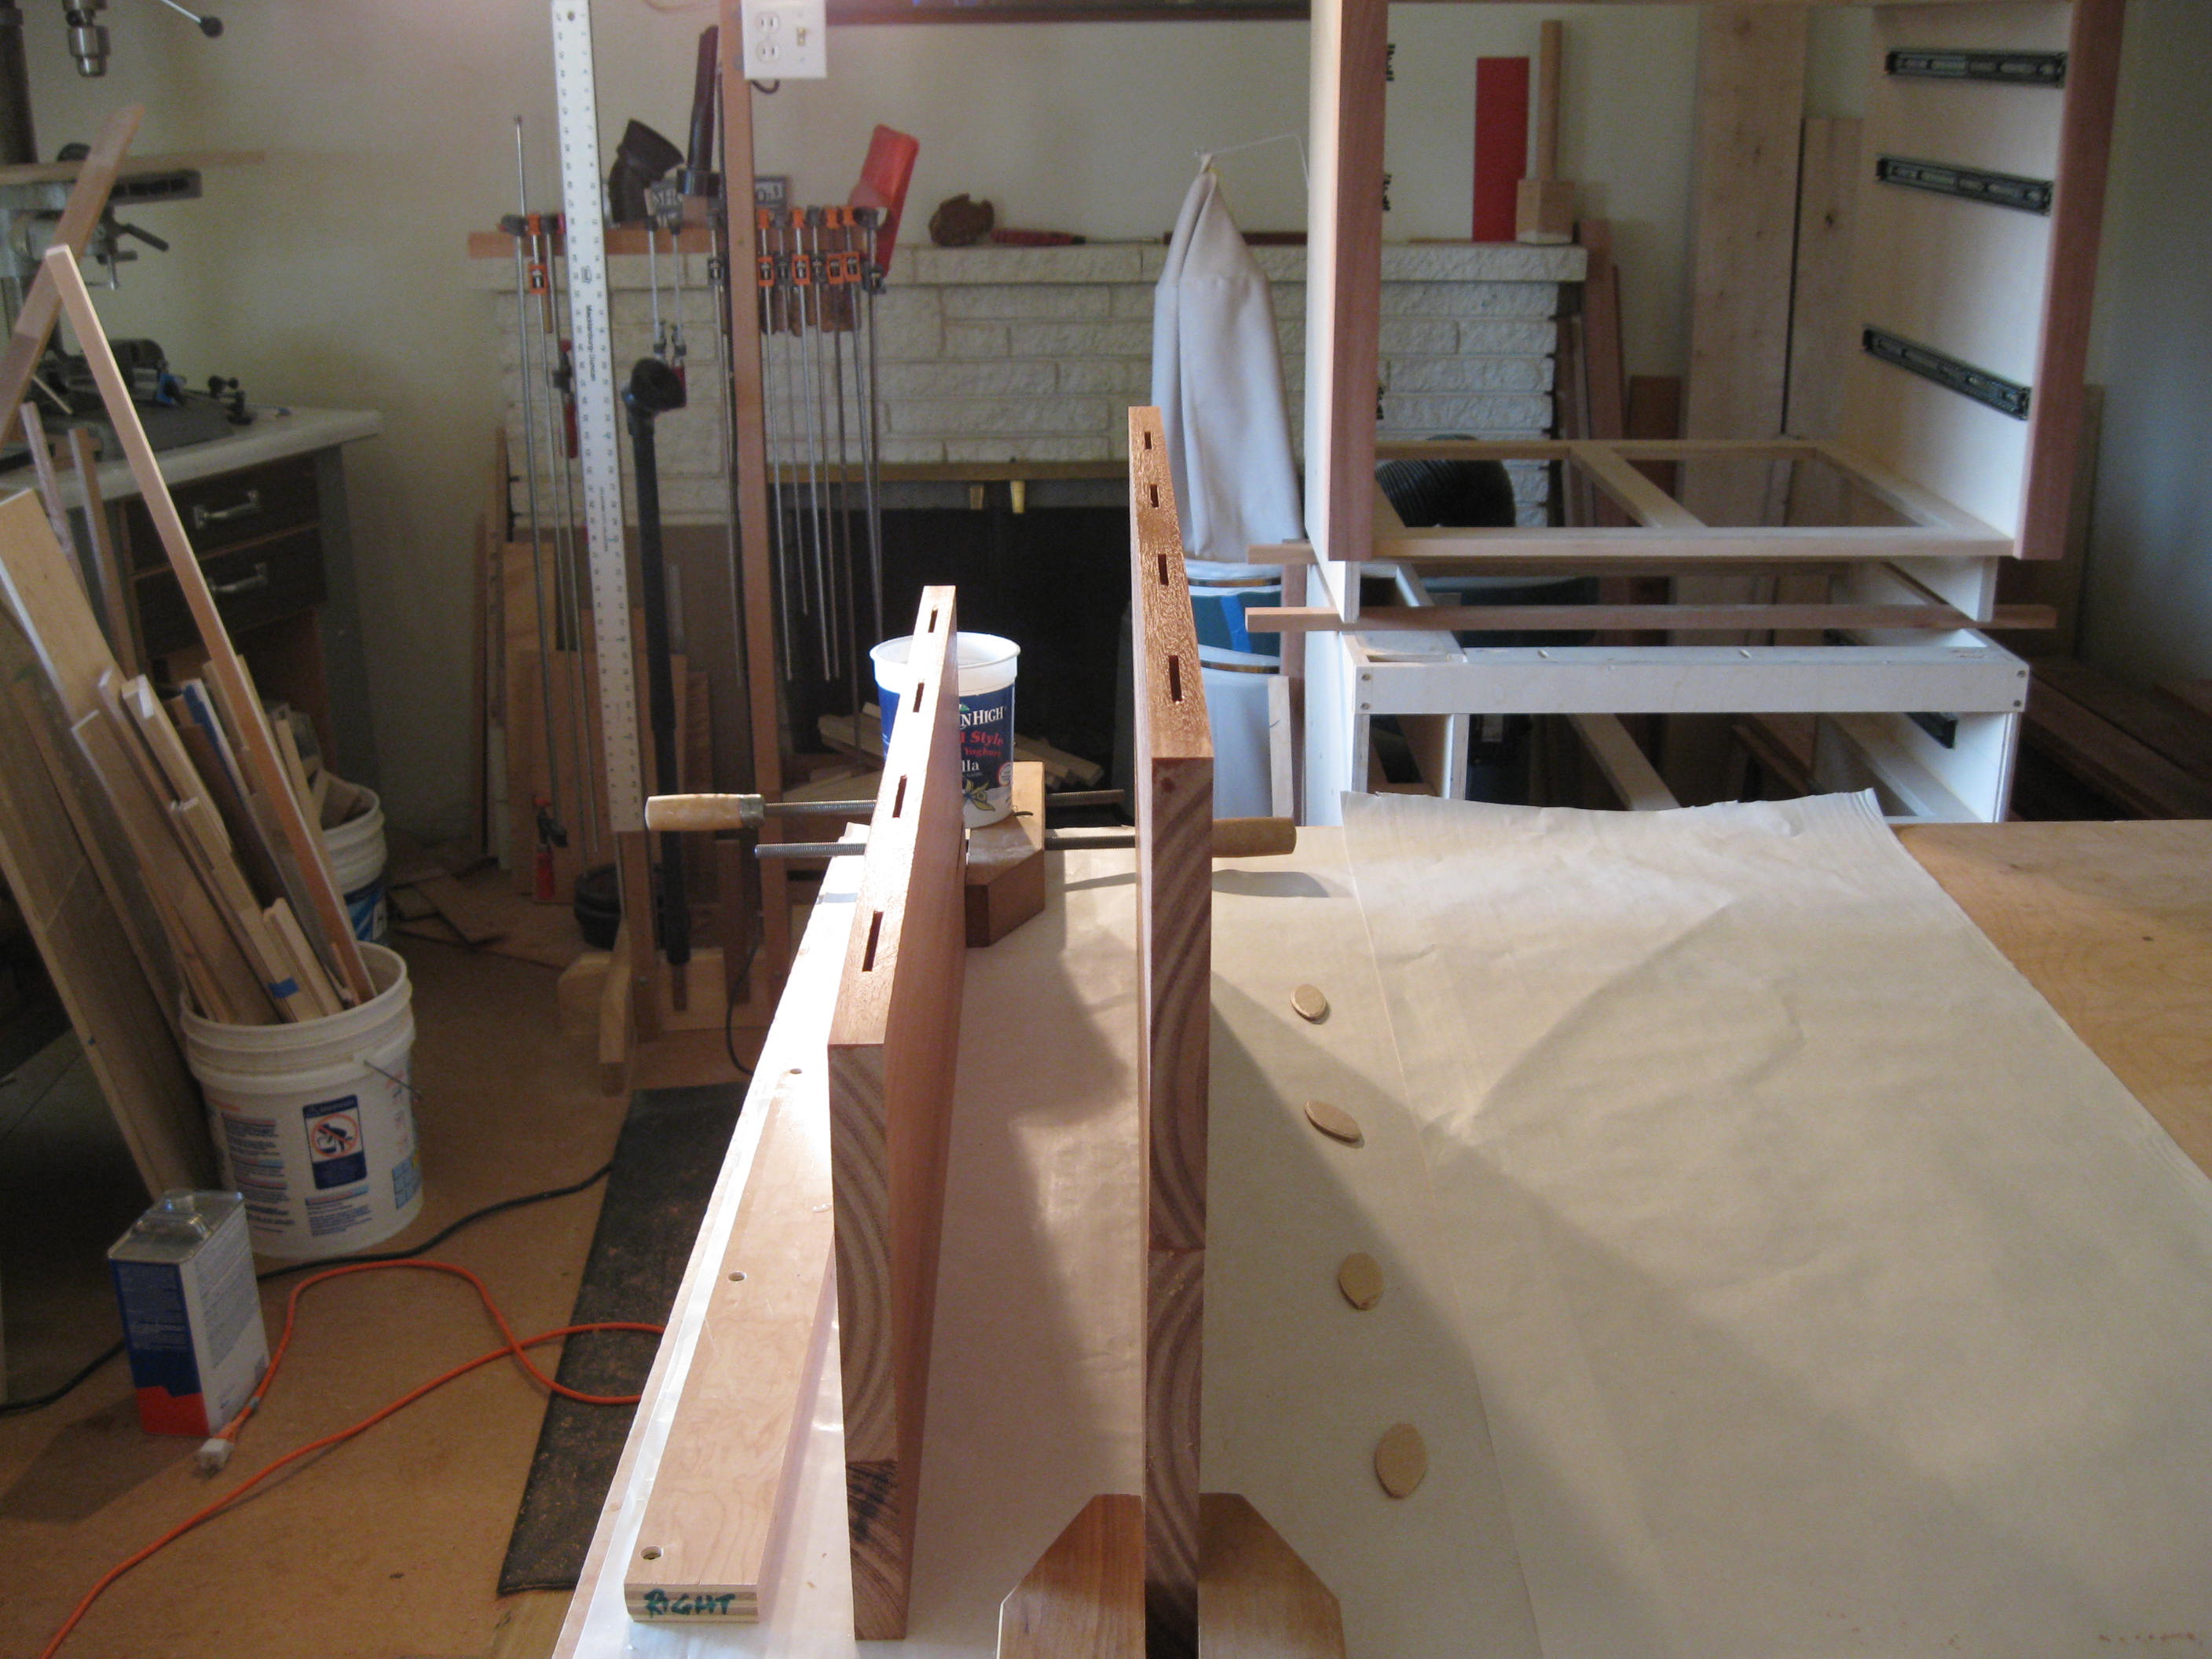
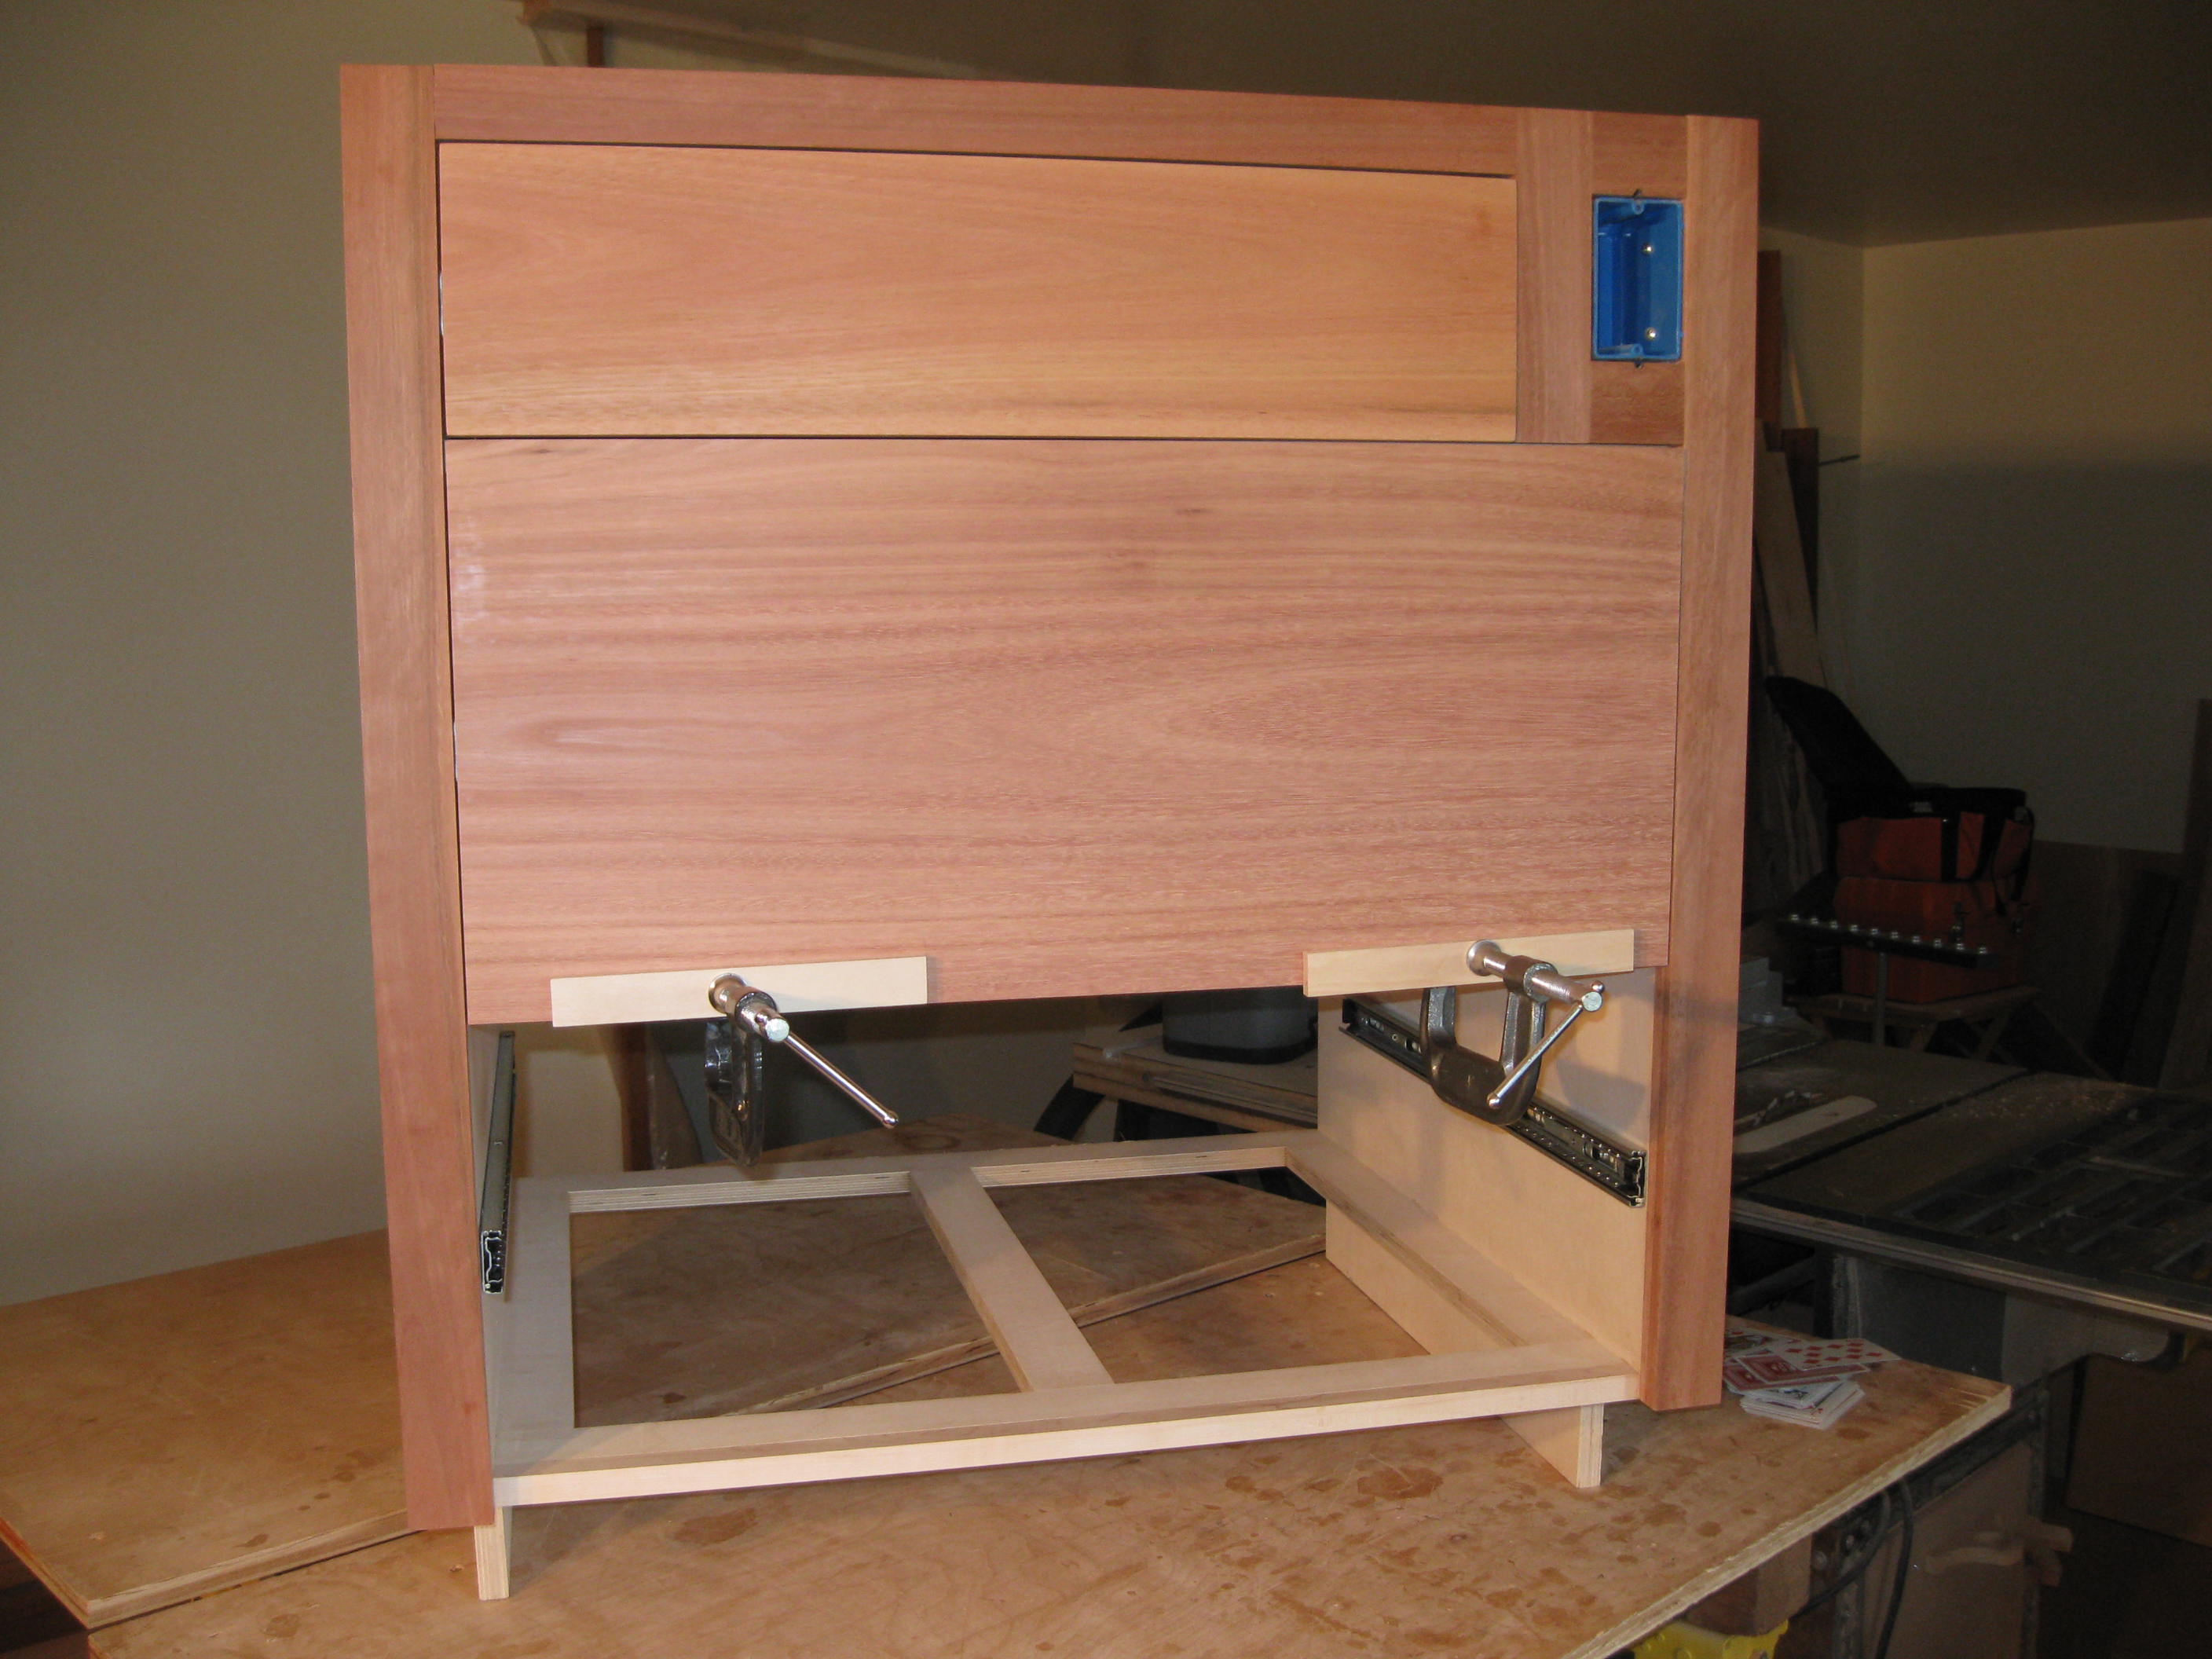
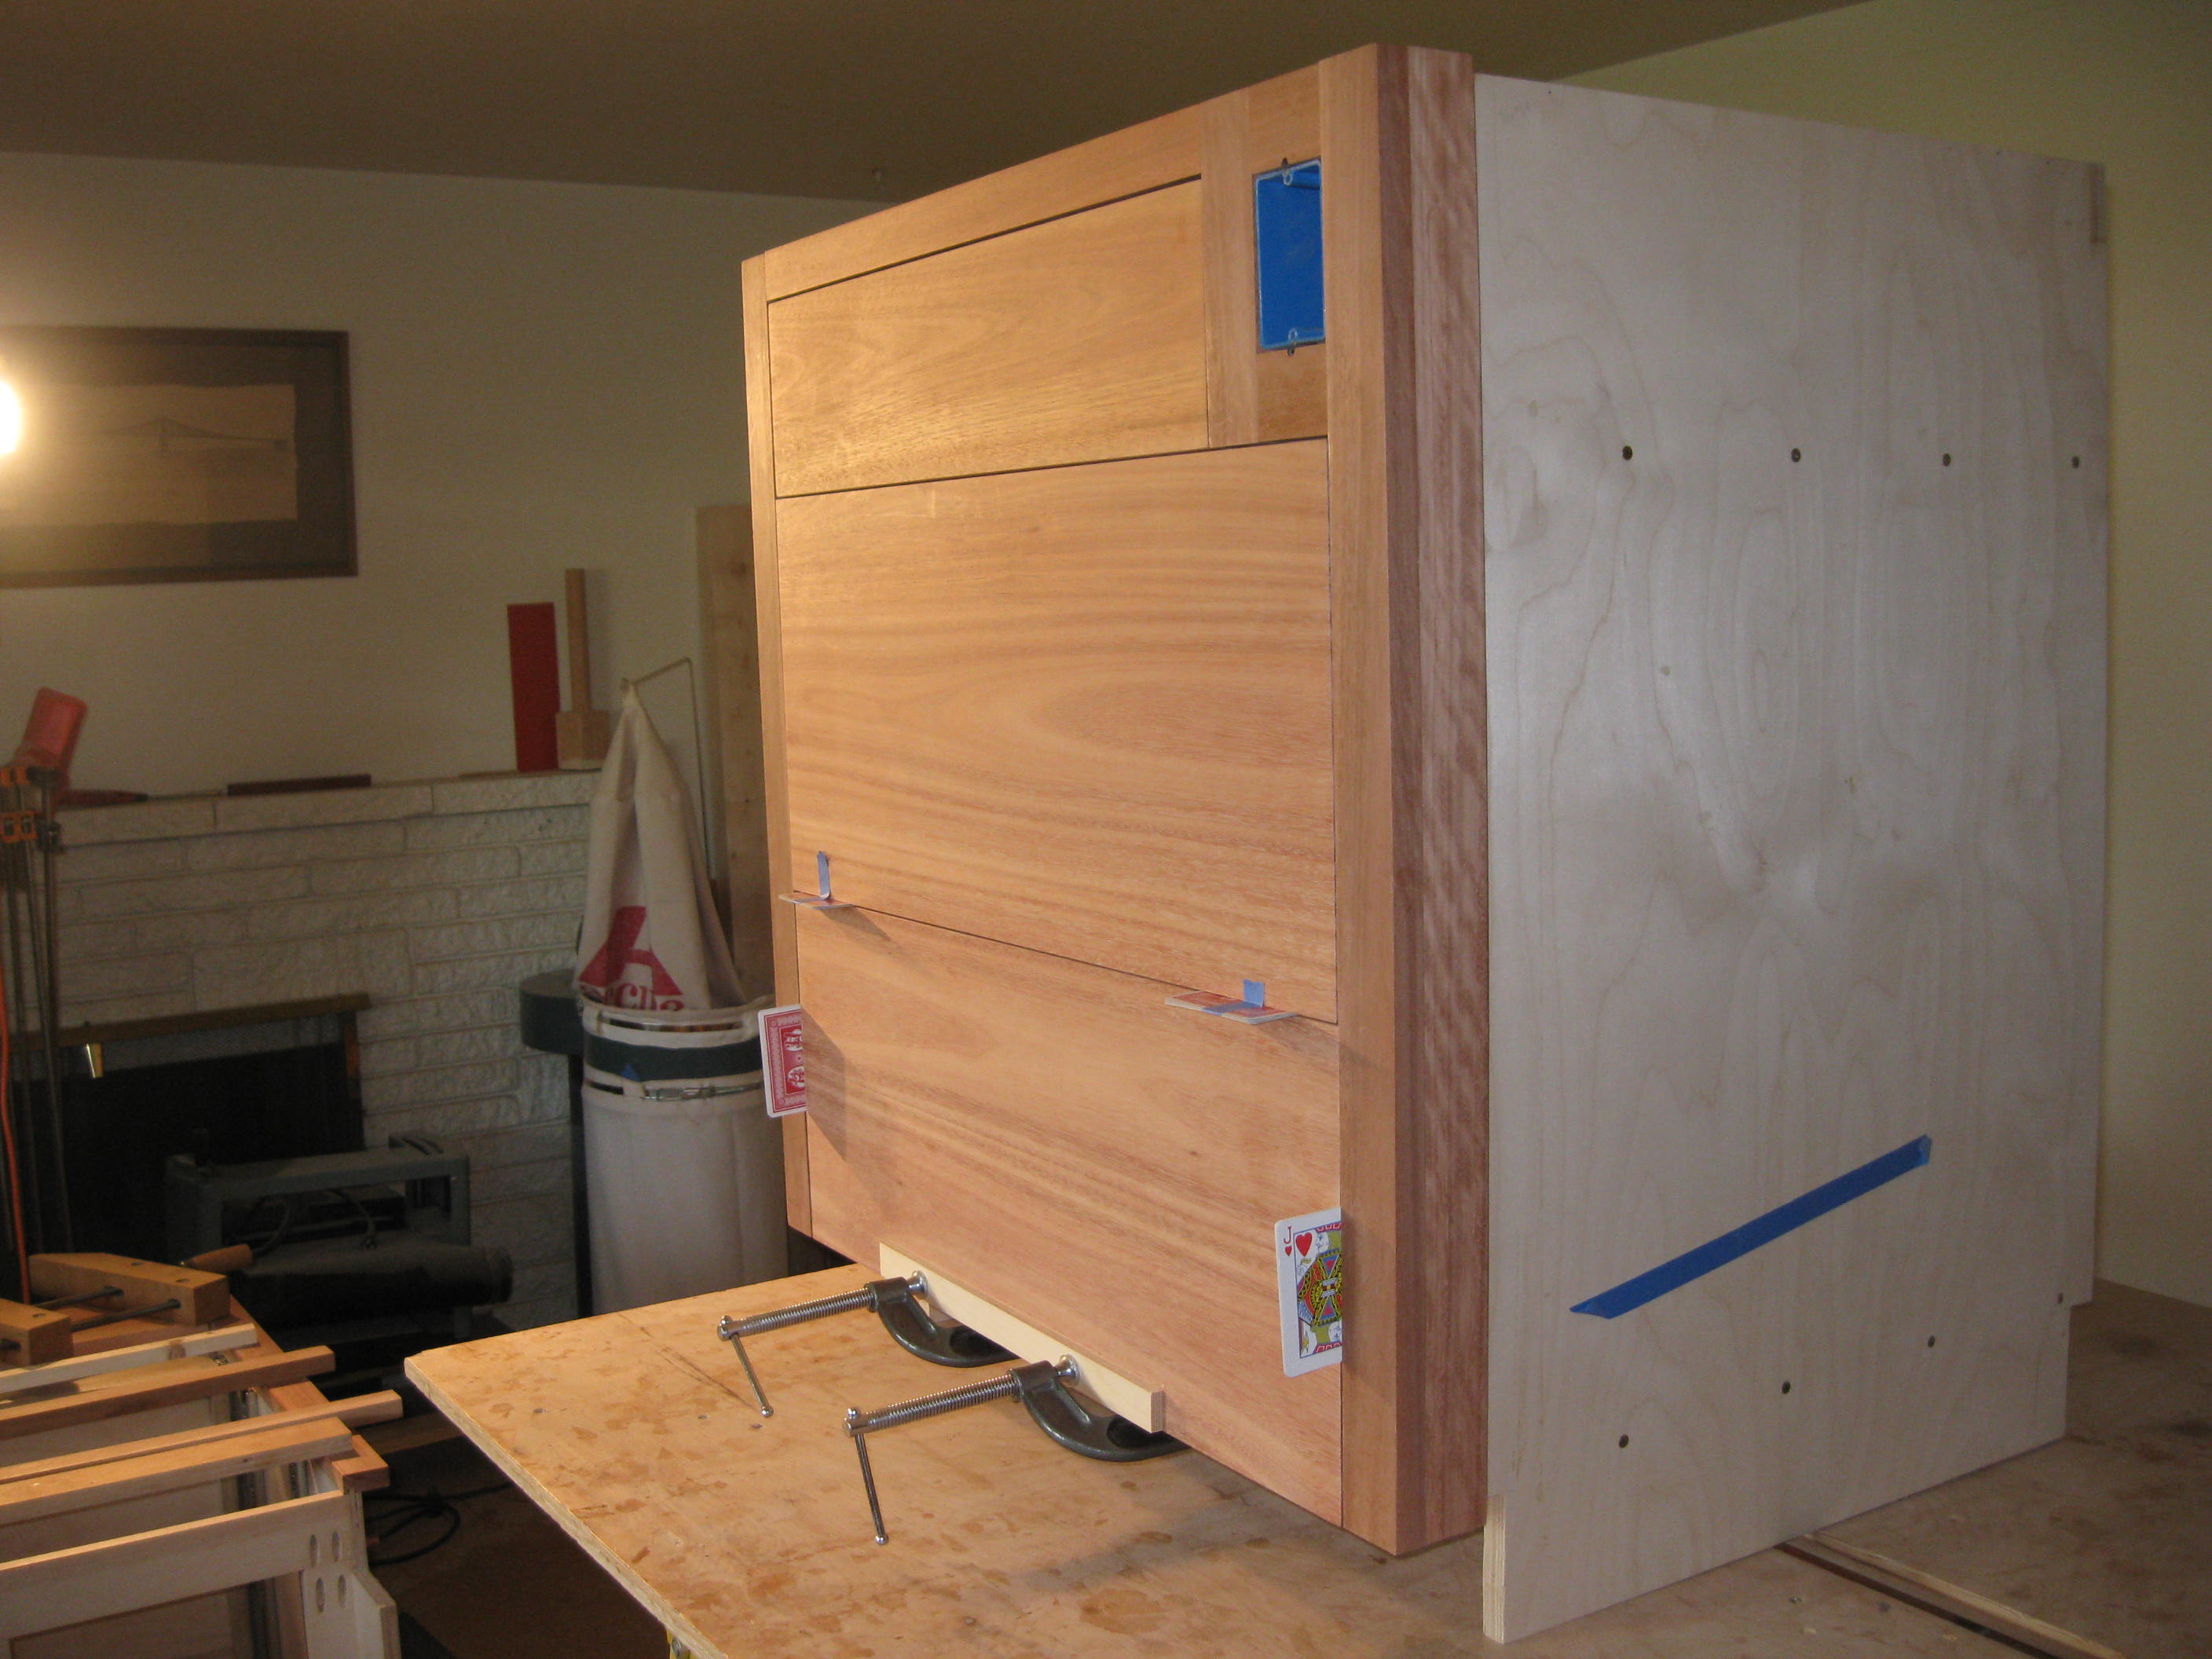
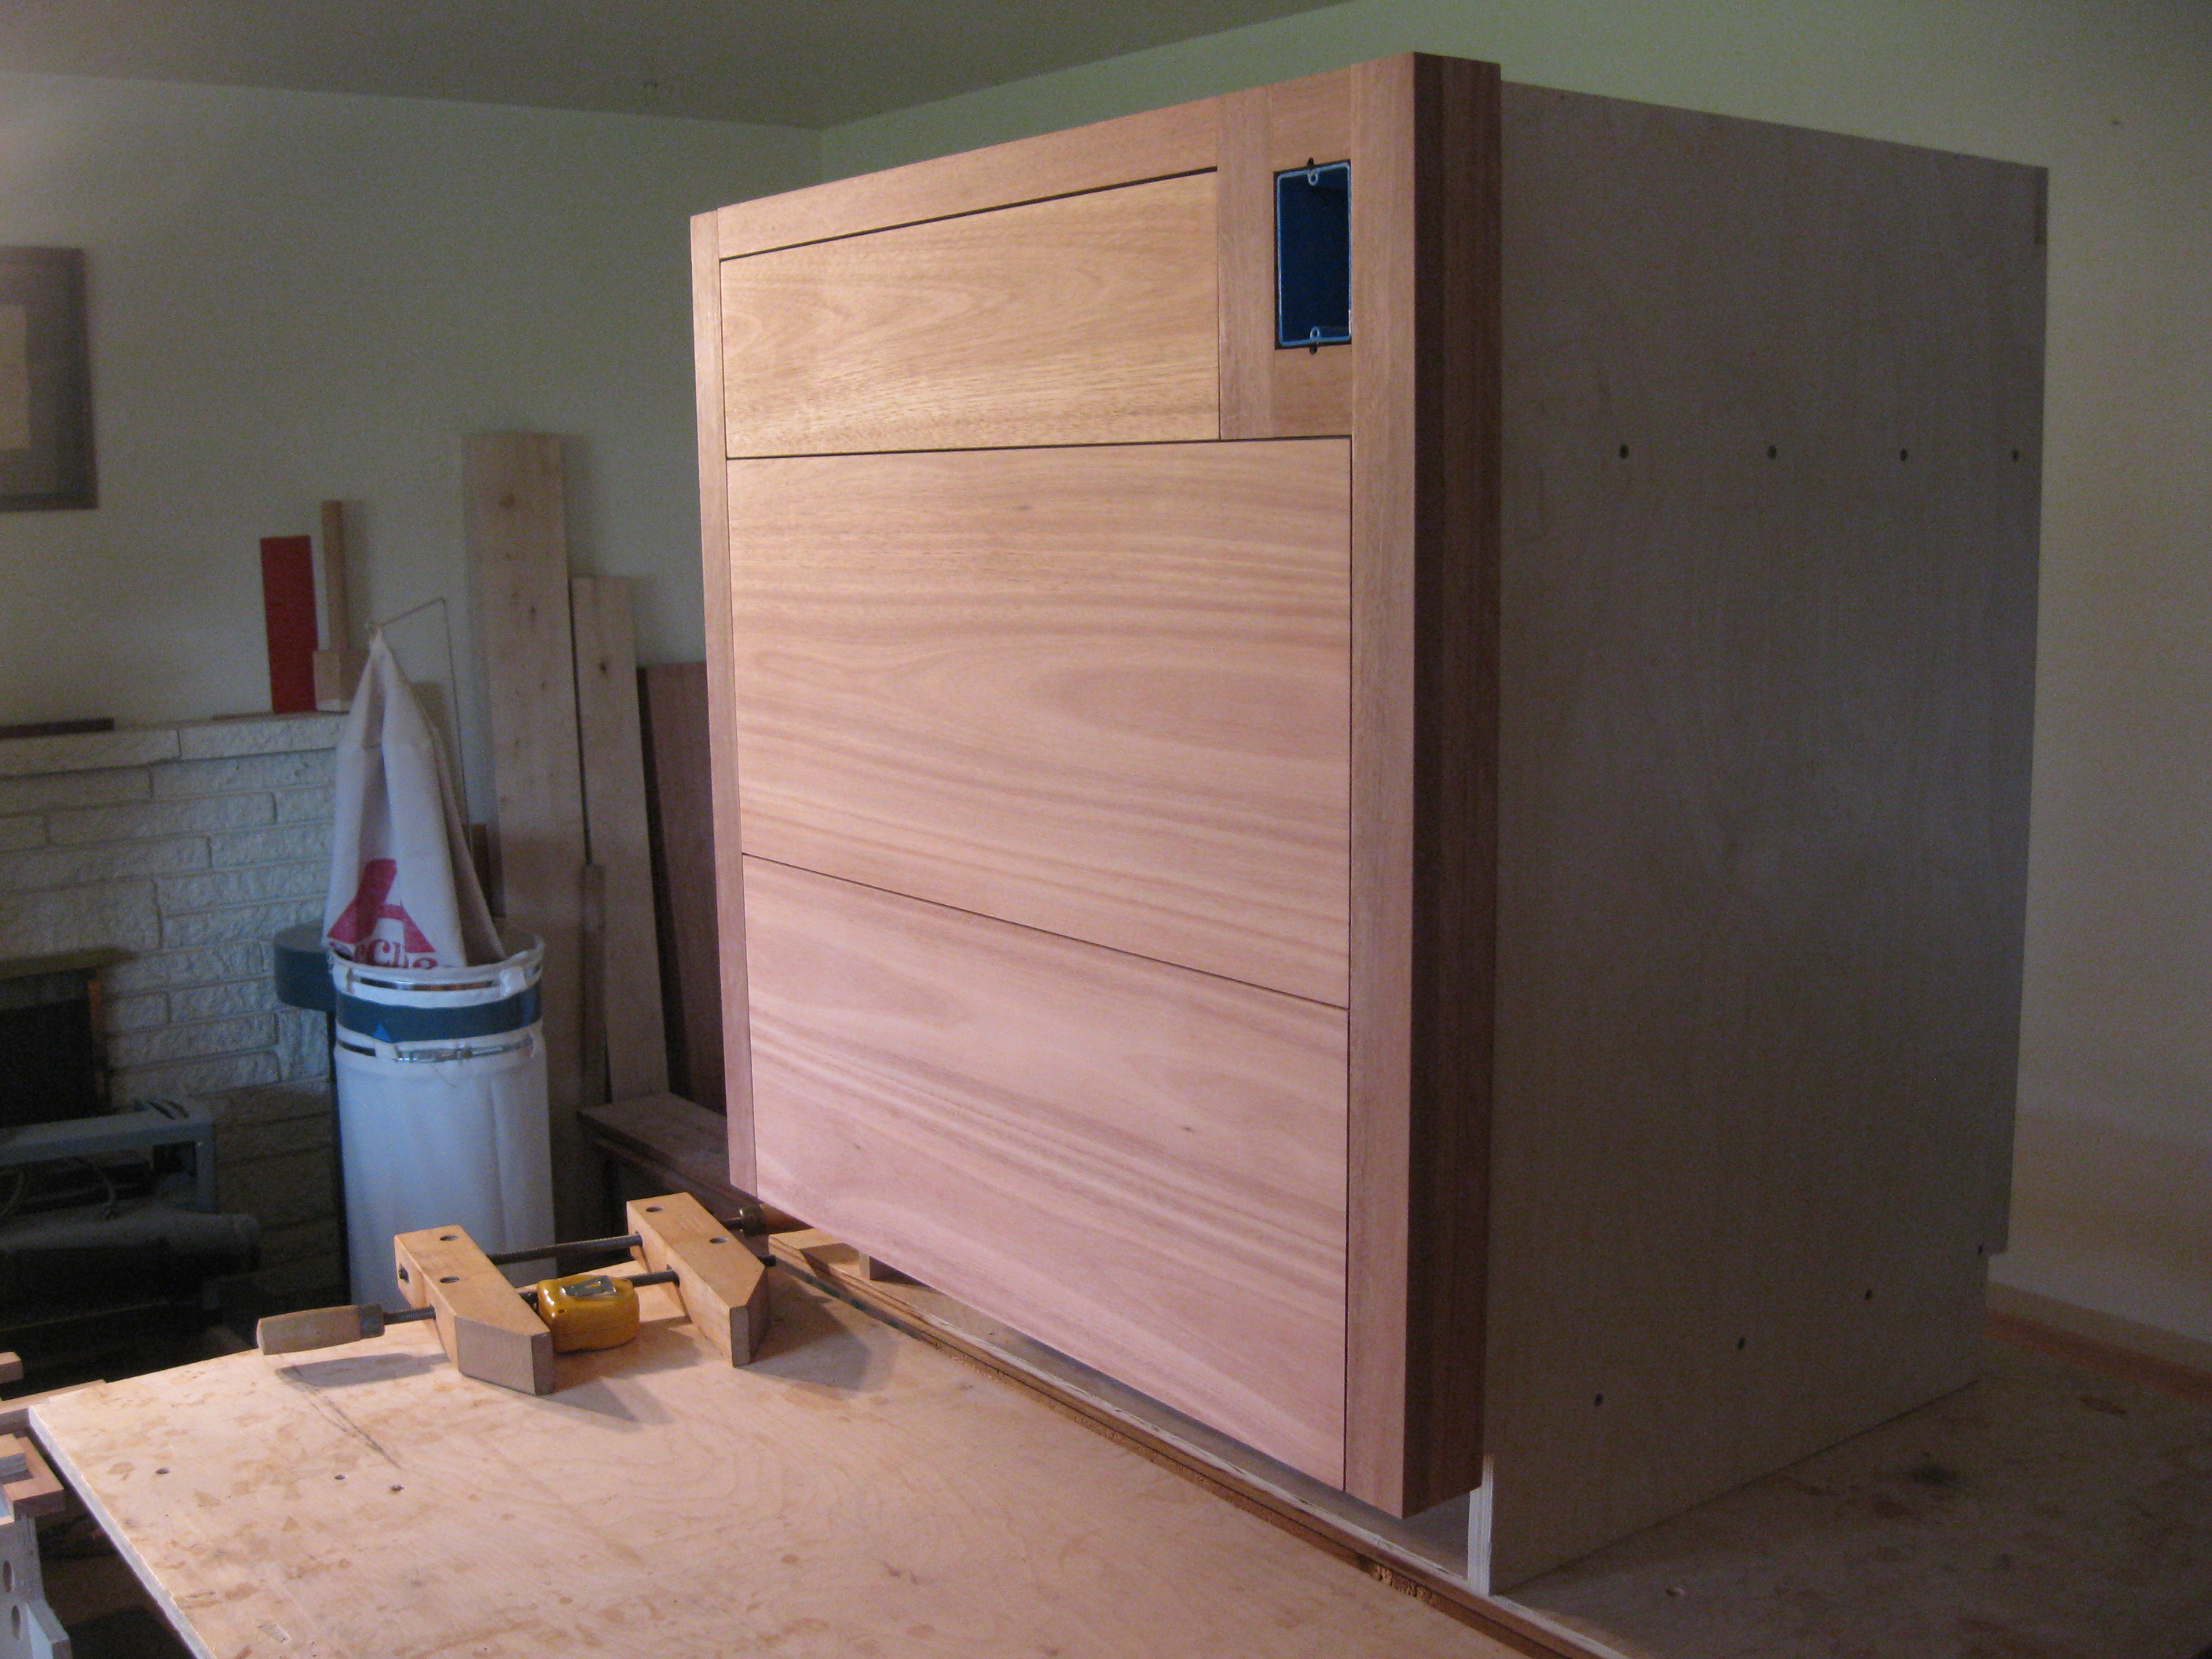
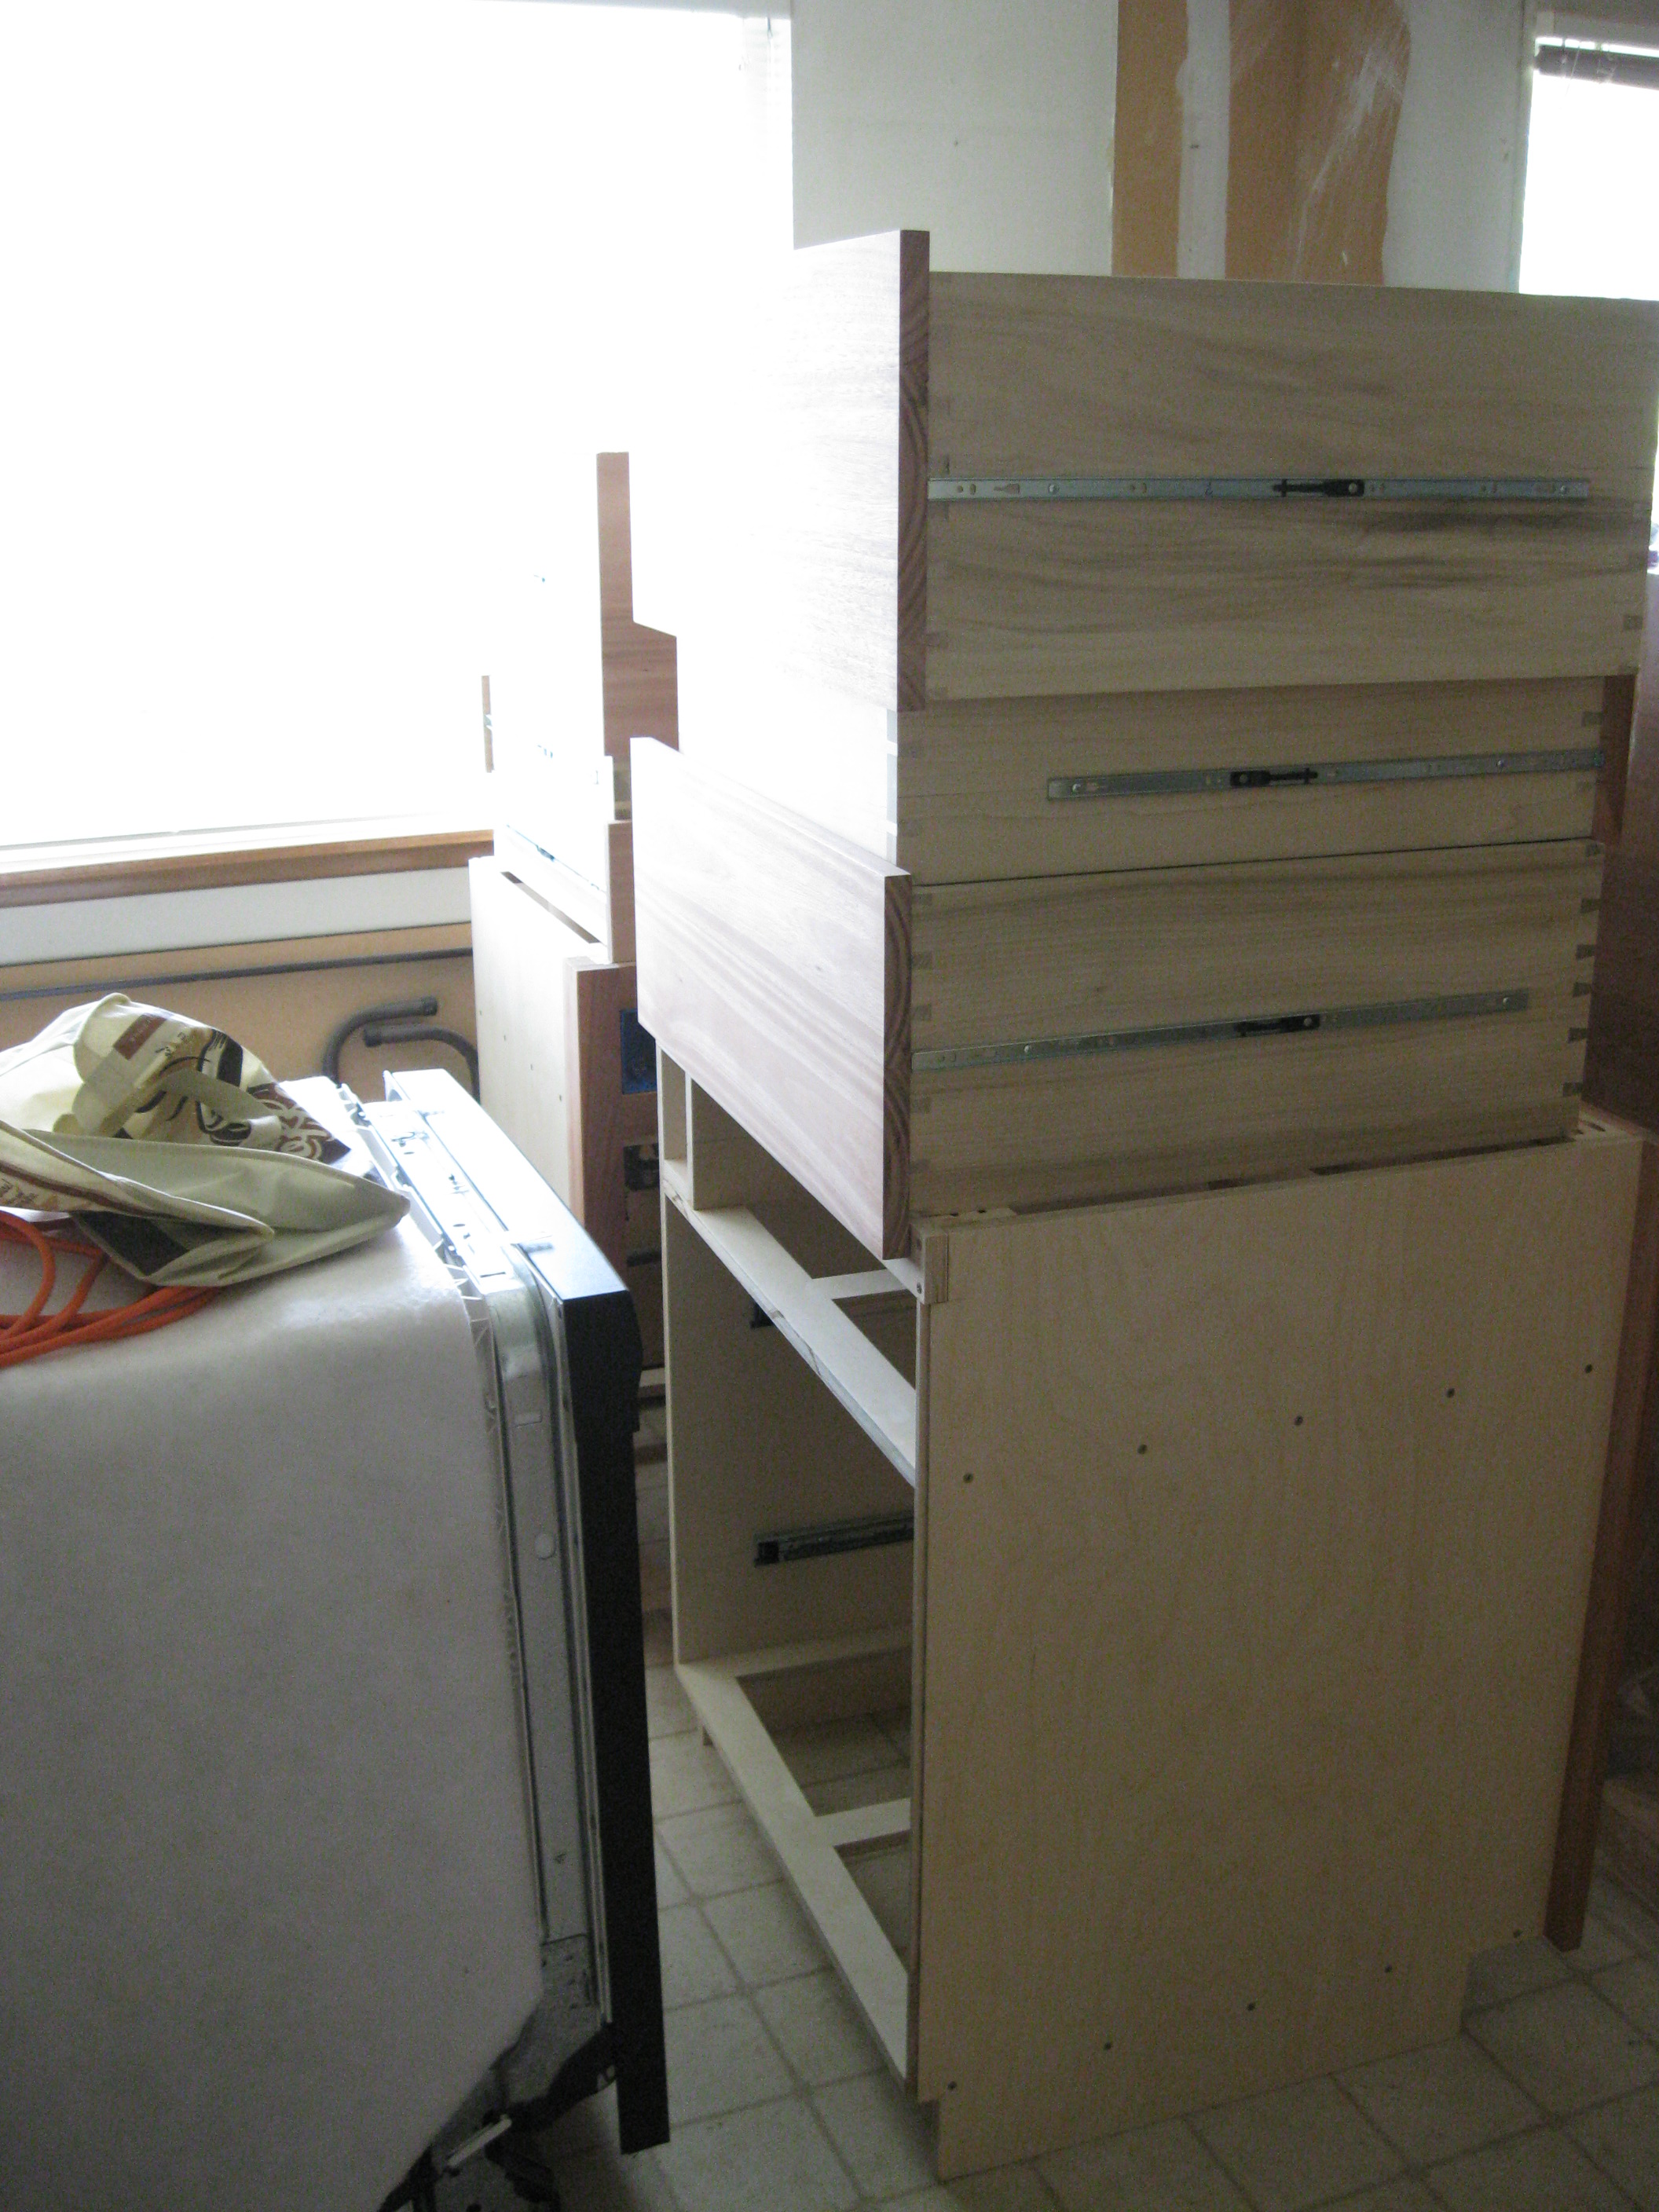
Cabinet Carcasses
The first picture is cabinet #1.When the rear panel is attached, these boxes become rigid. The next five pictures show cabinet #2 from dry fit through the assembly stages to completion. Picture 7 is the front cabinet near the wall partially assembler. Picture eight shows the stiles and the cut list for the electric outlets When the rear panel is attached, these boxes become rigid.


:
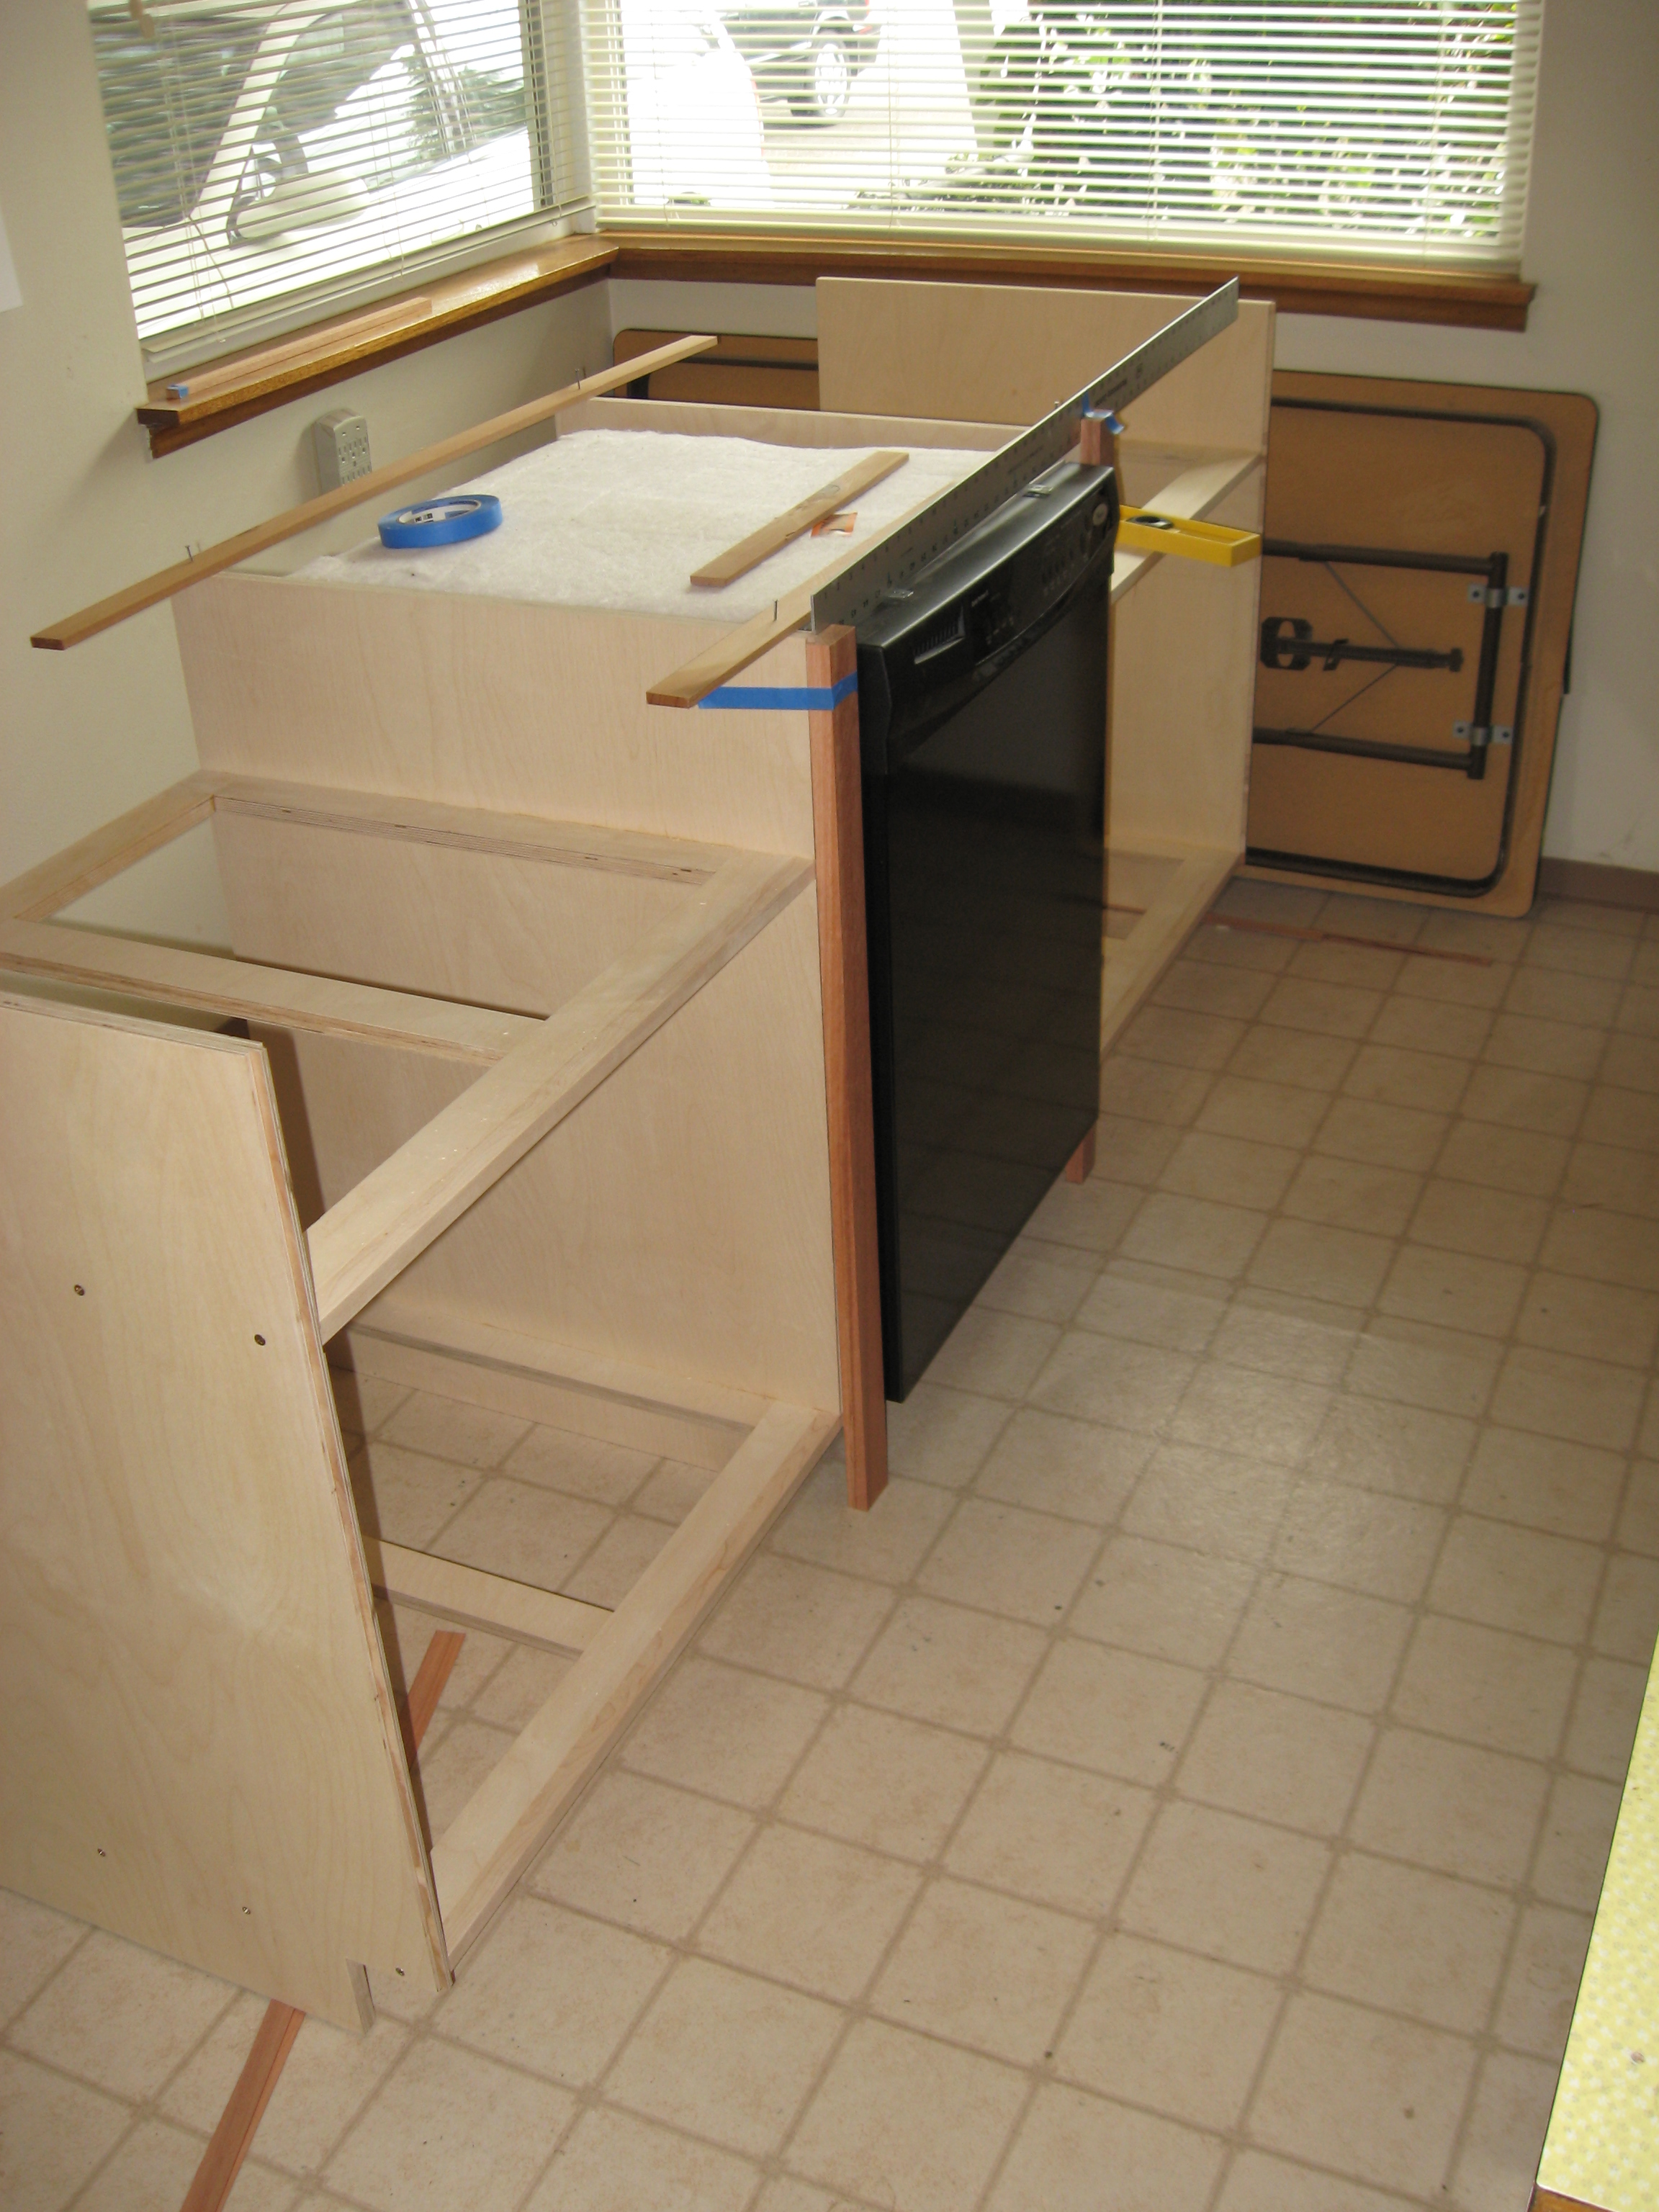
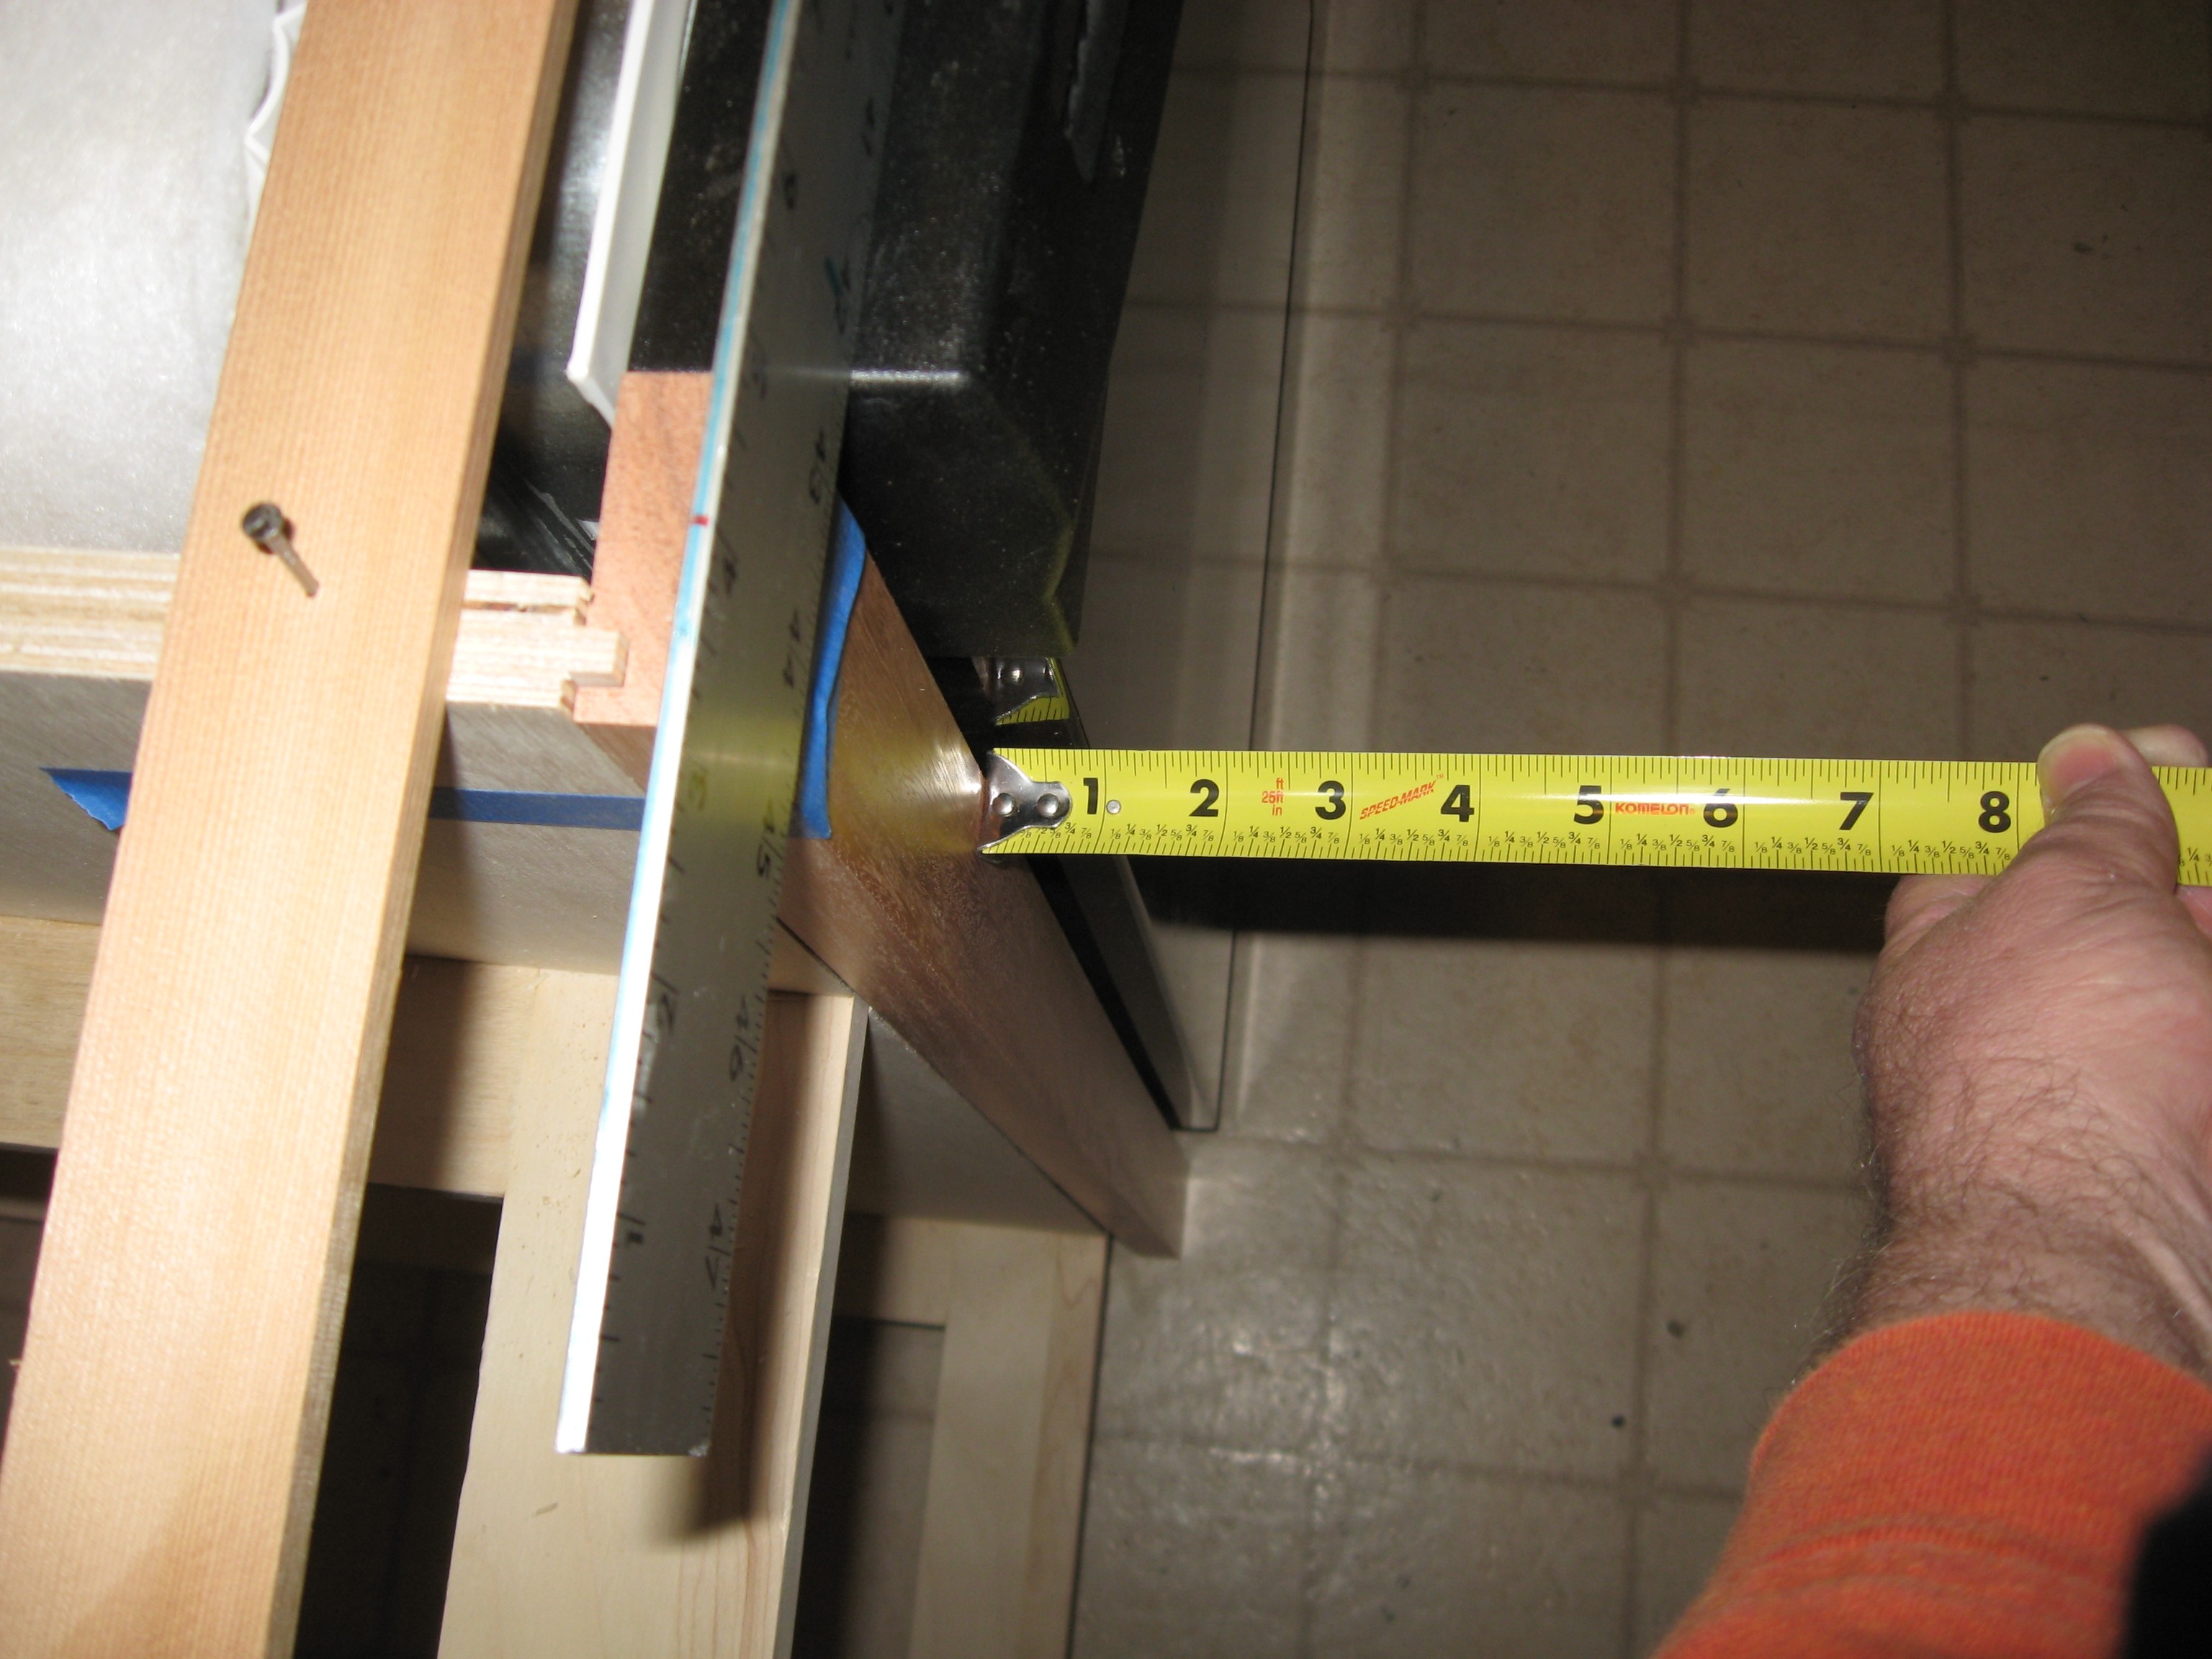
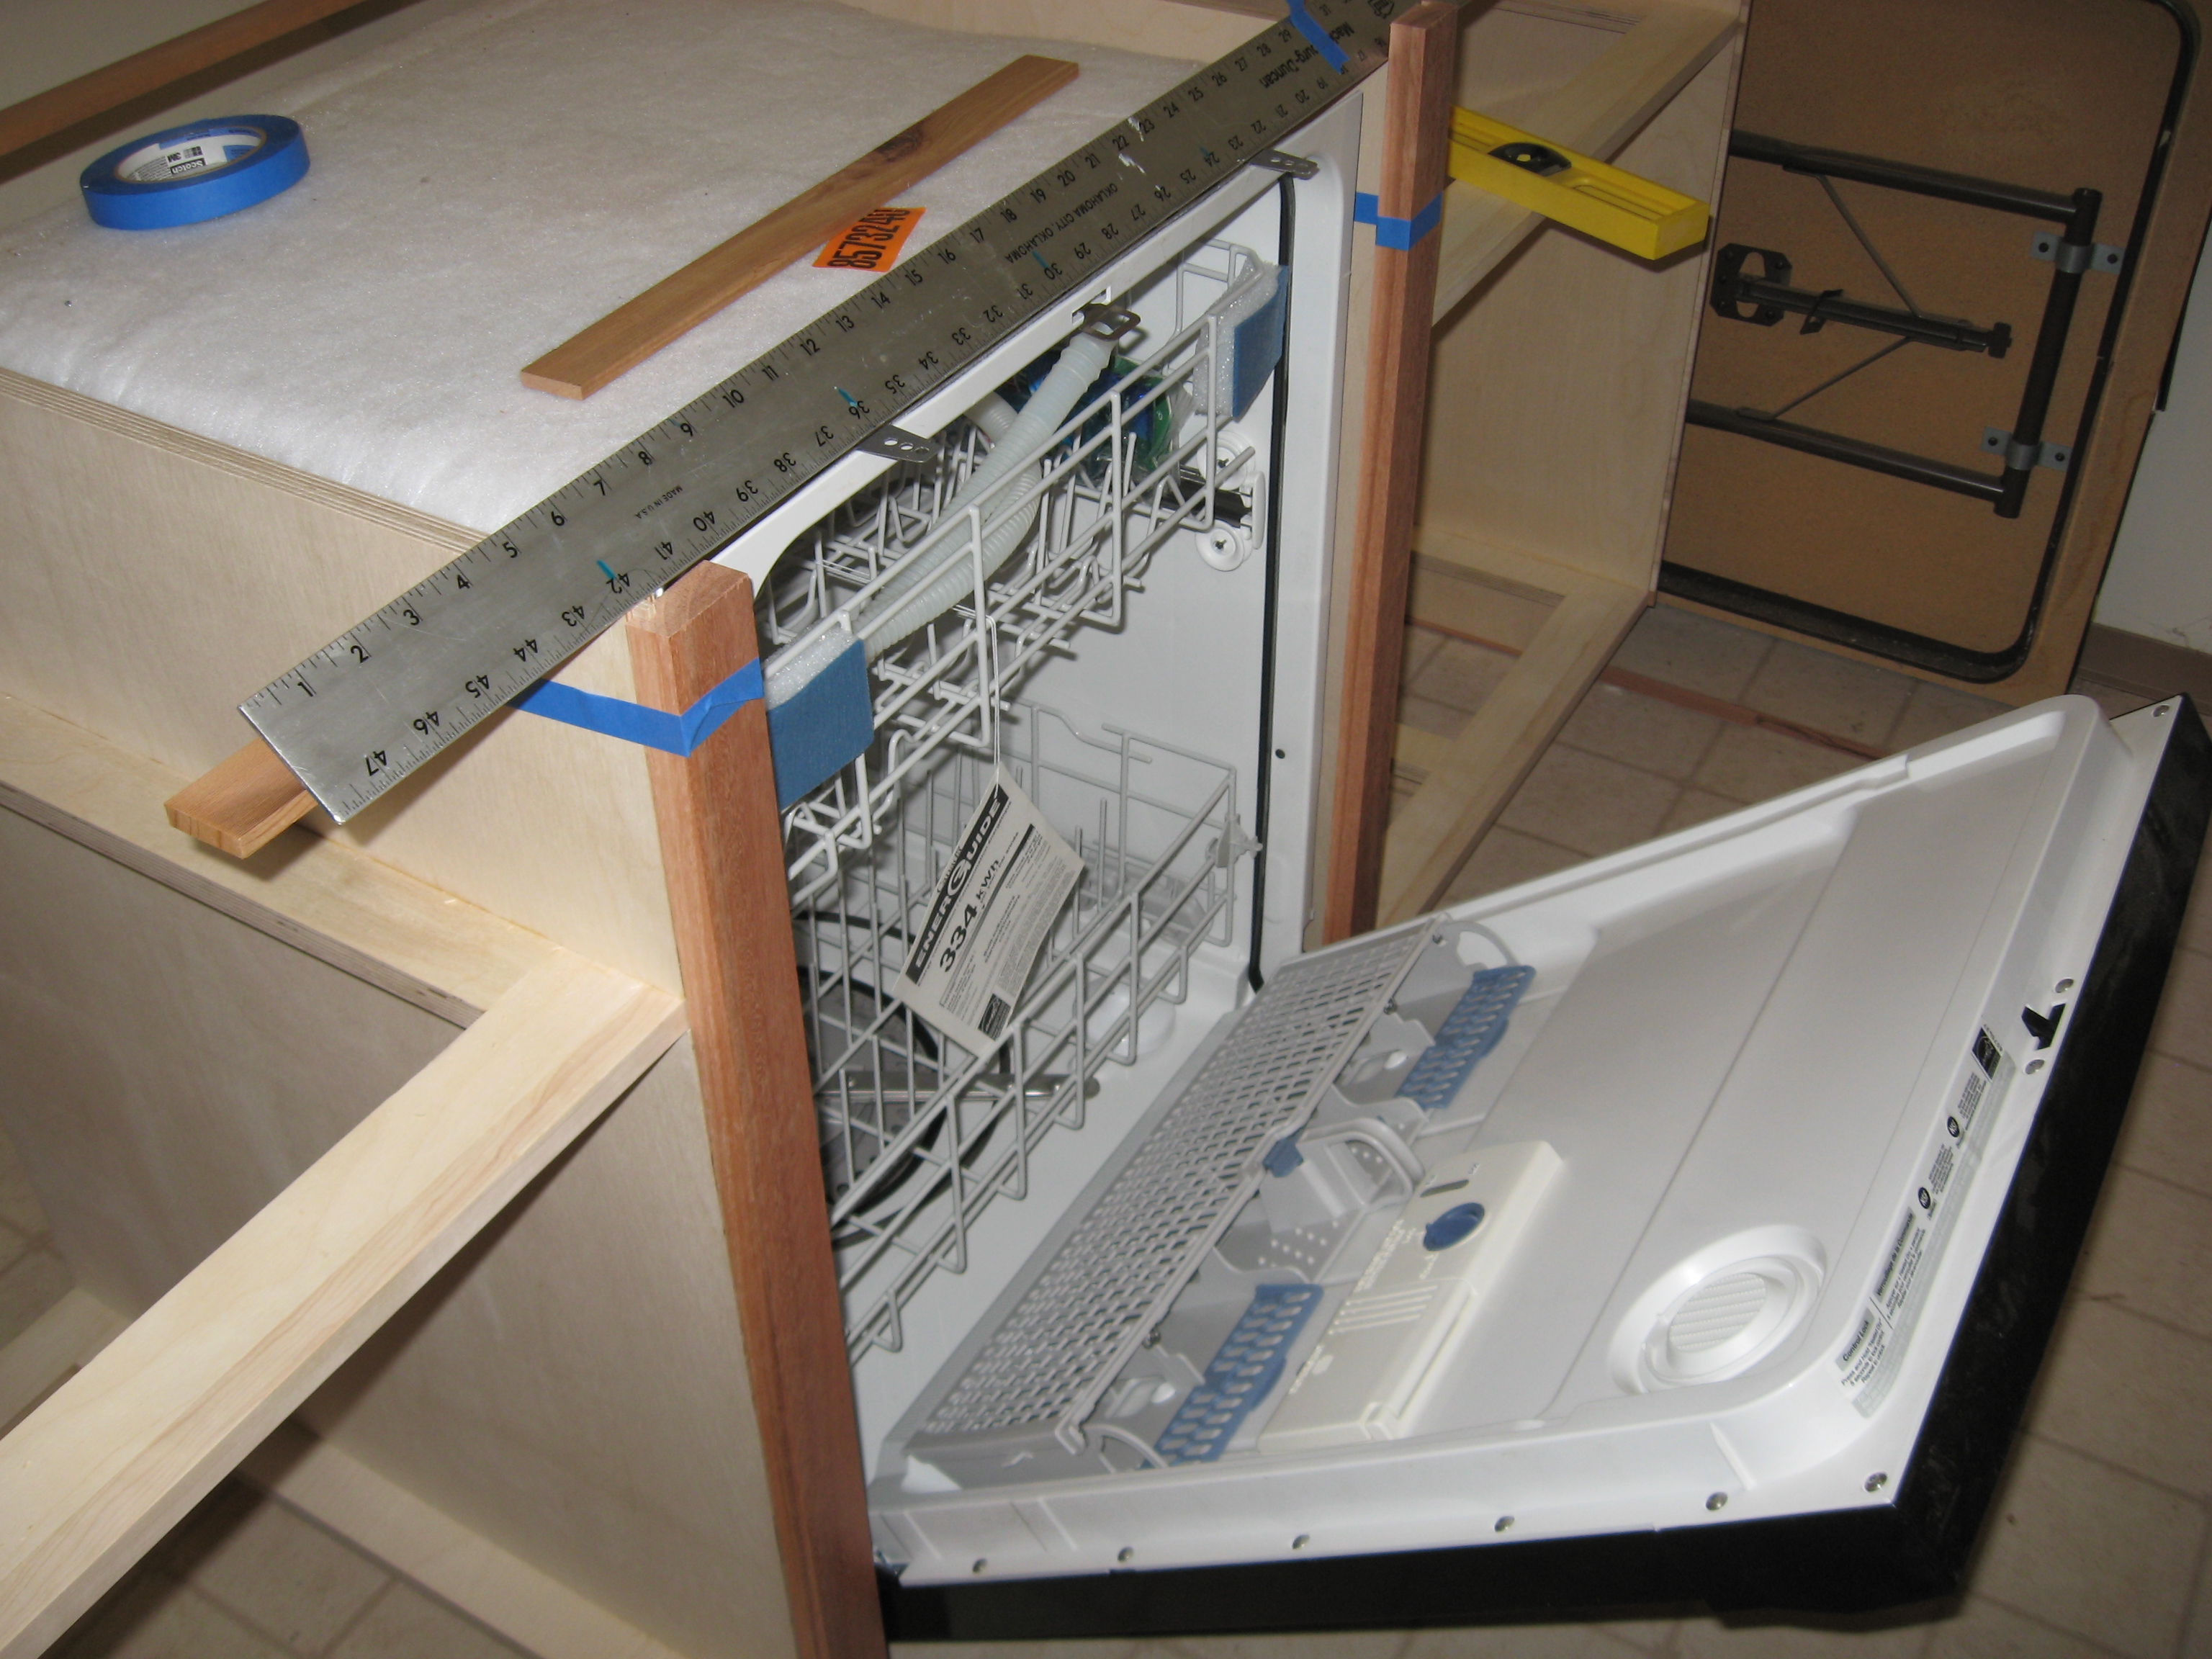
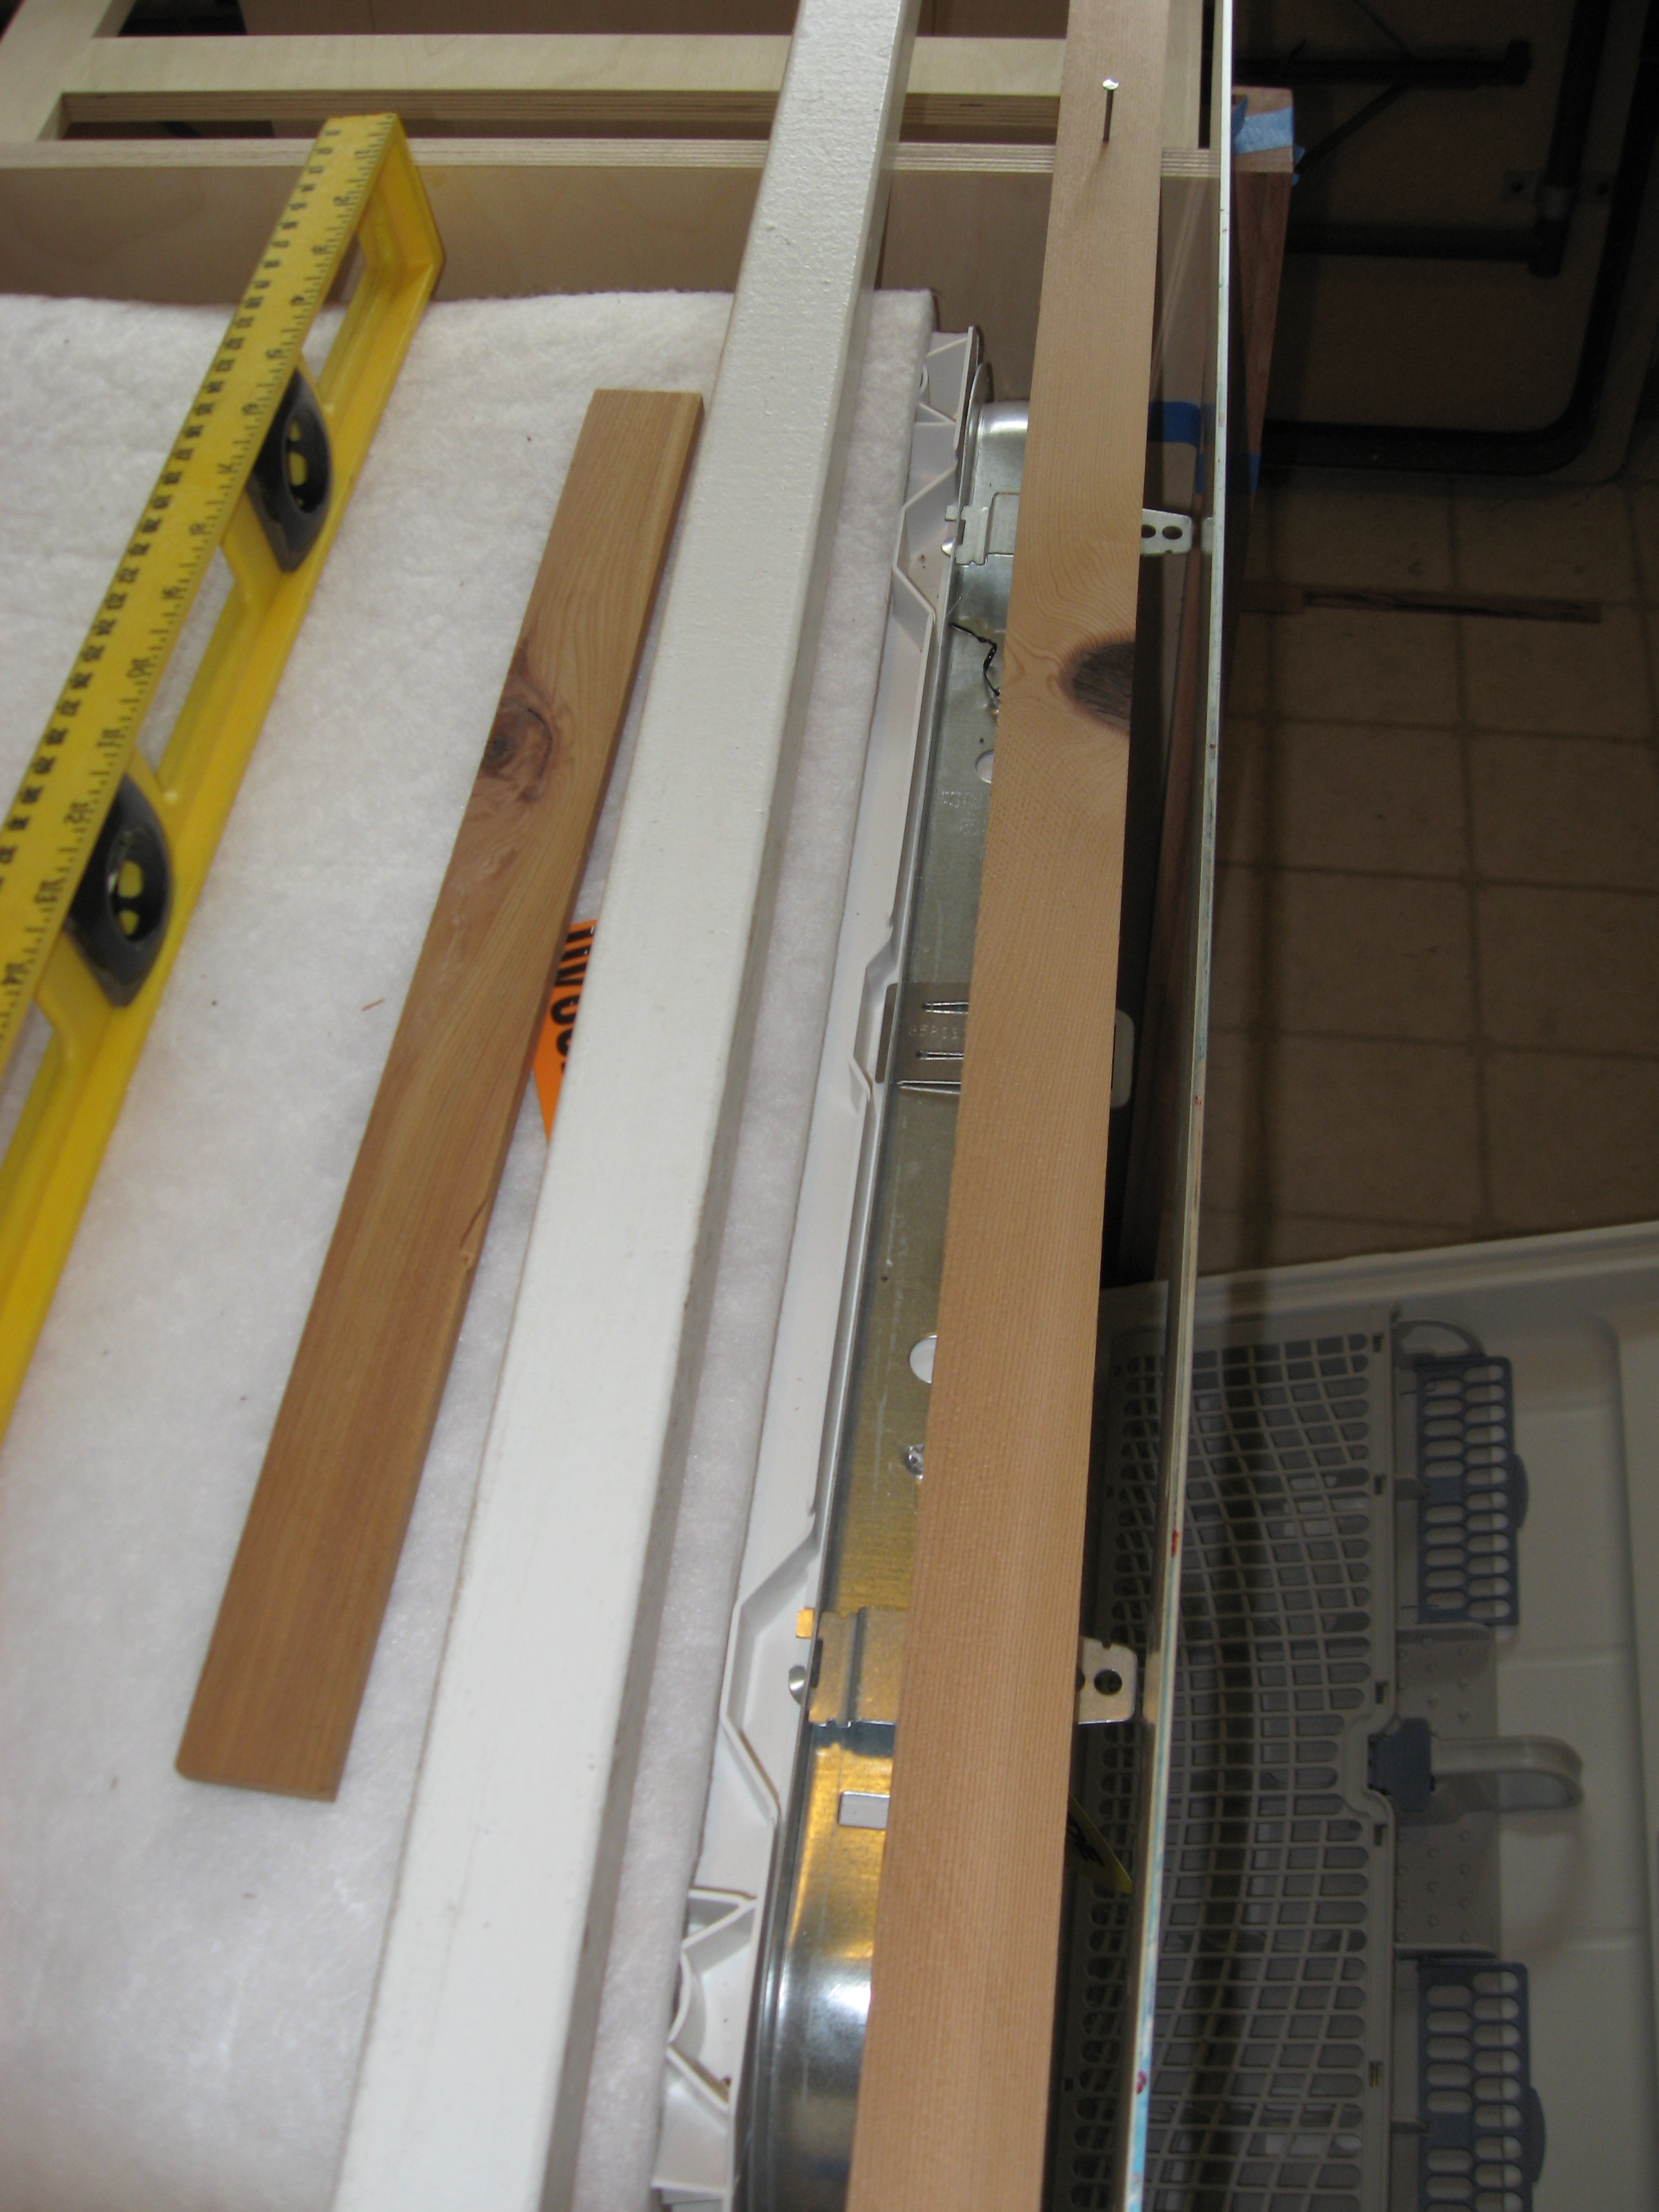
Carcass Dry Fit with Dishwasher
Proud
A comparison of a proud and a flush installation of the dishwasher.
:

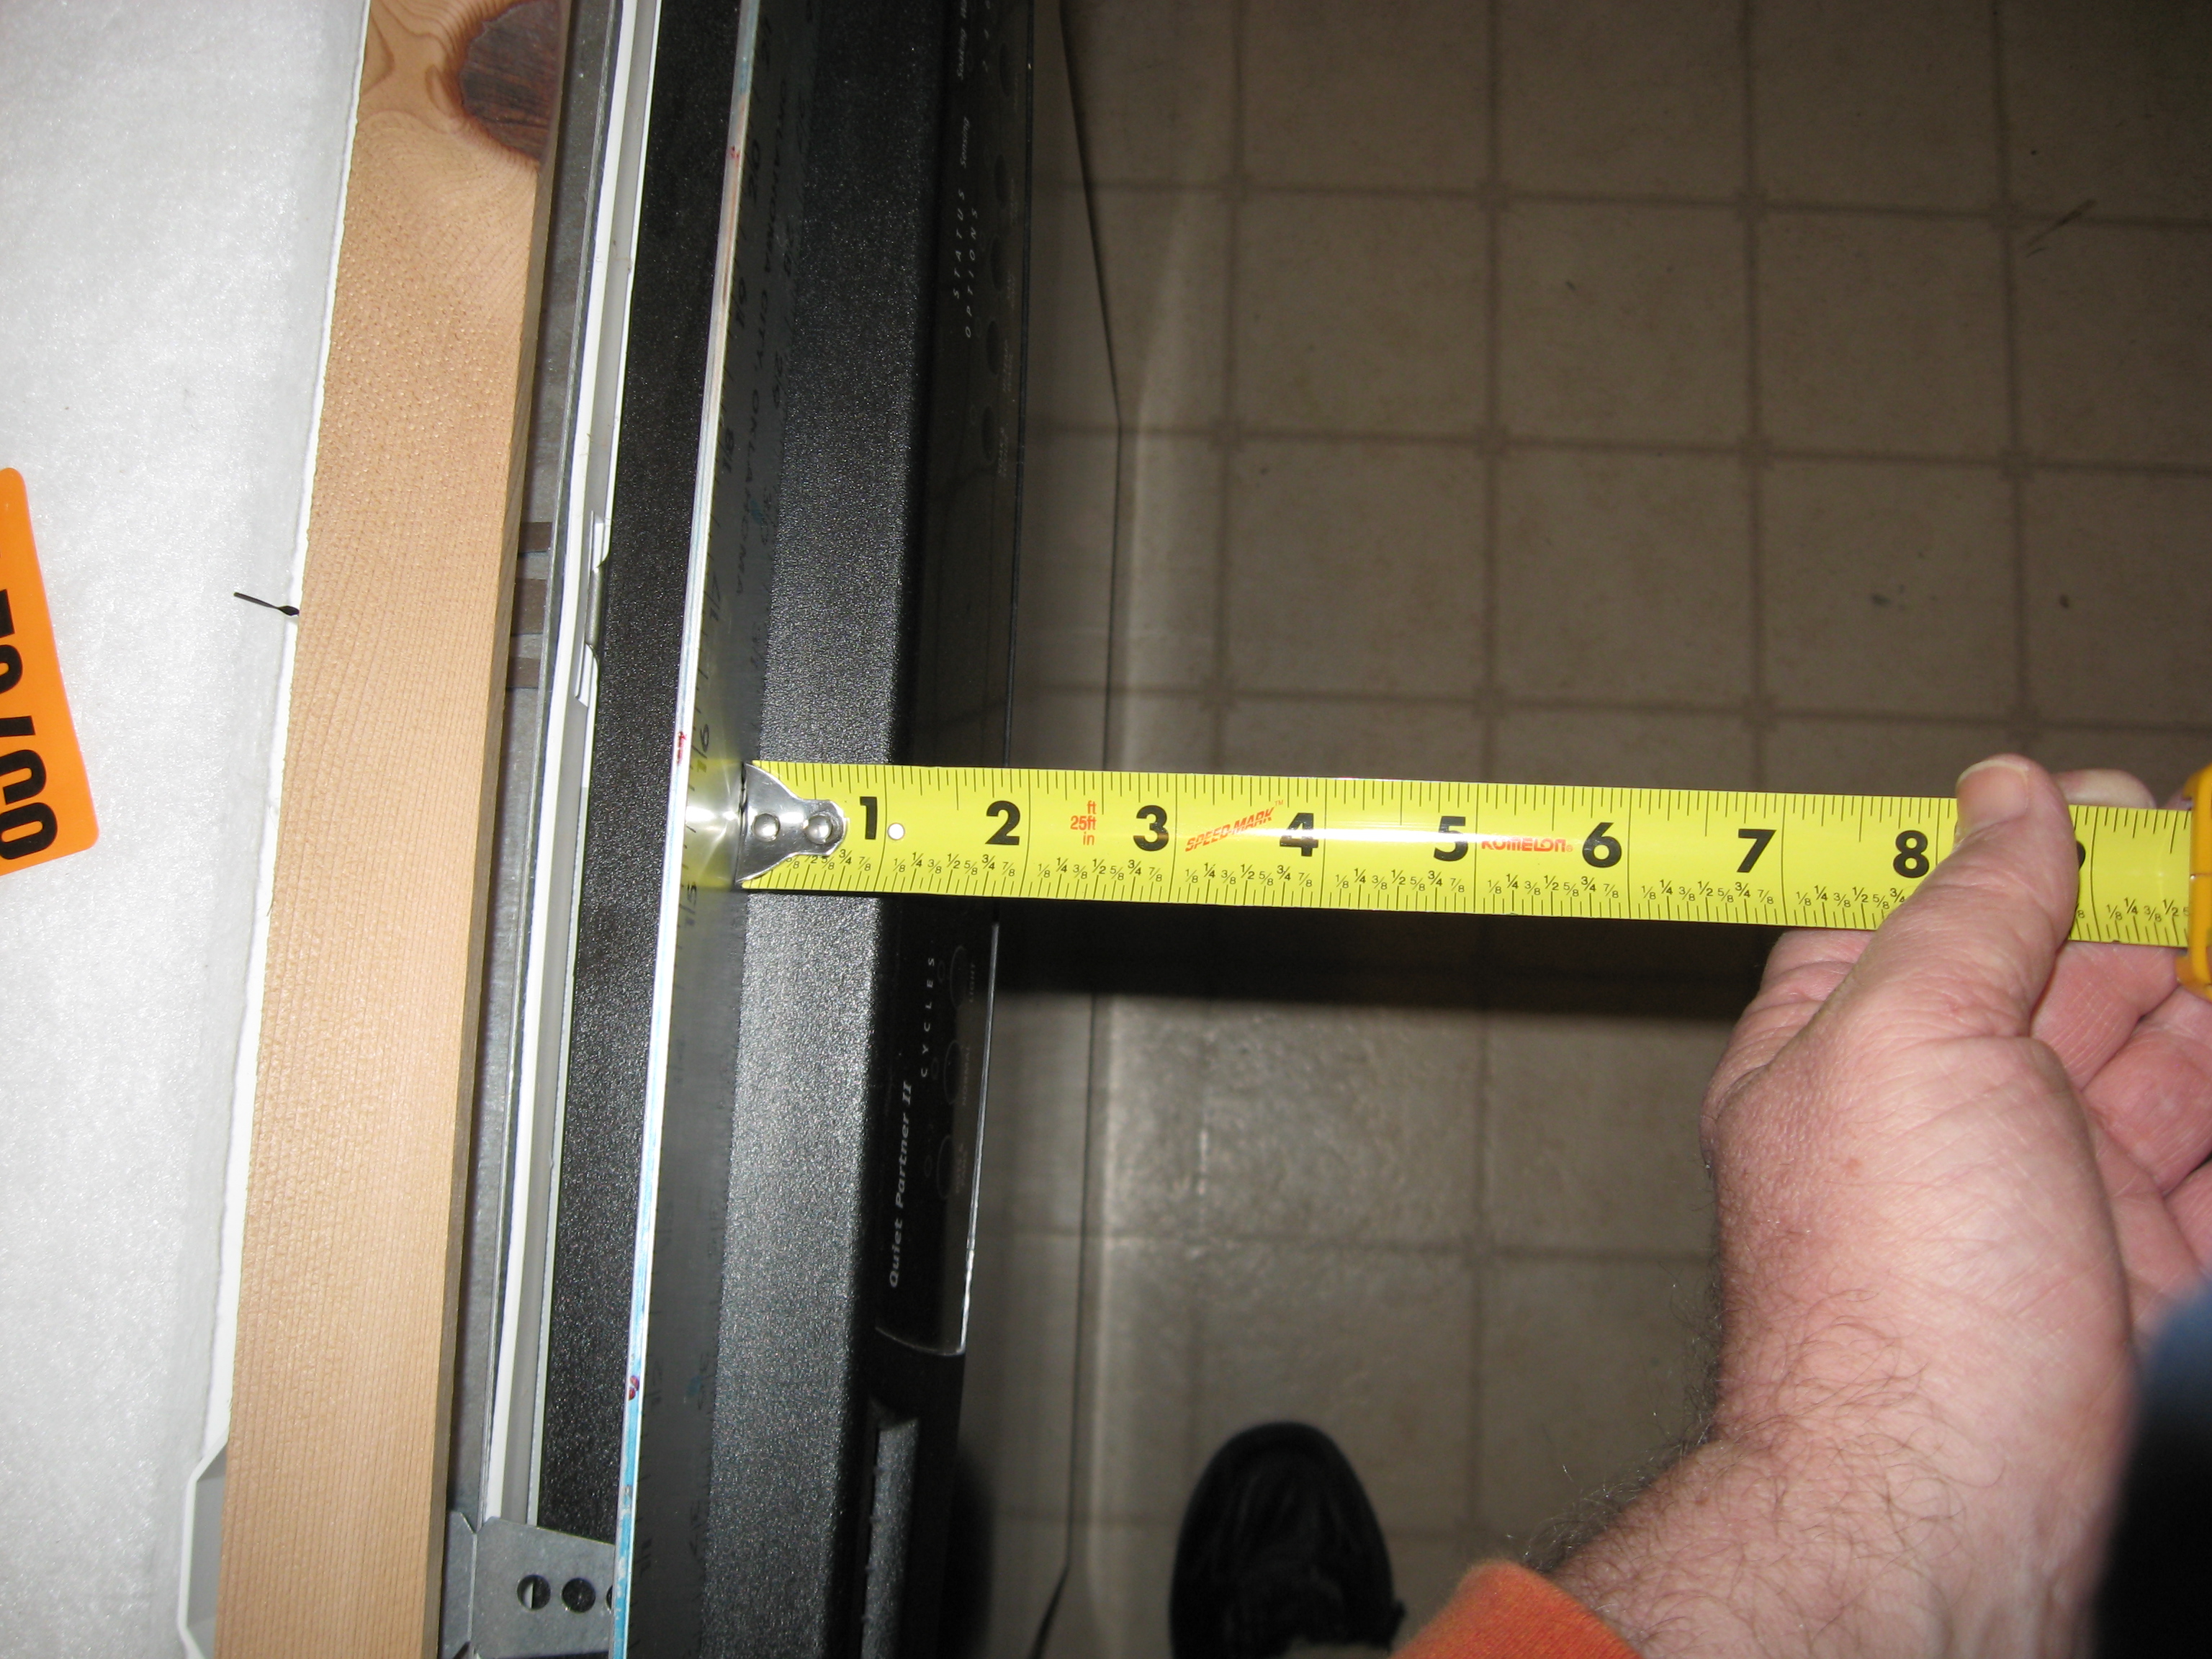
Flush


 \
\
Clearly the flush installation looks best. I loose most of the toe kick space on the front. I will be able to create a pseudo toe kick though.
:
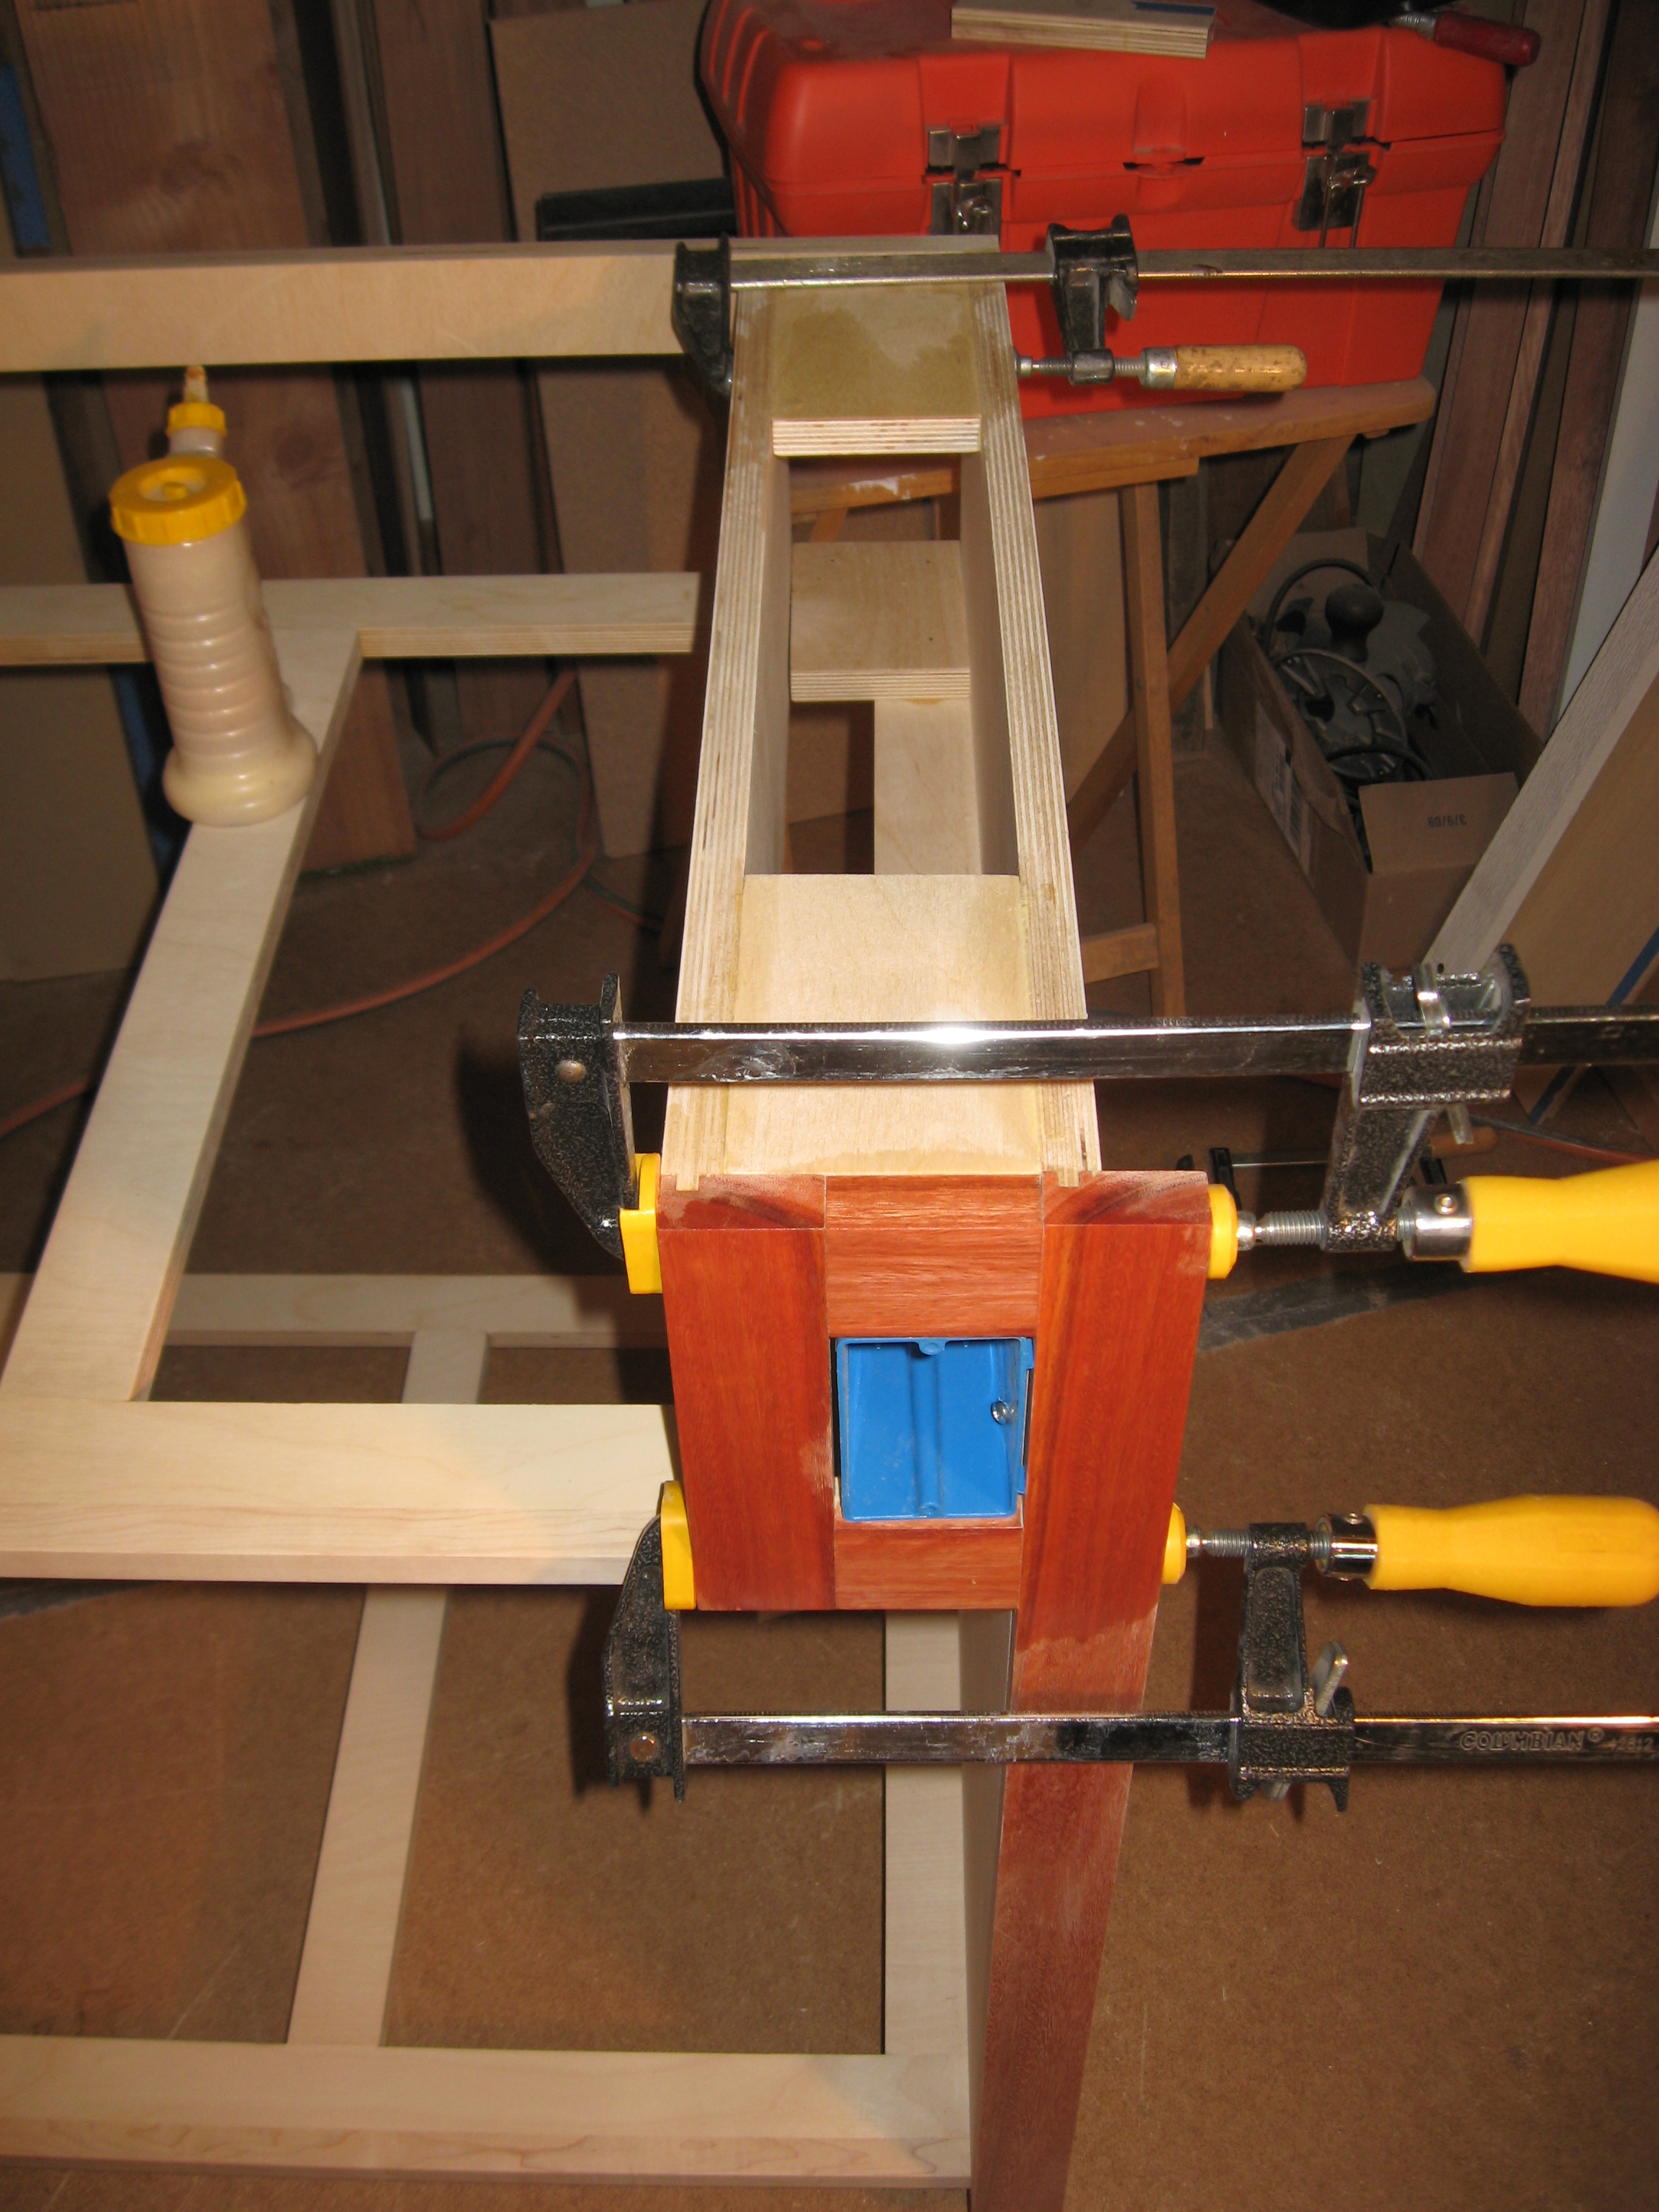
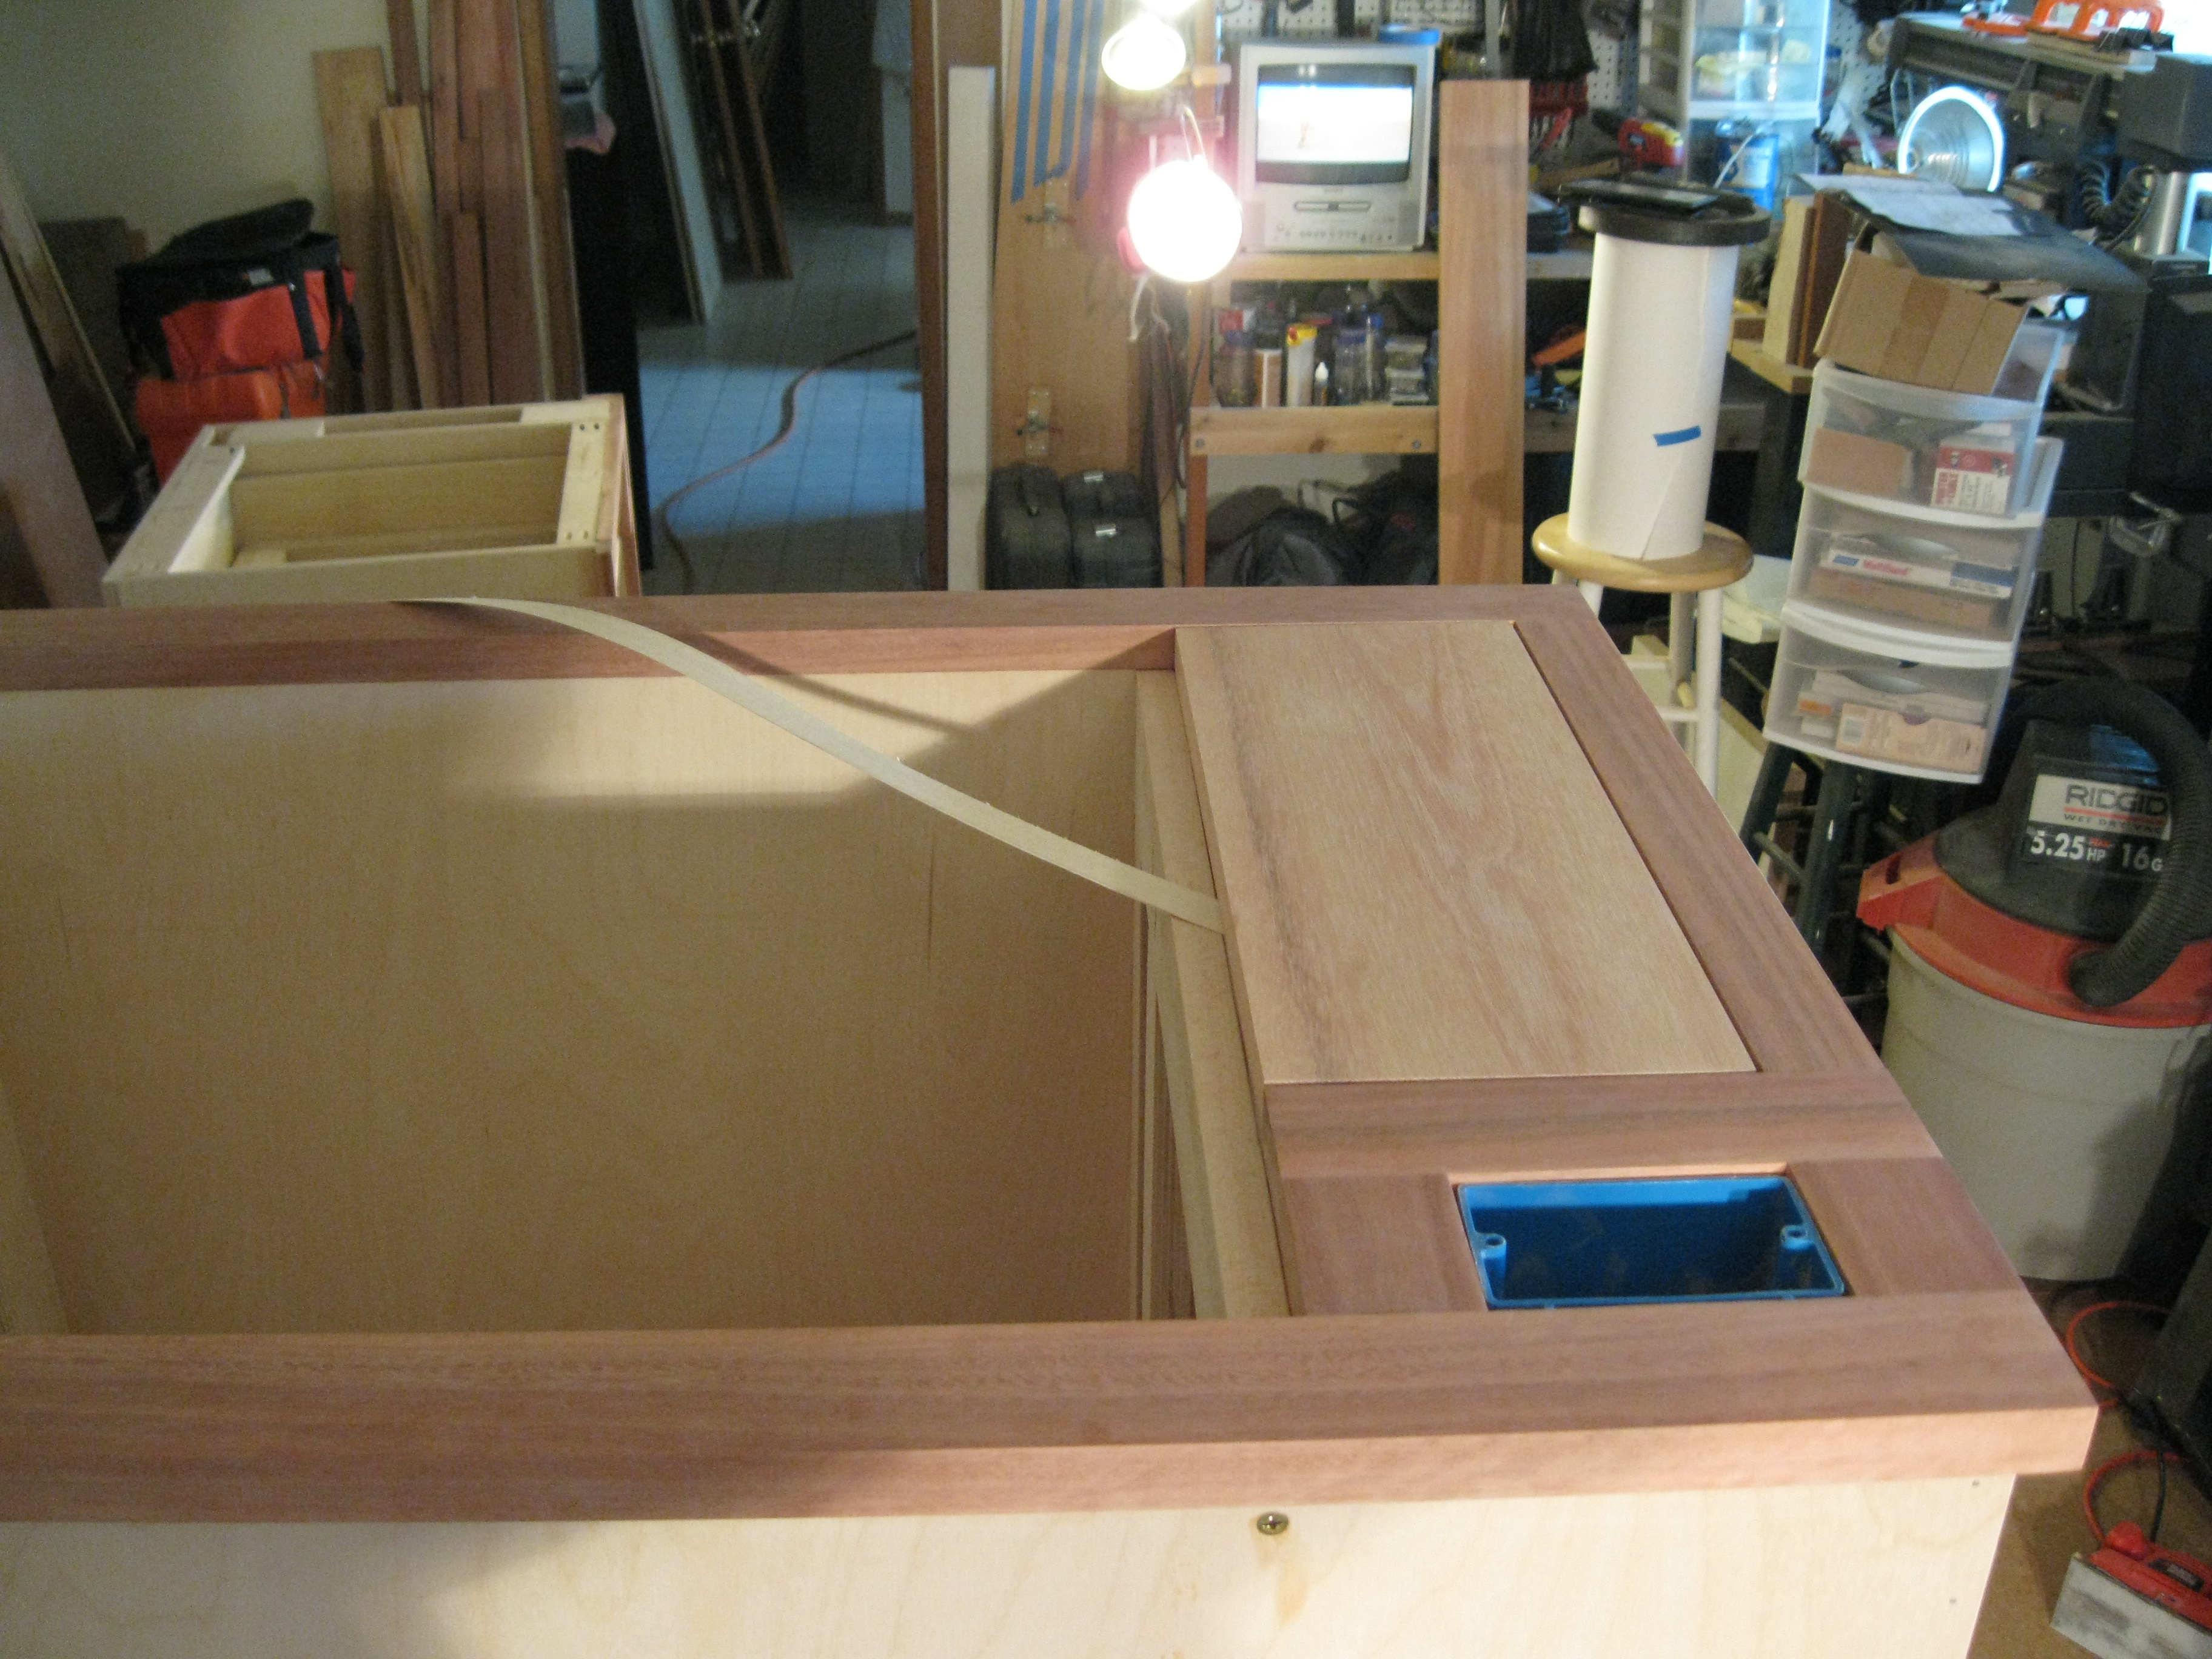
Below shows the cabinet that will be to the right of the dishwasher on its side. This picture shows the return of the face frame. When the dishwasher door is open it will look like the lyptus wraps around all the way. This return is a 3/16 quarter sawn piece of lyptus glued up on a 7/8" cedar backing.
:
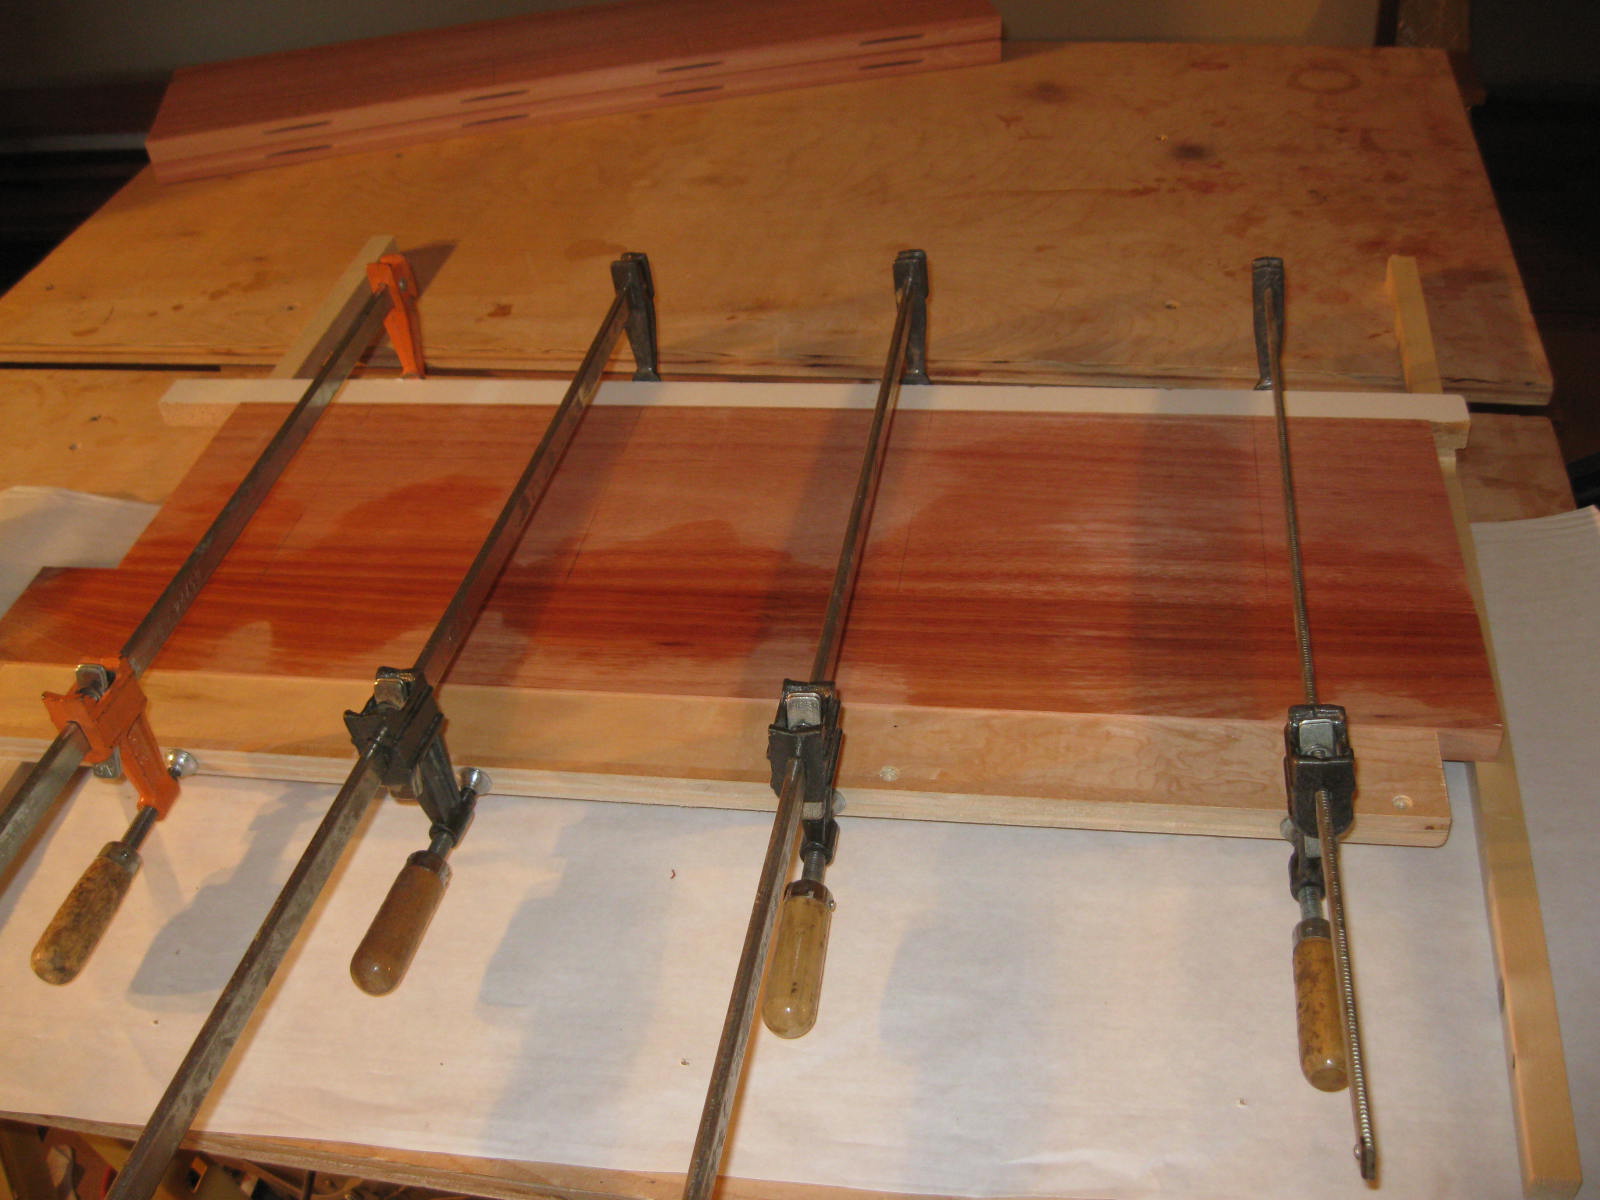
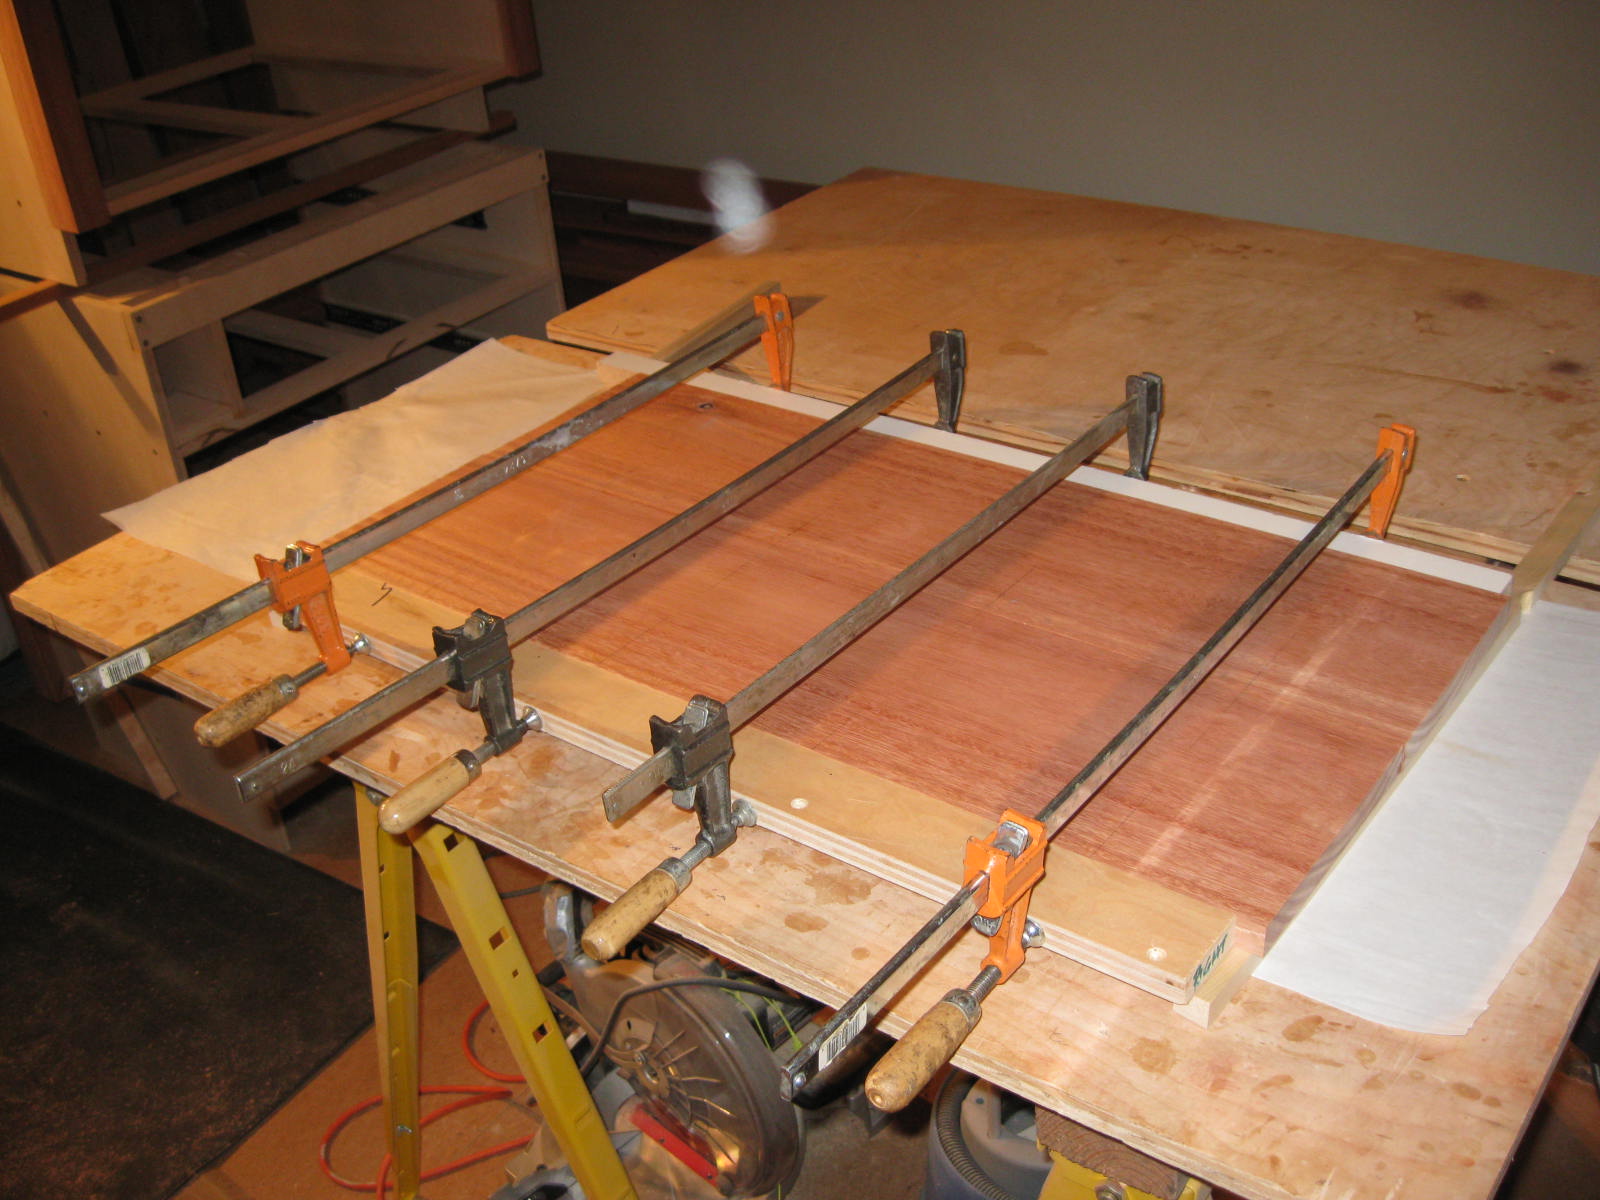
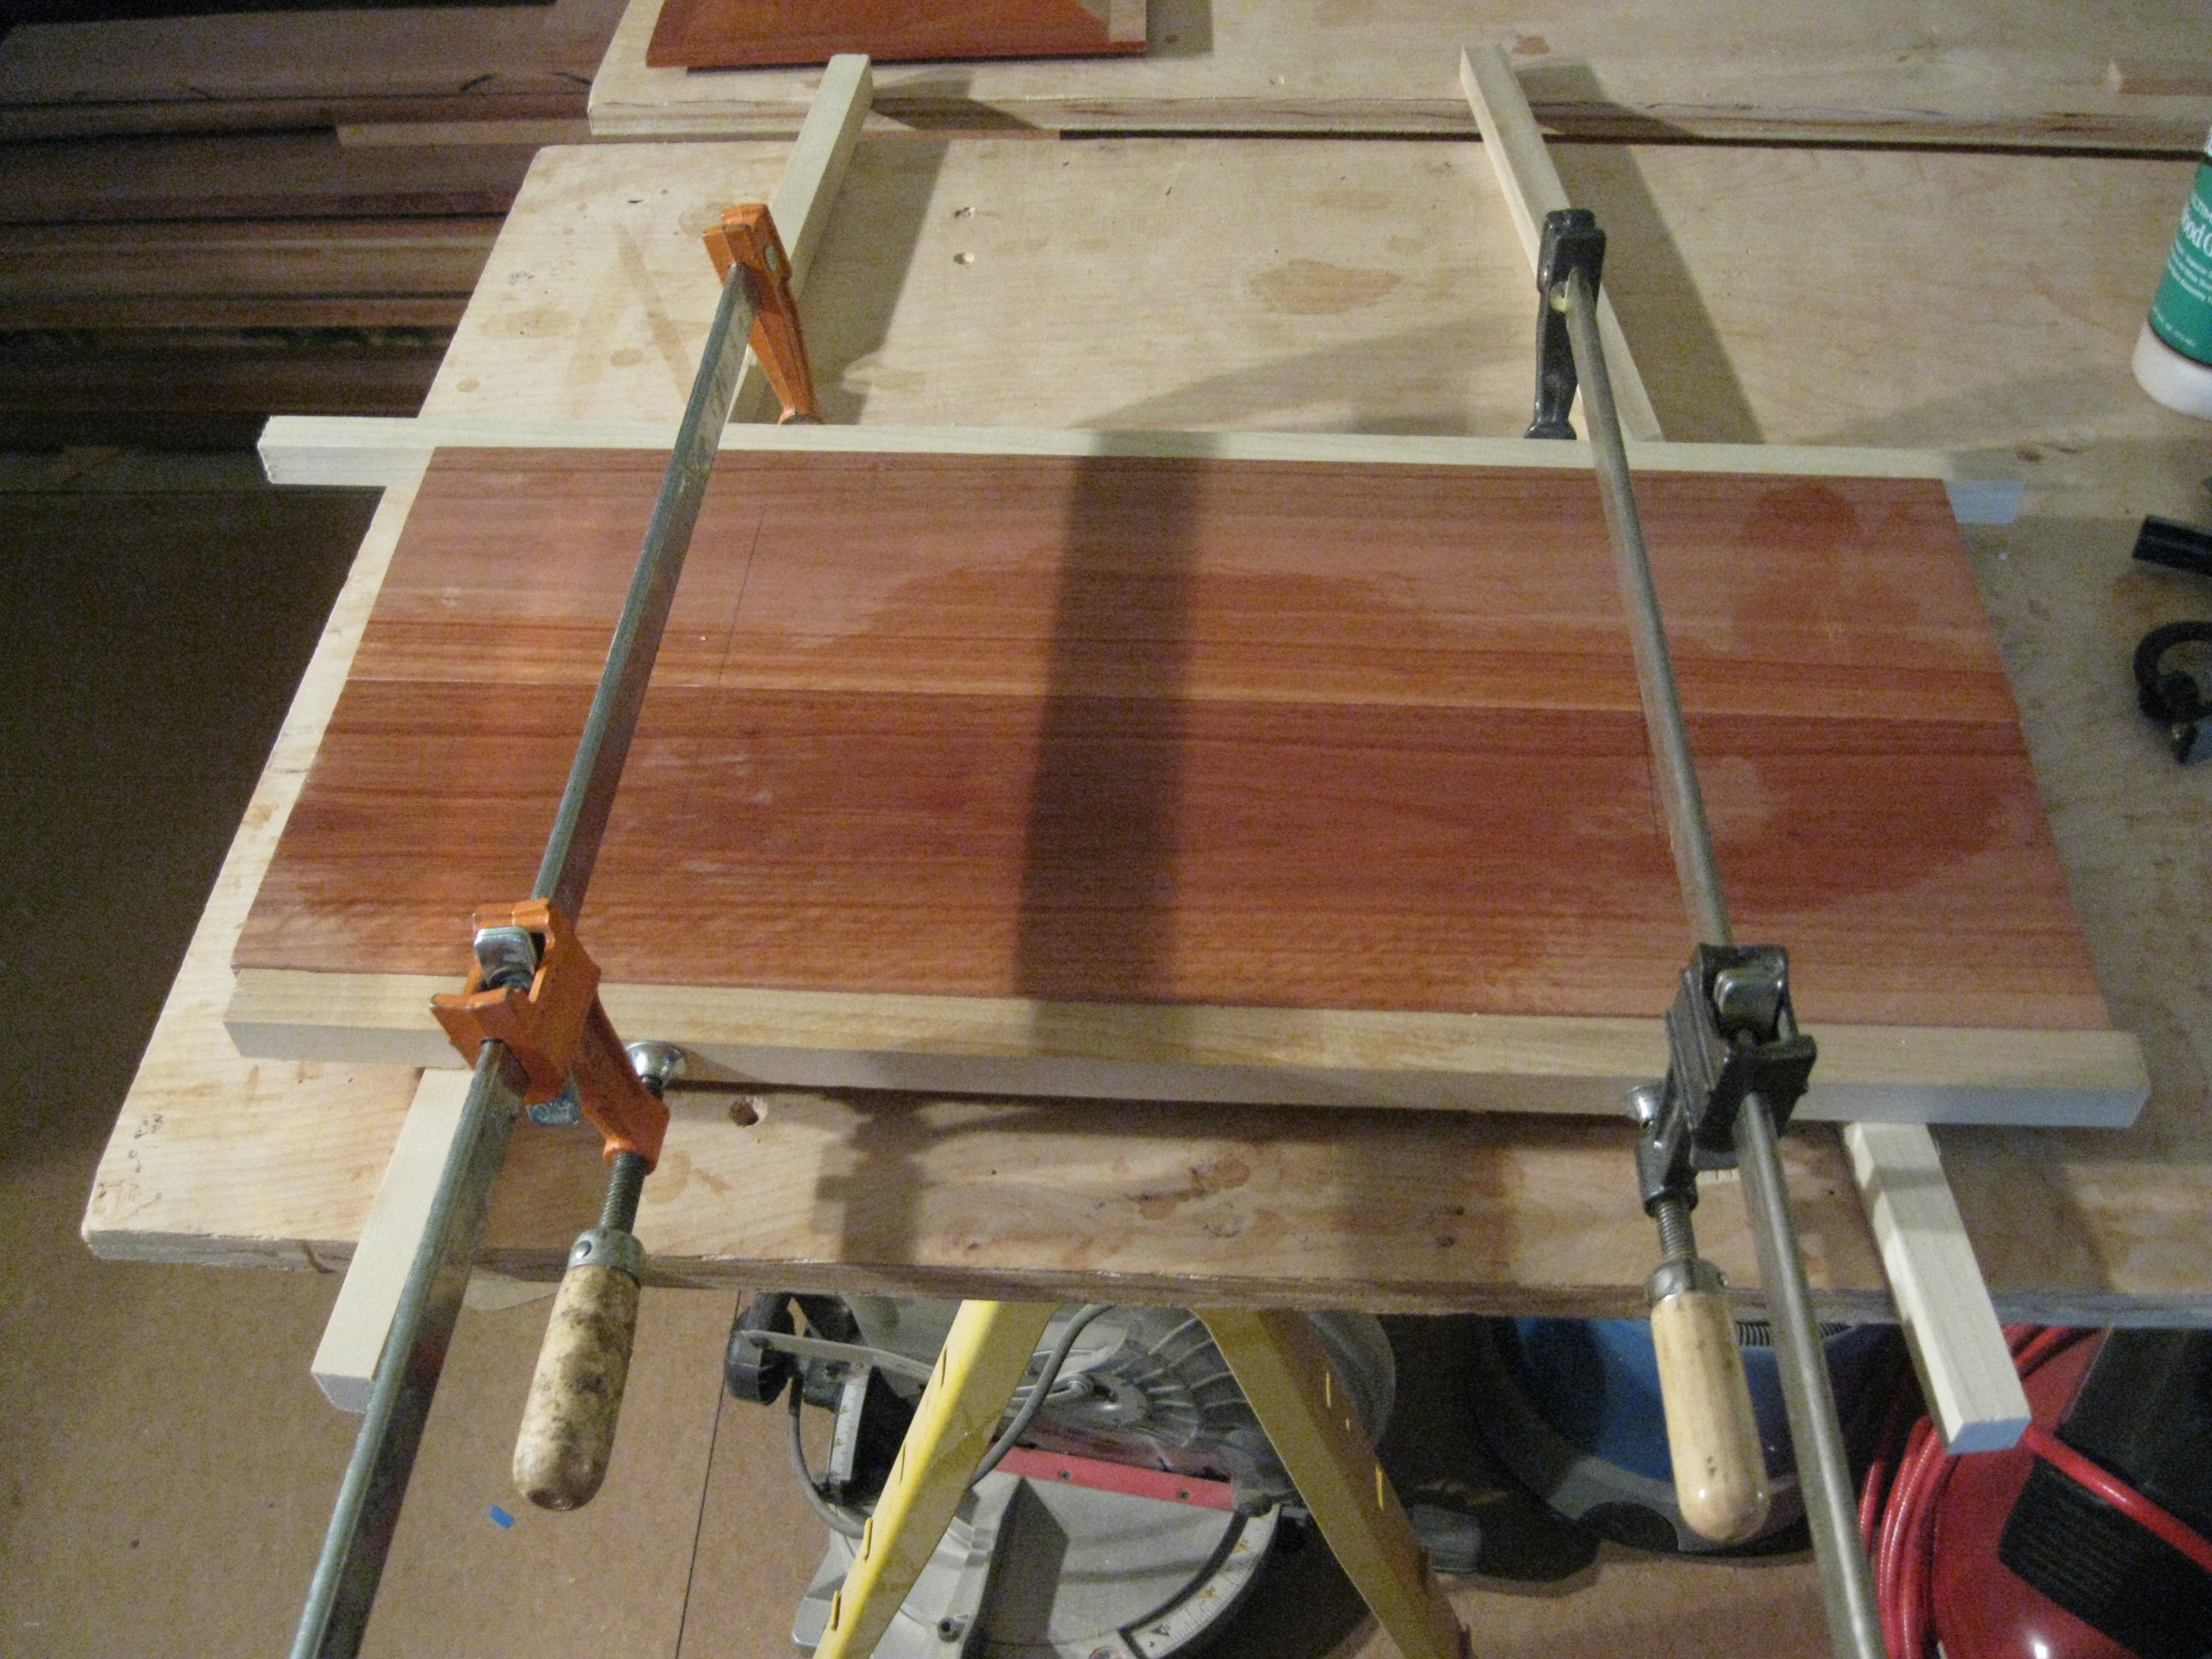
More Glue-ups
The first two pictures are glue-ups of the stiles. The third picture shows the glue-up of the electrical outlet configuration. Each cabinet face will have one outlet. The piece at the back of the electric glue-up that looks like a nail rail was required to adjust the bow (1/4") in one of the side panels.
:
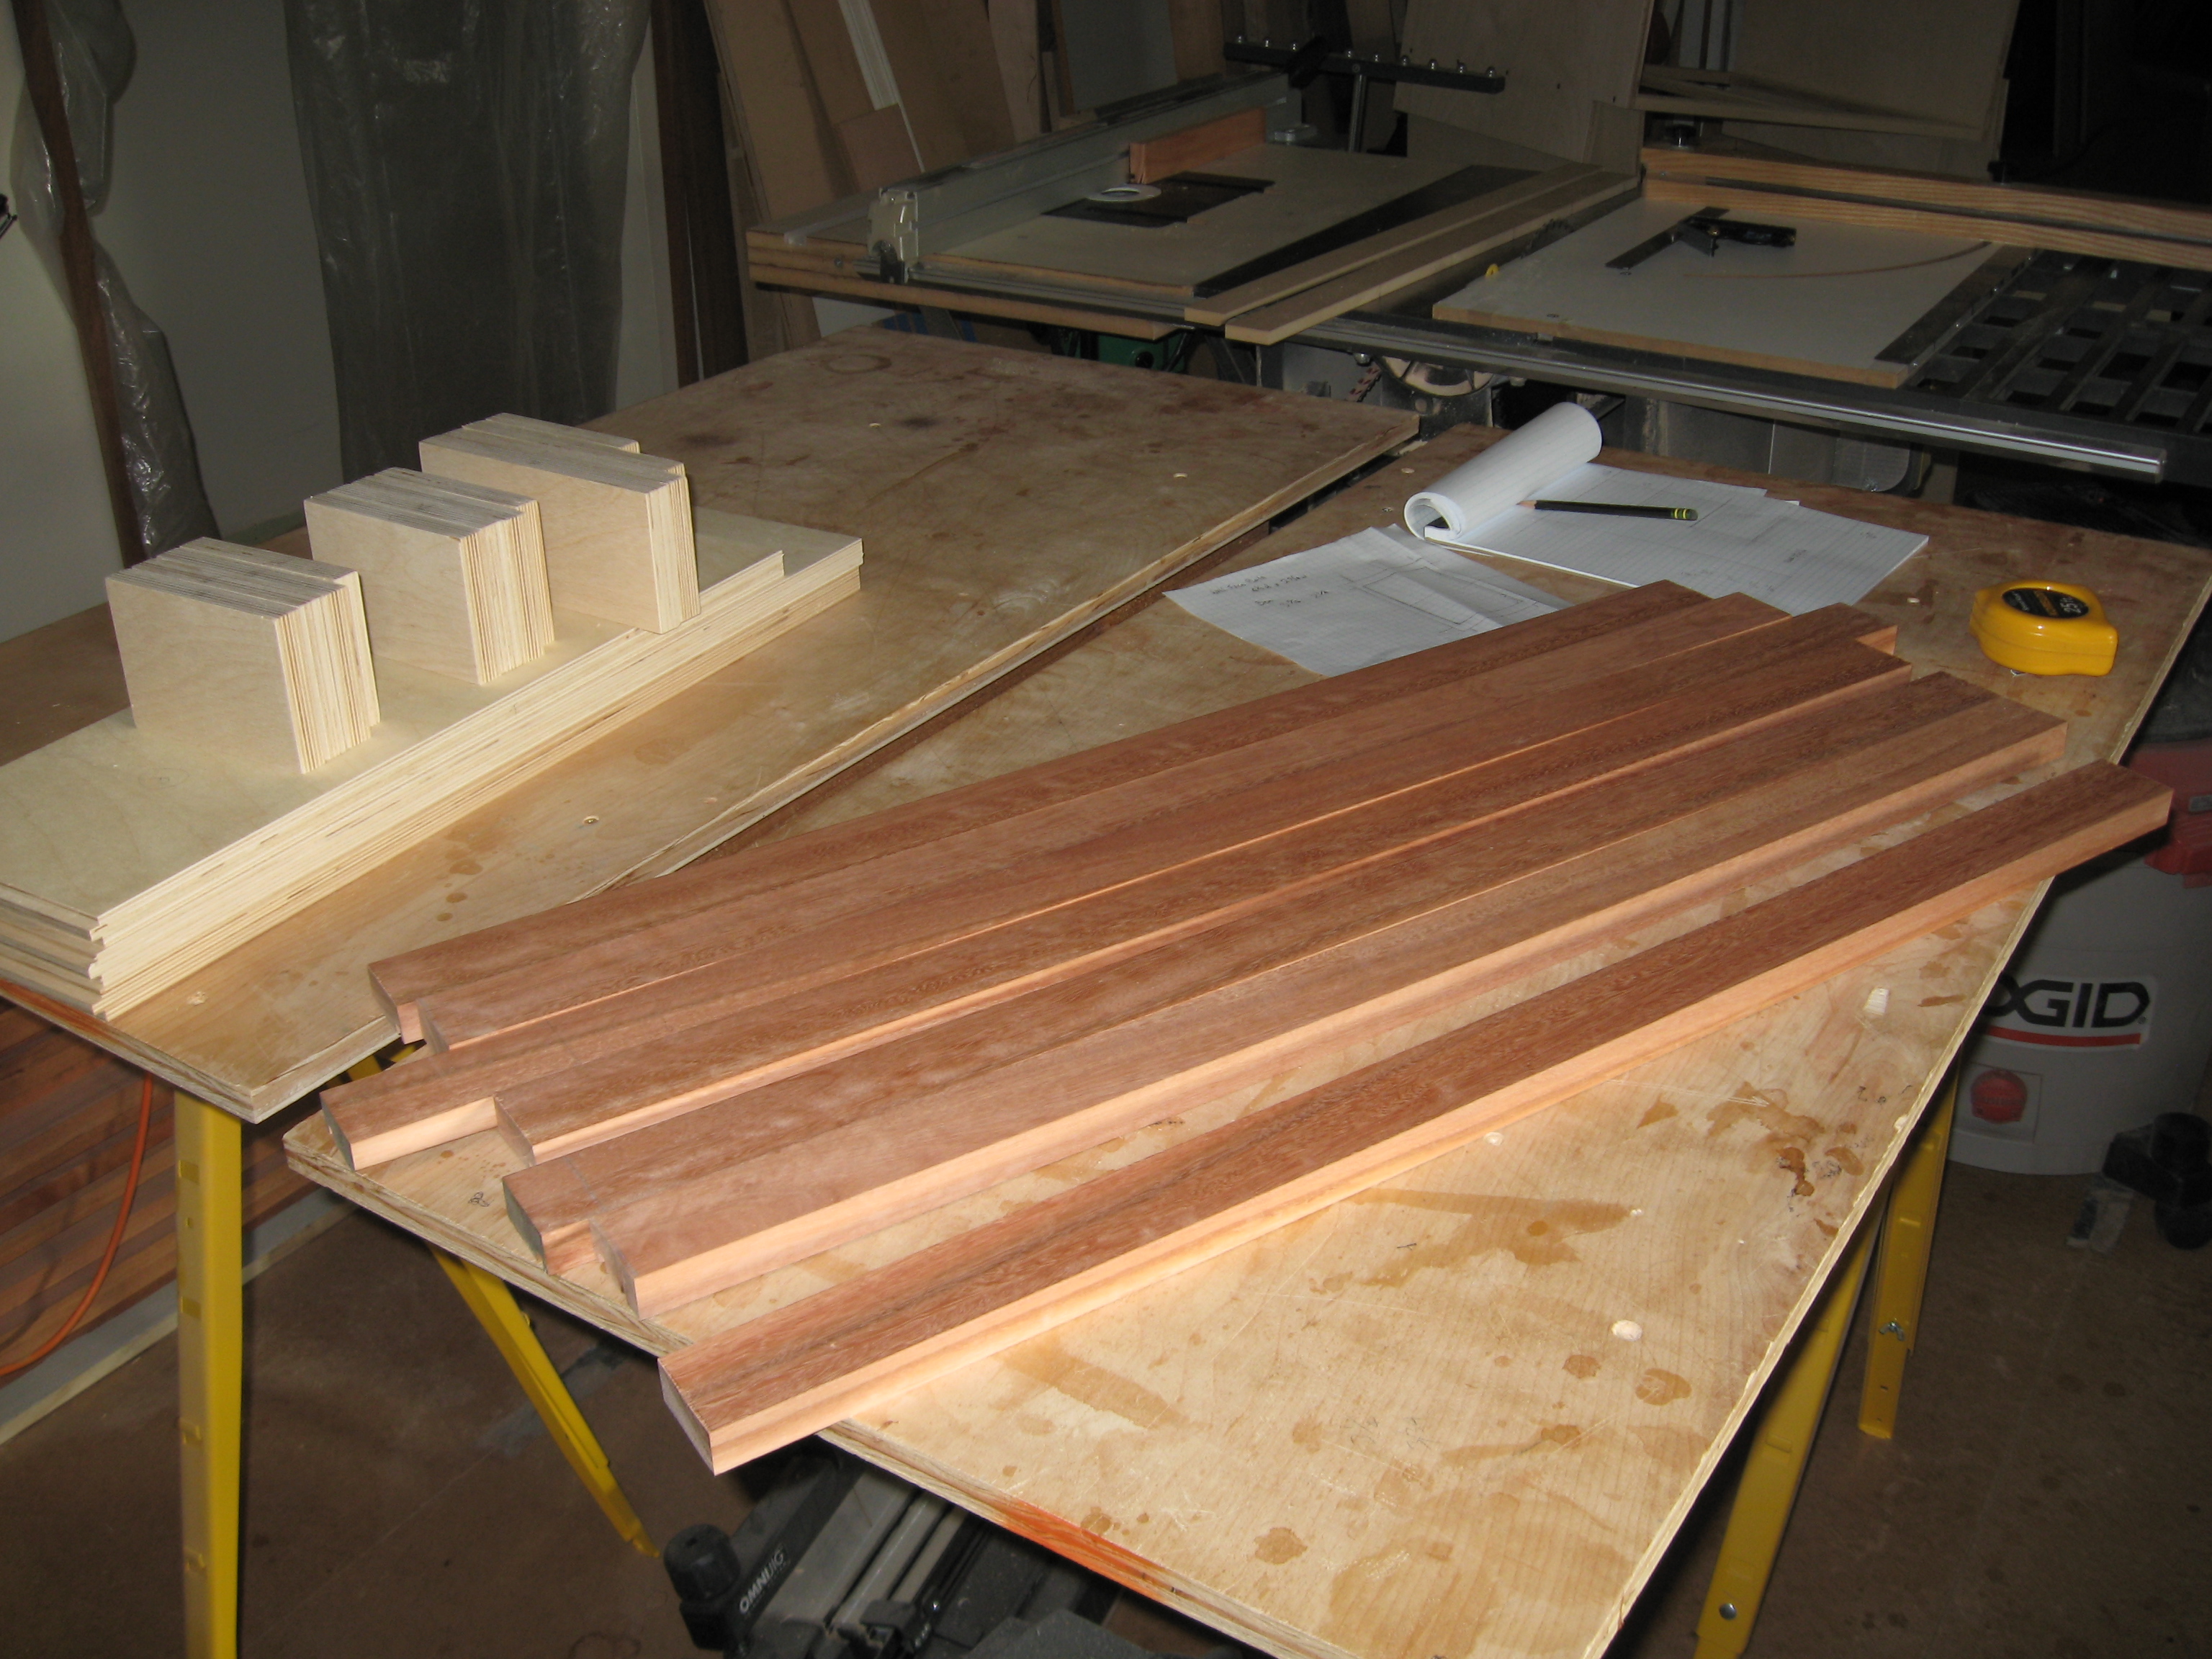
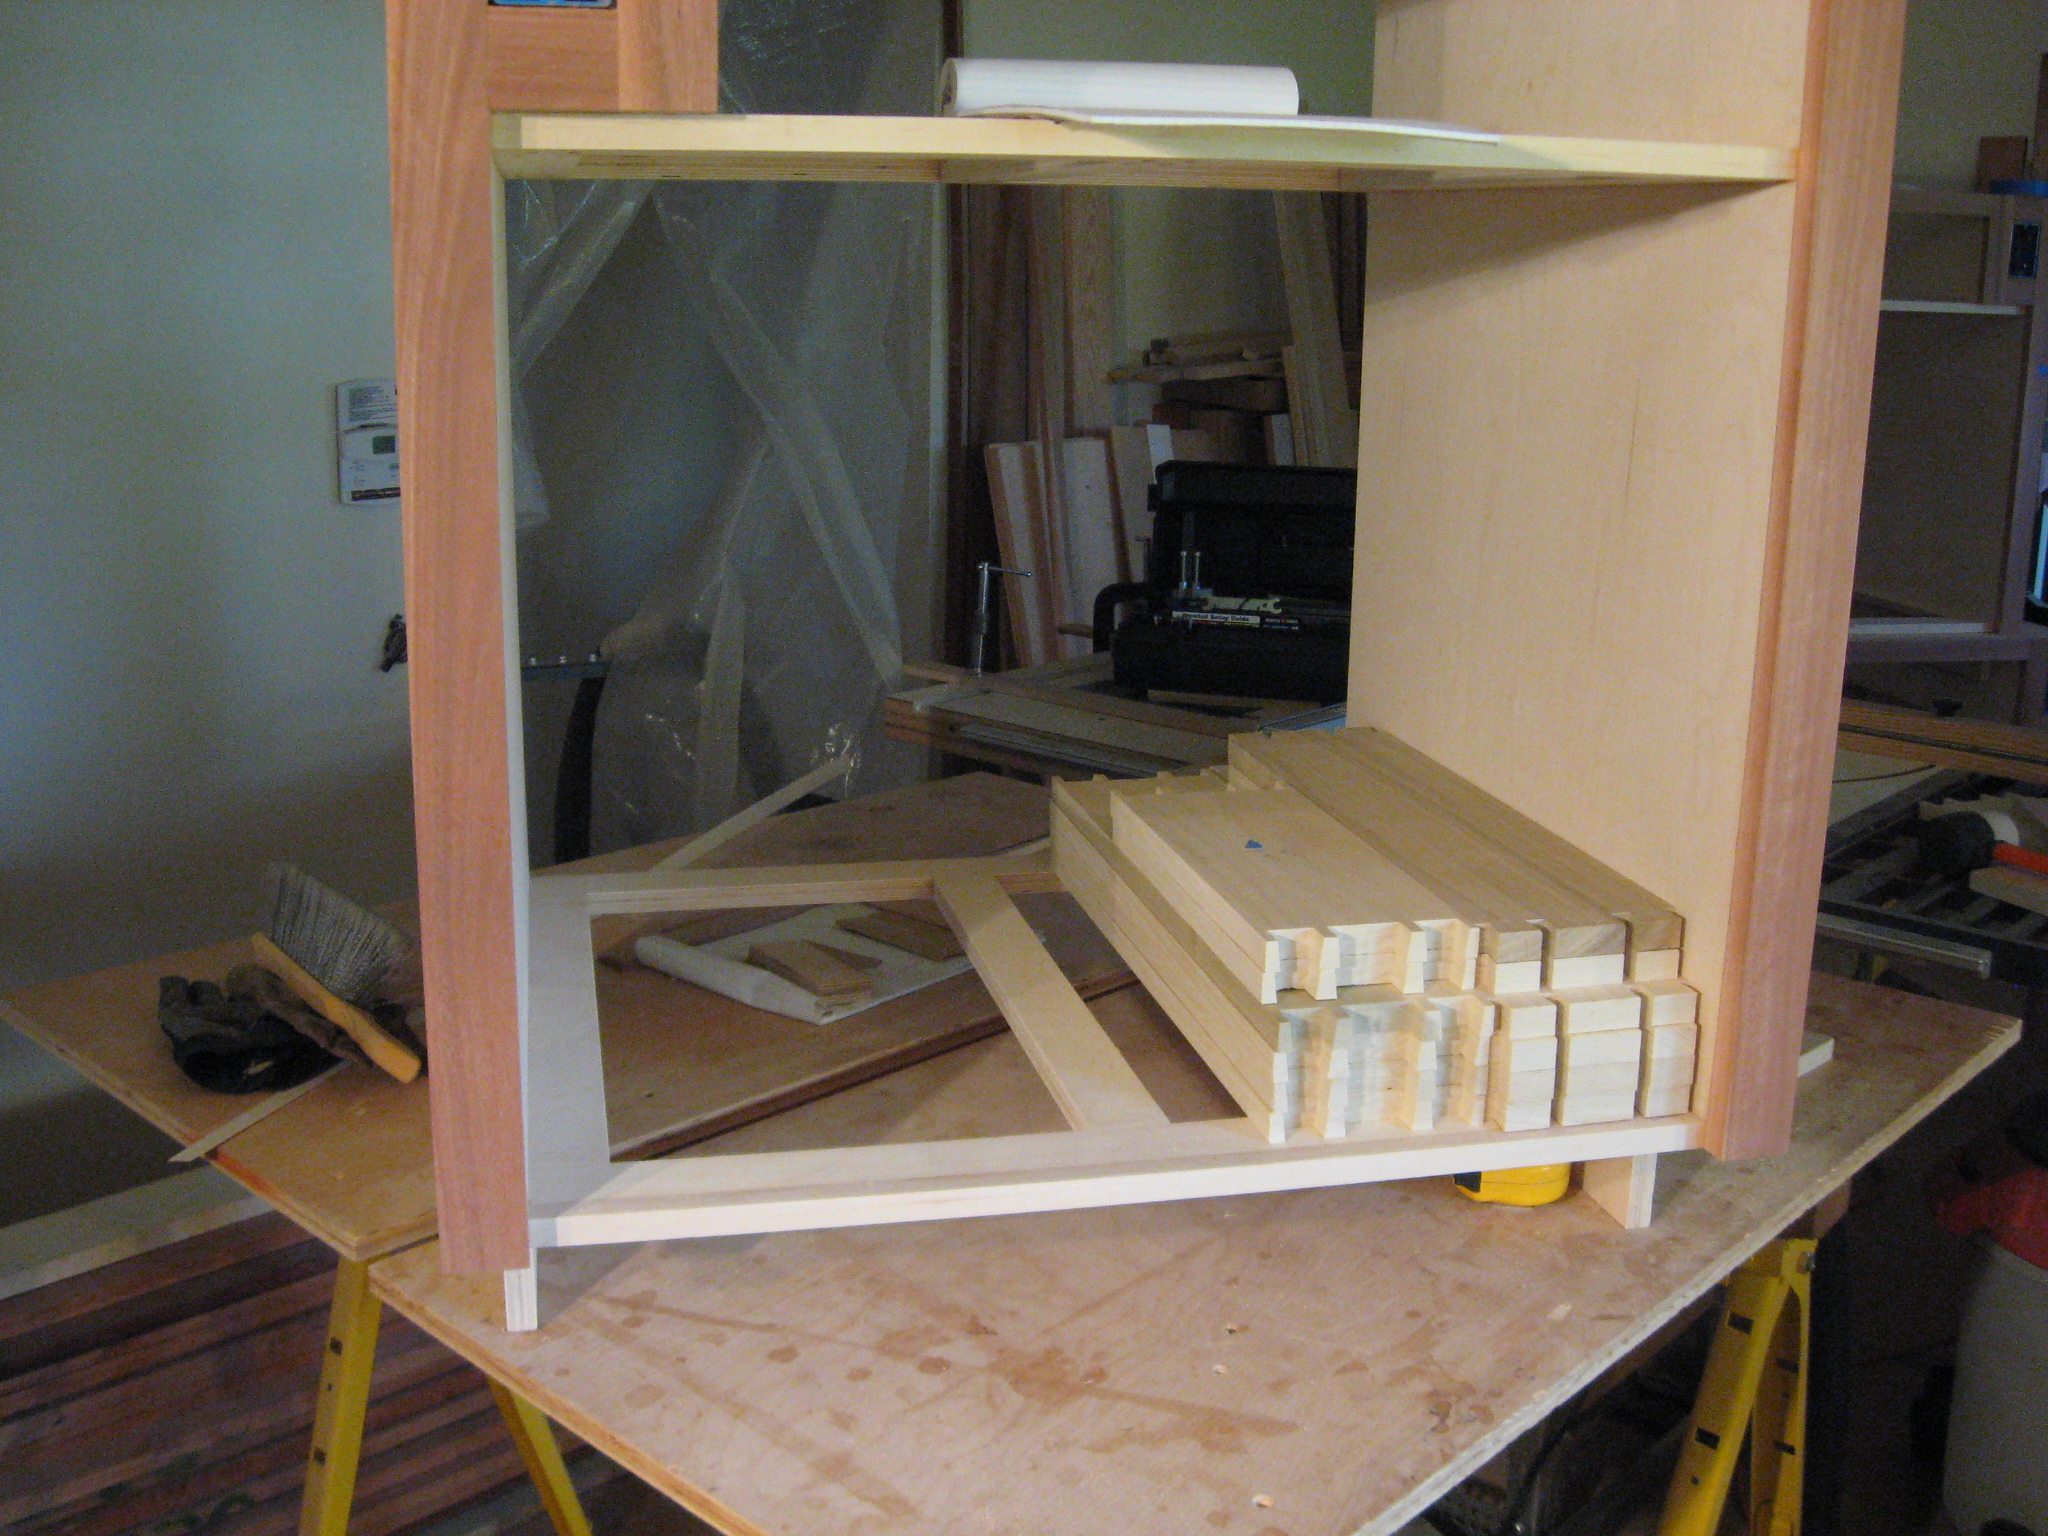
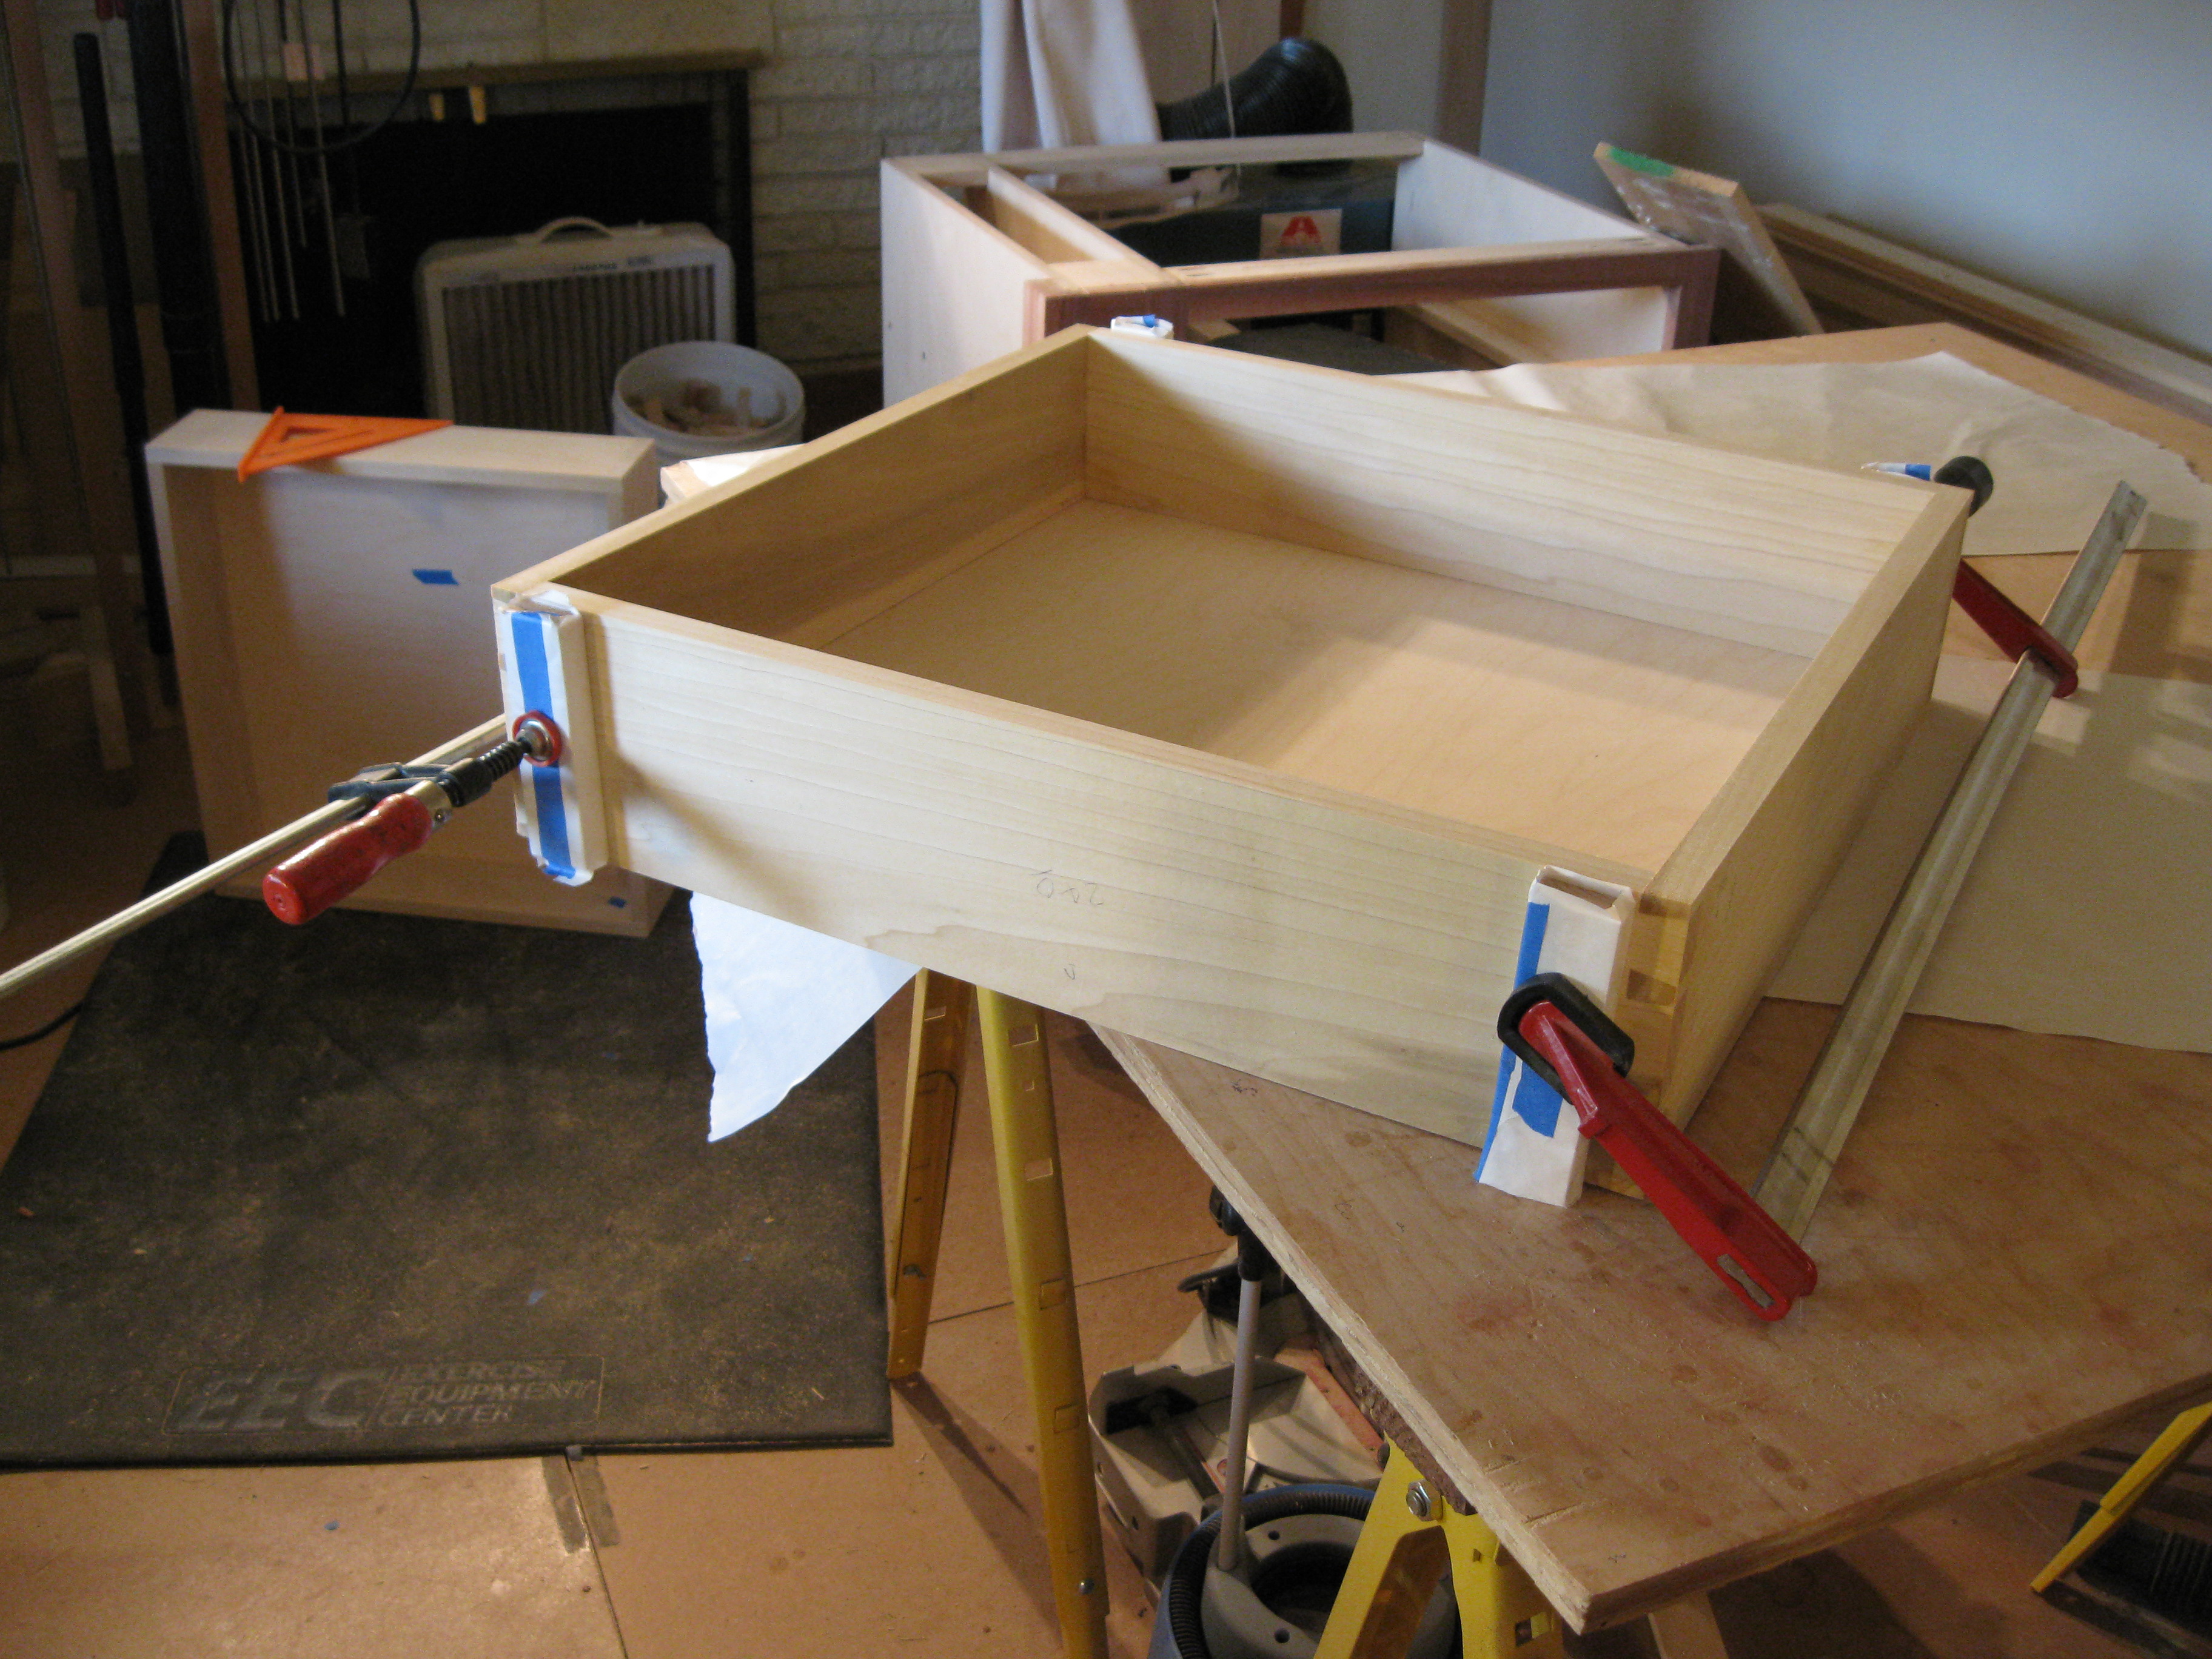
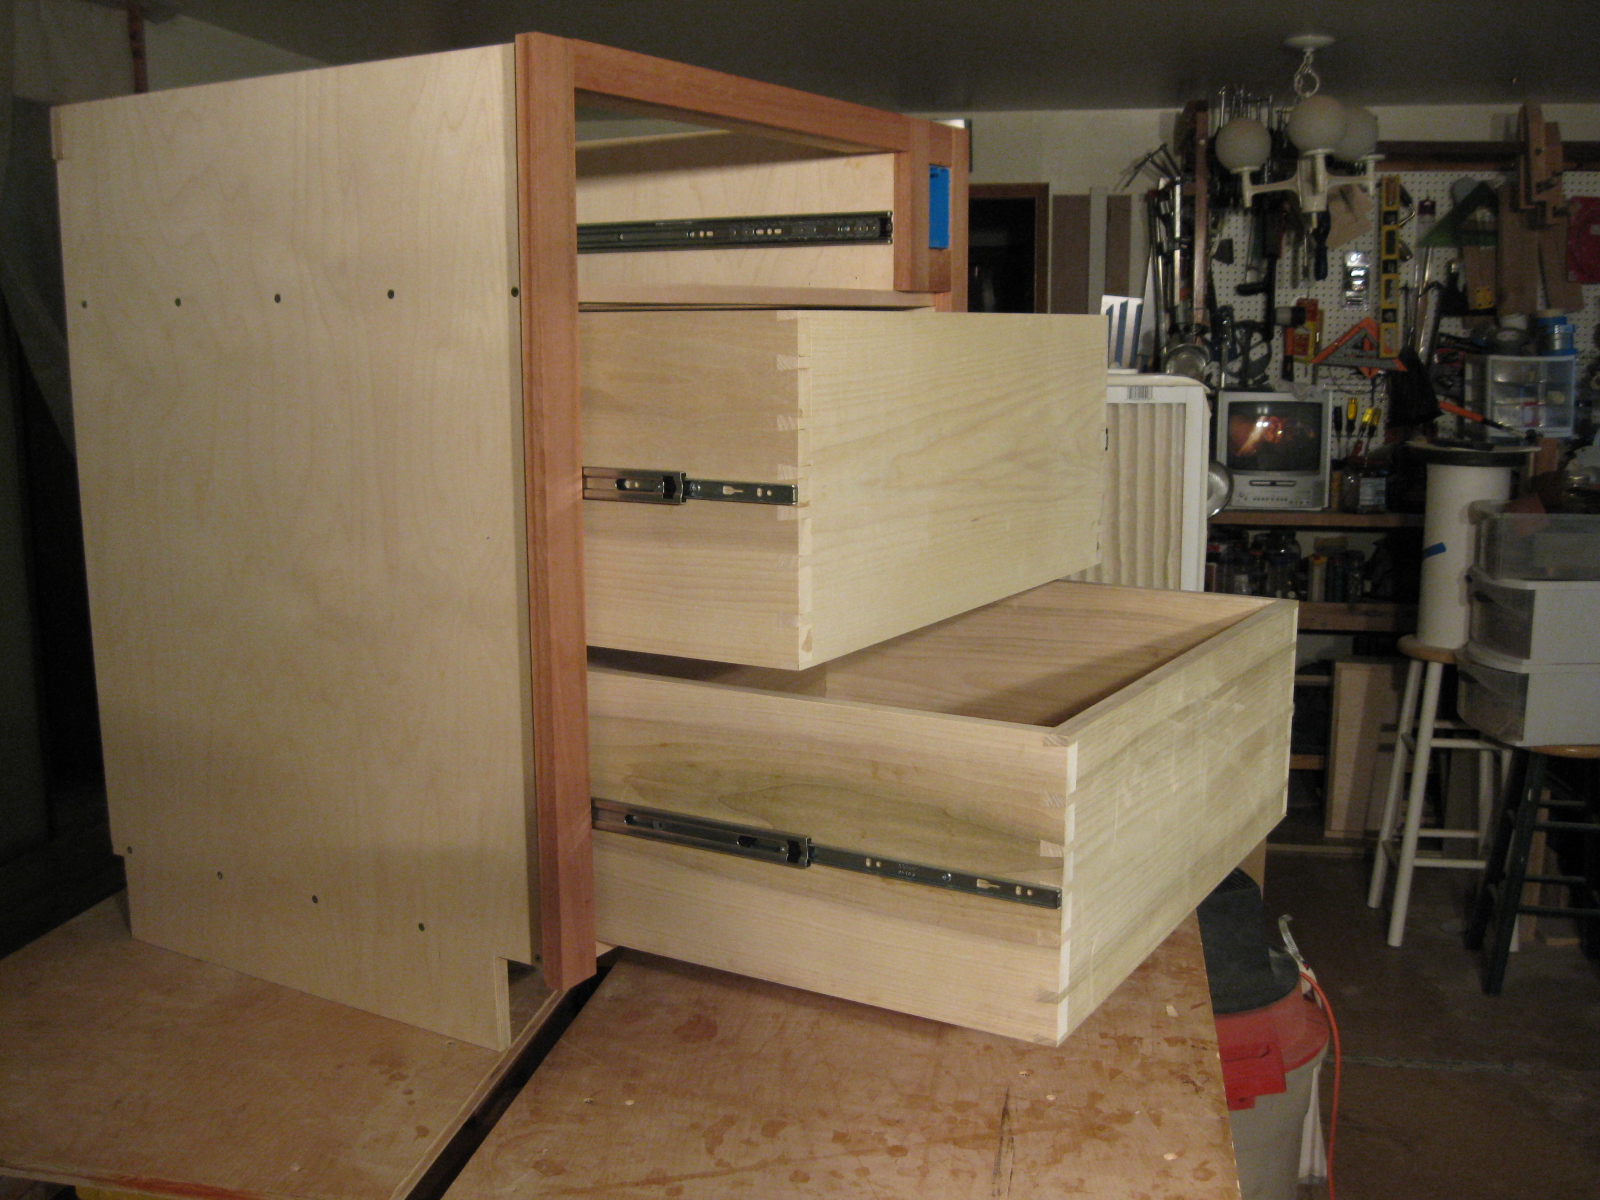
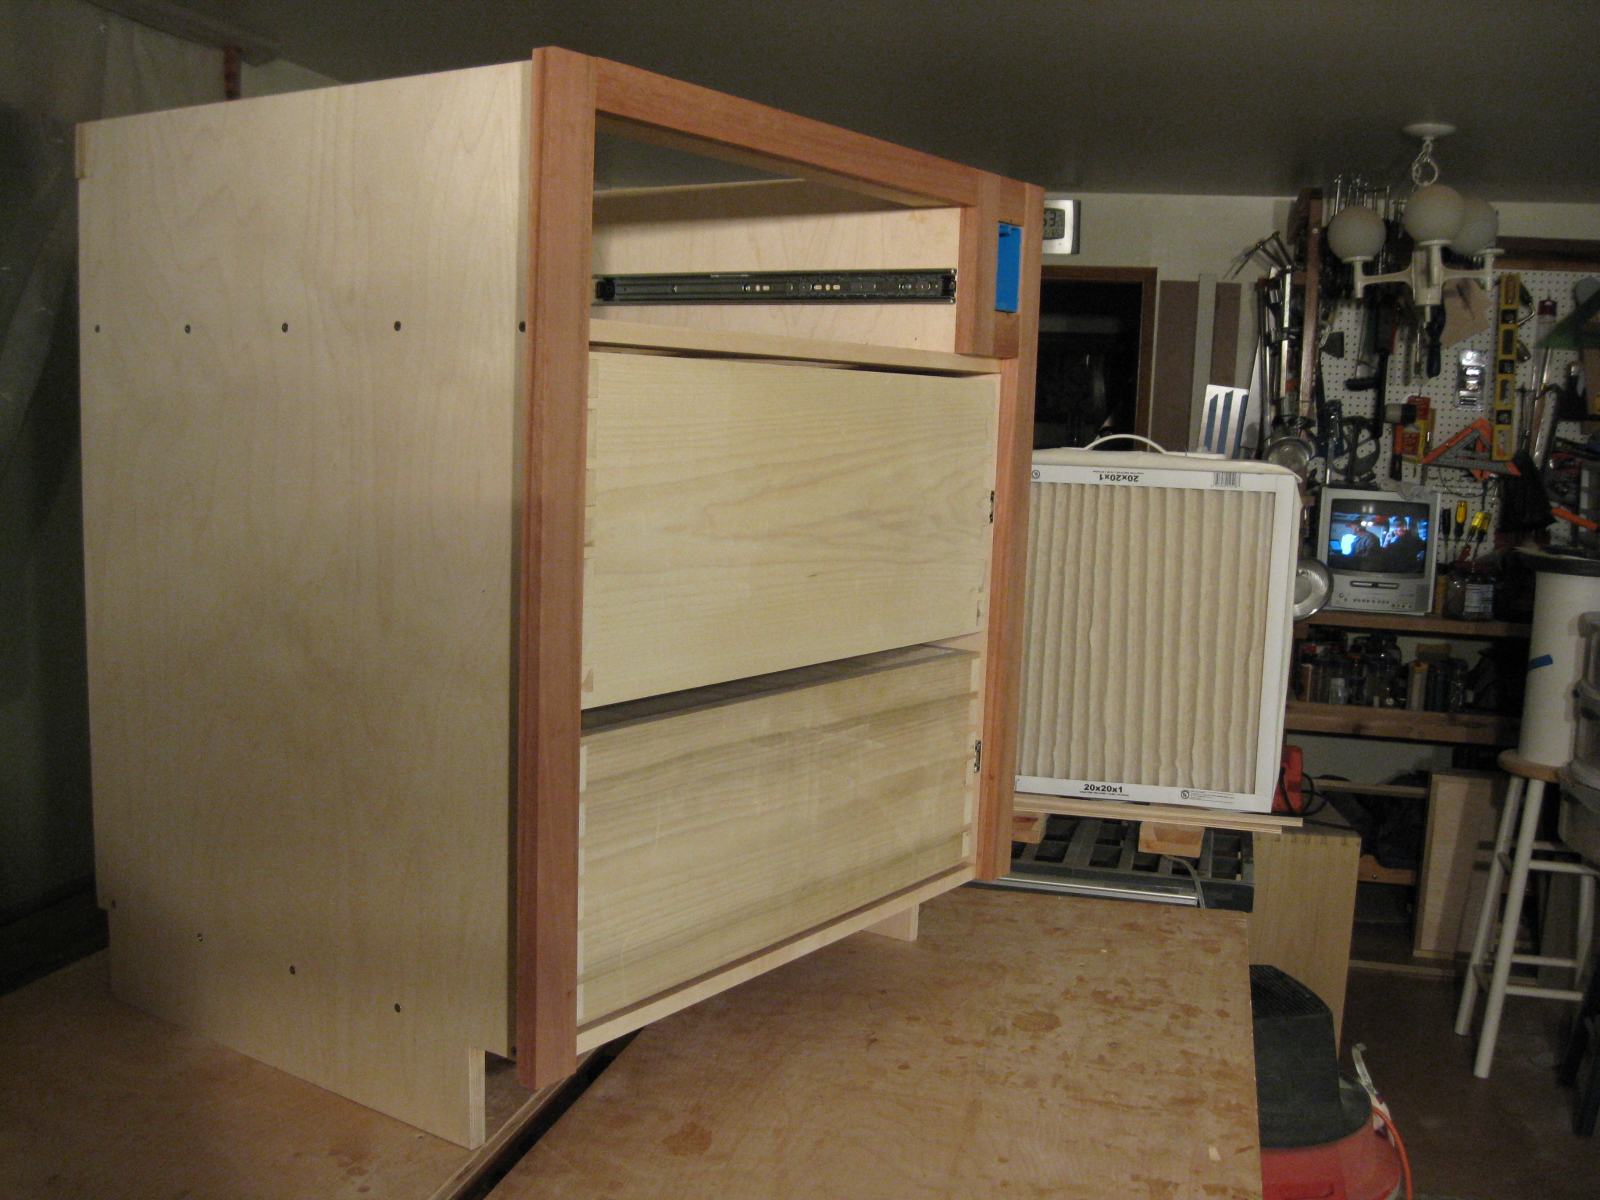
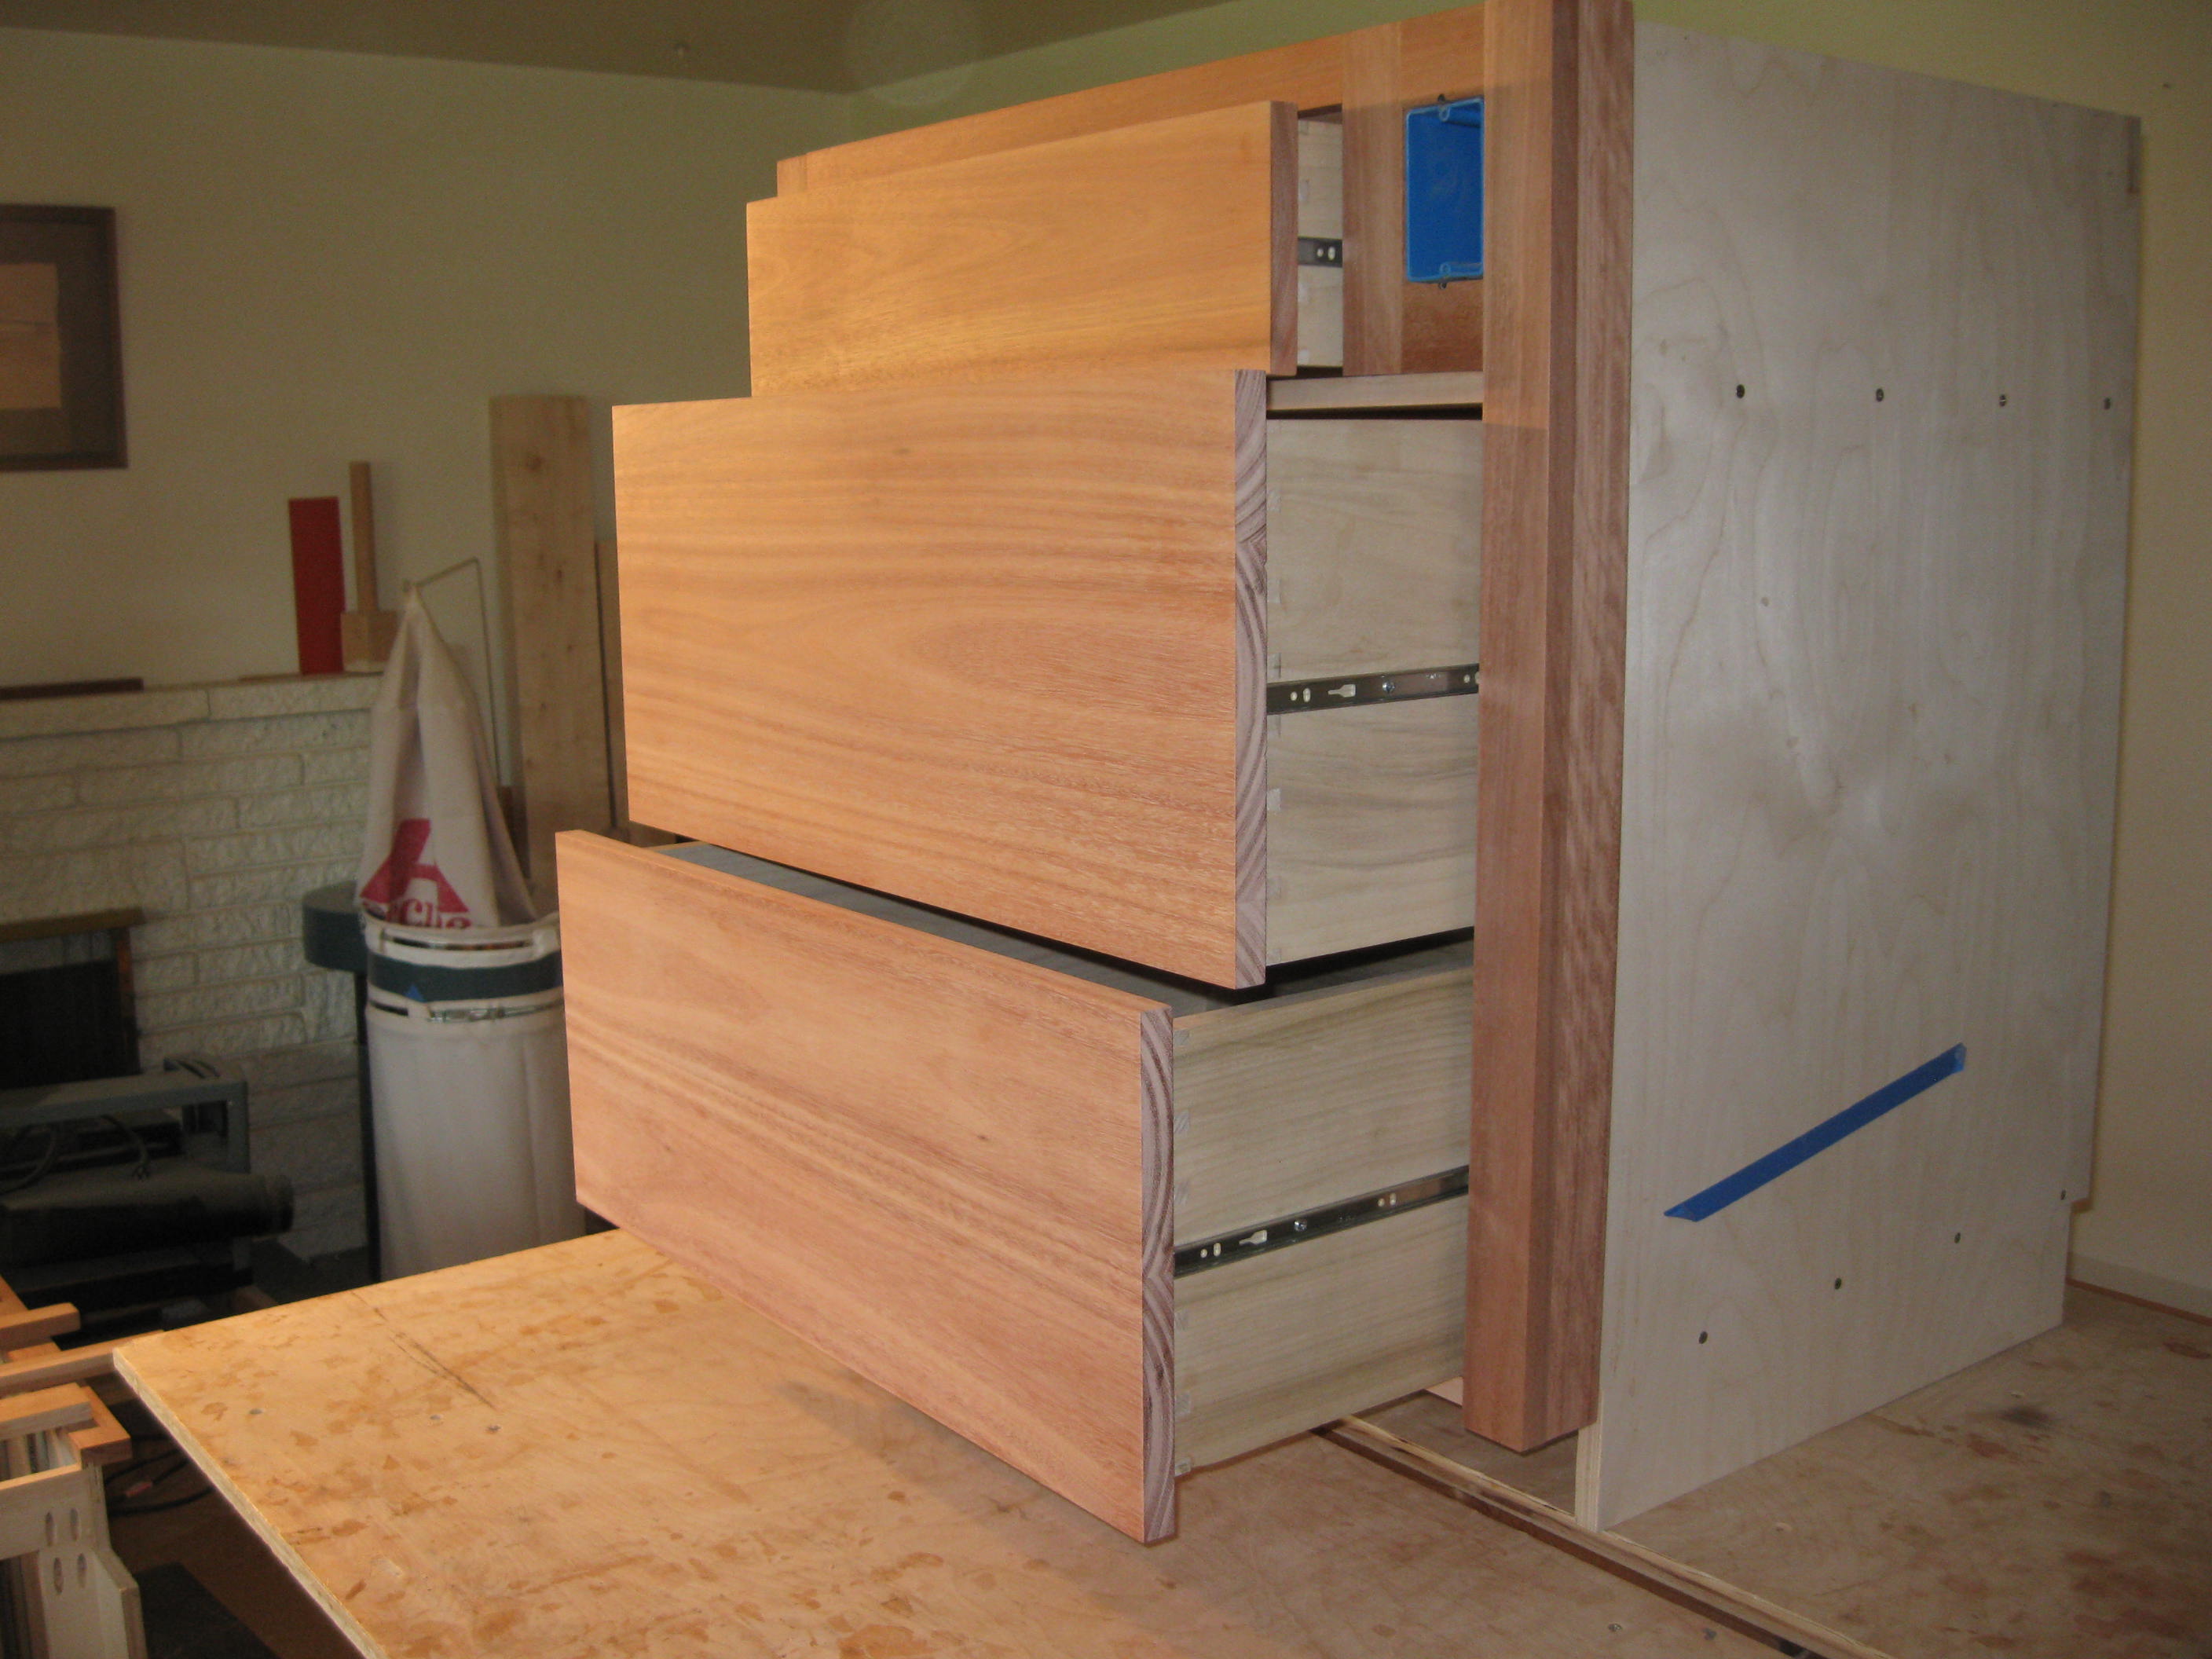
Drawers
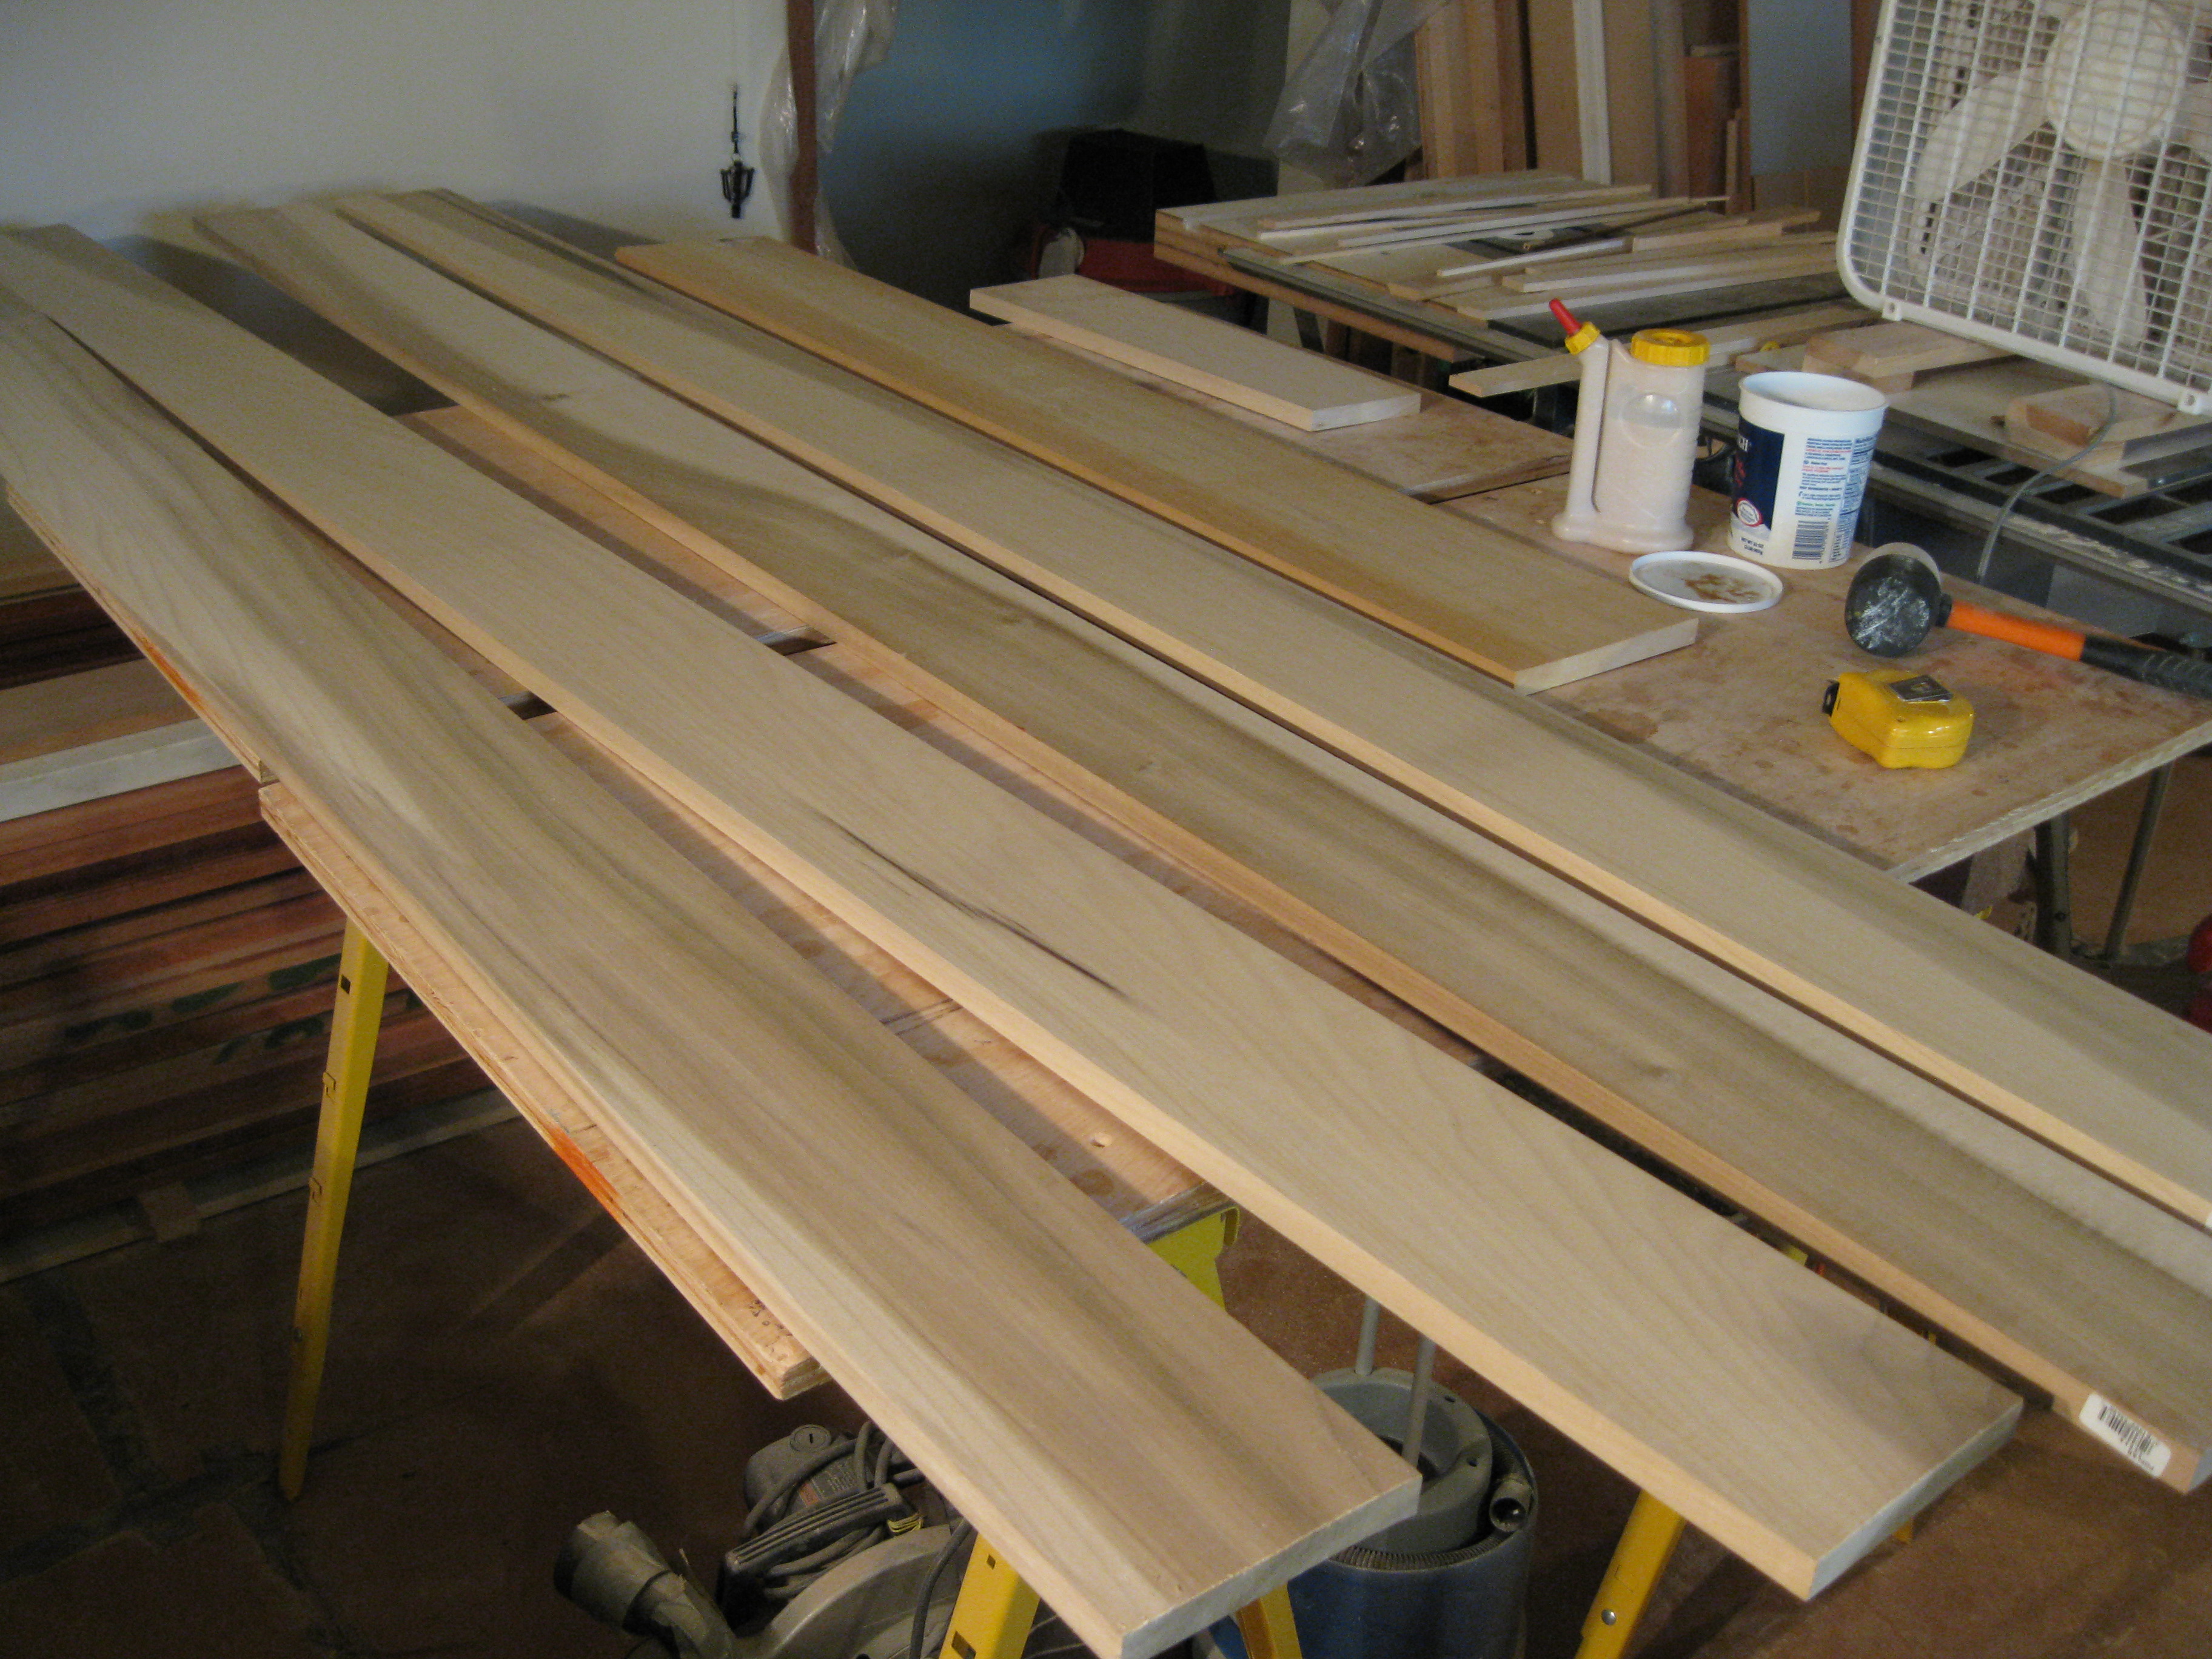
The making of the drawers starts with about ten 8' x 5" and six 6' x12" poplar boards. This lumber is easily available at the big boxes. I would prefer 5/8" stock but that is nowhere near as easy to acquire. To plane the boards milling them down to 5/8" is another step I'm willing to forgo. So, 3/4" stock it is then. There will be 11 drawers in these three cabinets. Three each in the cabinets on the left side and four in the cabinet on the right side of the dishwasher and four in the cabinet facing the front.
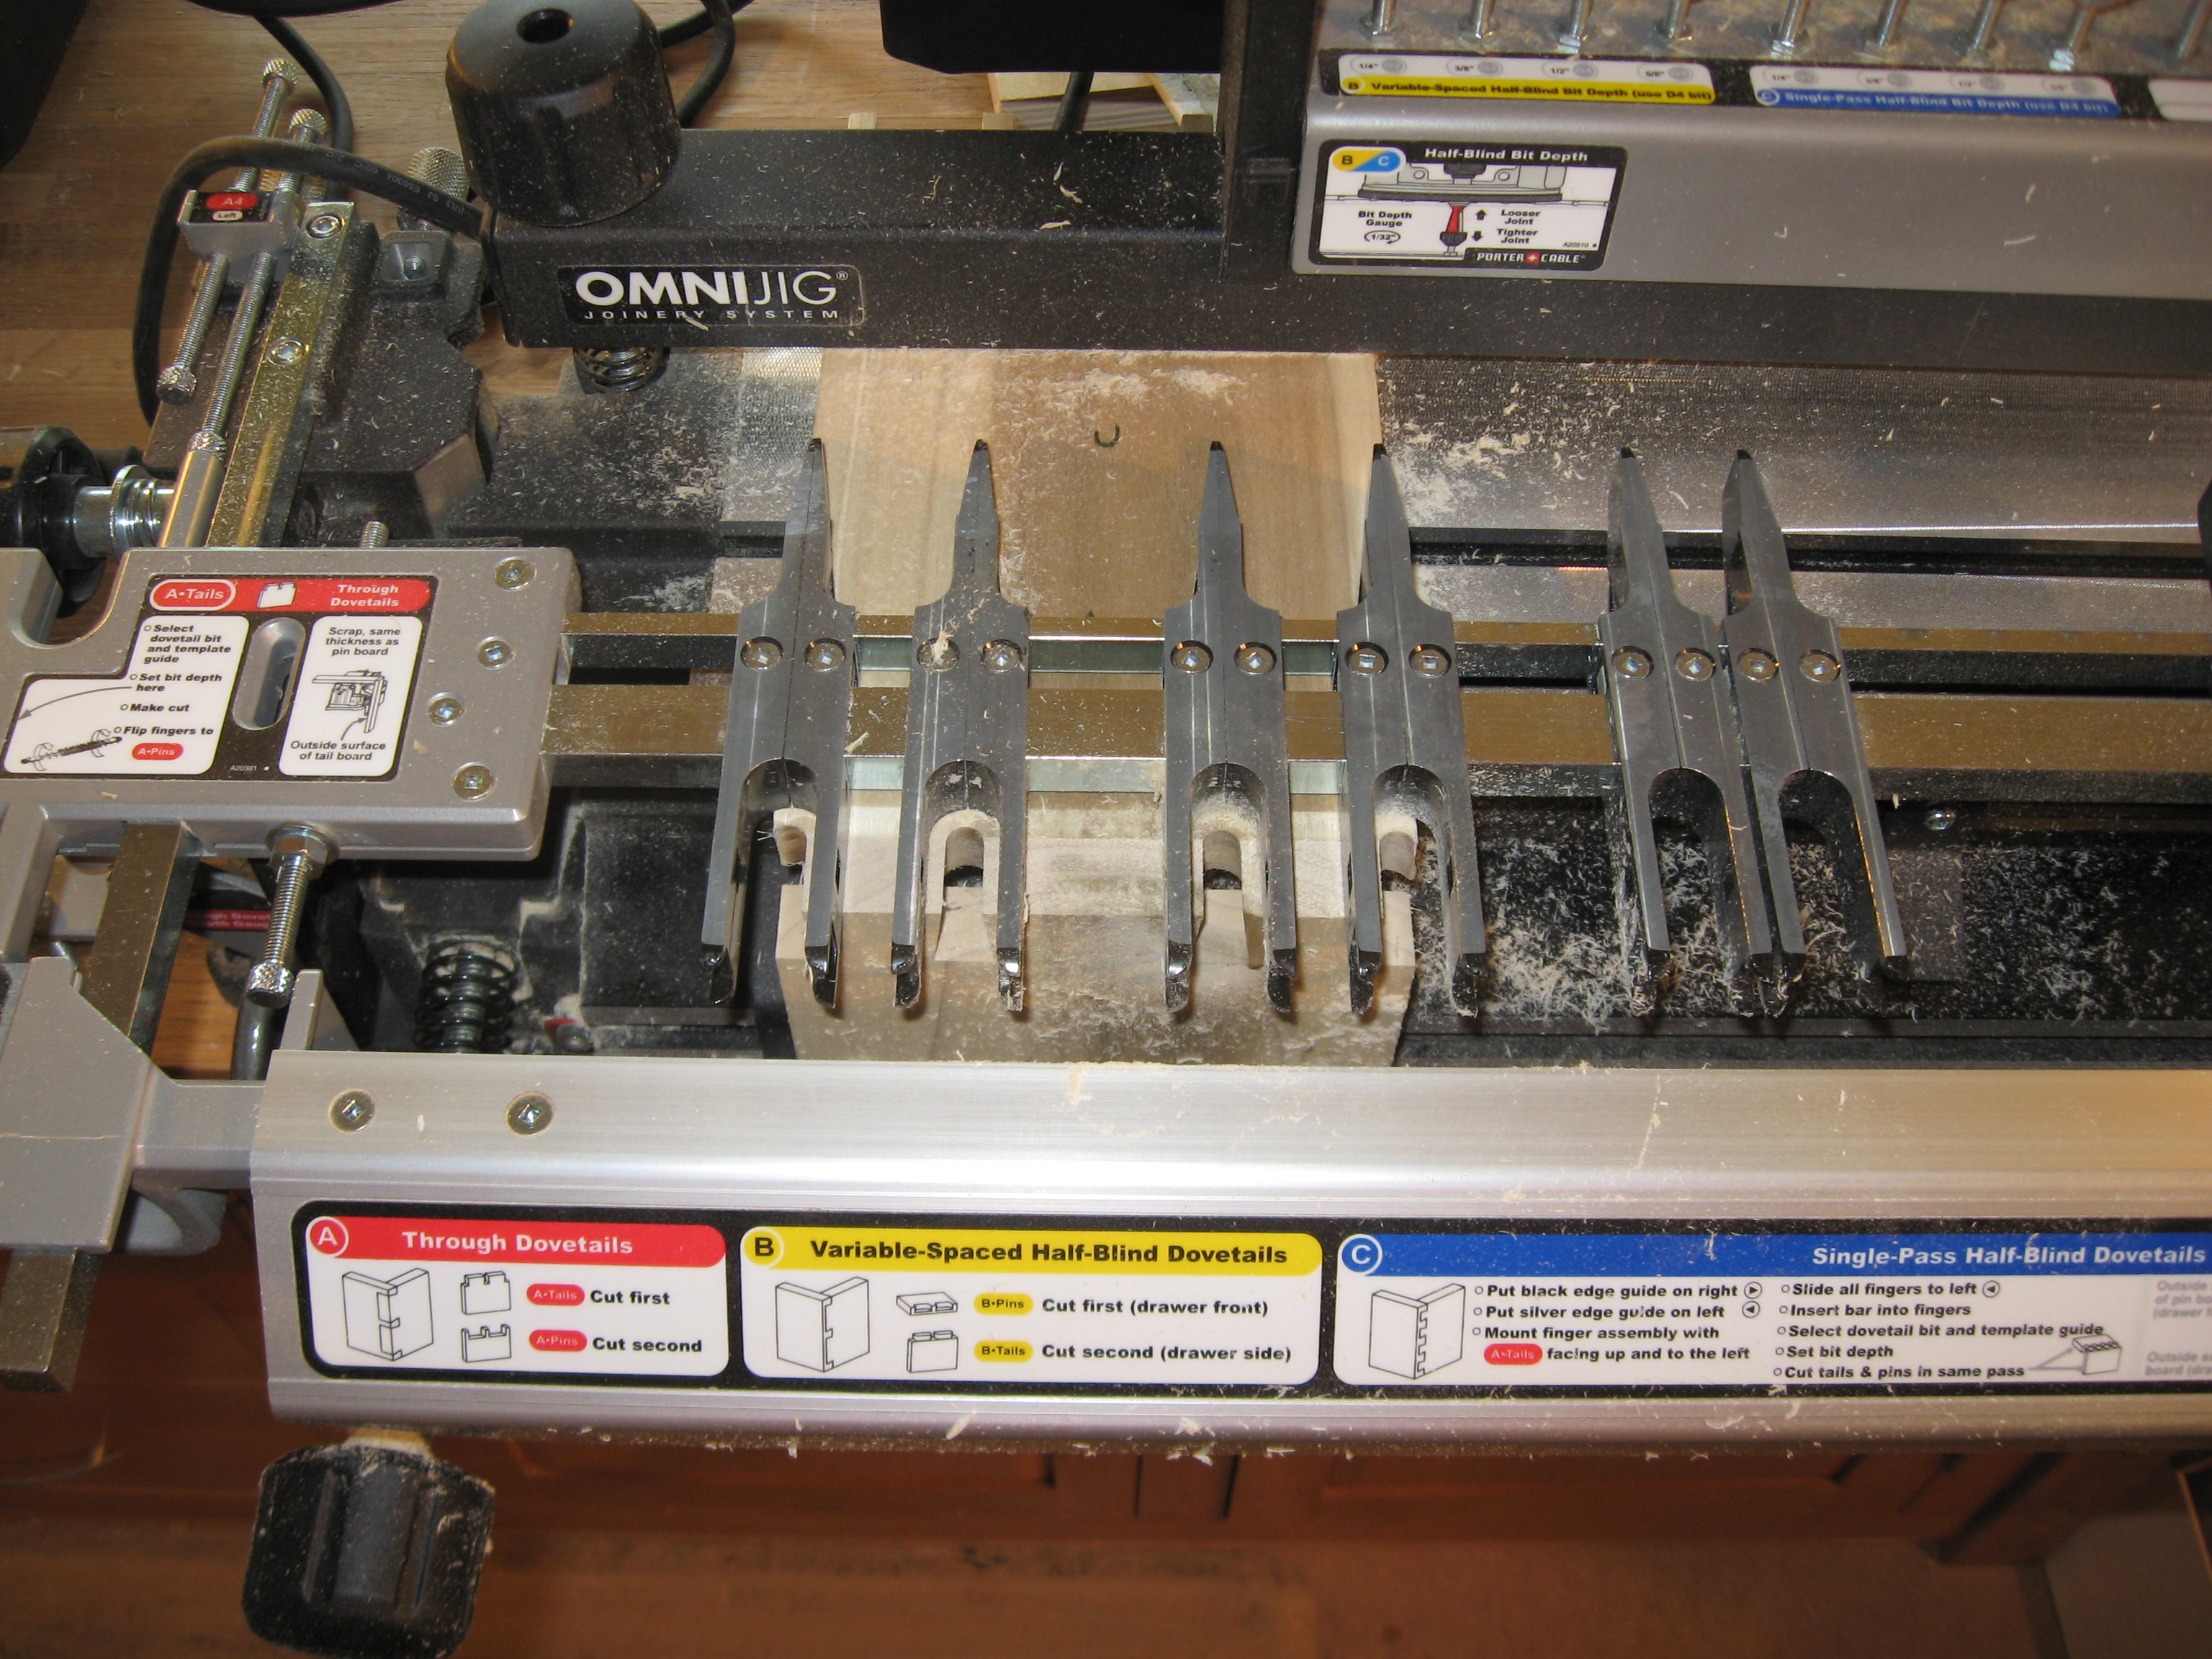
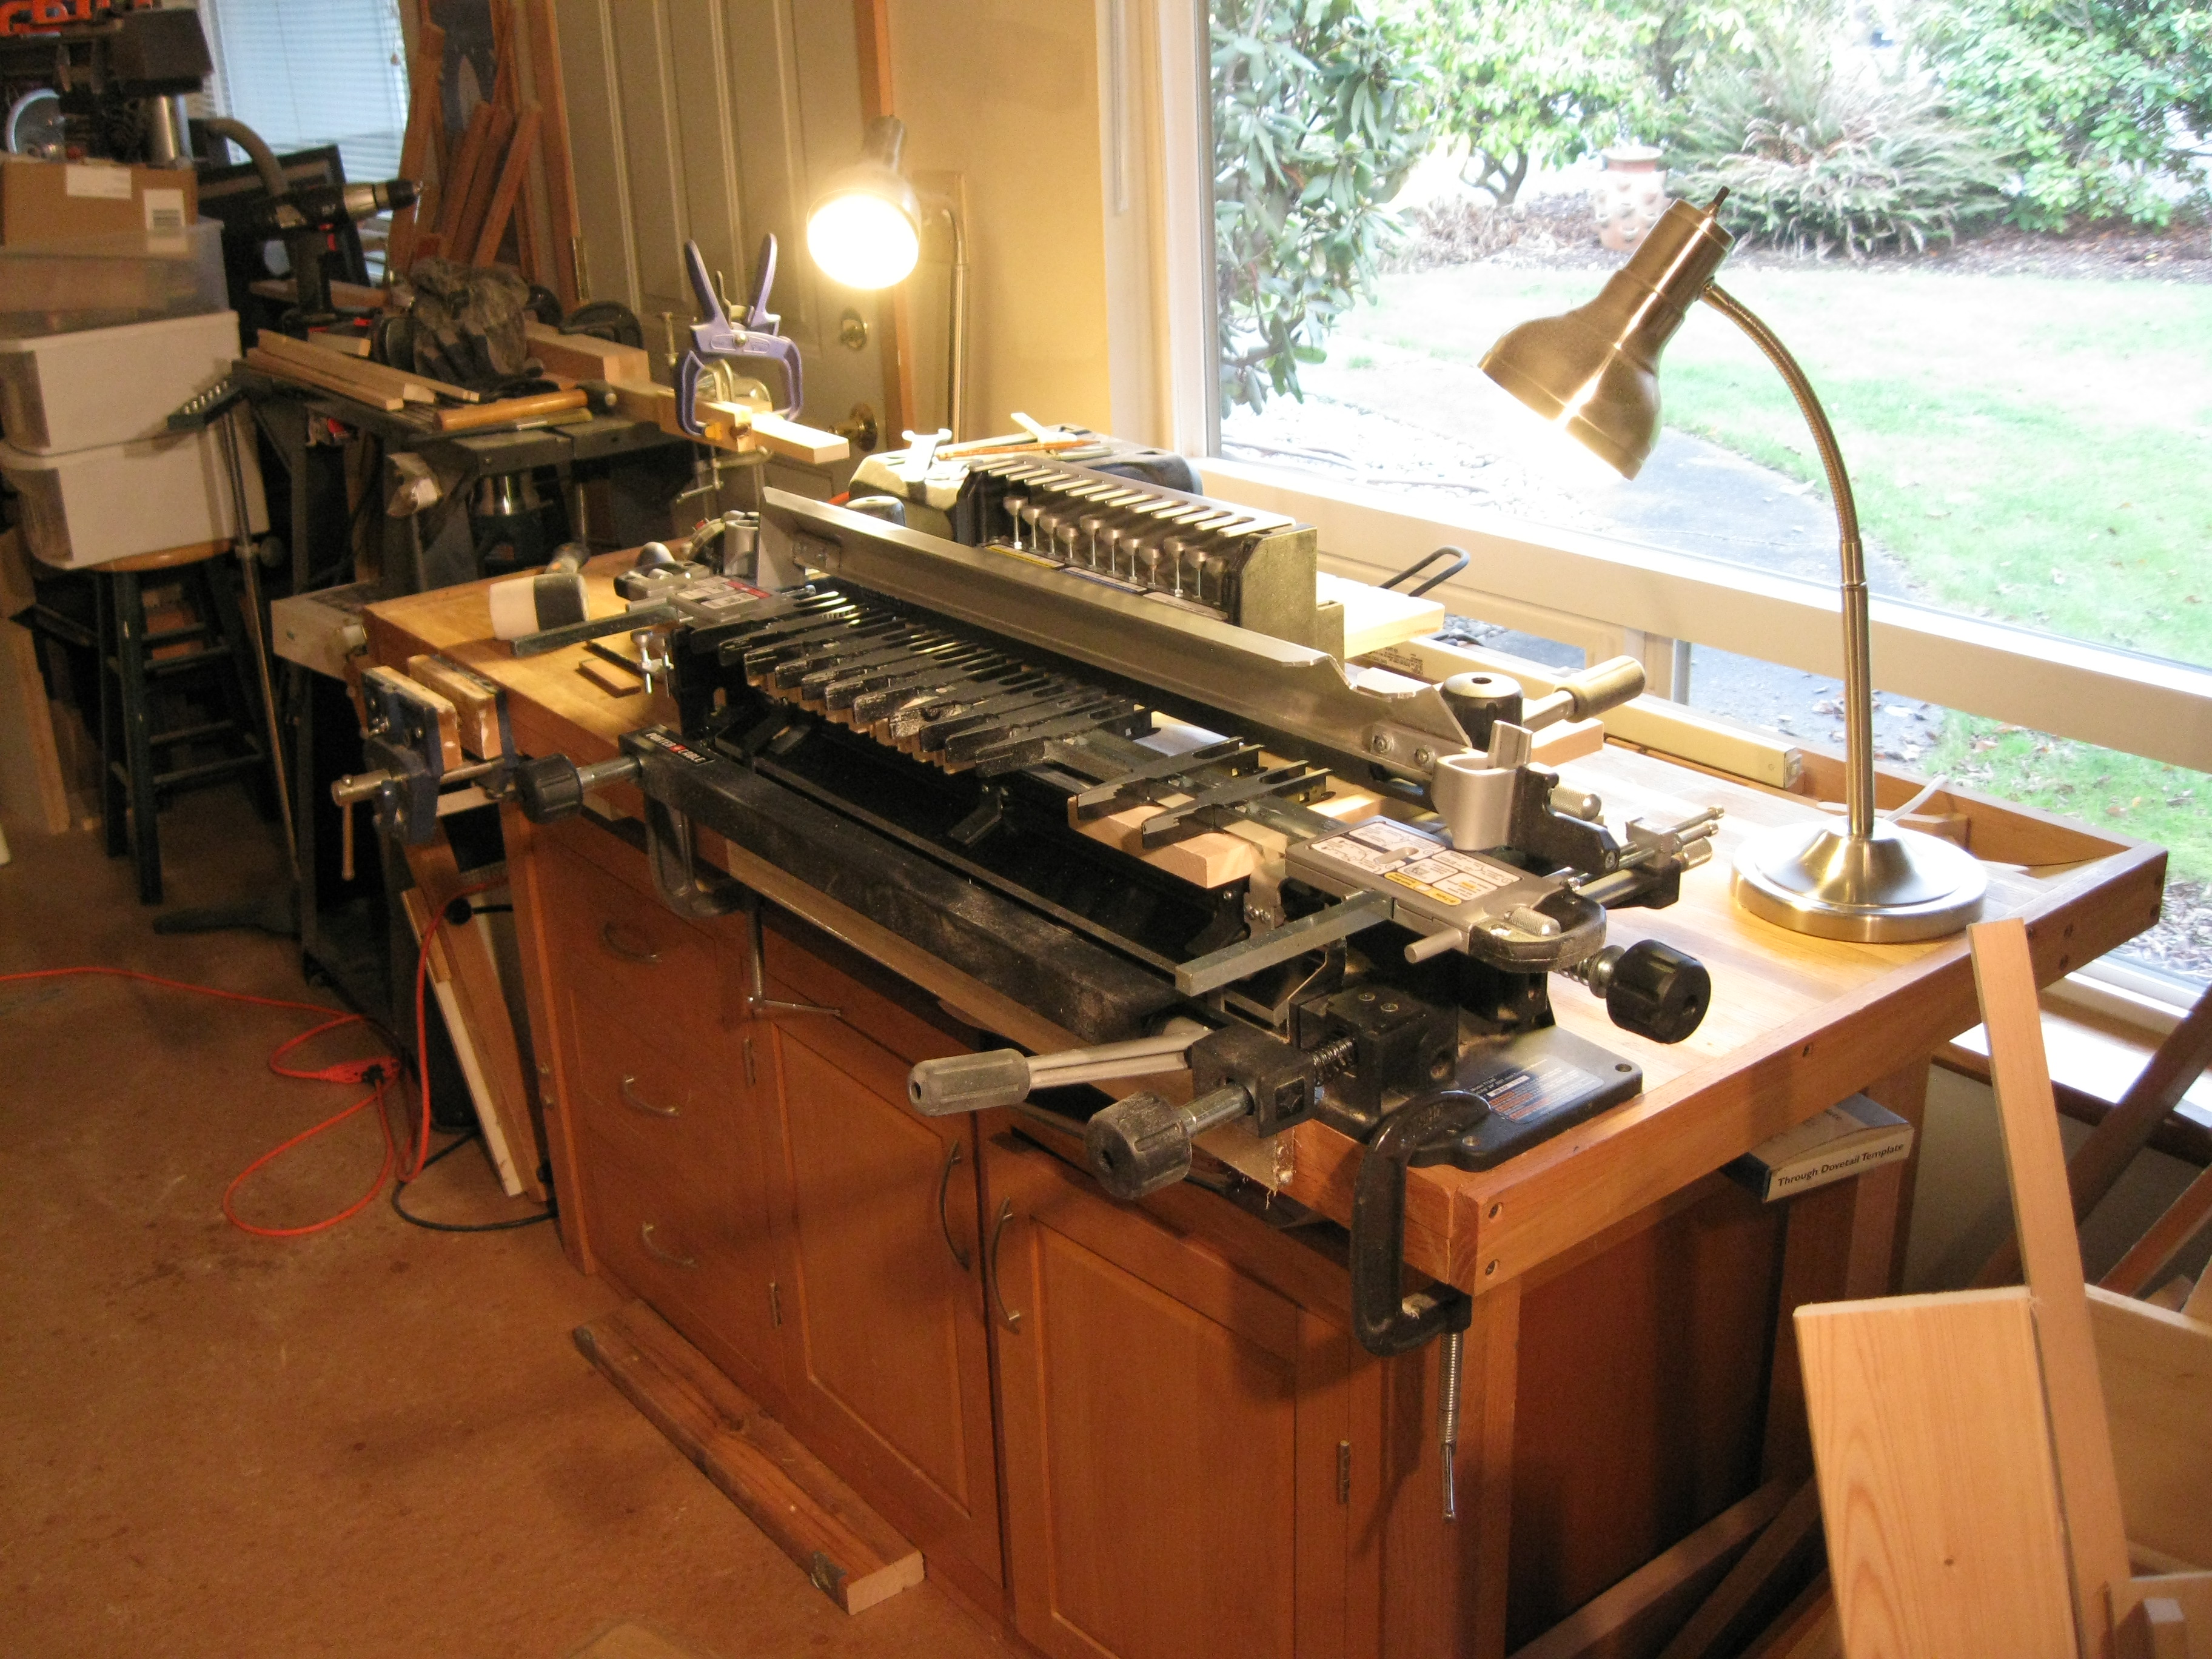
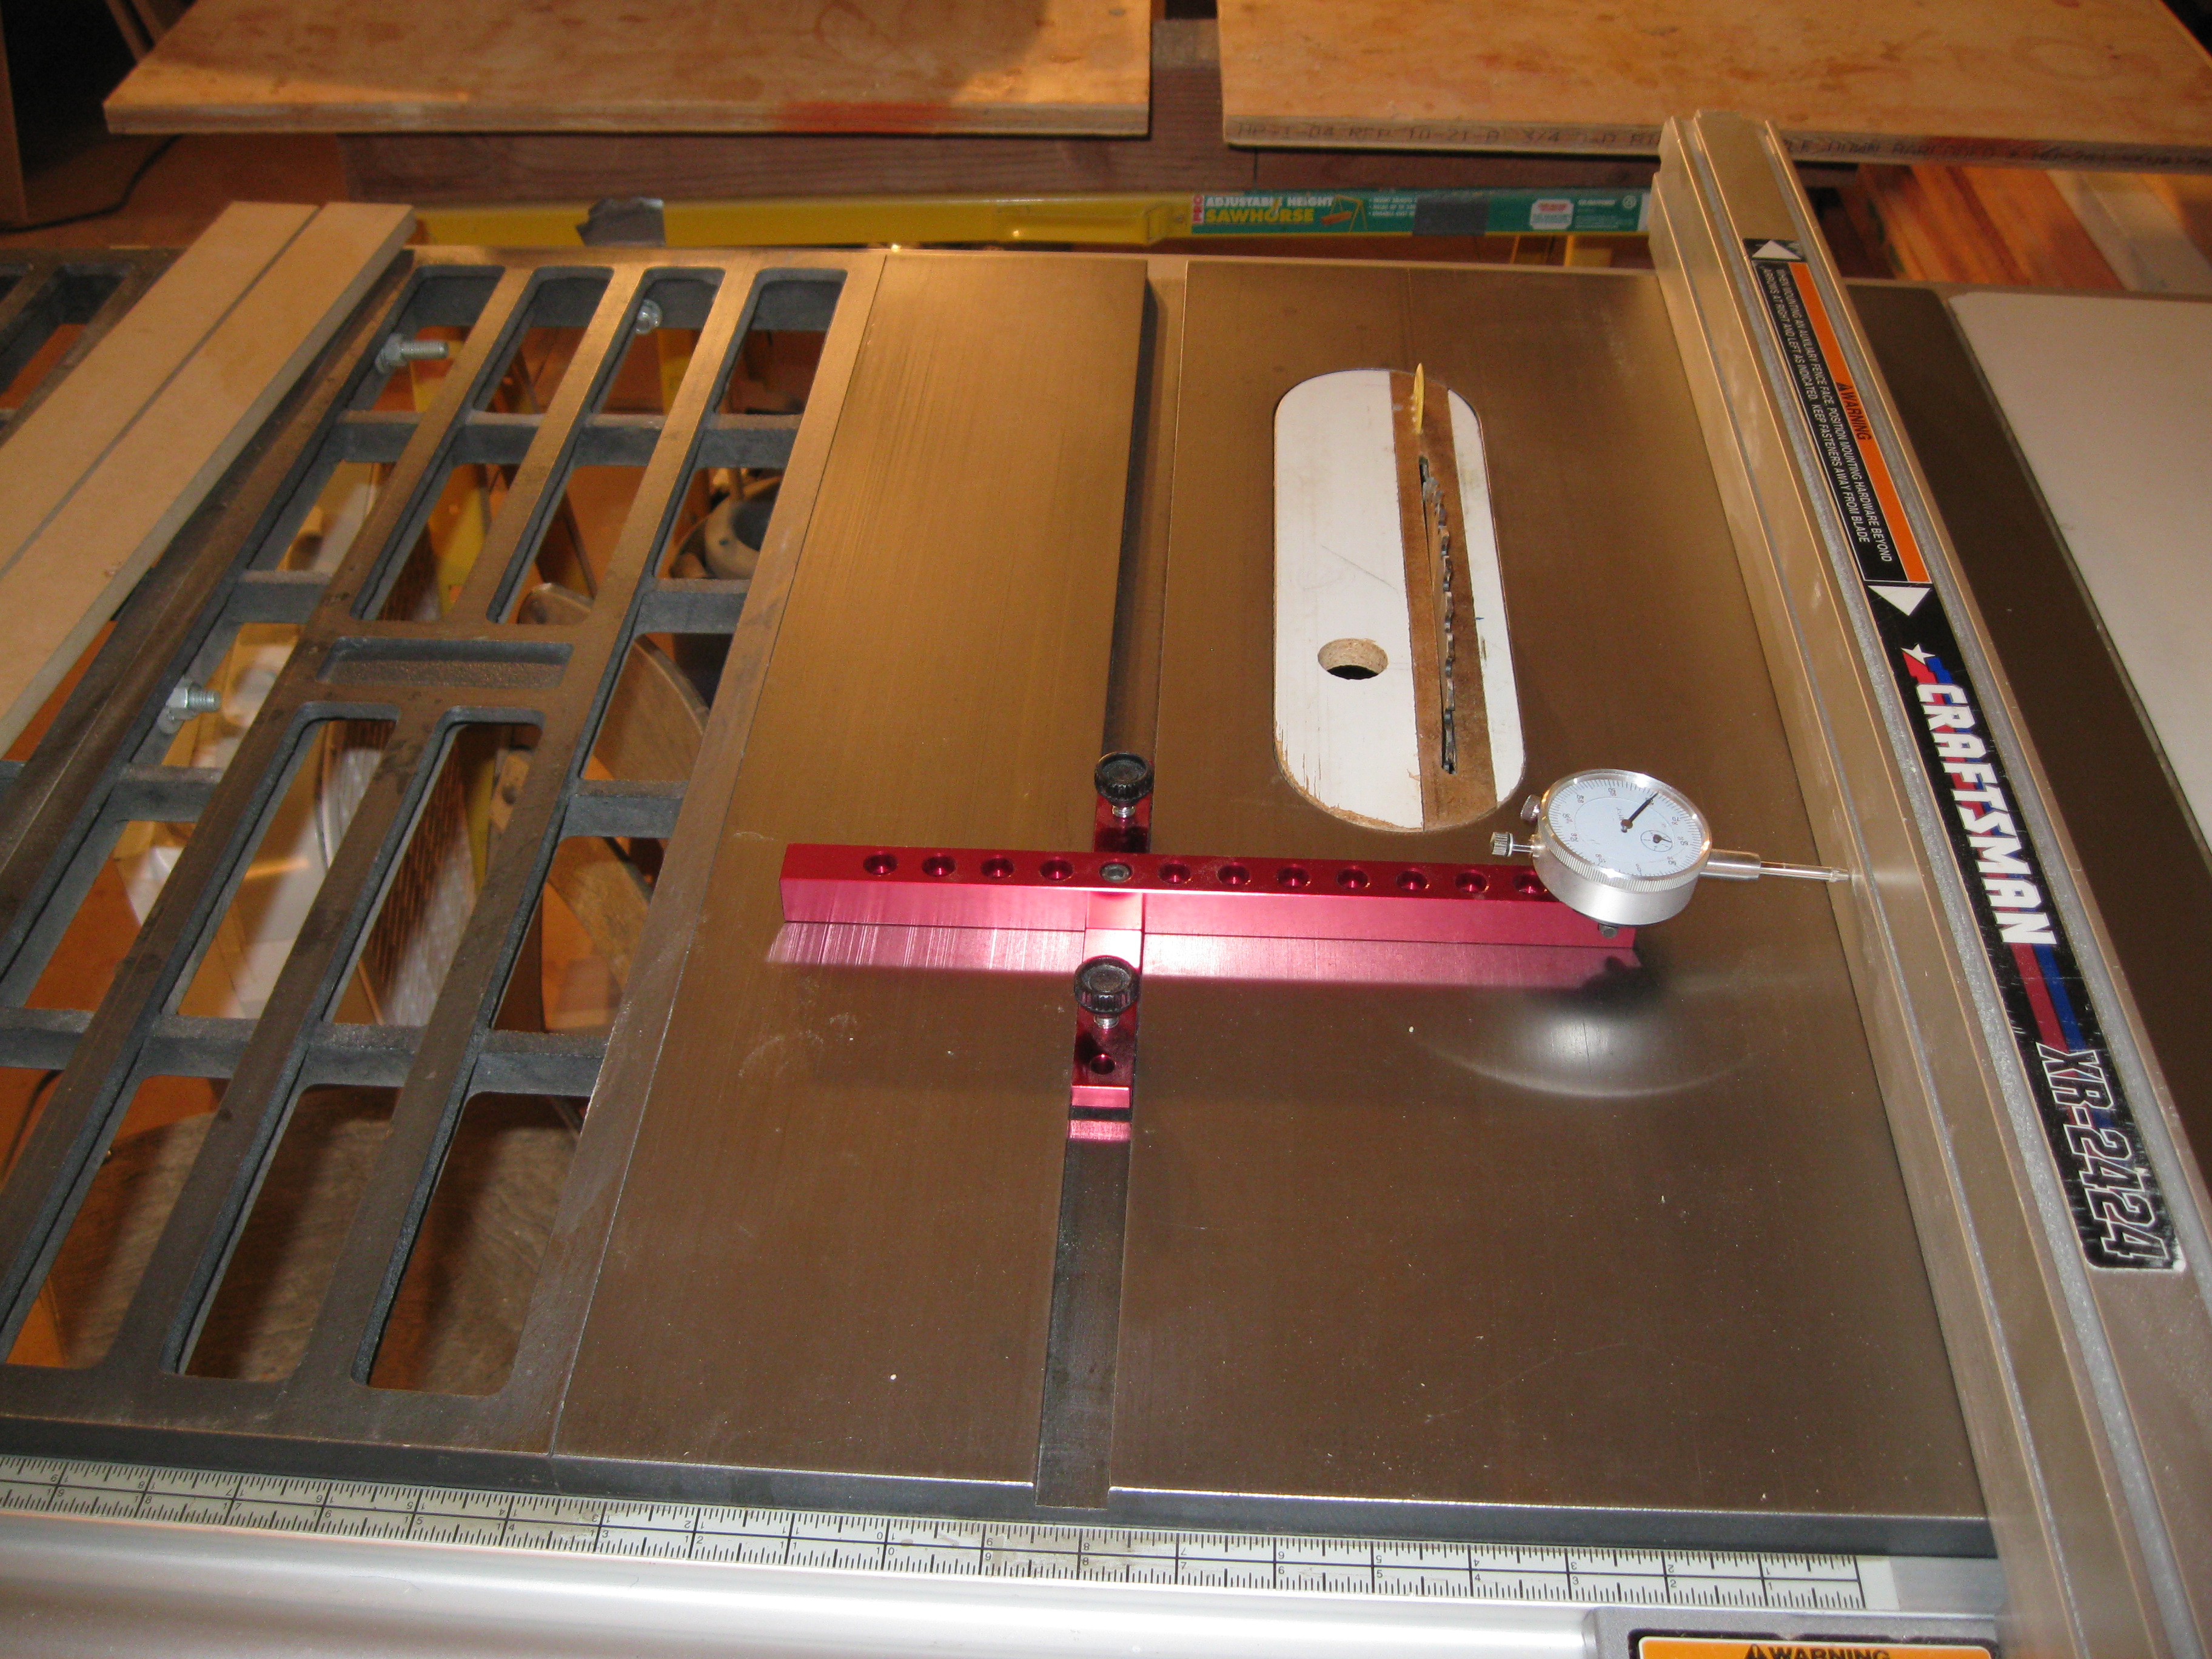
The Porter Cable Omni Jig chews up some wood being calibrated but I want the joints to come out clean, needing little surface treatment after assembly. The most important setting on the jig is the depth setting gauges for the router bits to cut the pins and tails. It's also the most difficult to adjust. The secret is that the adjustment equals one half the measured variance of the test cut. After two dozen test cuts I did the first four drawers for the wet wall, I withheld judgment about the jig as the tops and bottoms of the drawers did not line up so they would not sit flat. I had to do a lot of sanding. This is important as the box must sit flat in order for the groove for the drawer bottom to line up as the bottom is the registration face for routing the grooves. Before I started the peninsula I went to Porter Cable's web site and asked for help with the alignment problem. Their suggestions weren't helpful but I am really liking them for even having this service! I went to the local Woodcraft store where I purchased this jig. These guys all do woodworking. Eli knew exactly what the problem was the minute I explained the problem I was having. These guys are good. Now the jig works well if the router bit has been centered in the plate first. No wonder the Porter Cable Help Desk Could not help. I did send Jeff, at Porter Cable, an email letting him know the solution for the next guy. I now use the $6.00 Rousseau Co. #39-024 Centering System. Works with Porter Cable Models: 100, 563, 63,0 690, 691, 693, 7529, 890, 892. The only problem I have with the Rousseau, and a minor one at that, is that it uses the 1/4" collet and I have to change the collet back to the 1/2" after centering which probably introduces error back in the centering.
:
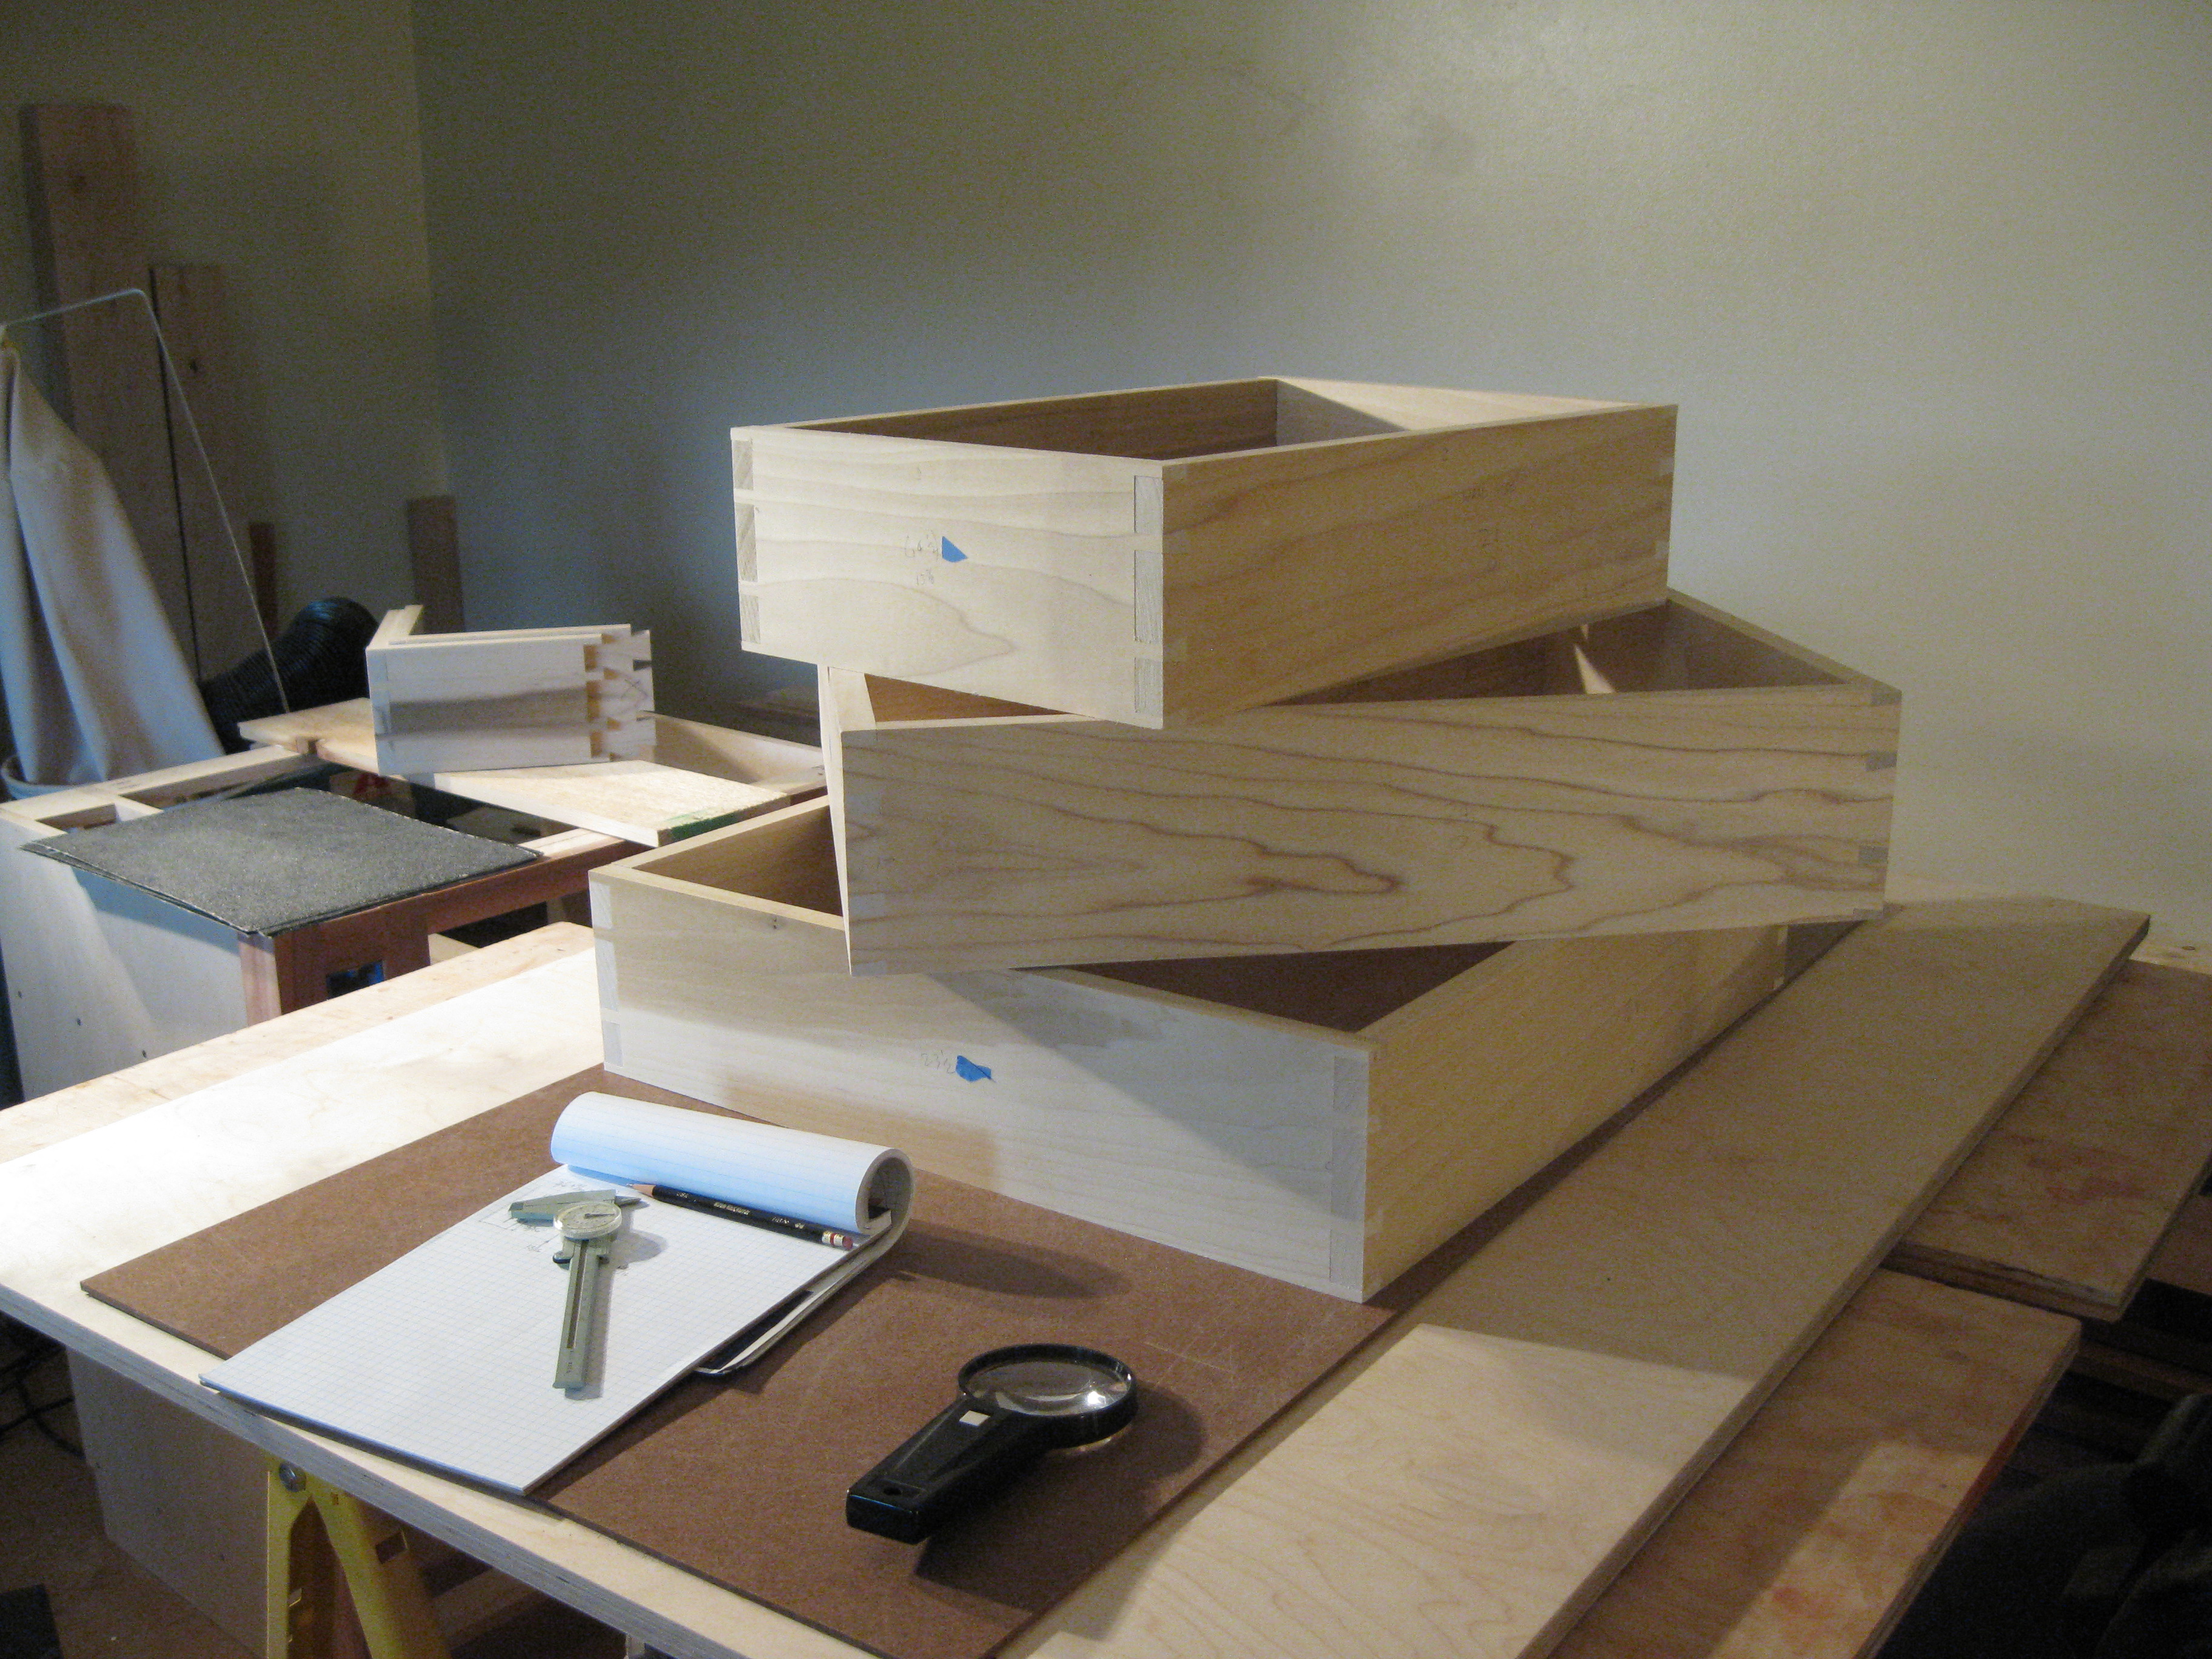
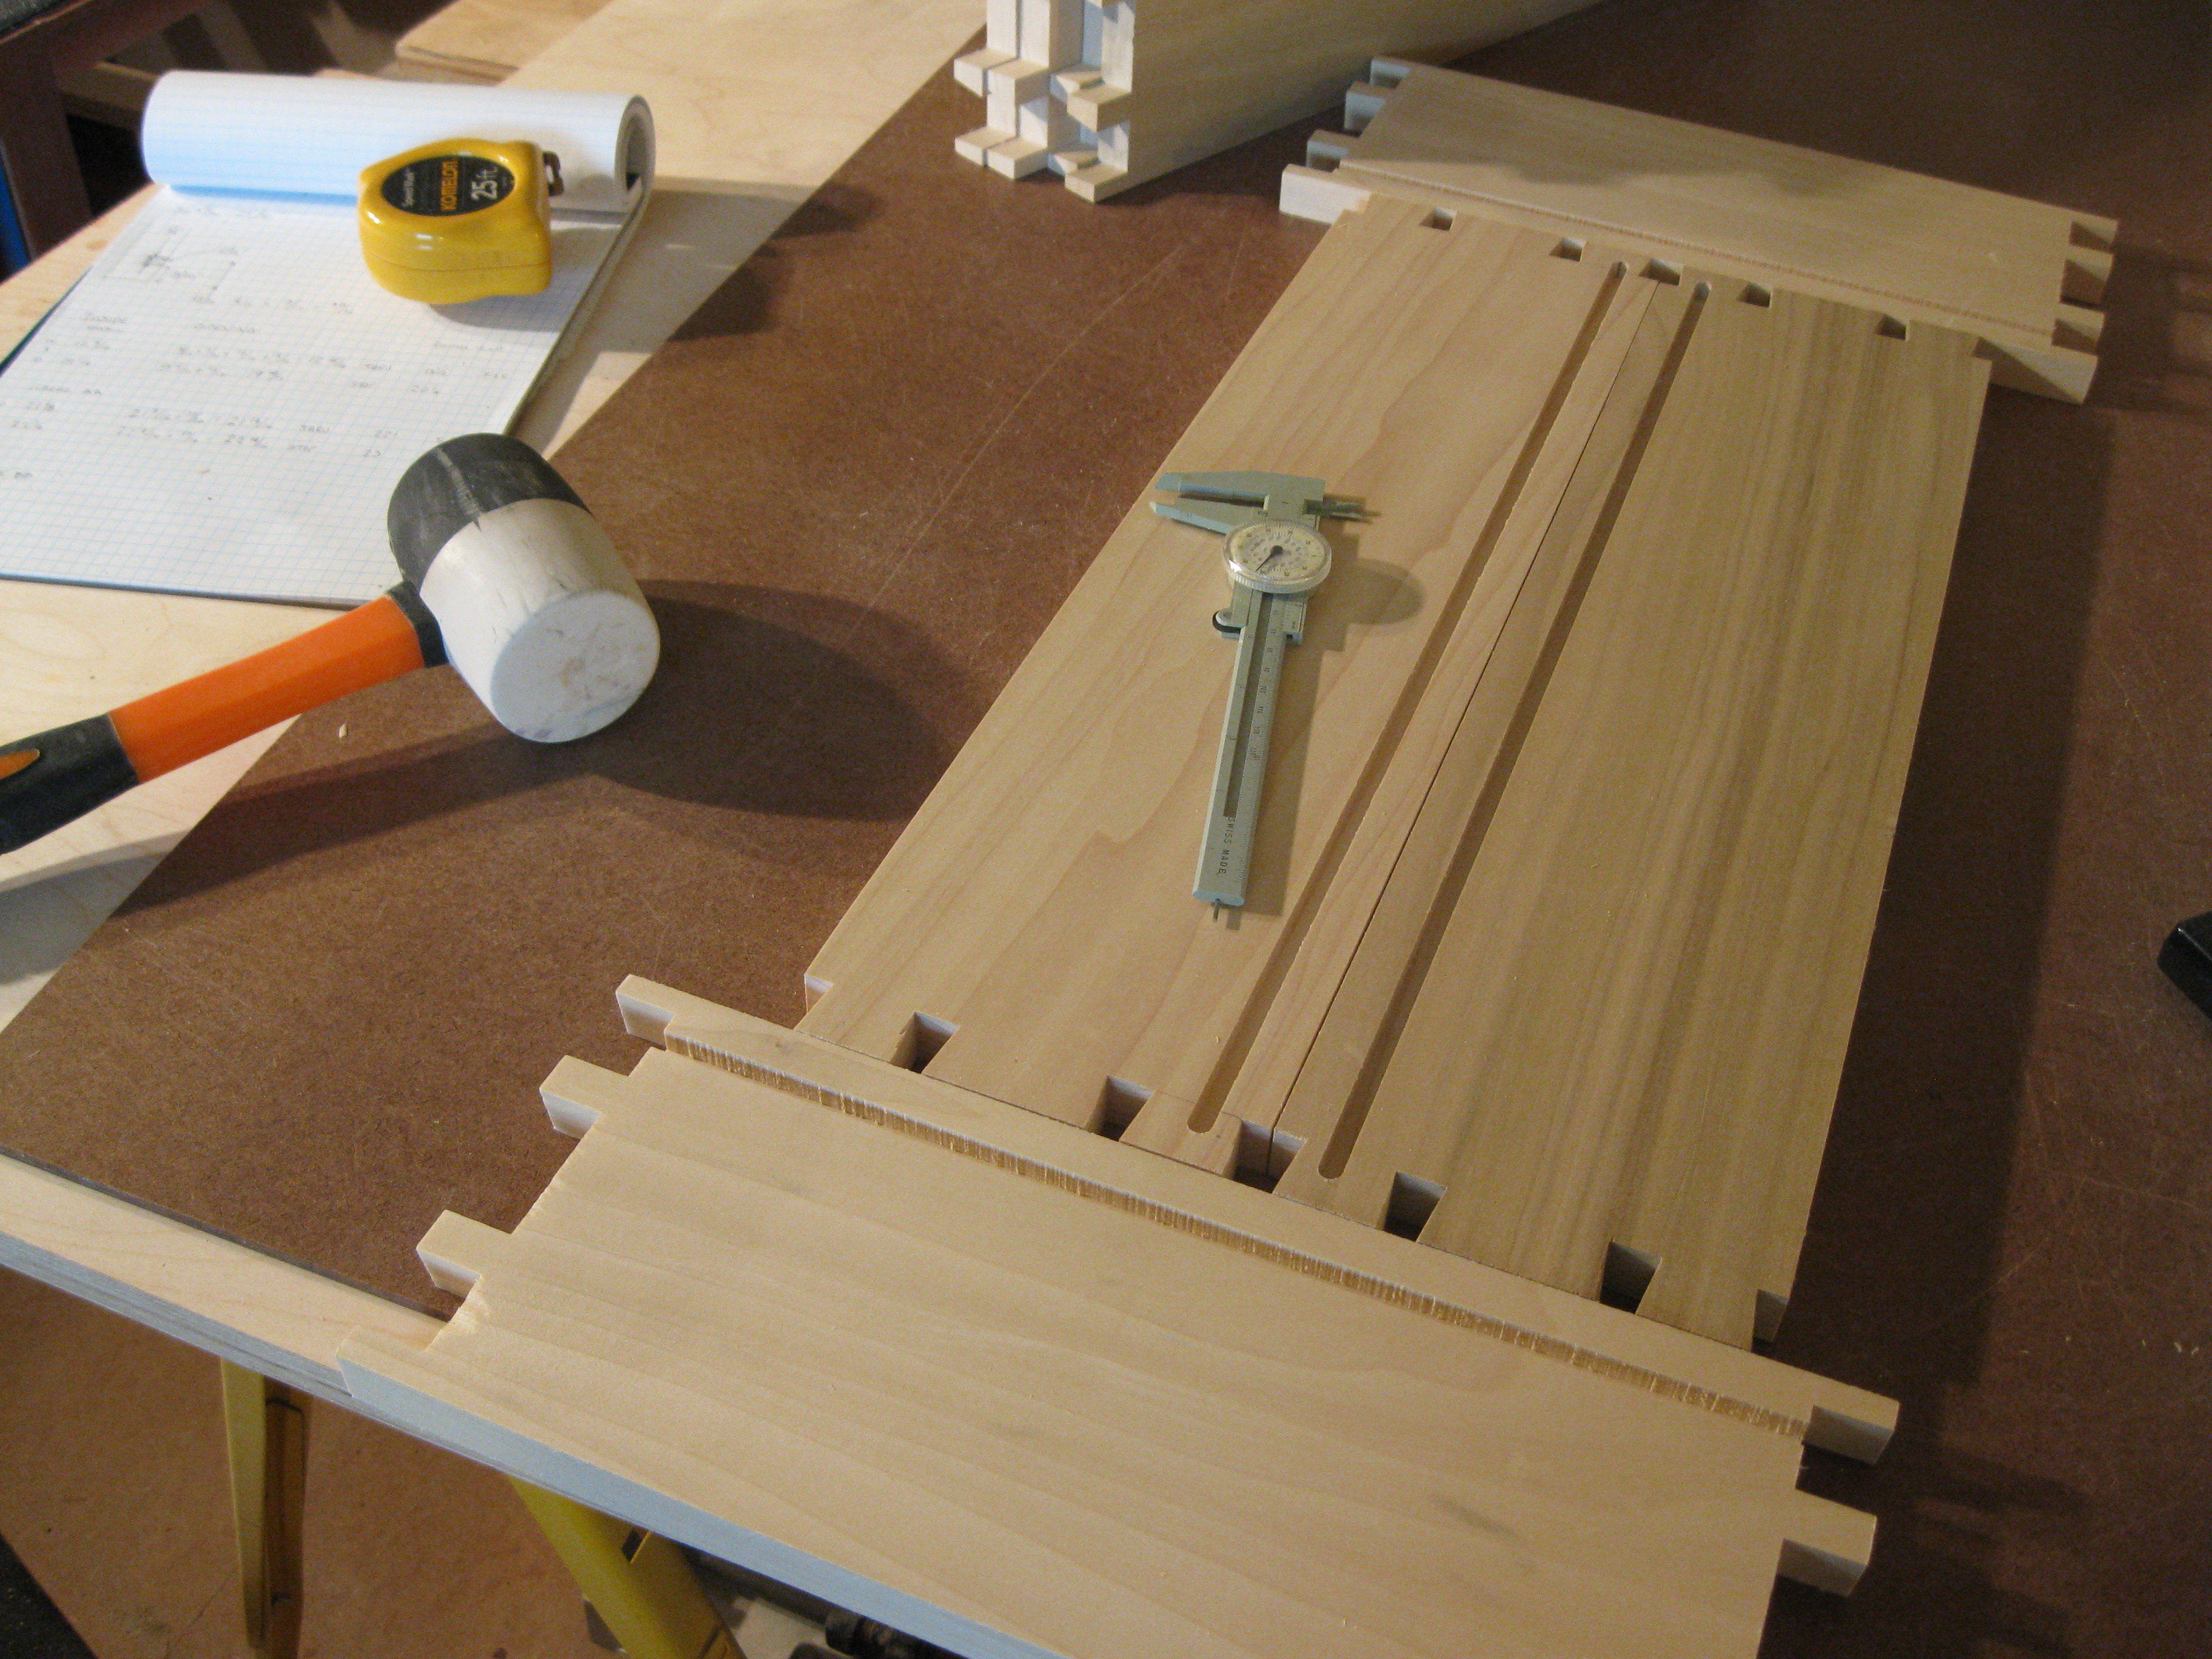
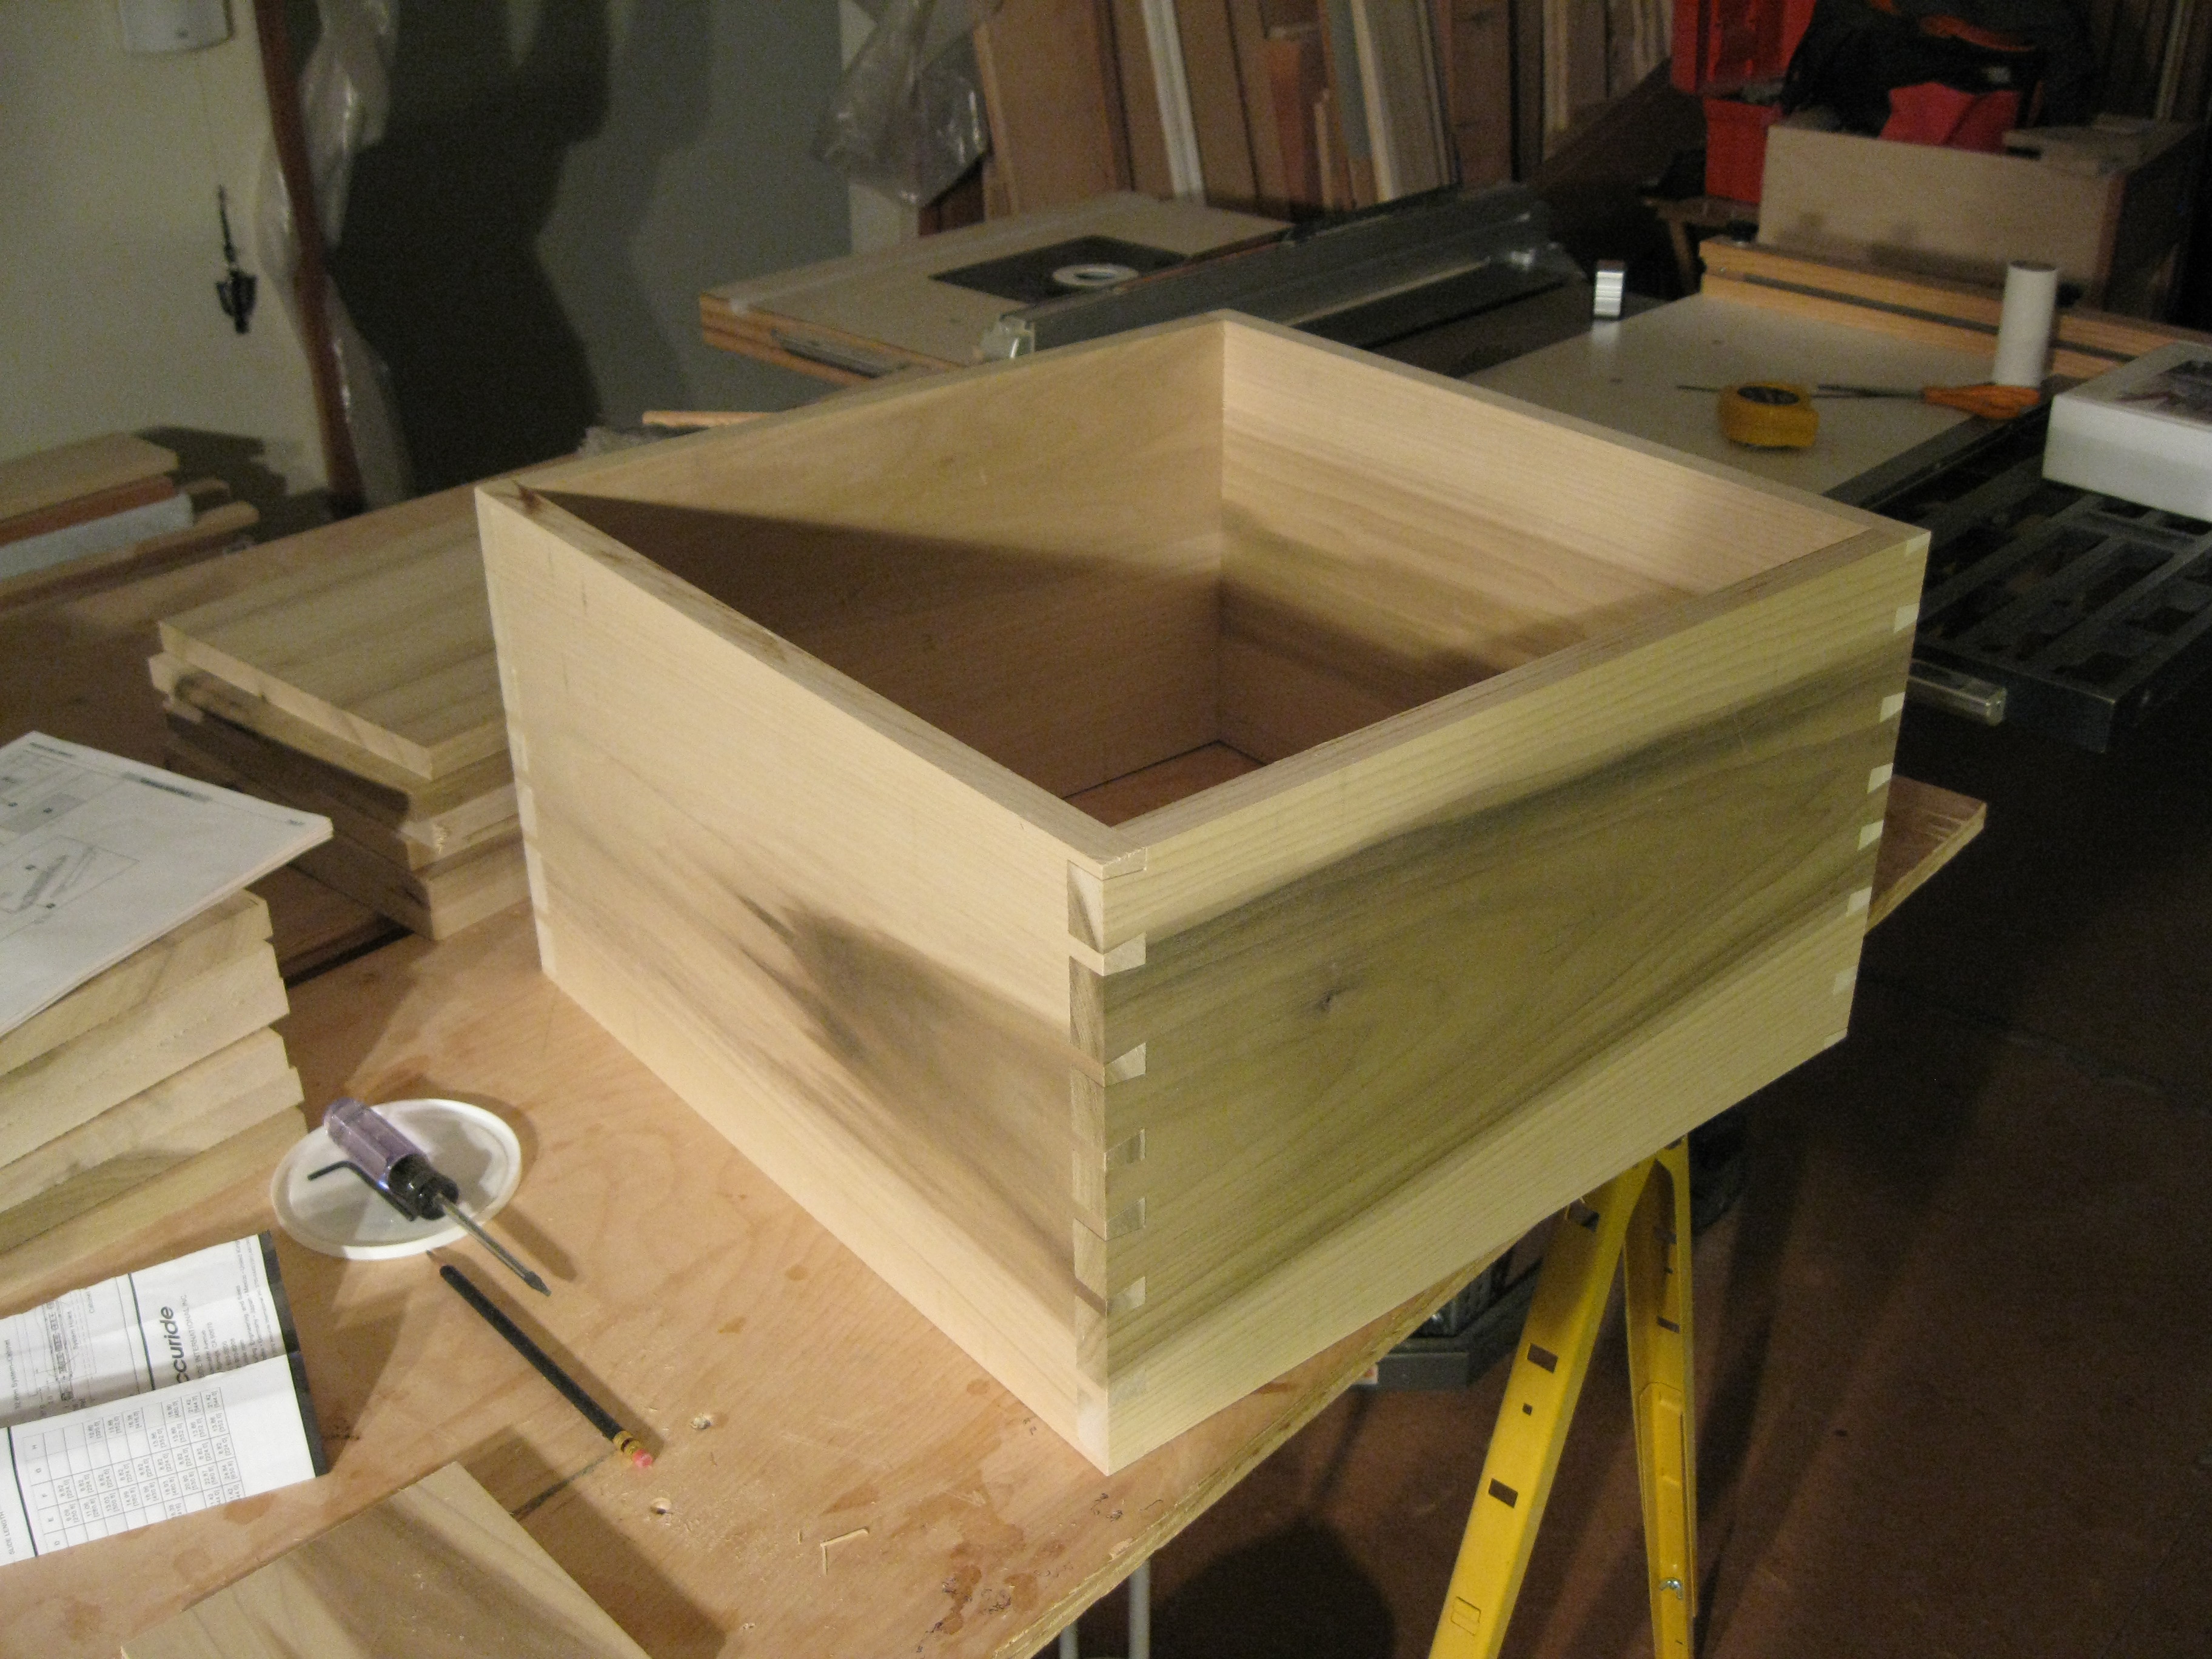
After working on the outside of the house all summer into the early fall, I'm eager to get back into the shop to continue cabinet construction. I had cut all the dovetails for the three top drawers in the spring and so the next thing to do is the construction of the drawer bottoms. Cutting the dados for the 1/4" baltic birch plywood drawer bottoms is not simple. The required depth, offset and length of dado must be exact. One nice attribute of dovetail joints is that the blind dados required can fall in a tail and the pins don't require this same stopped cut. The other nice thing about dovetail joints is that even if they are not perfect, they are damn stout and these drawers will probably outlive me. These three drawers are the top drawers of the peninsula. The pictures are showing the stages from dry-fits through glue-up.
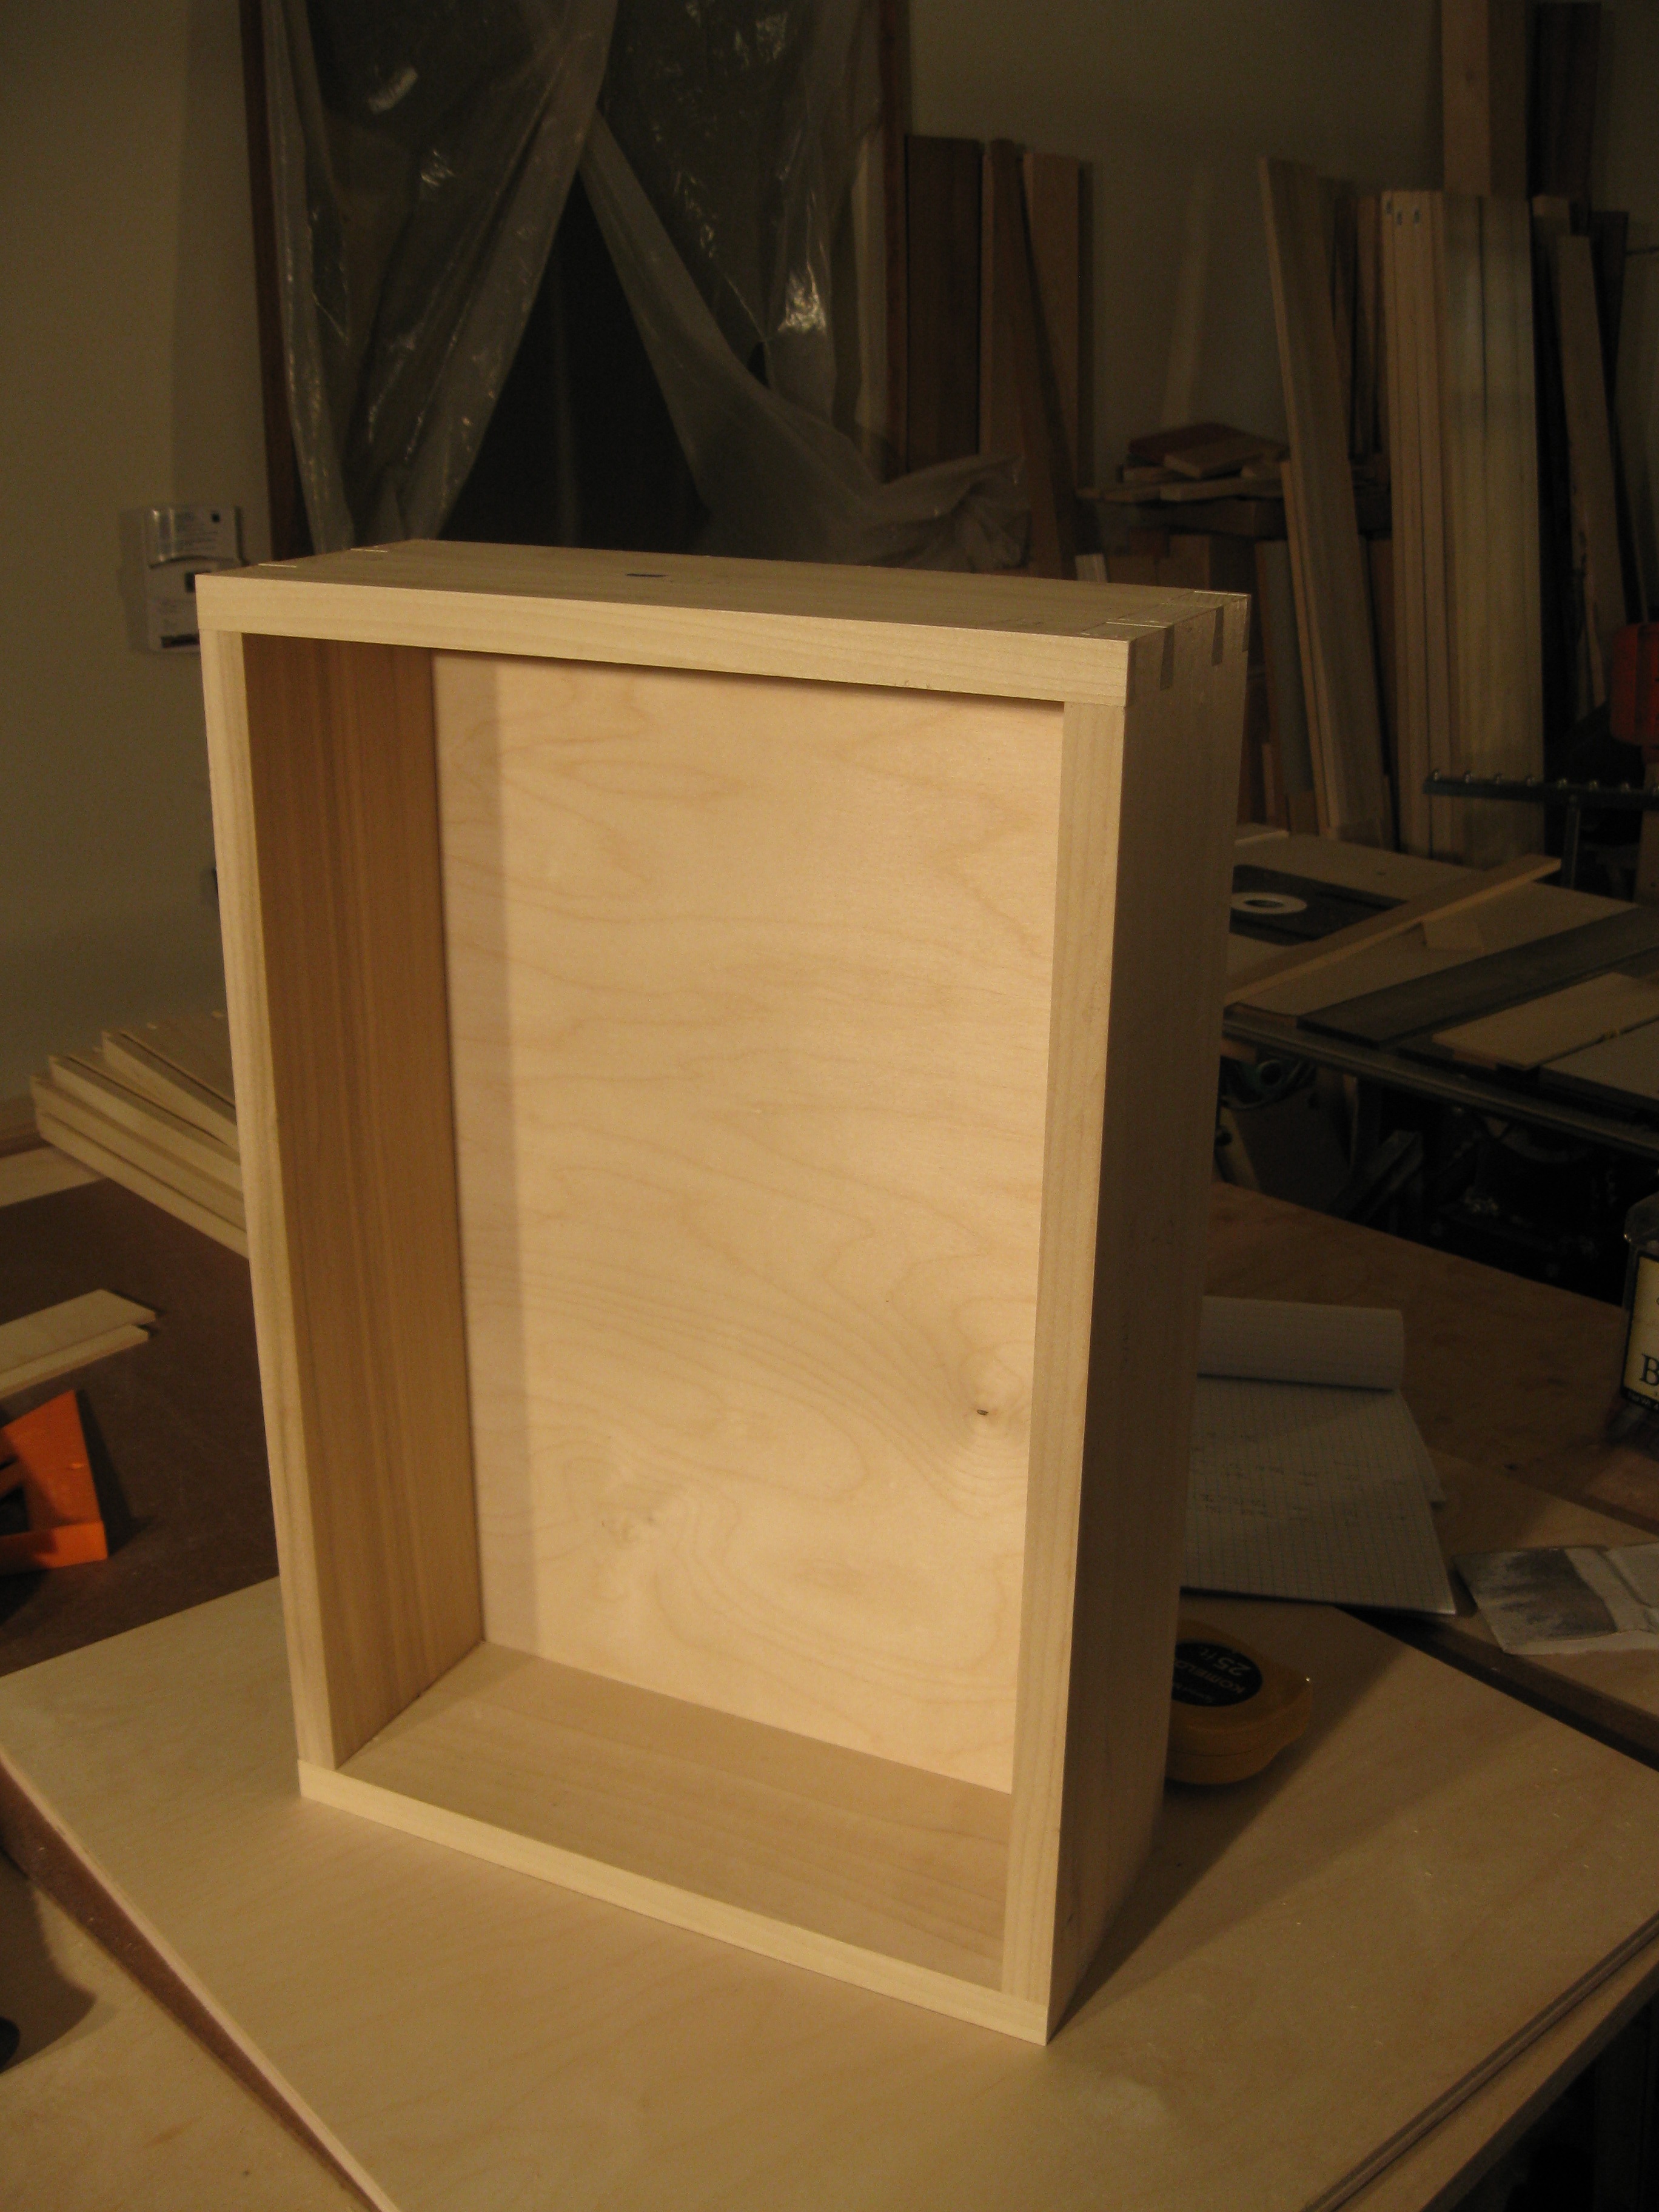
Here are the frontless drawers installed in the three cabinets.


To prepare the three drawer fronts, the selected board is first rough cut. Using the Bosch jig saw, Model 1590EVSK, to perform the occasional crosscutting of a long board is efficient and doesn't require much setup space or time. Then the pieces are cut accurately to fit on the table saw using the Dubby, Single Dubby, and sanded to finish.
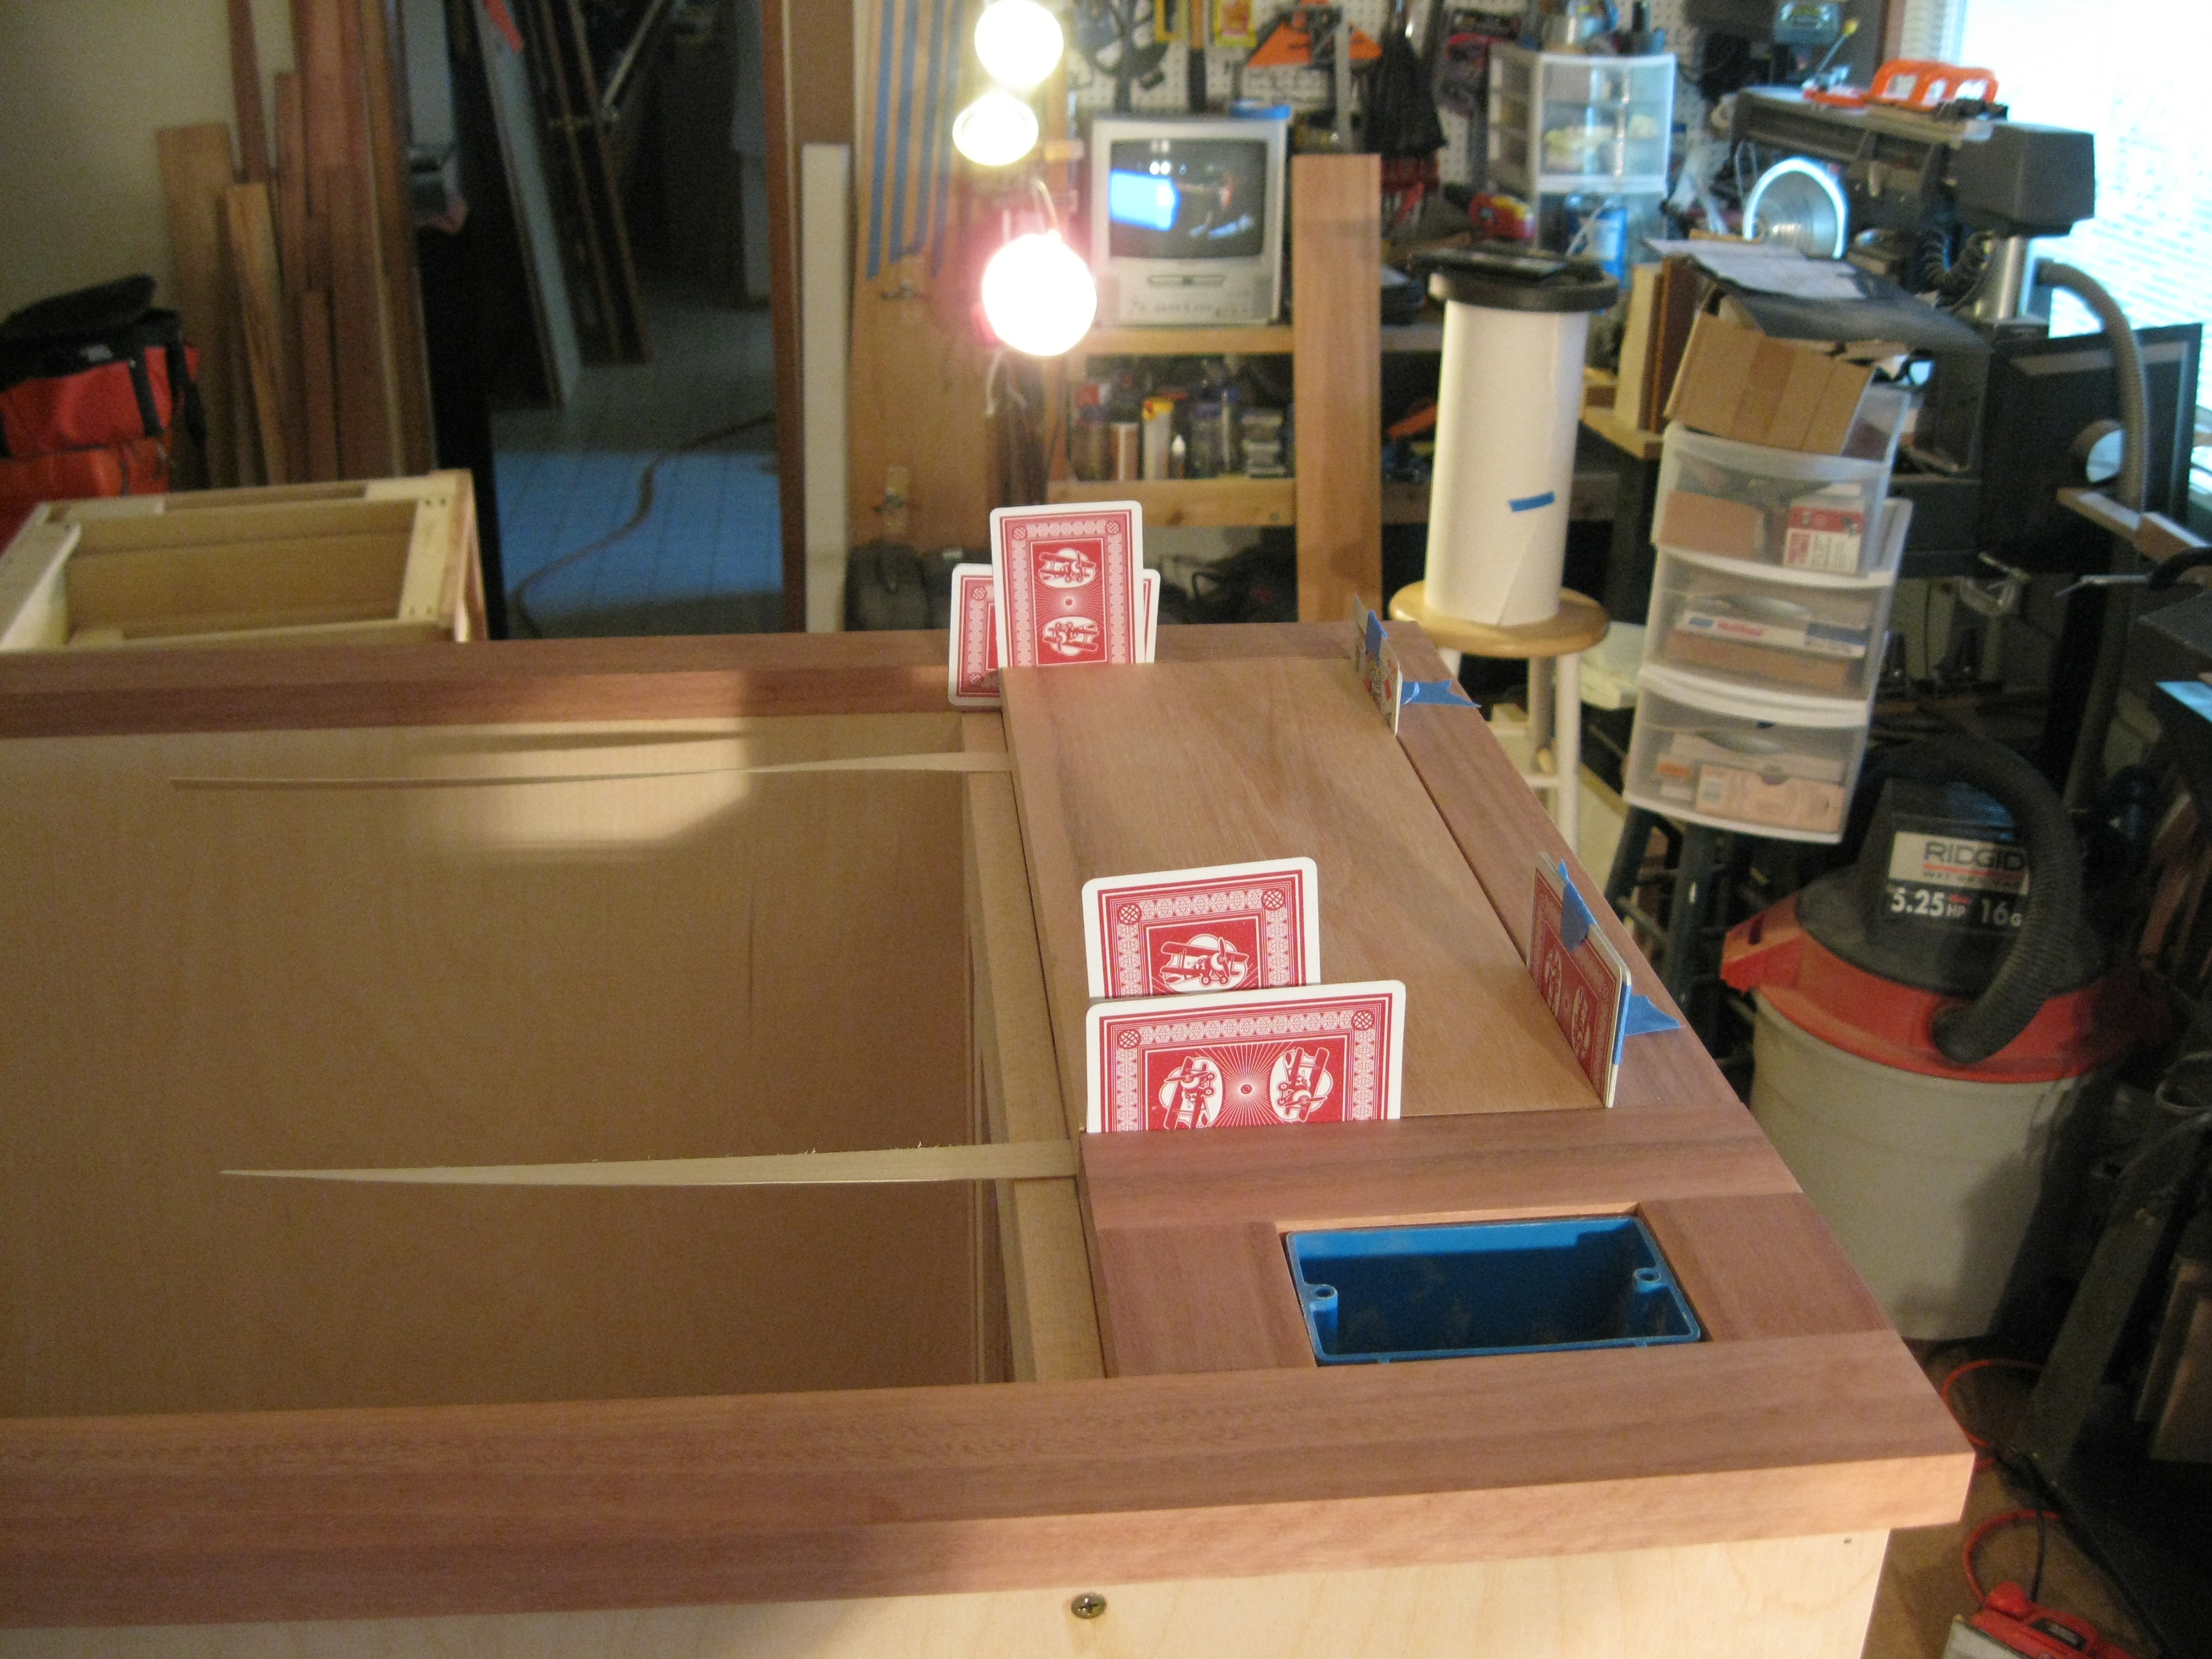
Fitting the drawer fronts is super critical. The fronts need to be placed so that they are evenly spaced in the opening and flush with the face frame. I'm using custom cut poplar shims and playing card spacers. I'll put some clamps on it and once it's positioned I'll use four drywall screws from the inside of the drawer, one in from each corner, and its fixed in place. Later I'll install the pulls.

:
Tall Drawers
Several of the lower drawers will be tall drawers to hold lots of stuff. This first picture is the dovetail cut test using the cutoffs from the drawer material. It came out square and needed just a small adjustment to work. Maybe I'll put a bottom in this, add two handle cutouts and use it for stuff in the garden.
Cuts waiting for dovetails. These drawers are going to be very large and tall. They are 27" wide, by 23" length, by 11" high. I think I'll be using two slides on each side to make these drawers stable and strong..The drawer bottoms will be 3/8" baltic birch plywood instead of the normal 1/4" to provide the additional strength needed due to the size and the probable usage.


Now to see if these all fit together...
Yeah, OK, these three boxes fit together good. The next step is to route out the grooves for the drawer bottoms. First I must setup the long router table. The pictures of the box are the front and back view of the test drawer before I break it down and glue it together. I added handle cutouts before gluing it together to make it useable.

 :
:
Glueups ( I'm adding this word to the English language right now) of the deep drawers. This first picture is of the second deep drawer drying after the glueup. It went together well. The glueup of the first one became a big panic. If you have ever done woodworking you must have had this experience at least once. Deep panic sets in when there is a lot of glue surface starting to dry (the rock) and something is not going together (a hard place).
I cut up the stock with my jig saw, then I setup the fence and rip the boards.


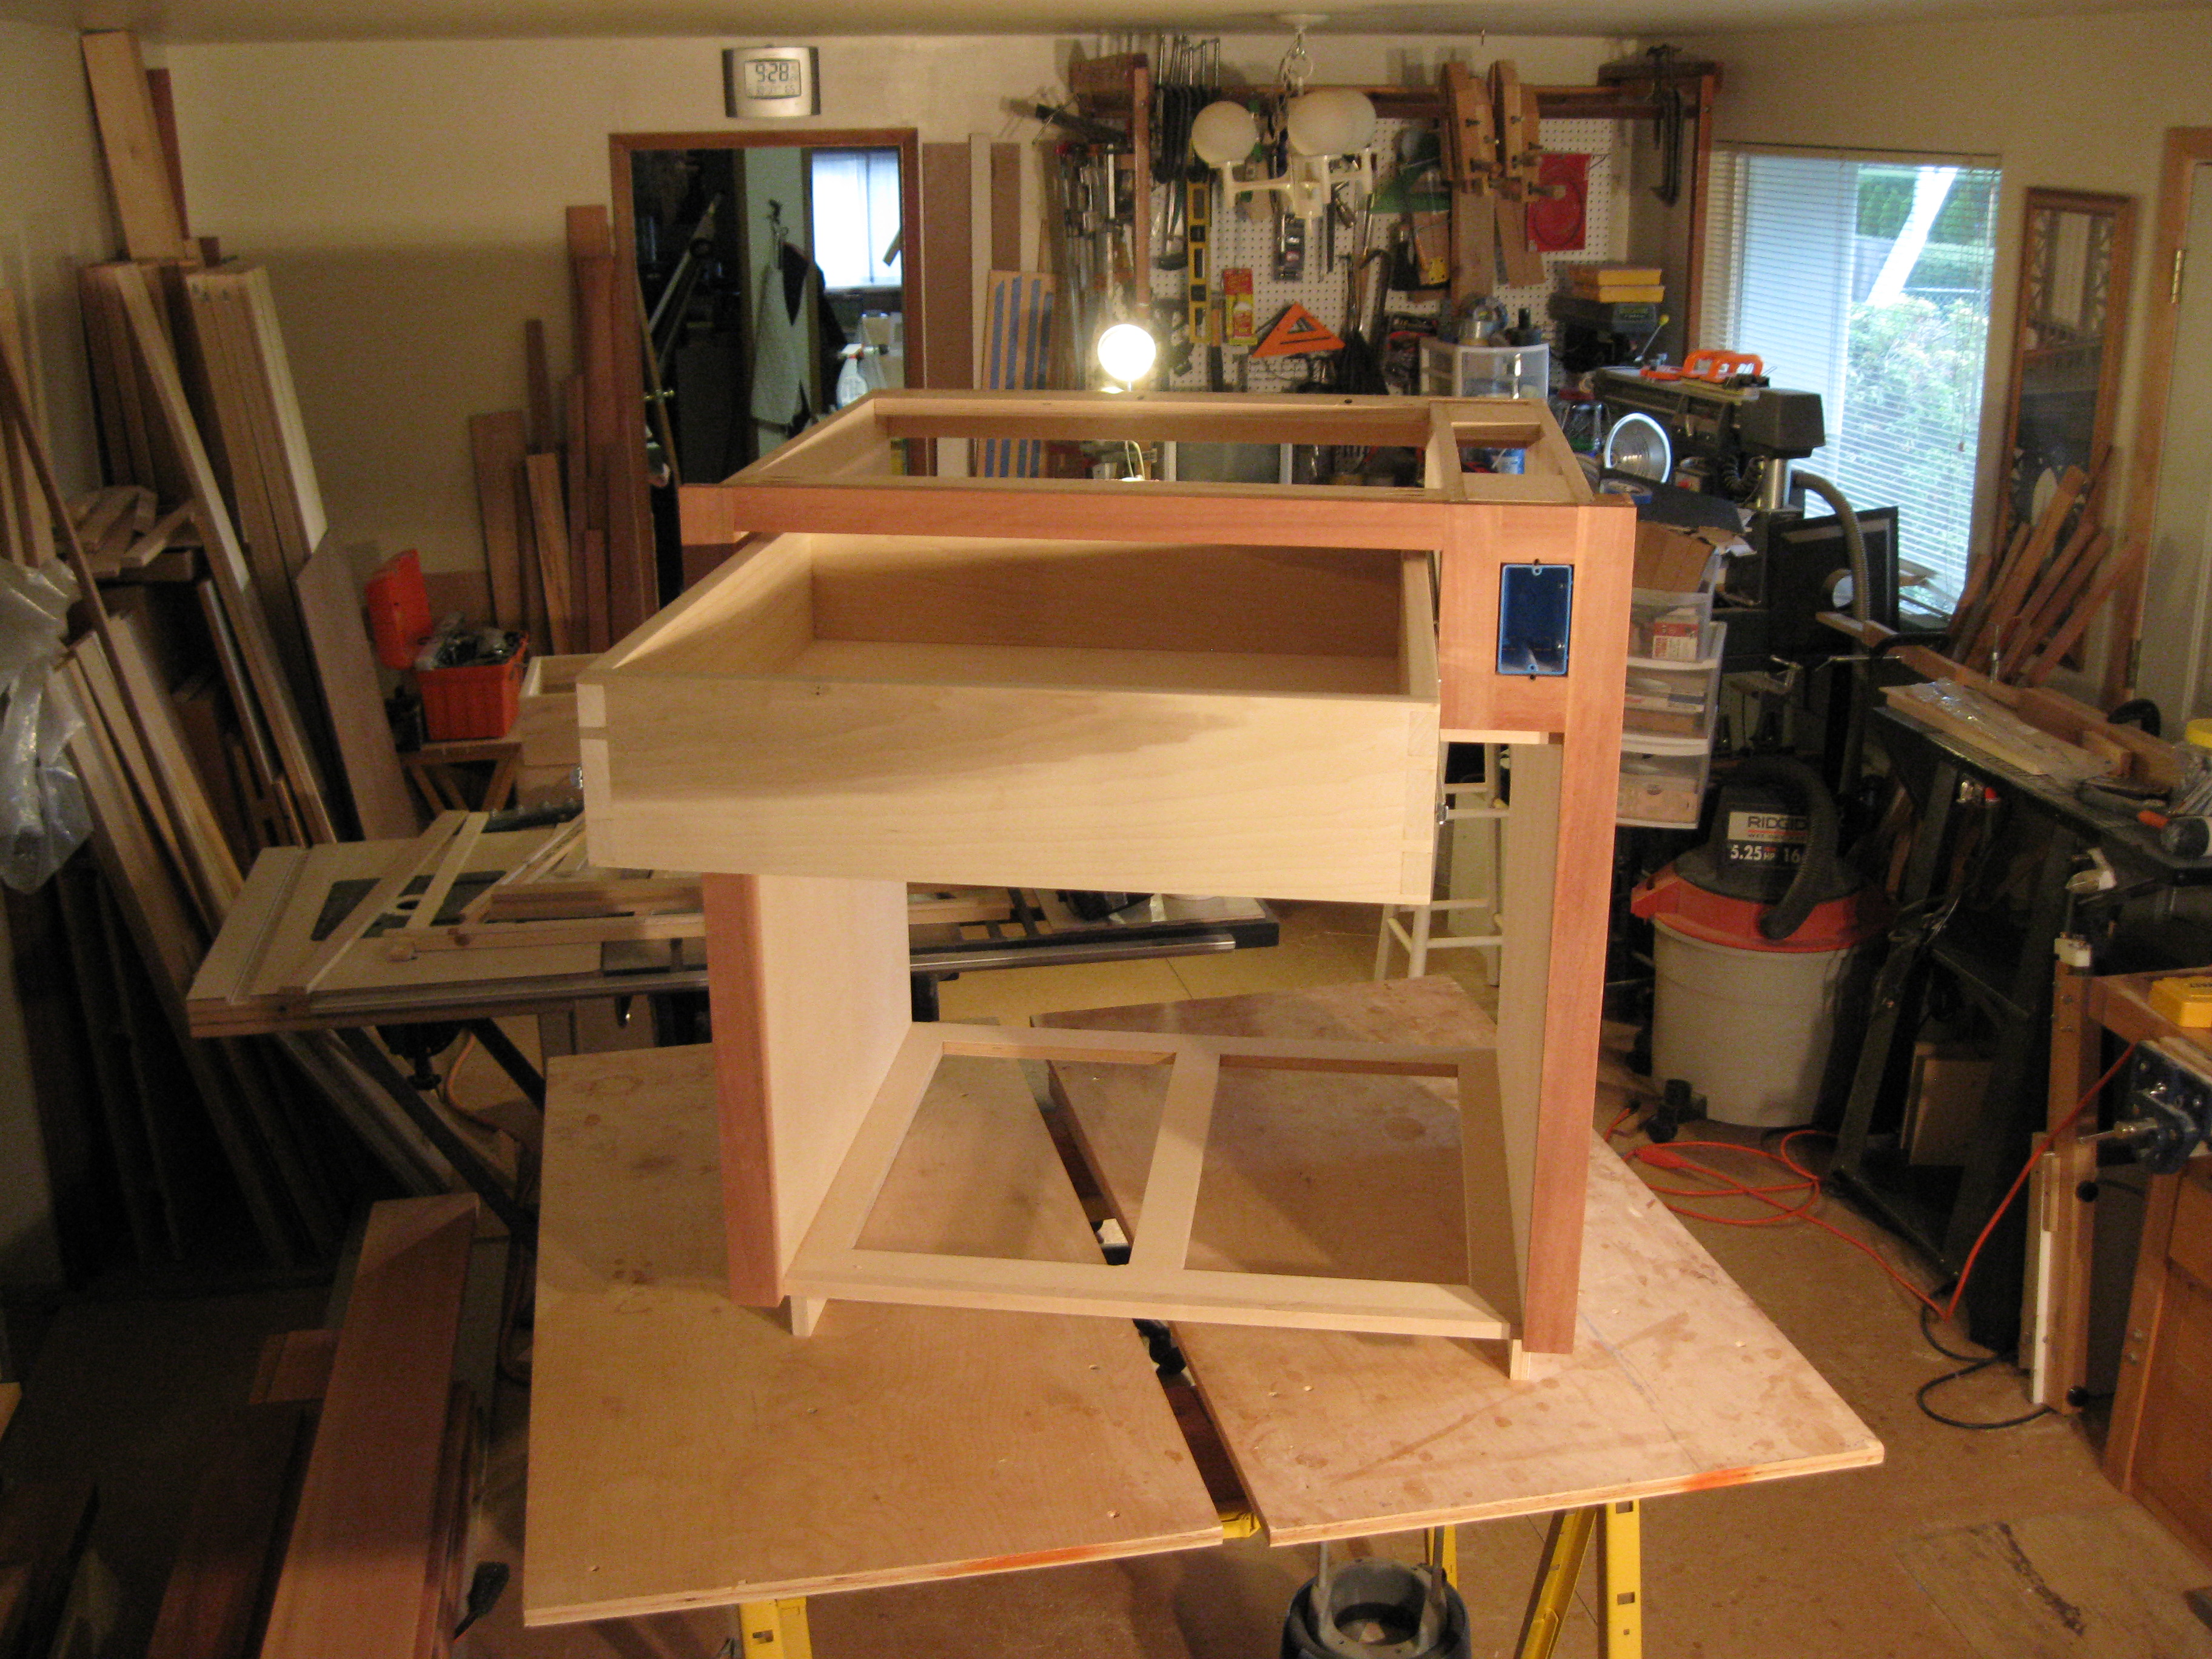
This is the cabinet that faces to the front of the peninsula. The large open space could accommodate an Artisan Series KitchenAid mixer. The middle drawer can be raised to accommodate a KitchenAid Professional model if needed. There will be a door on the lower portion of this cabinet. It will be hinged on the right side opposite the wall. The door can be opened nearly 180 degrees, the lower drawer slid open, and the mixer can be lifted to the countertop; a distance of about 30". The Artisan model weighs in at 25 pounds so this will be a safe and ergonomic lift for most people. The professional line weighs in at about 32 pounds. This too will be safe for most people.
:
TO BIG
The first picture shows the two tall drawers fitting exactly into the cabinet opening. Unfortunately there needs to be 3/4" of space so there is some below, between, and above the drawers to allow everything to work well. The next picture shows the setup required to cut some off the top of one of the drawers to provide the space. With the cut done and a little sanding, the drawers now have the space allowance and I move on to installing the drawer slides.

These tall drawers weigh in at just under 25 lbs each. They slide easily on the Accuride drawer slides. See the installation Quick Reference. The slides are rated at 100 lbs. These drawers will hold pots, pans, skillets and small electric kitchen devices. The taller drawer is on the top to hold the bigger stuff I get to most often. I'm going to like these. They are tall enough to hold the biggest pots and large enough to hole a large assortment of stuff. These will reduce the stooping and give access to every thing all the way into the back corners...The last picture shows all the last of the drawers installed on the slides. No I move on to building one door and five drawer fronts out of the primary wood lyptus.

:
SETUP FOR NEW FORREST WOODWORKER II FAST RIP BLADE
:
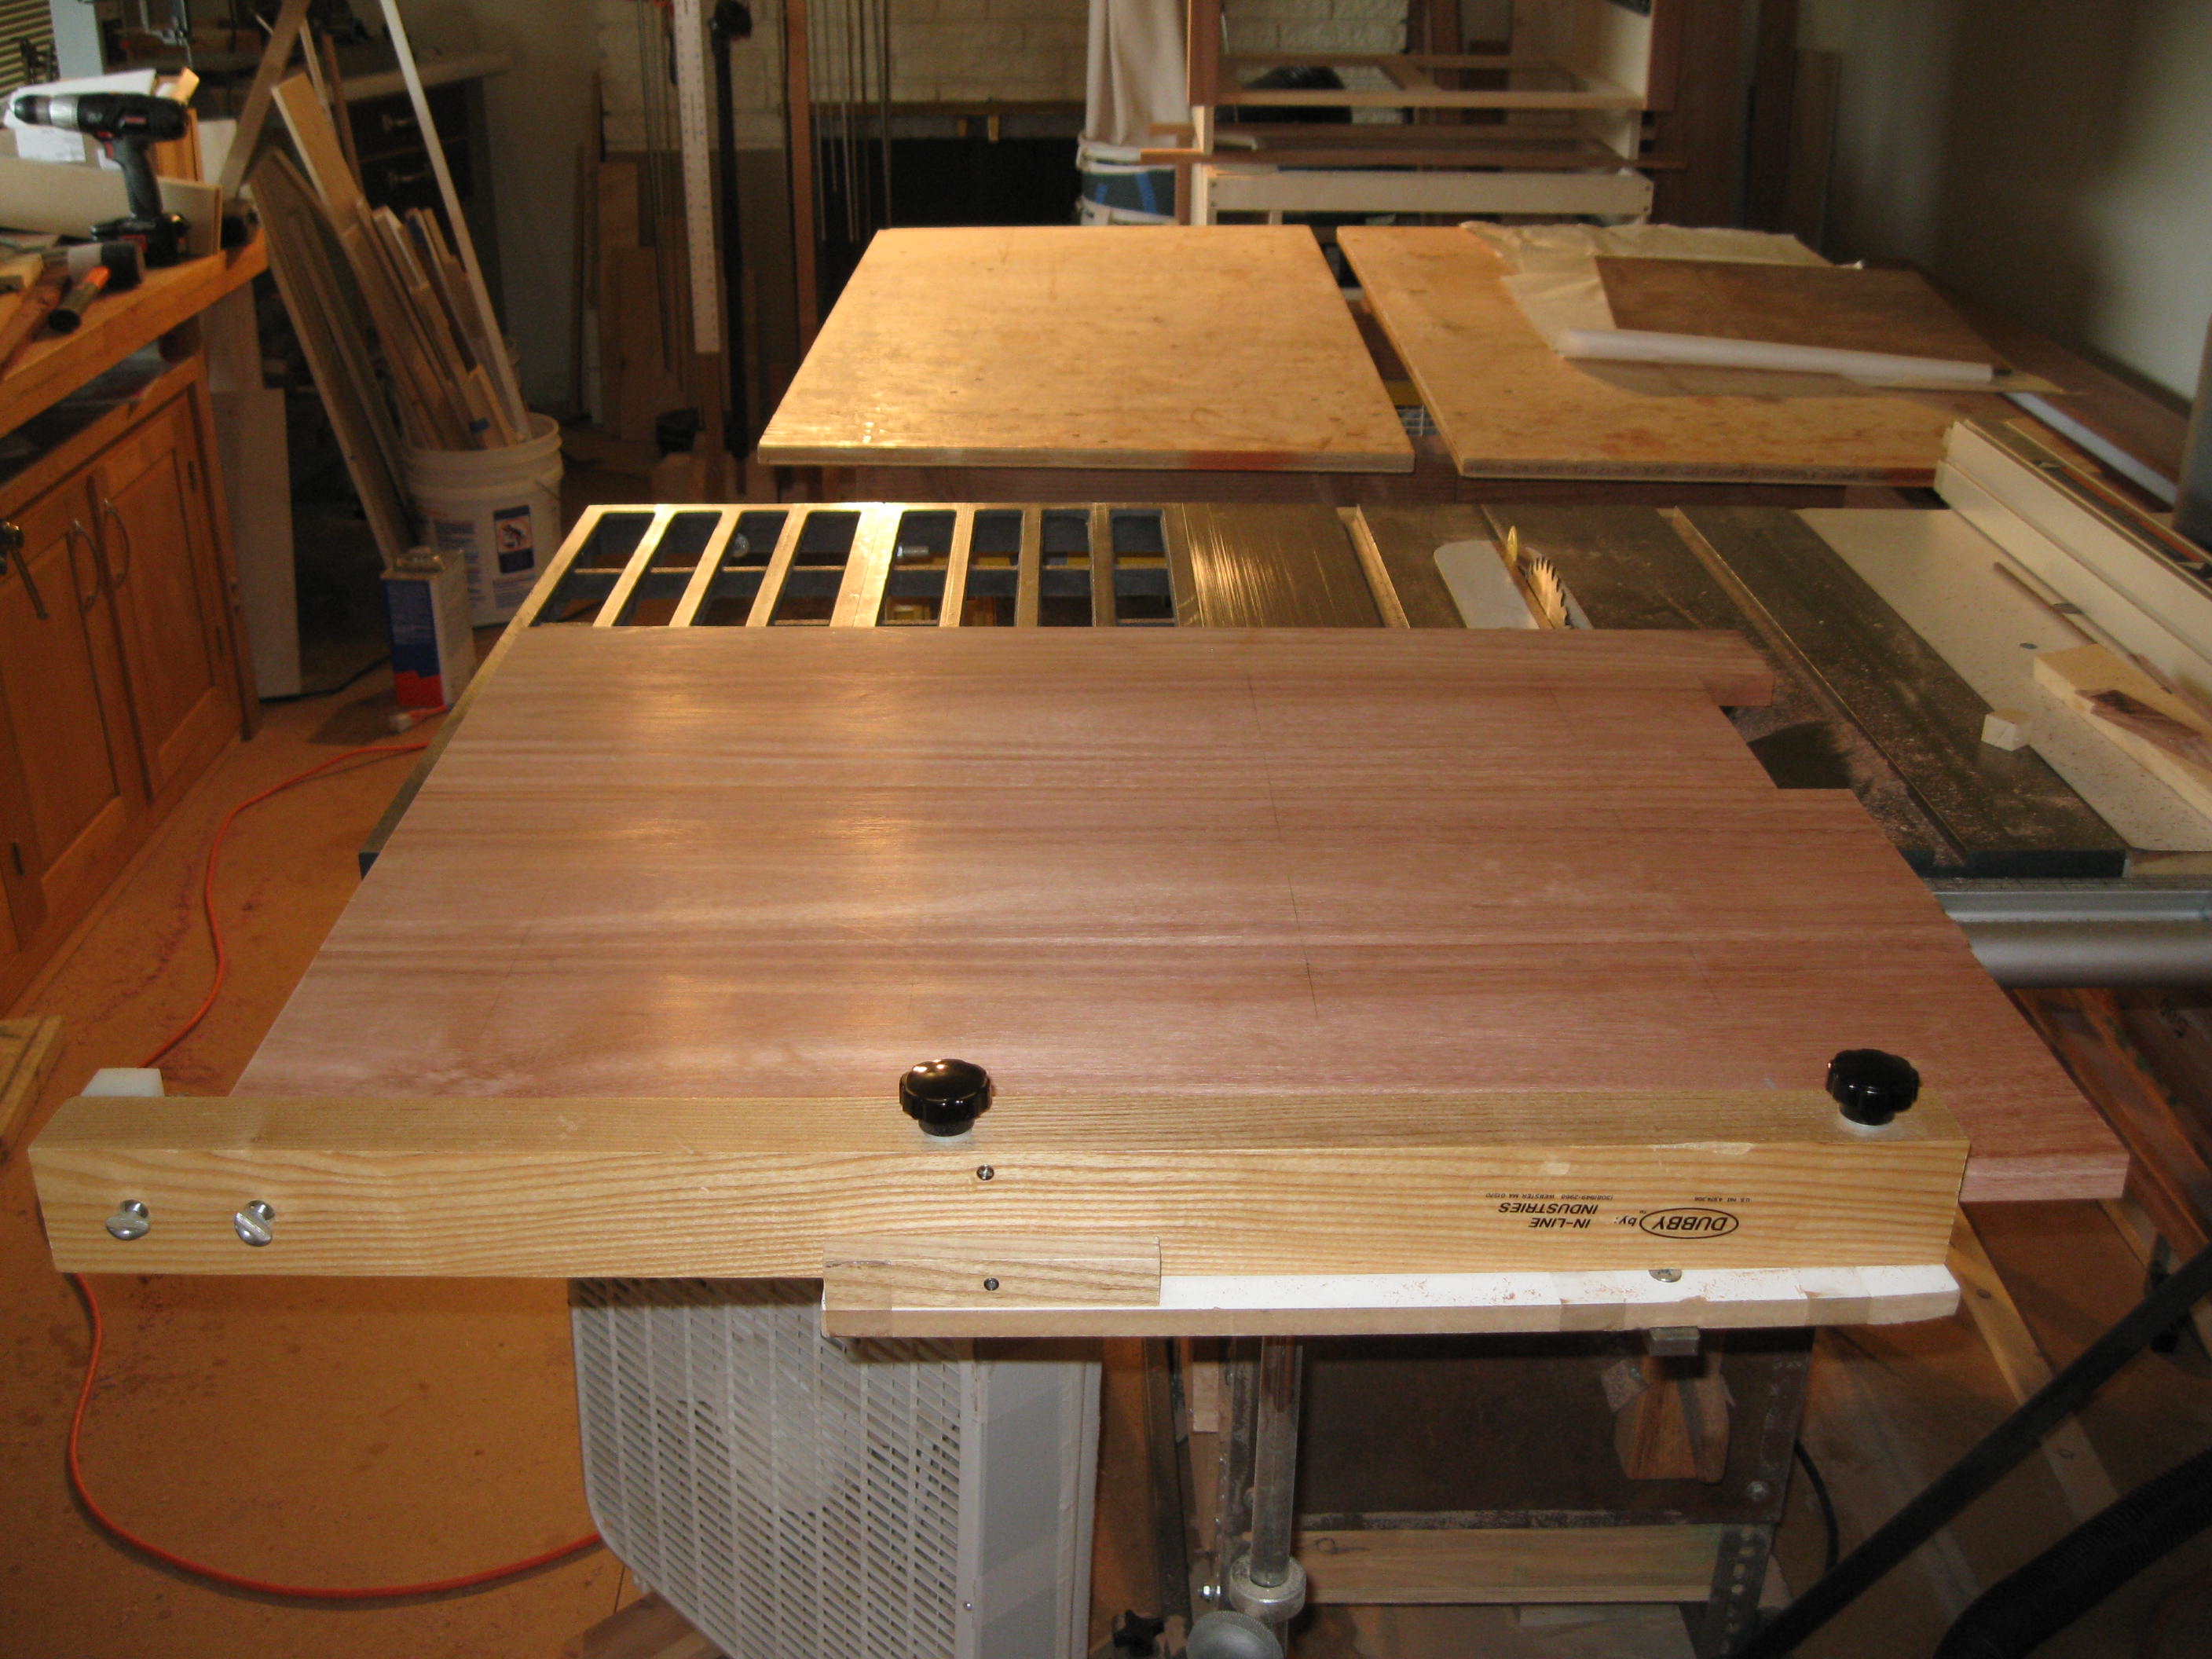
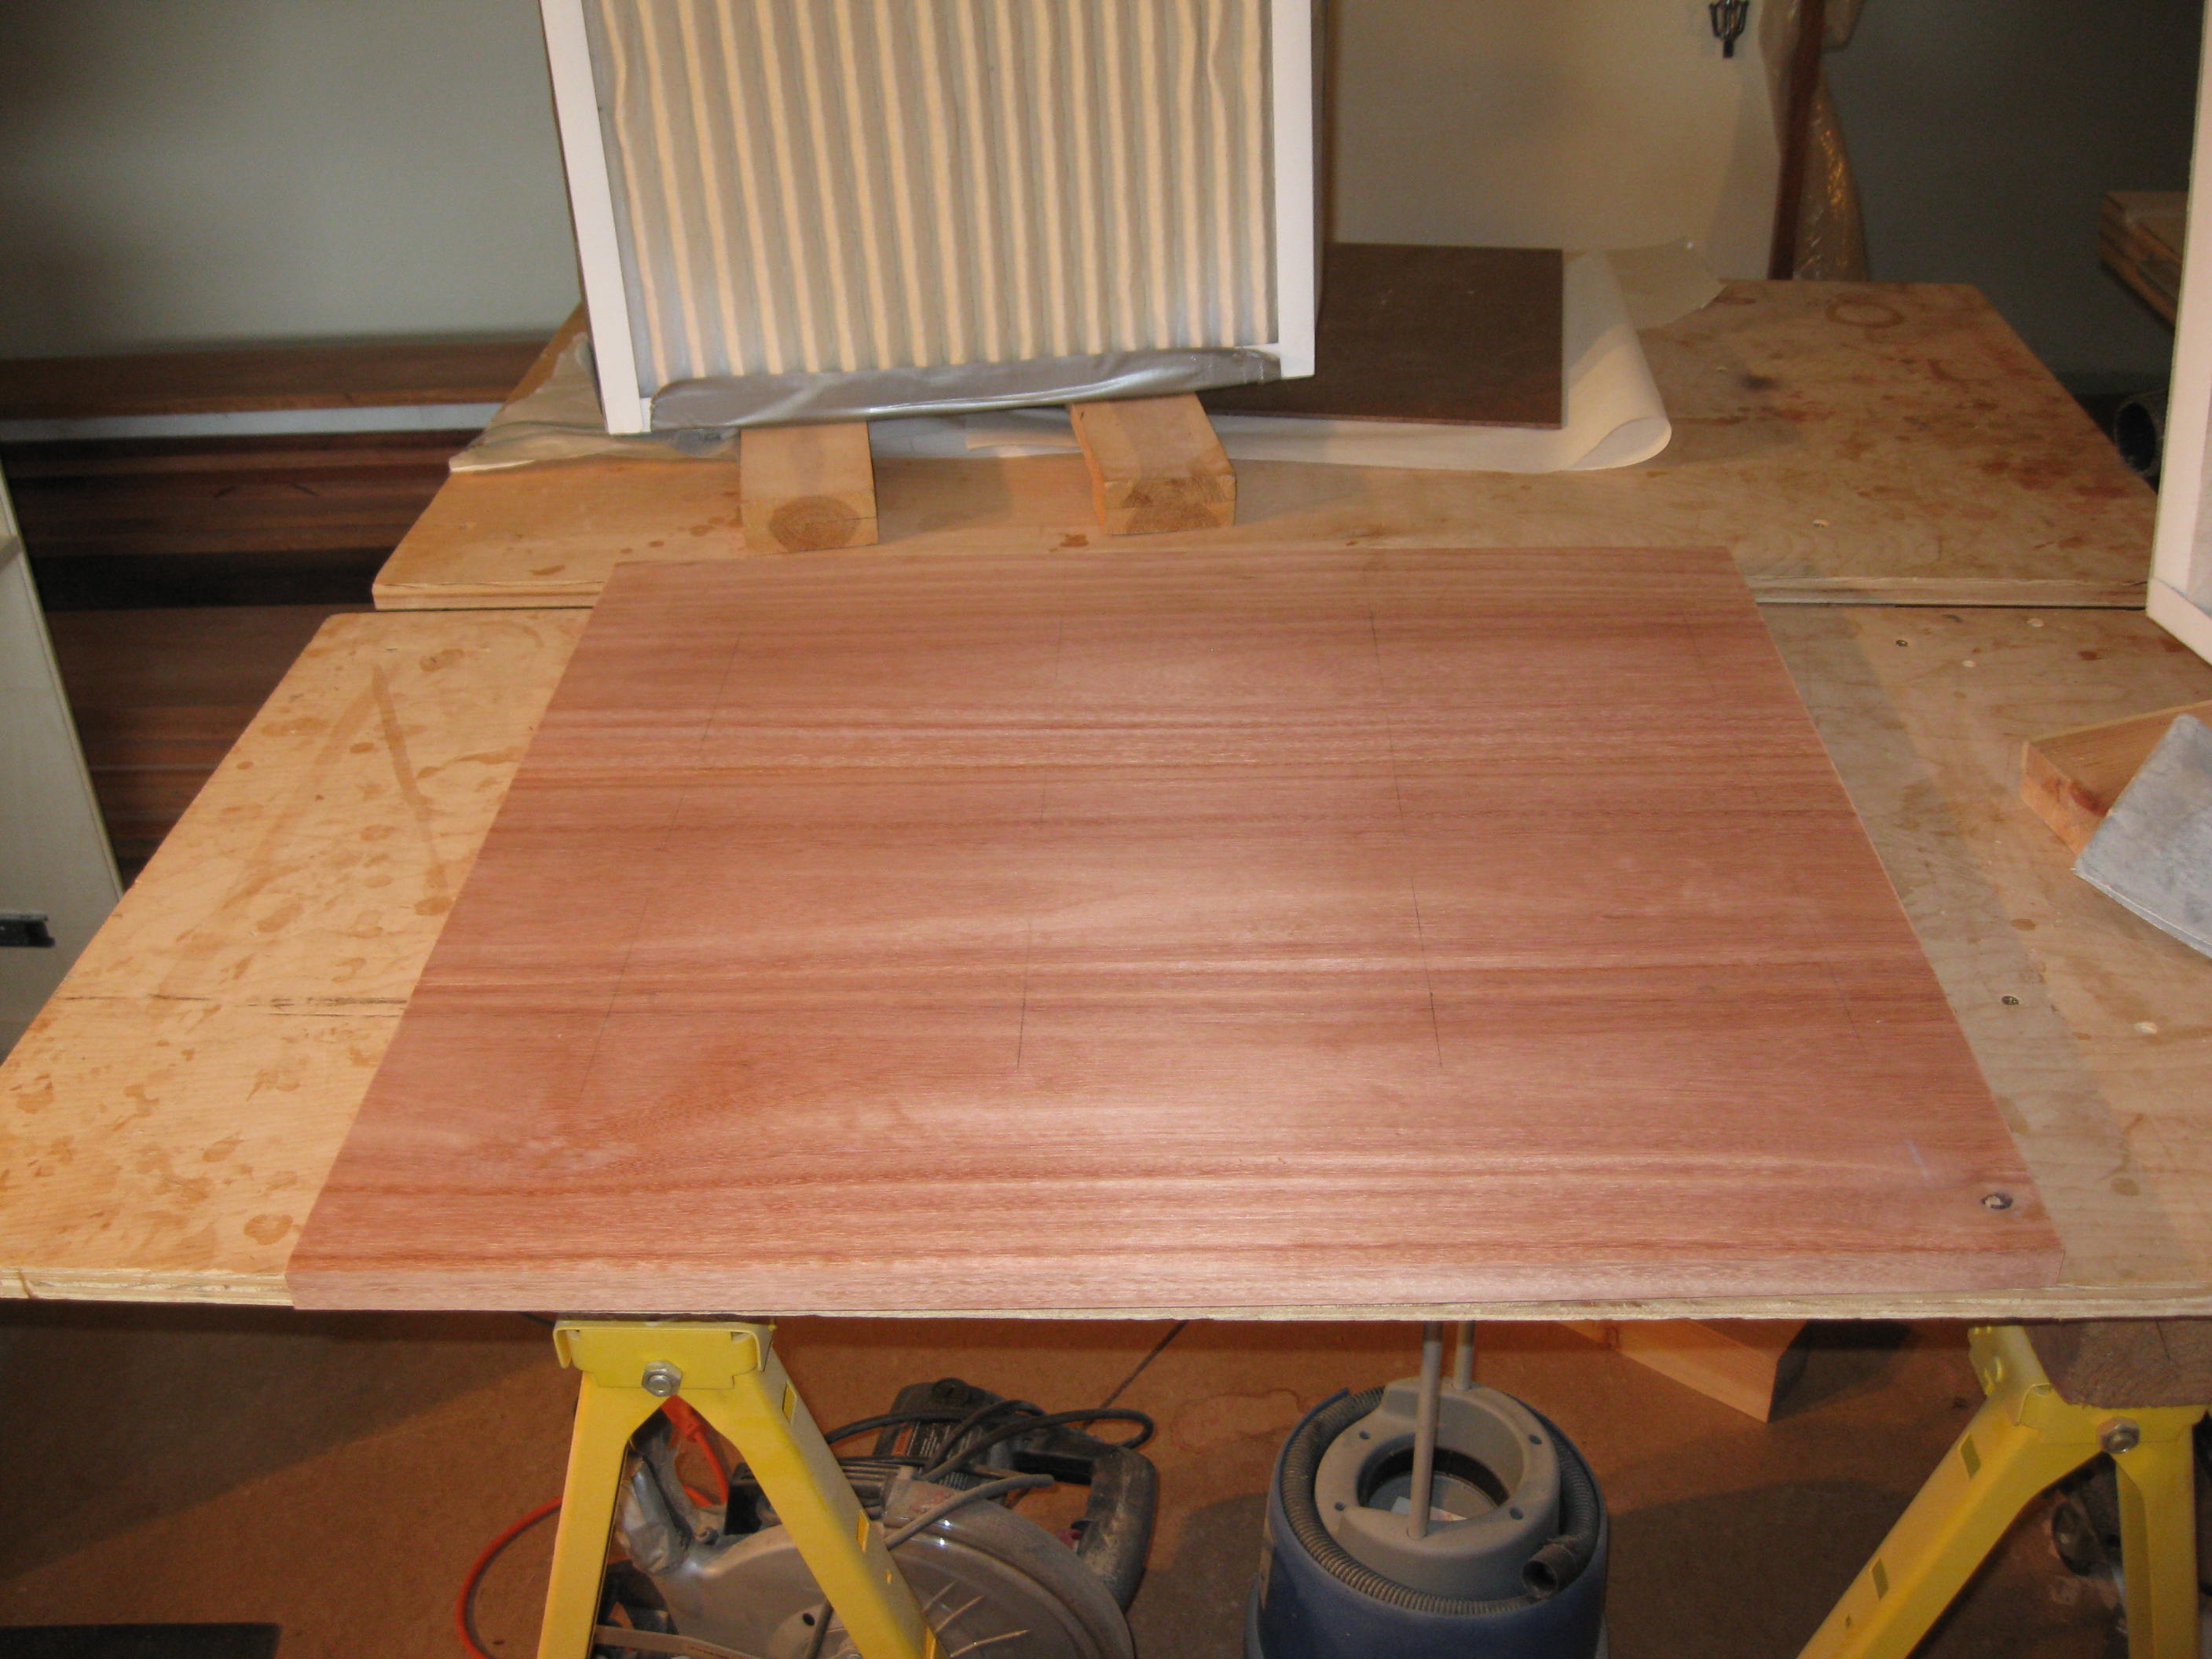
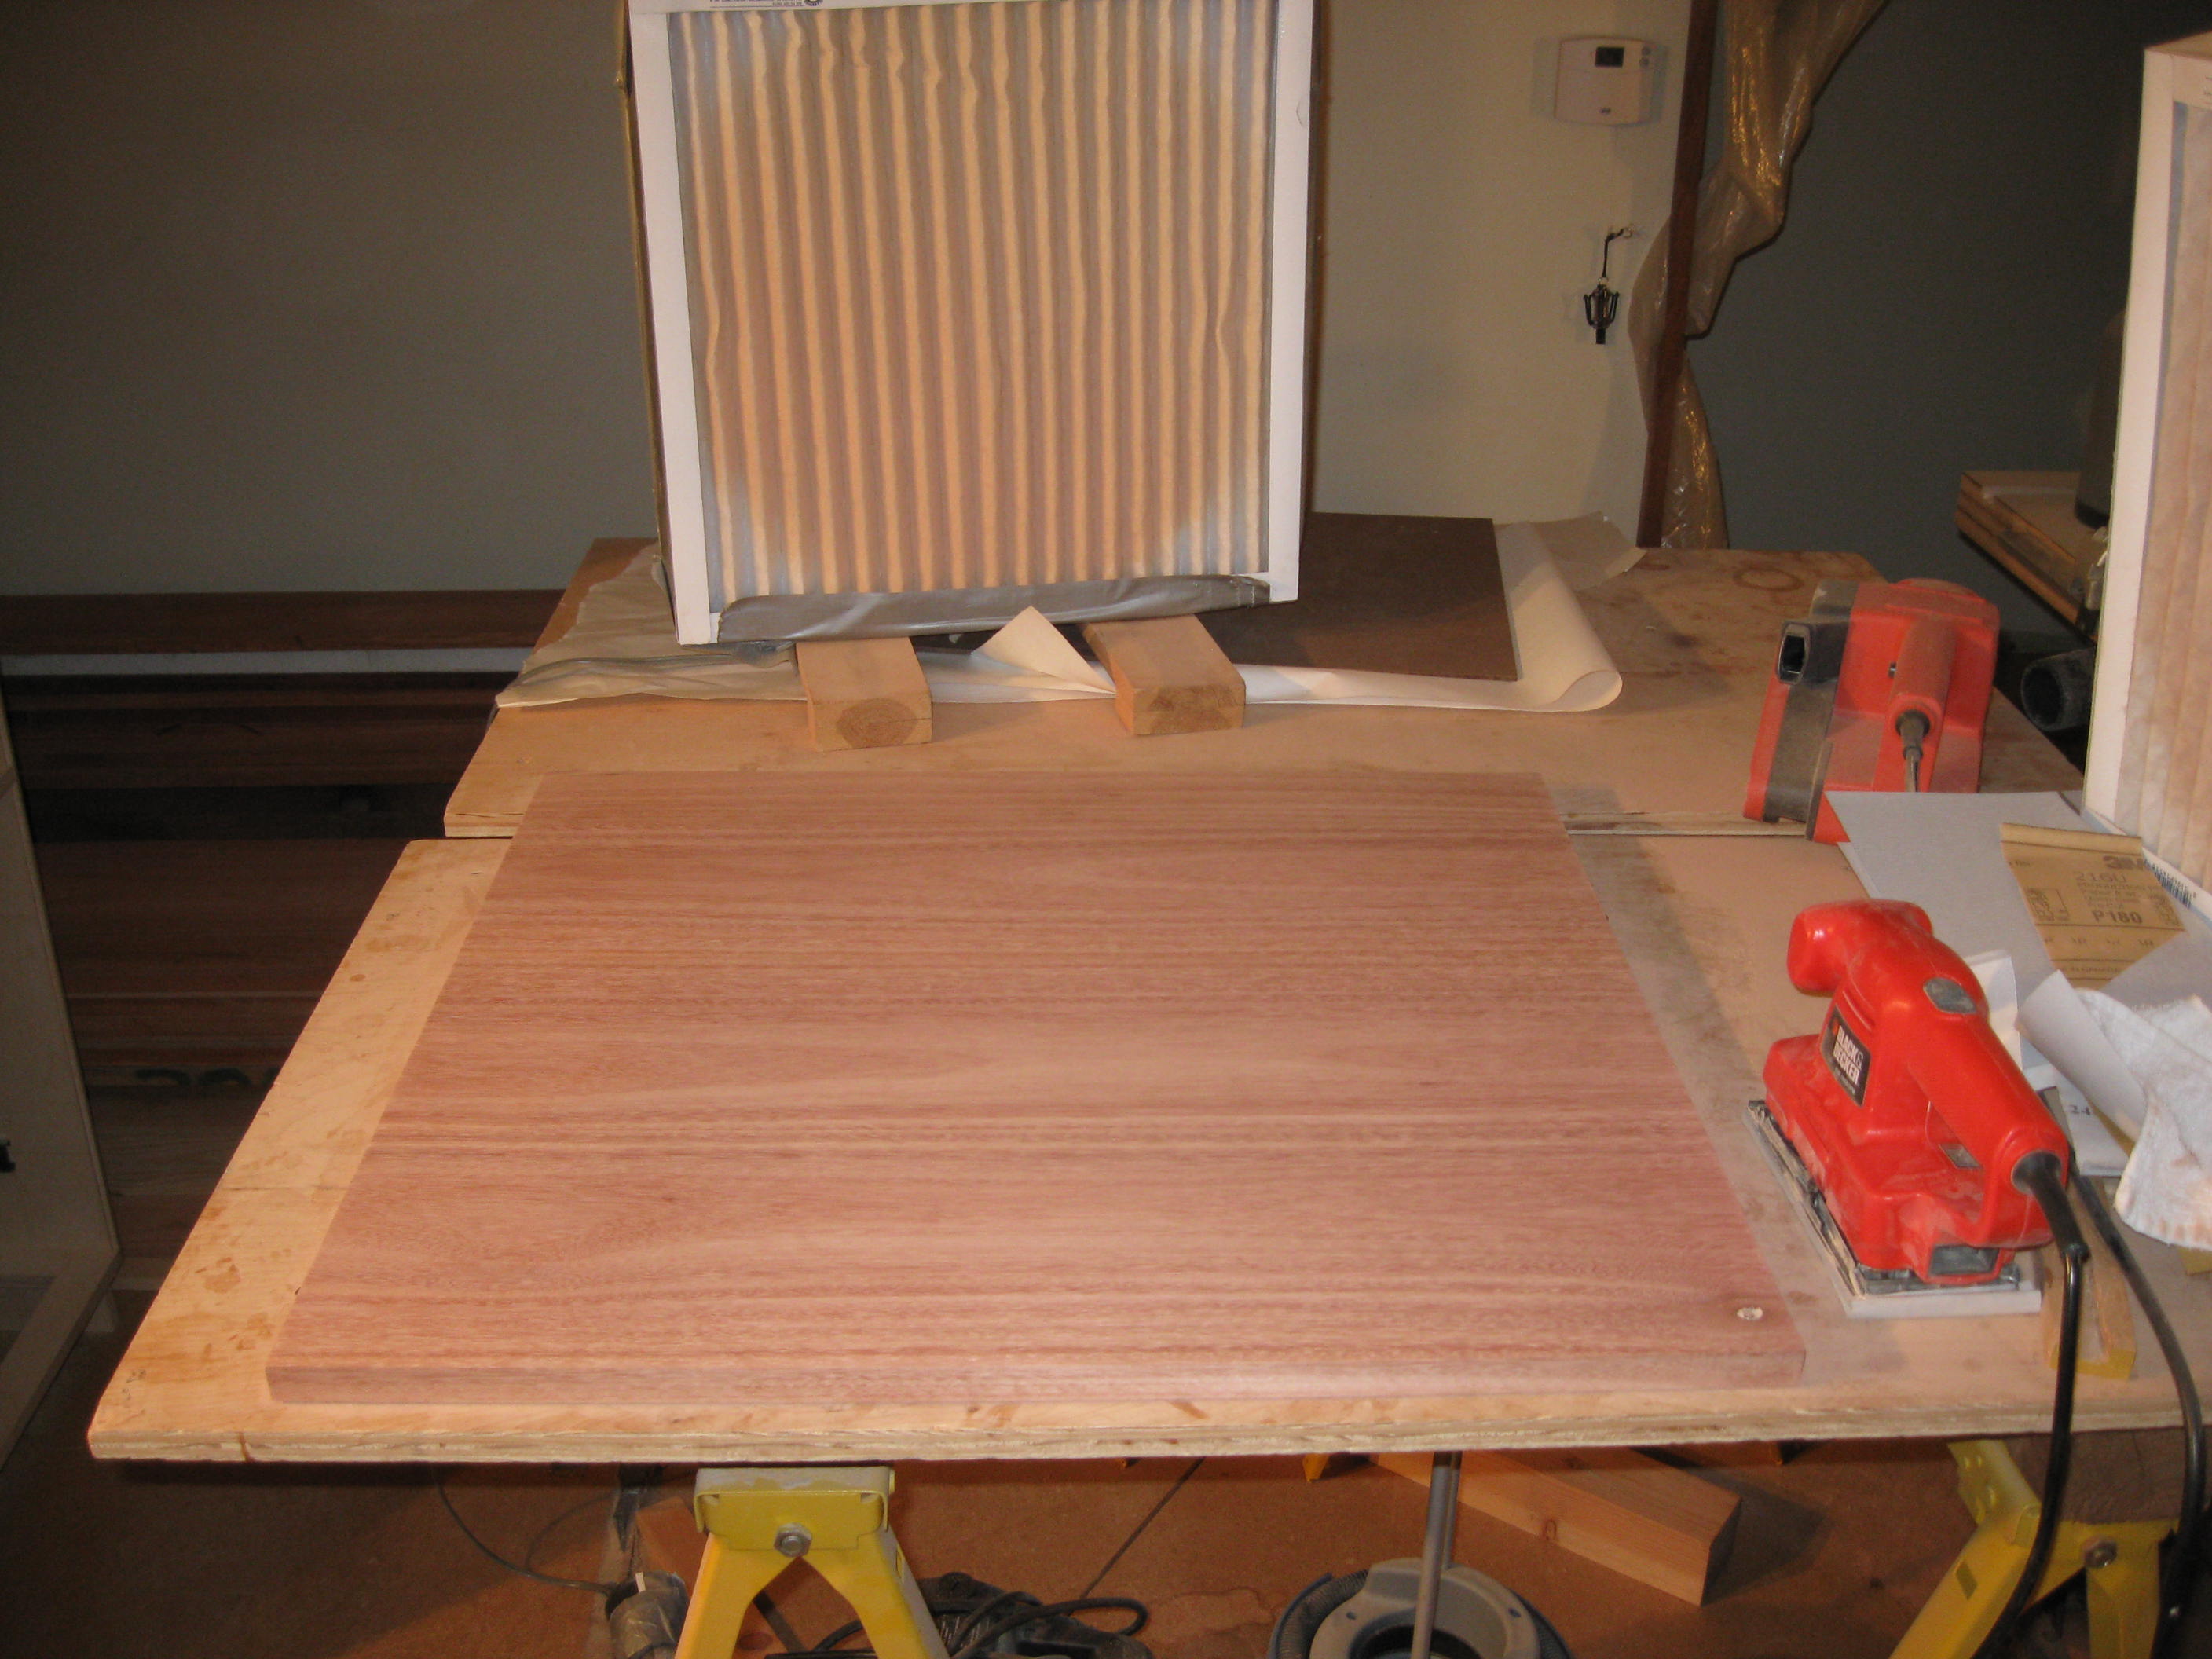
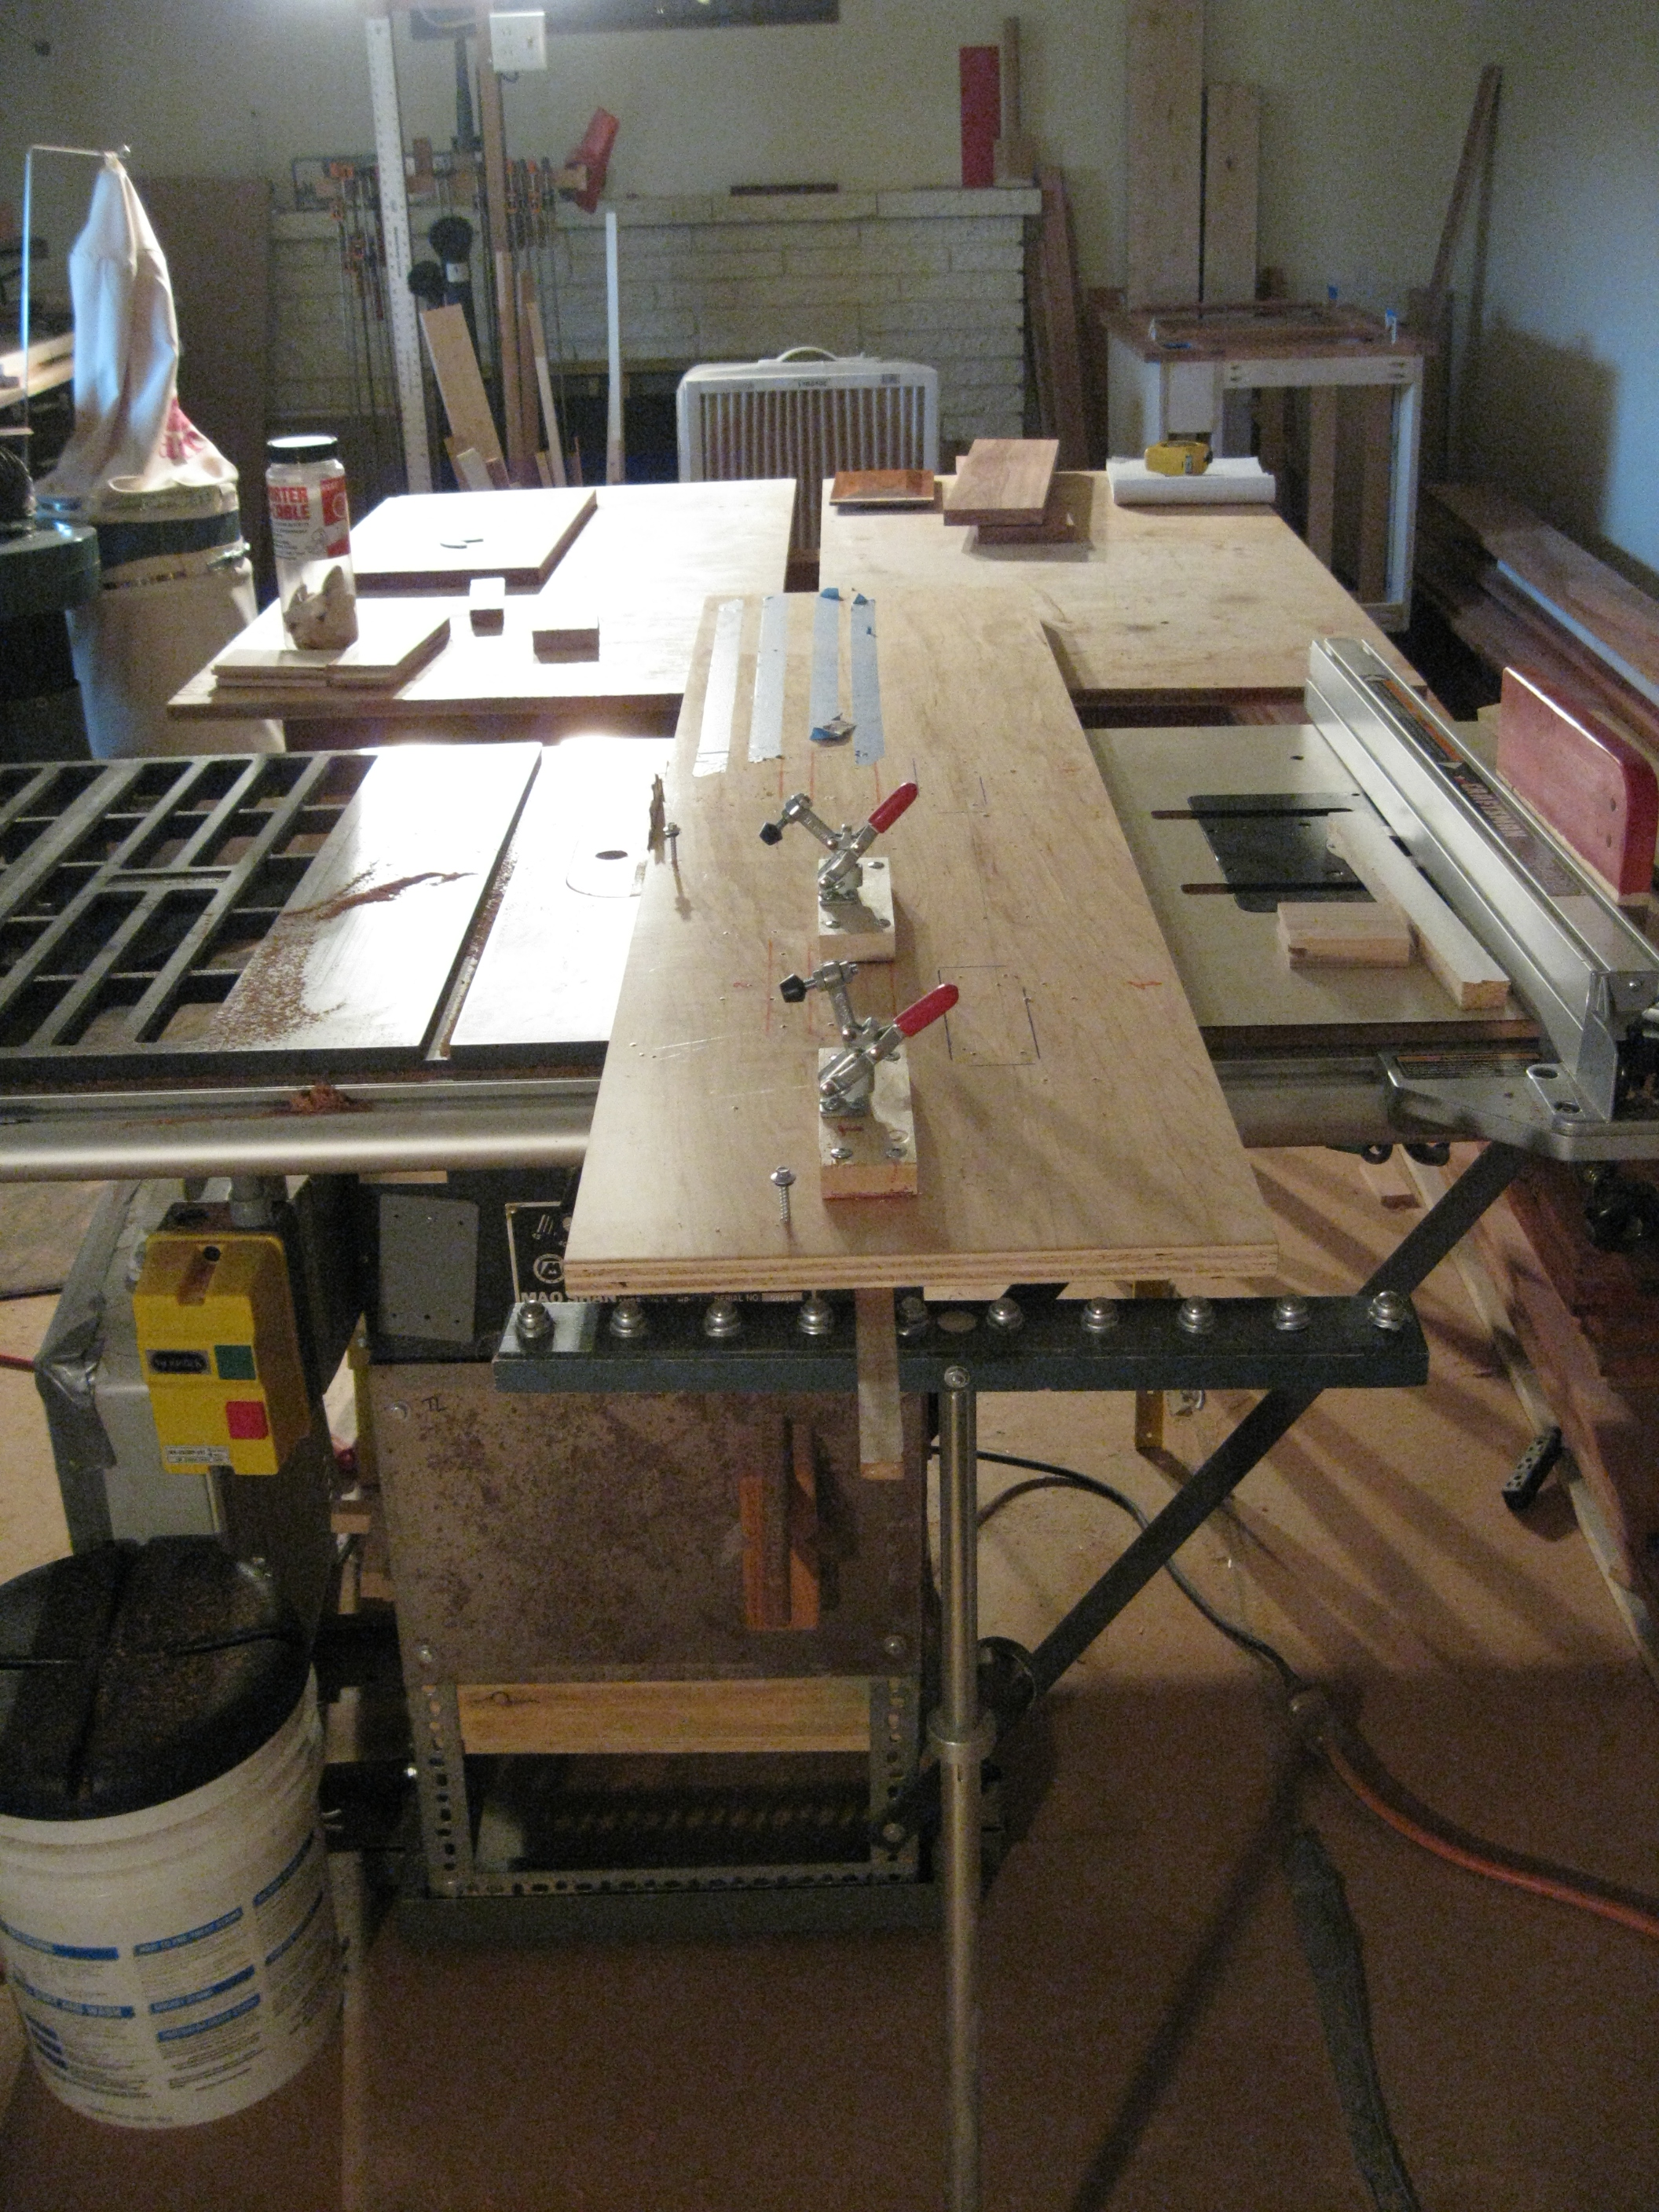
Drawer Fronts
After ripping the lyptus and arranging the boards in a good grain matching pattern, I markup for the biscuit cutter. The small open knot at the bottom right hand corner will be part of the drawer front. This singular blemish in the otherwise knotless wood surface will be cool by my book. I am considering filling in the hole with clear epoxy. The jury is still out on this. The four boards will be glued in pairs then the two pairs will be glued together. It takes longer but I have more control and experience less glue-up panic. When I cut this built up panel to fit the drawers I'll get grain match from top to bottom in the cabinet.

![]()
Next glueup for right side drawer fronts.
The cauls have duct tape on them so that they won't be part of the glueup. The duct tape won't allow the wood glue to bond to it. This is the first time I have tried this...
No More Room
There is literally no more room in the house for any cabinets...good. It is nearing the time the wrecking, floor, and electric operations that need to be done before the cabinets can be installed.
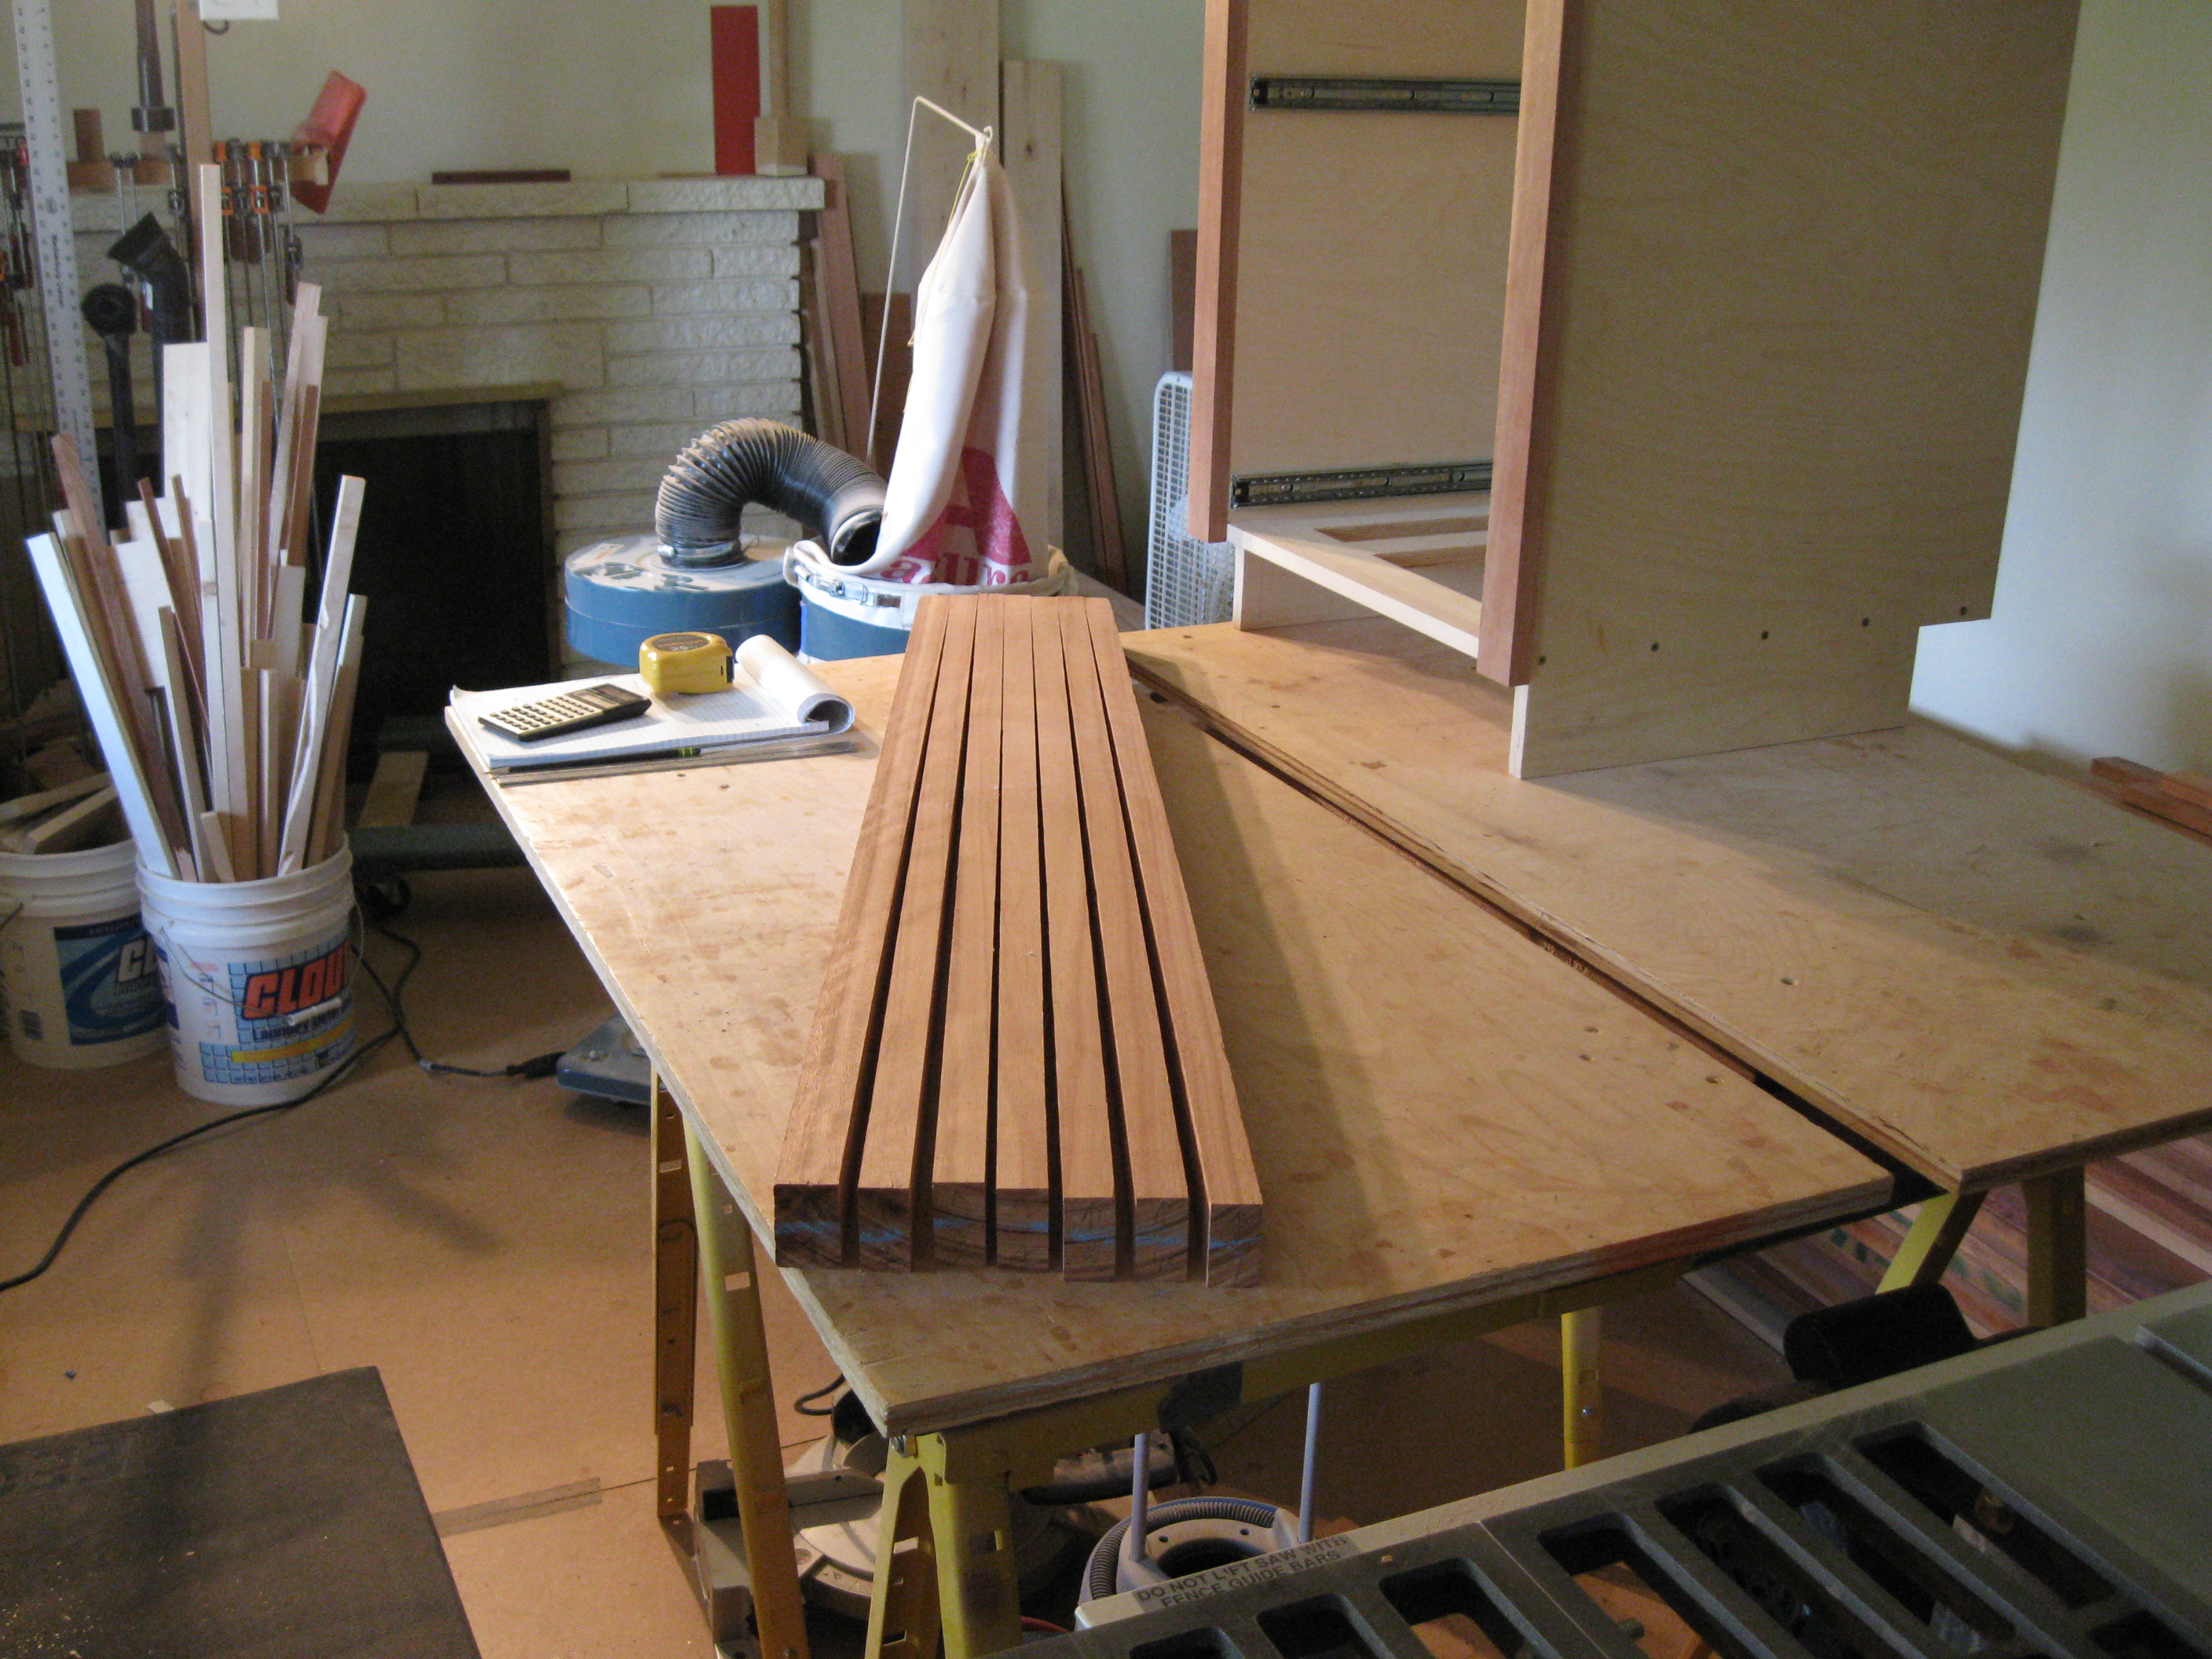
Quartersawn Lyptus
This is the results of the rip cuts for the flitch of quartersawn lyptus that will become the stiles and rails for the three remaining doors I have to build for the lower cabinets.
:
Long Joint Cutting Setup
This simple shop made sled just works. Solves all long joint problems by providing an absolutely straight edge. I use a Forrest WW-2 Fast Rip saw blade for edge jointing the Lyptus. This blade doesn't burn the wood and the cut is just rough enough to facilitate glue bonding.
:
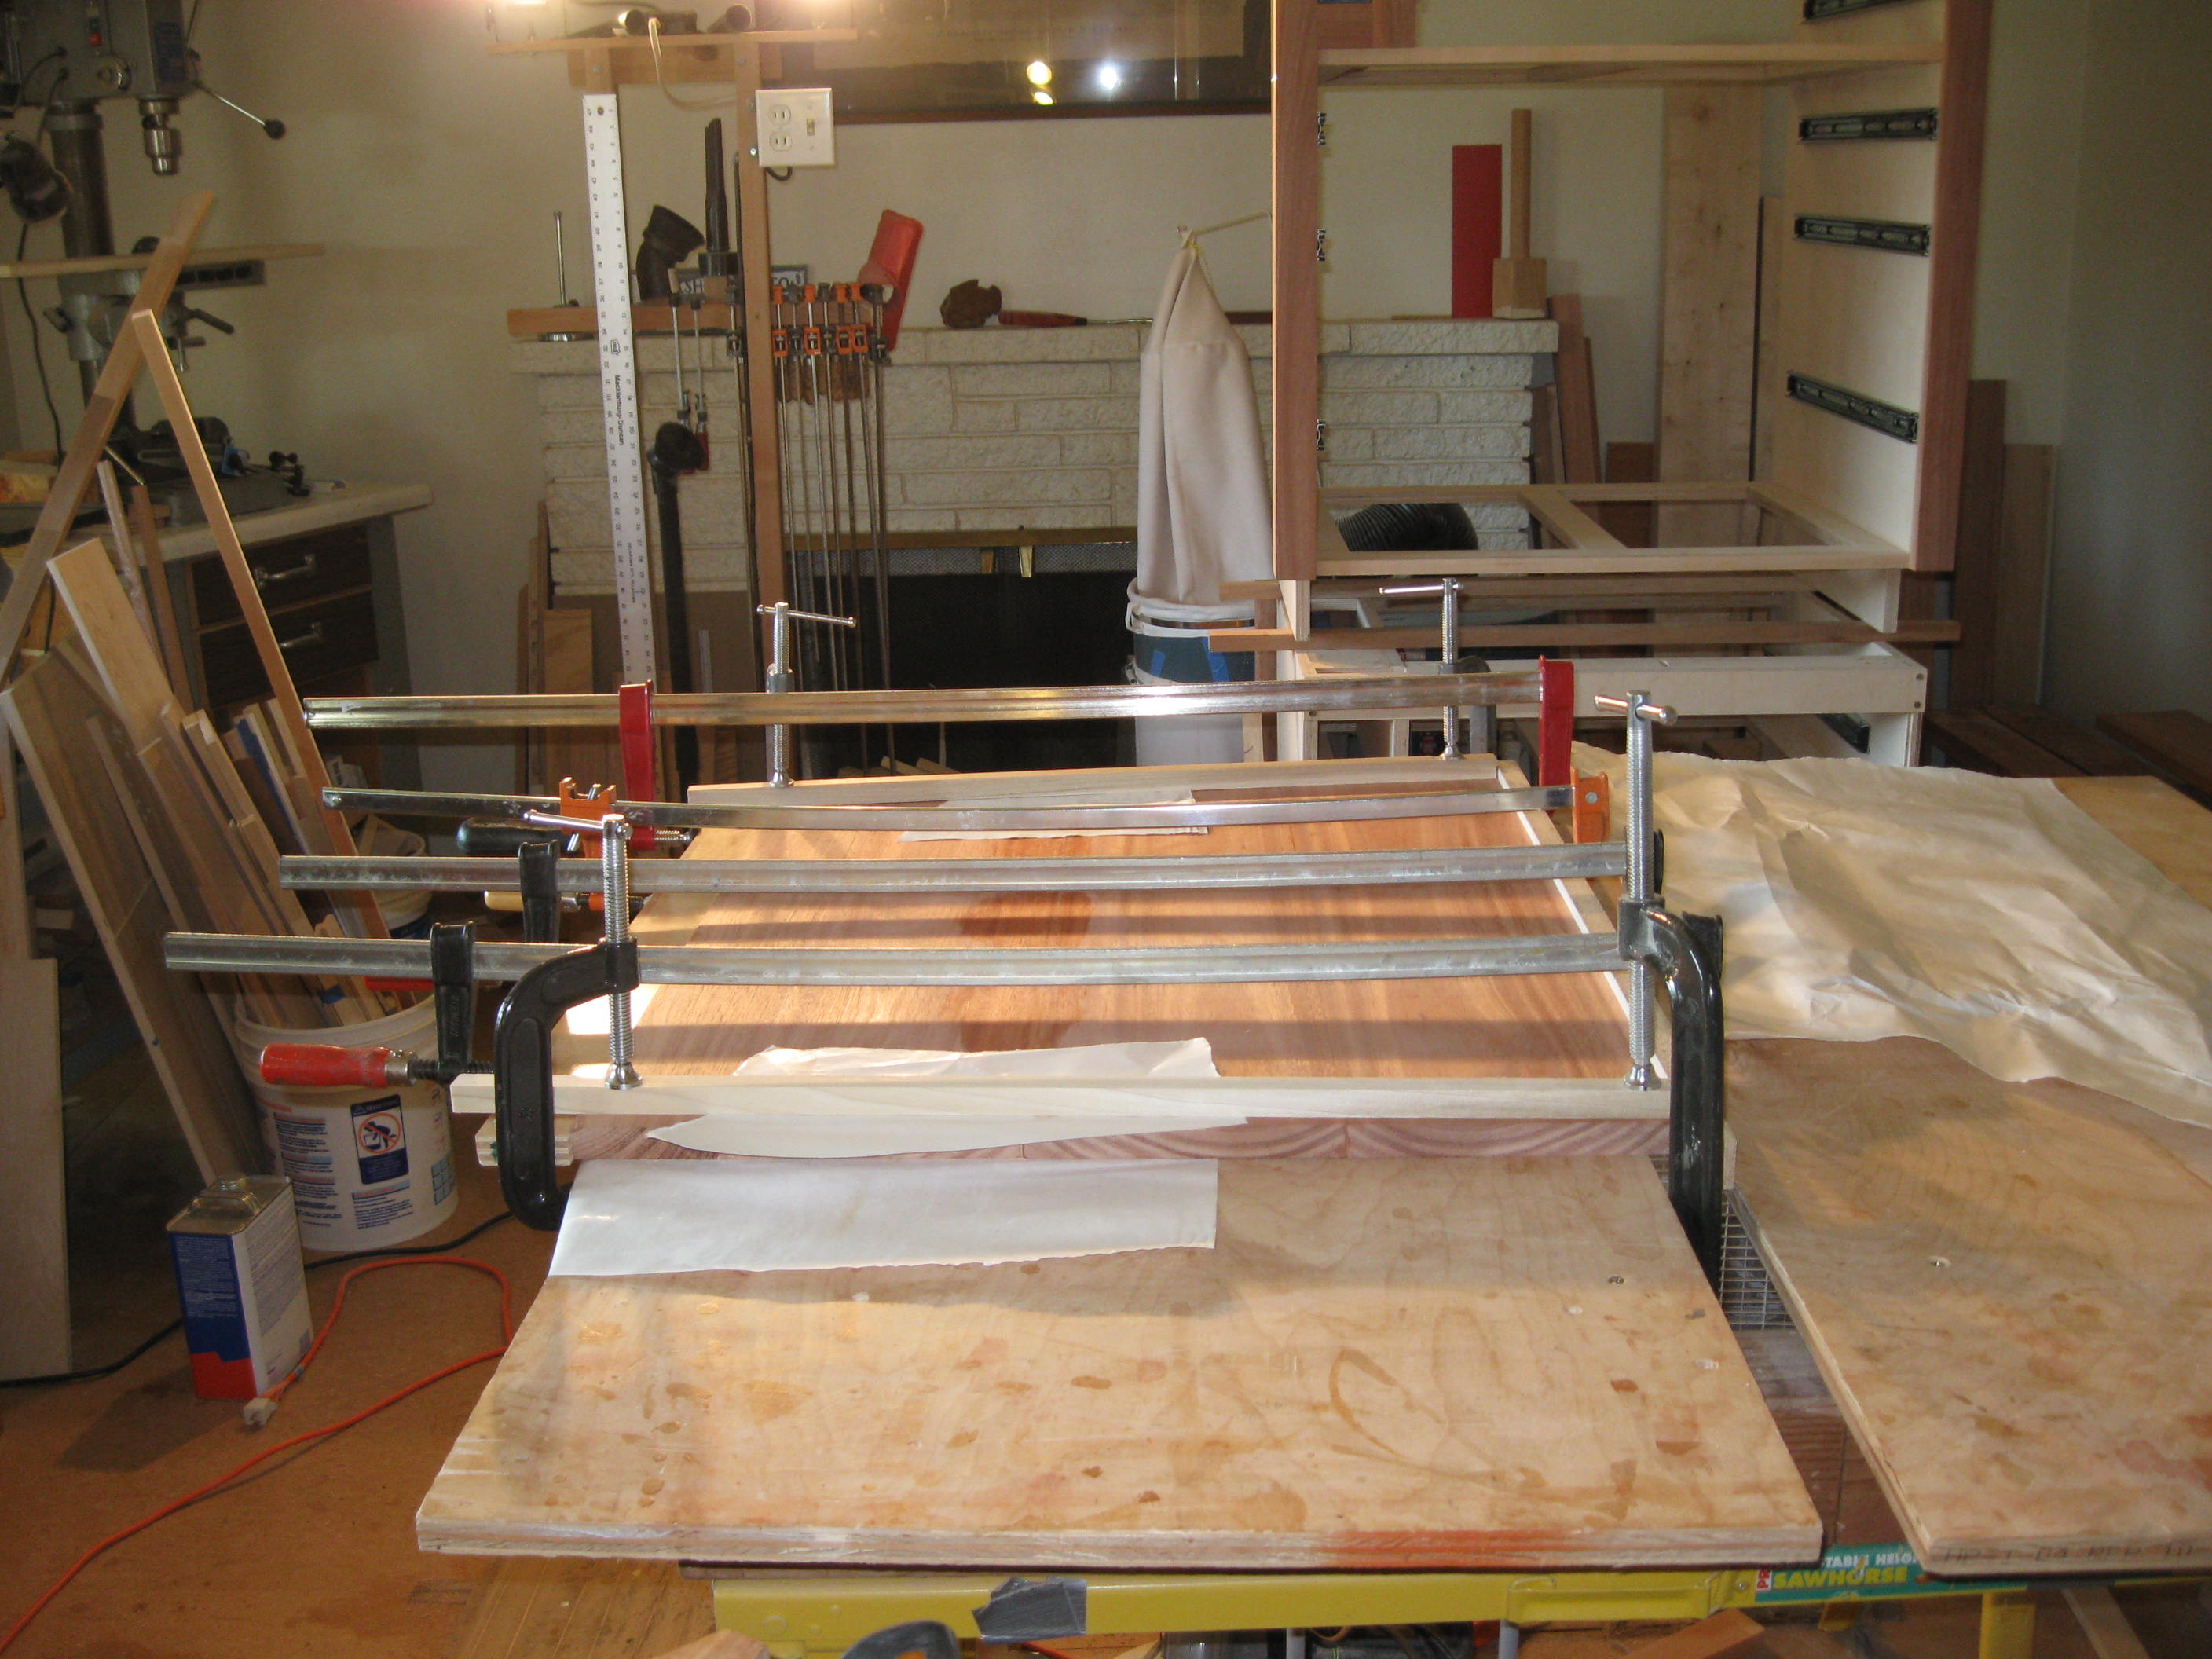
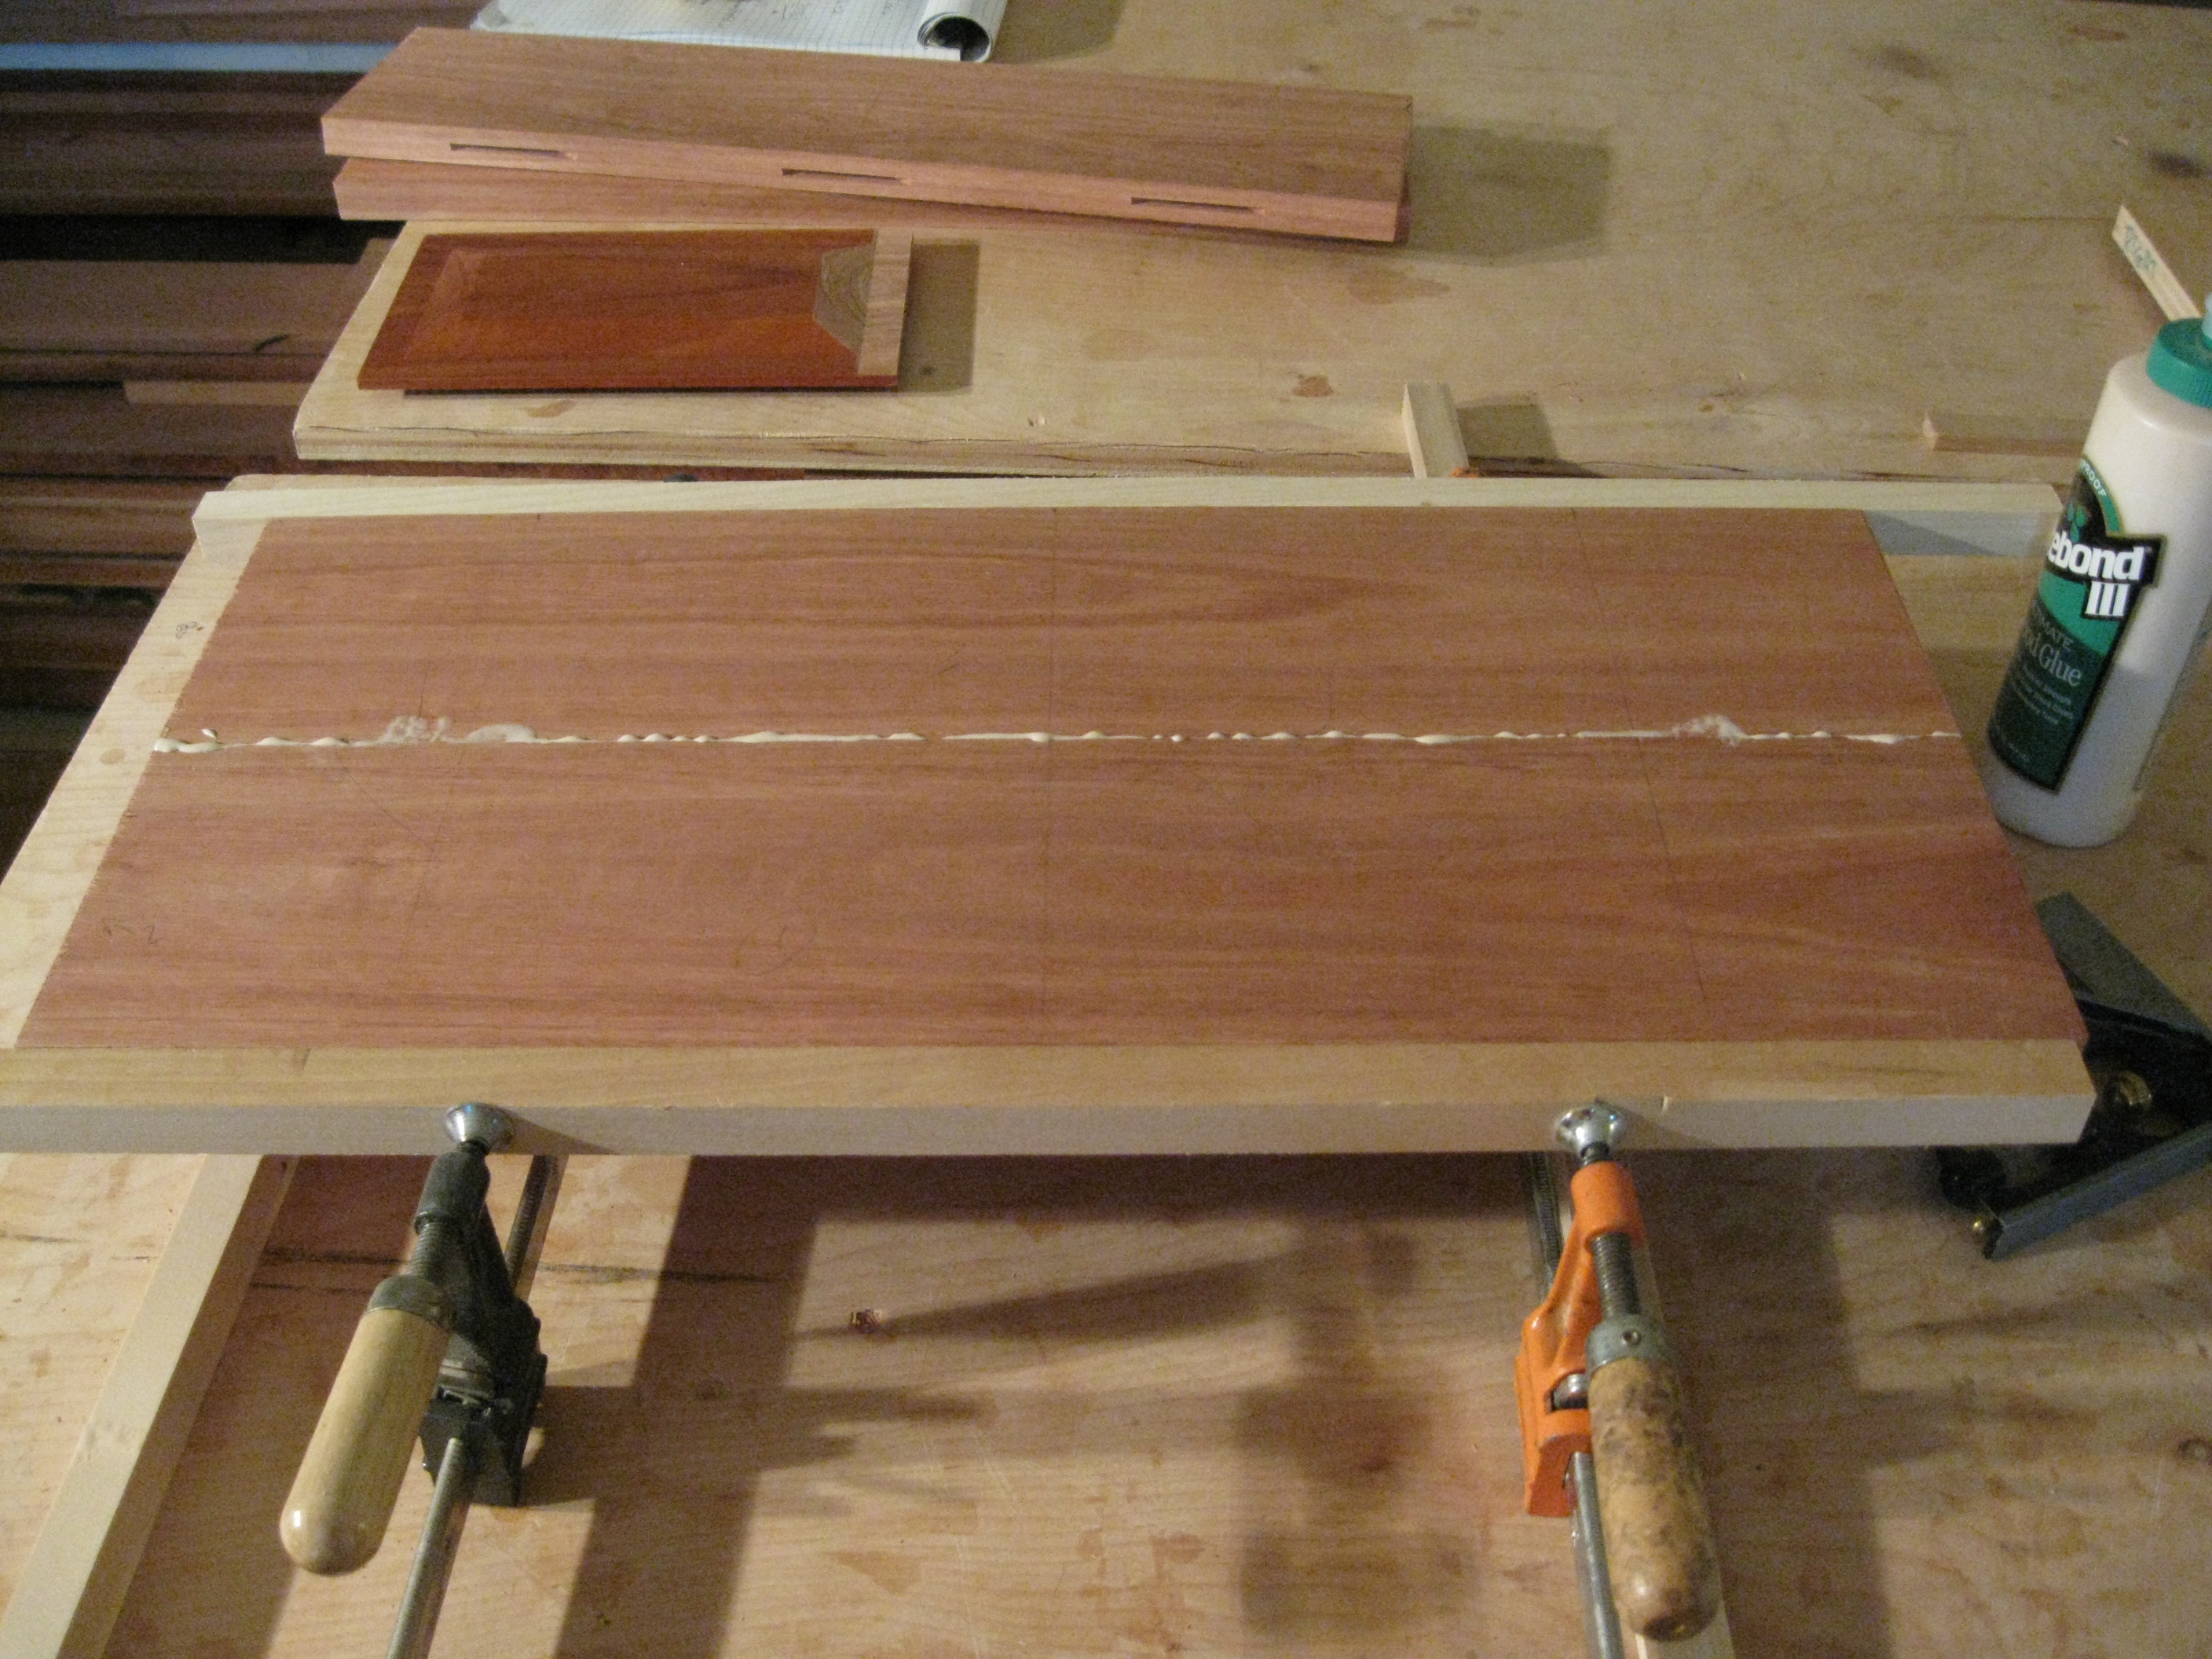
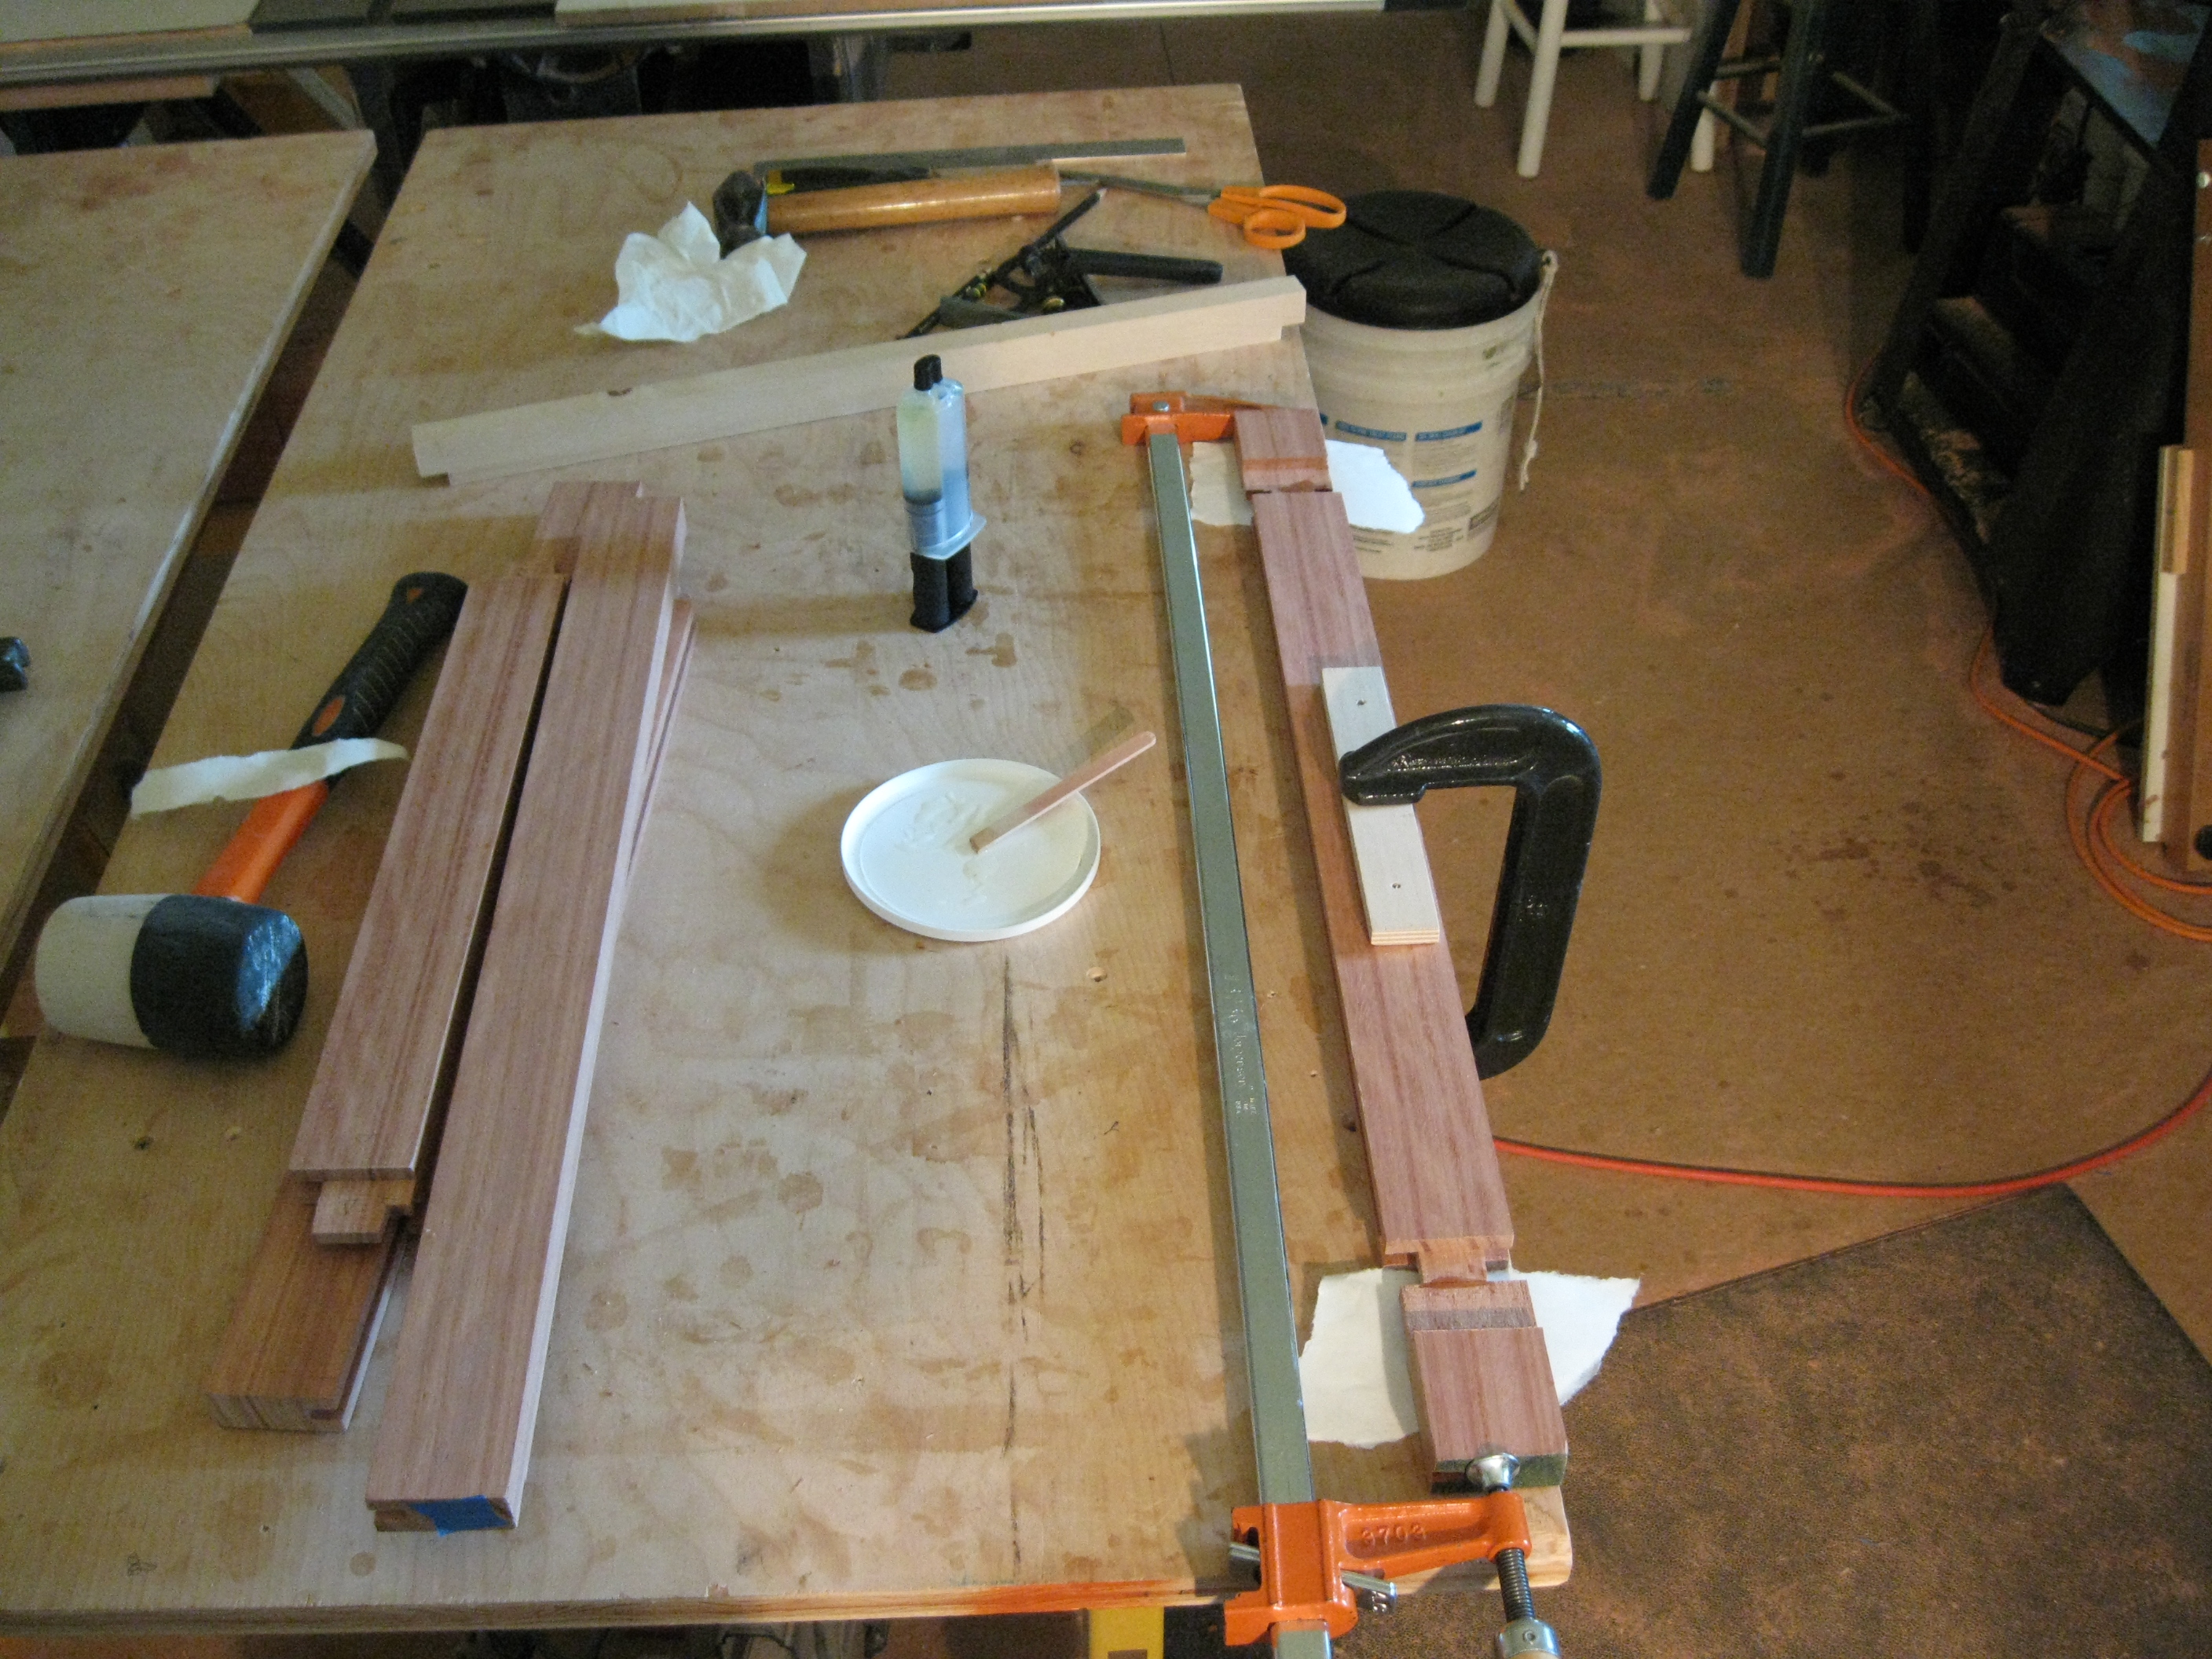
Panel Glue-up
I always pre wet Lyptus and let it get to state just before it dry's before I apply the glue. This will help the wood to absorb the glue for better bond. I use a glue brush to spread the glue including inside the biscuit cuts. The biscuits are inserted and the boards are fitted together. Scrap boards are used for clamping to protect the Lyptus edges and spread the pressure. Initially the clamps are loose fit. The boards are adjusted and the clamps are cinched up. The excess glue is cleaned up with a wet rag on both sides. Additional clamps are placed and the joints are cleaned again.


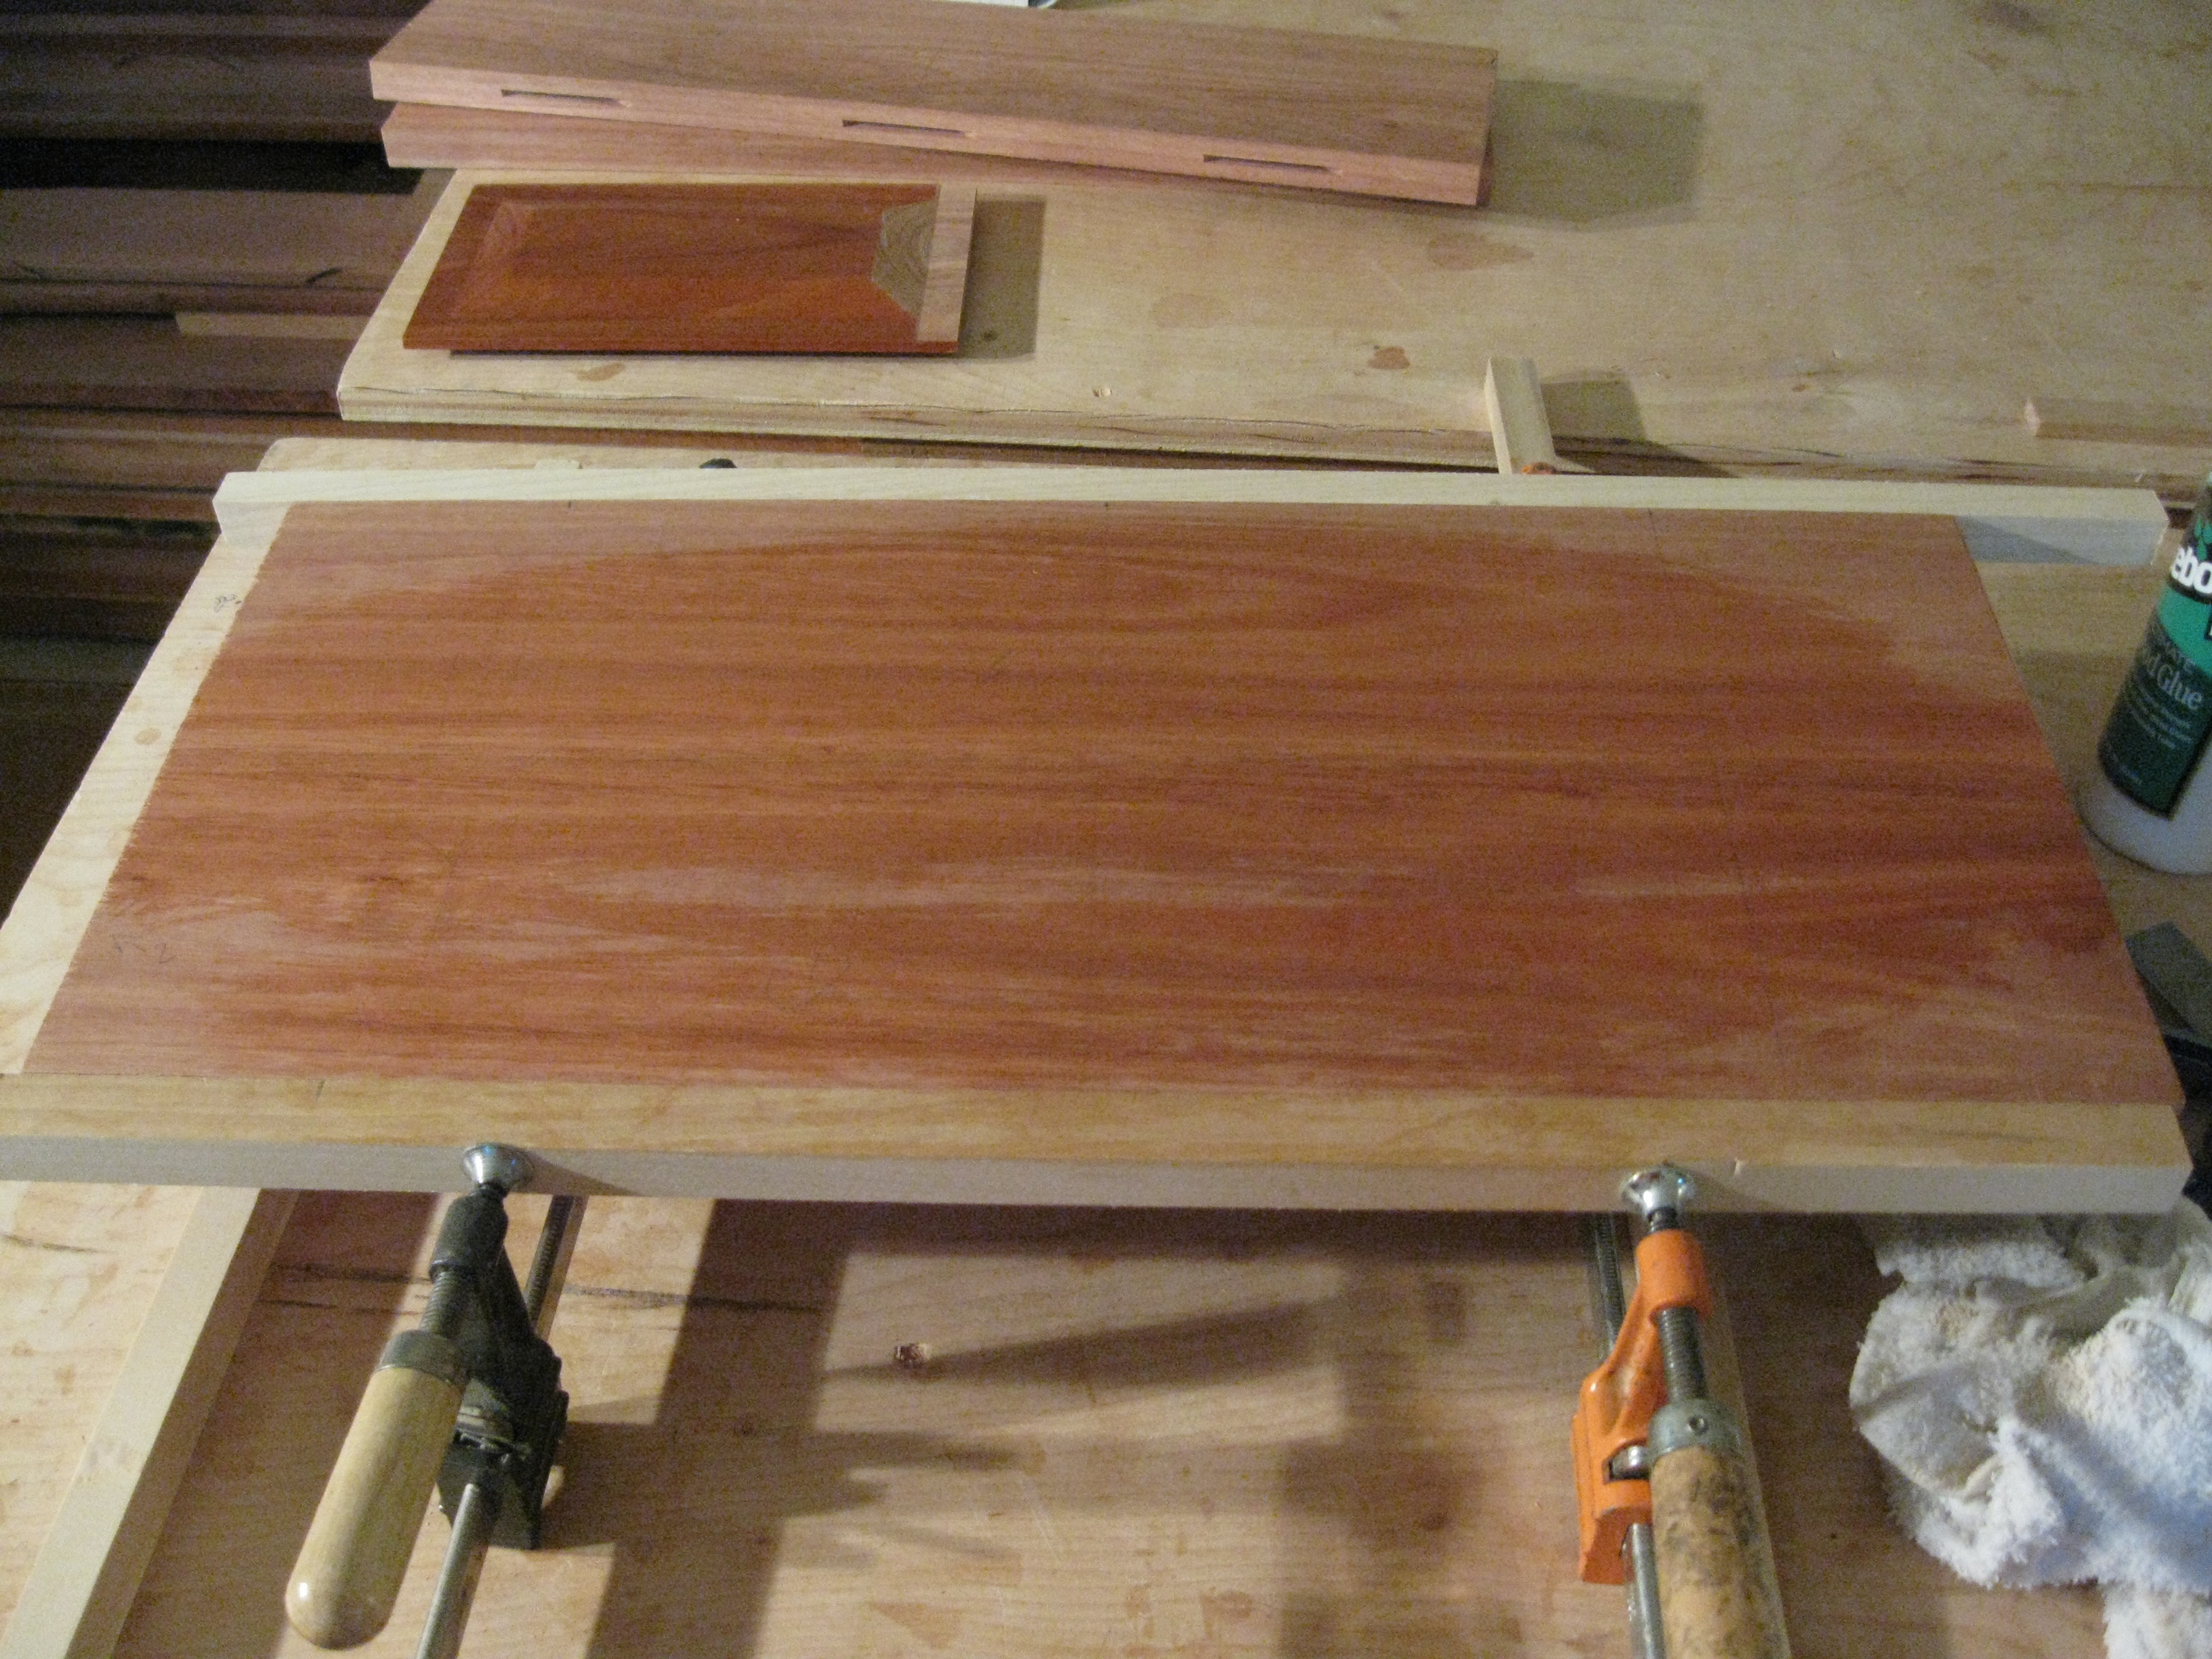
One of these boards was bowed a bit so the two c-clamps are used to align the ends as there are no biscuits near the ends.

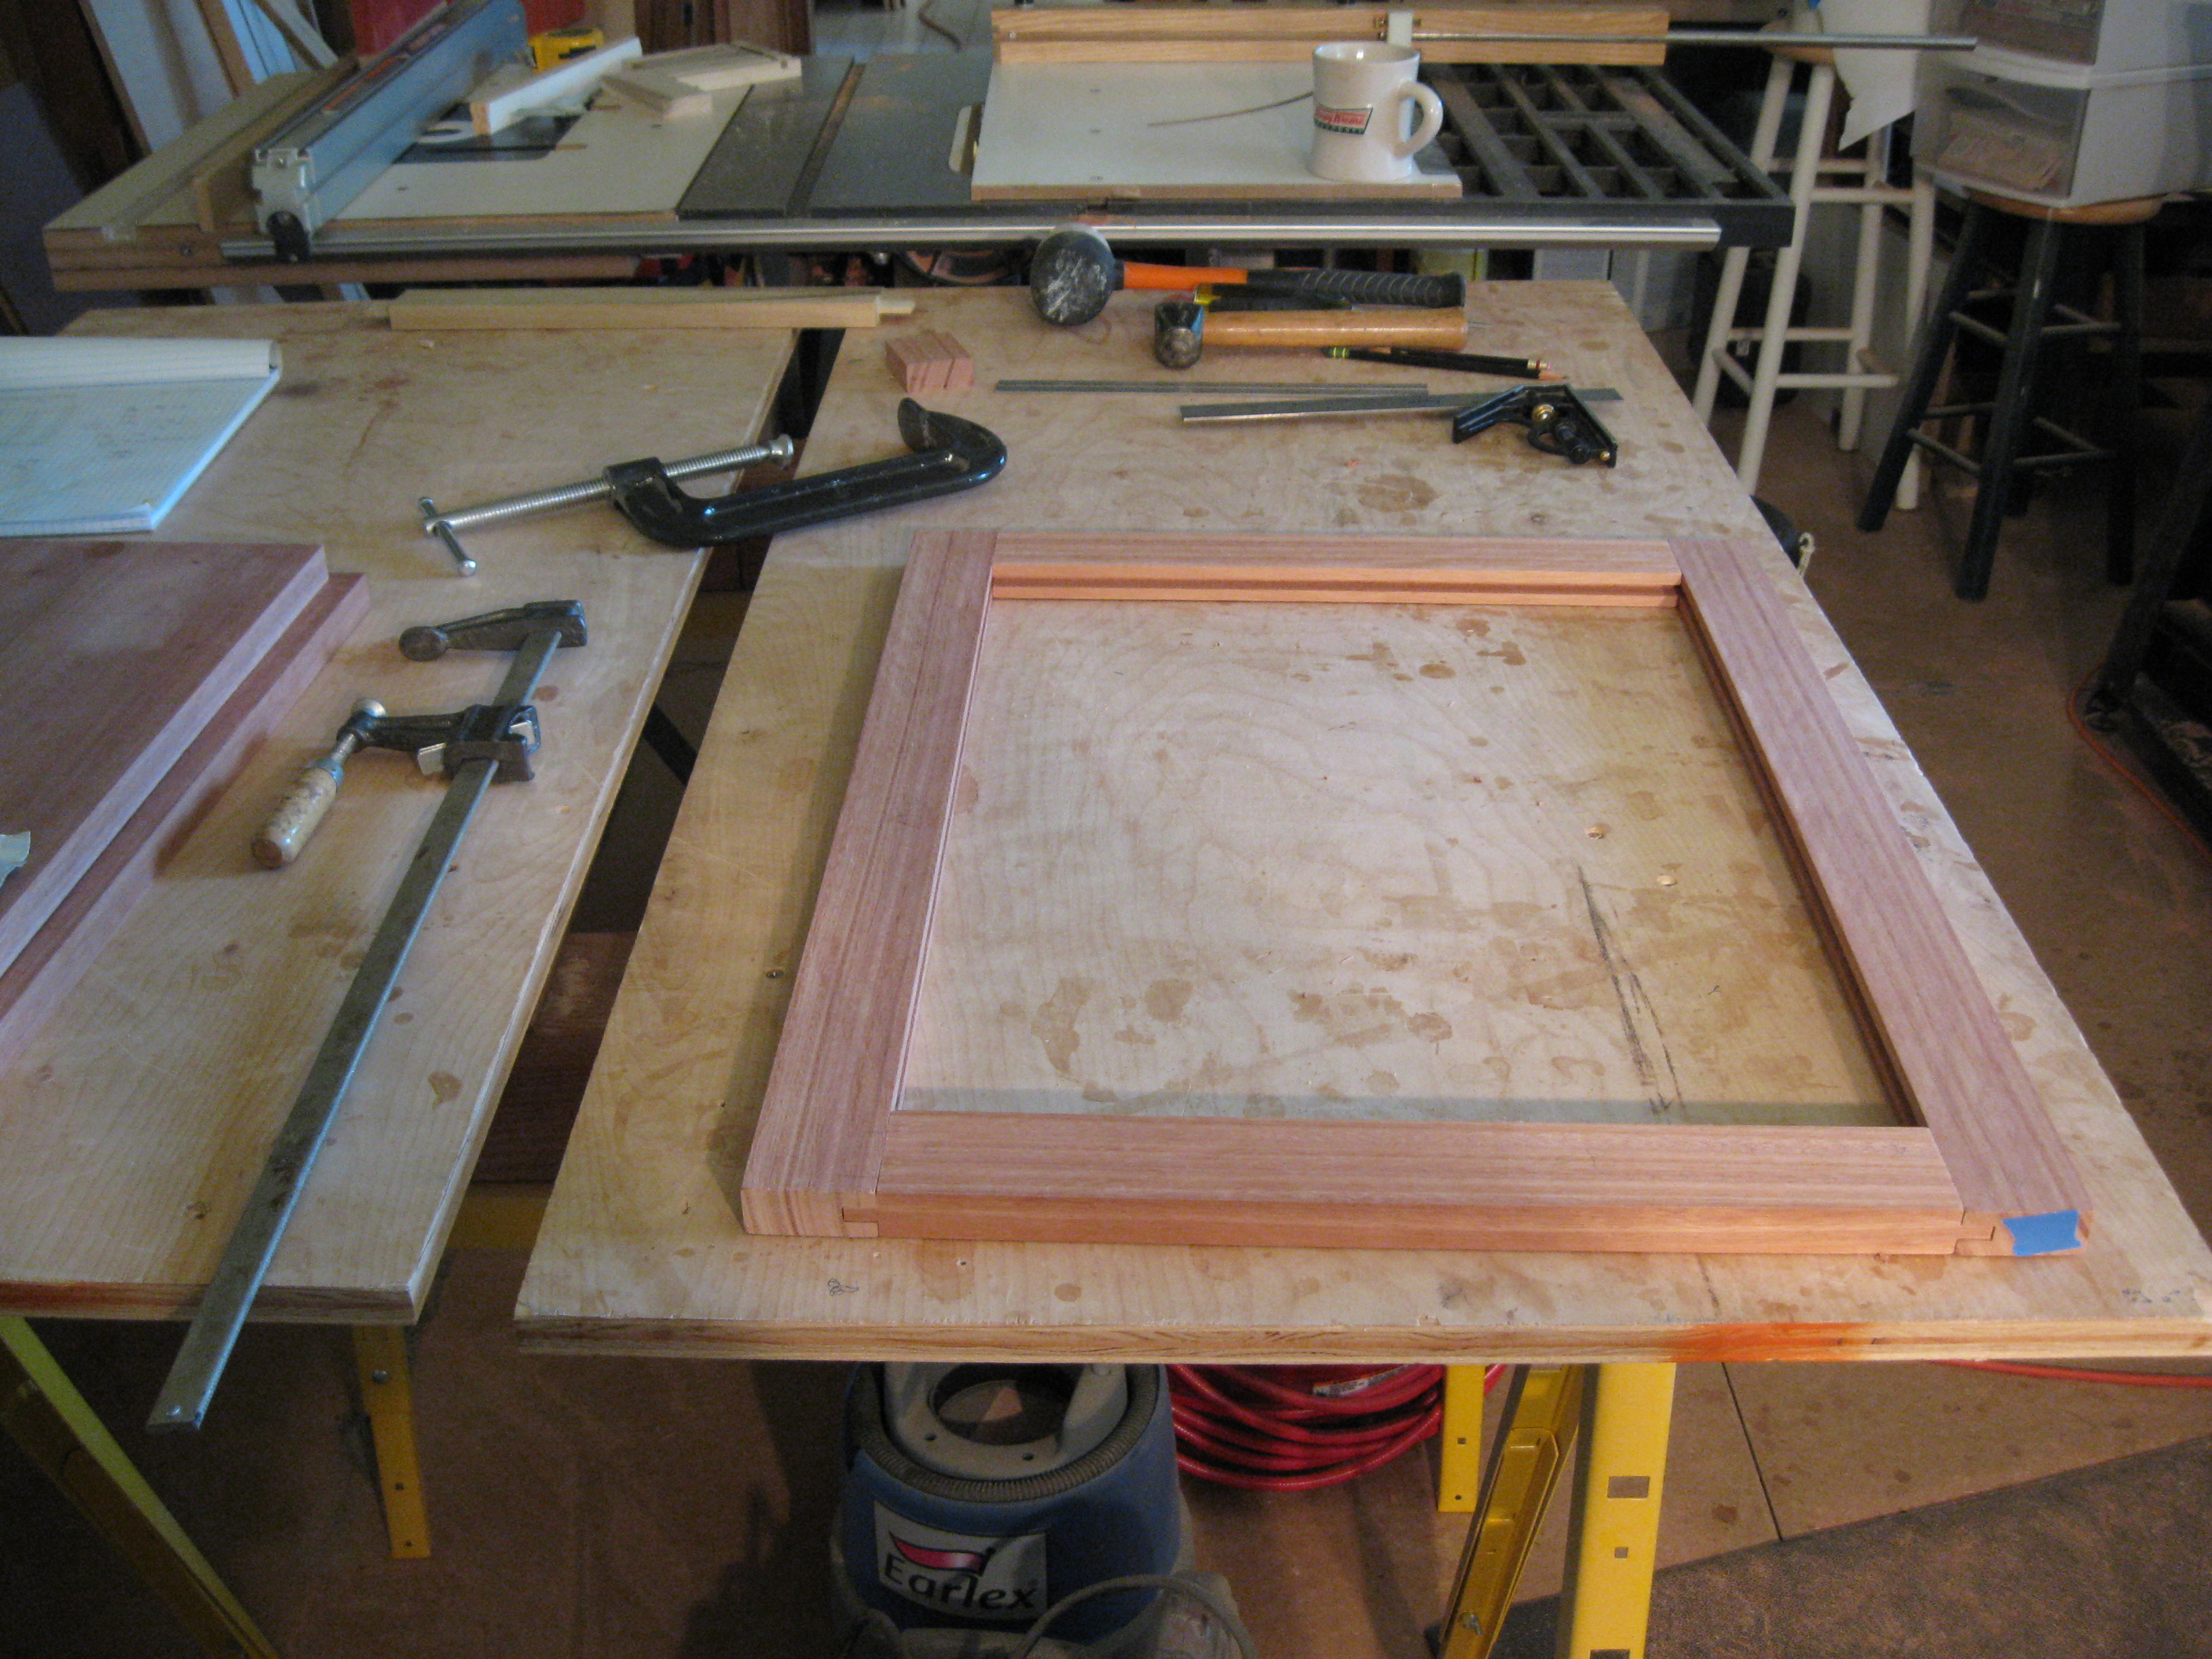
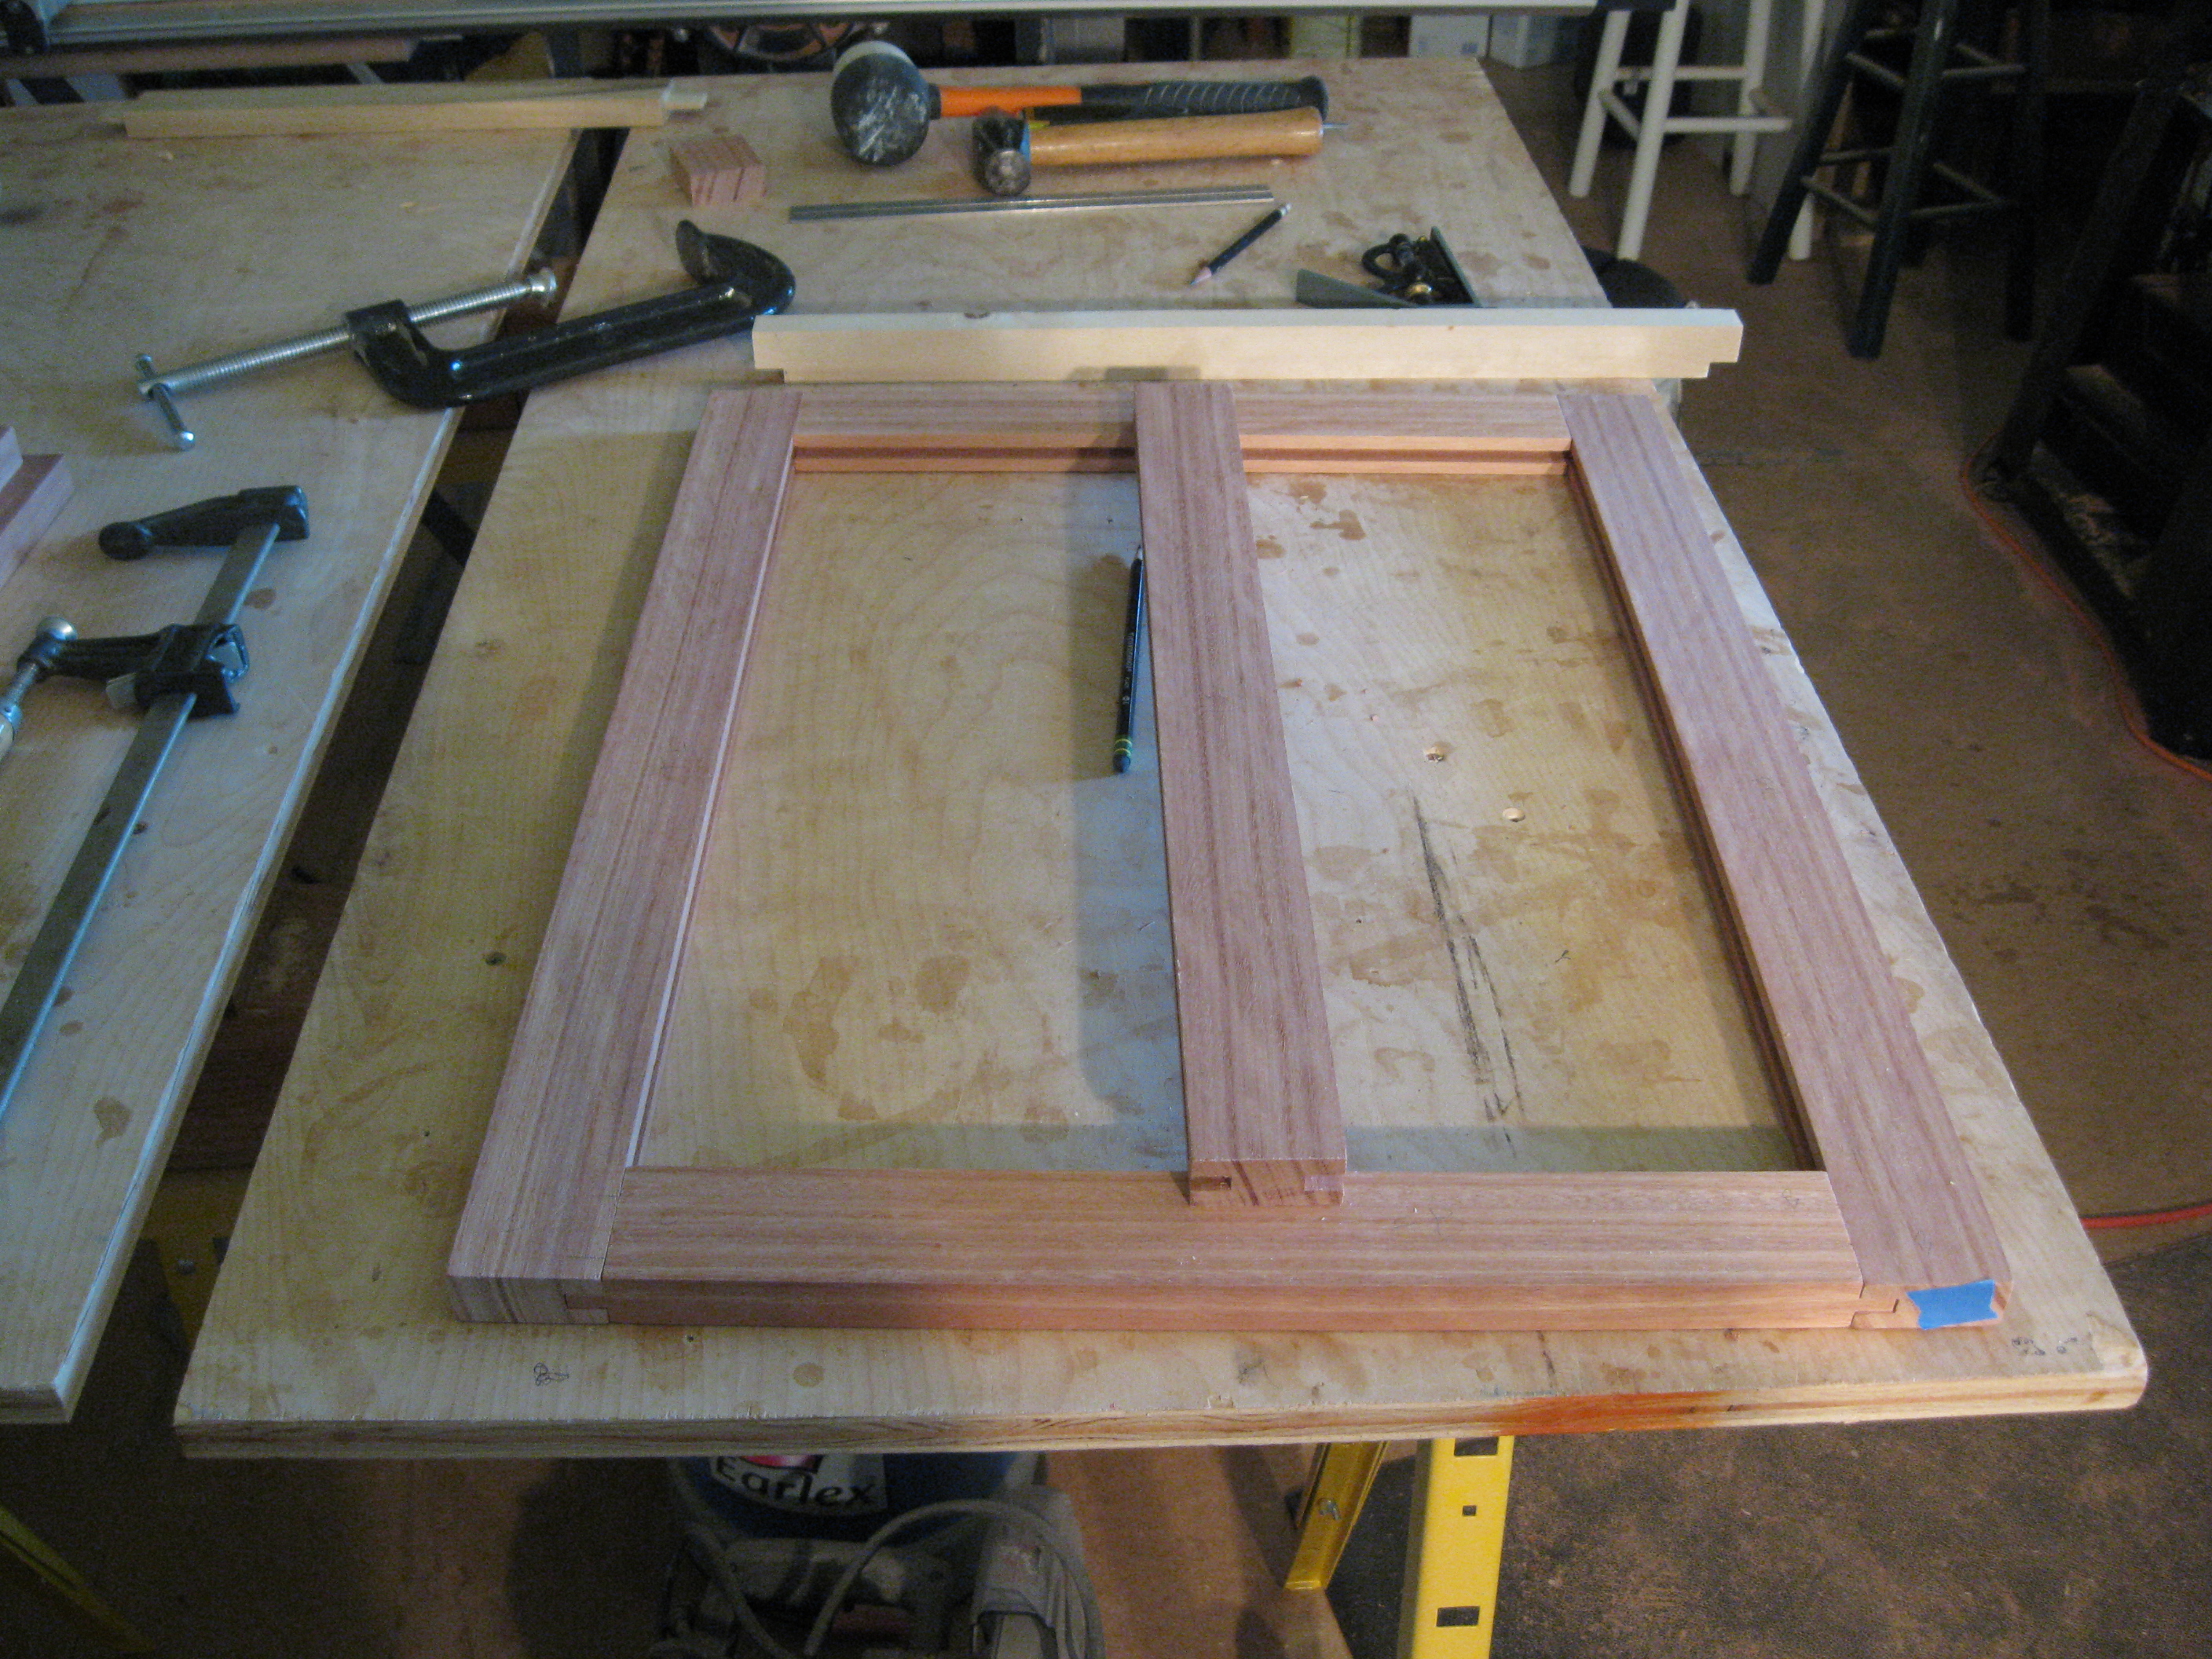
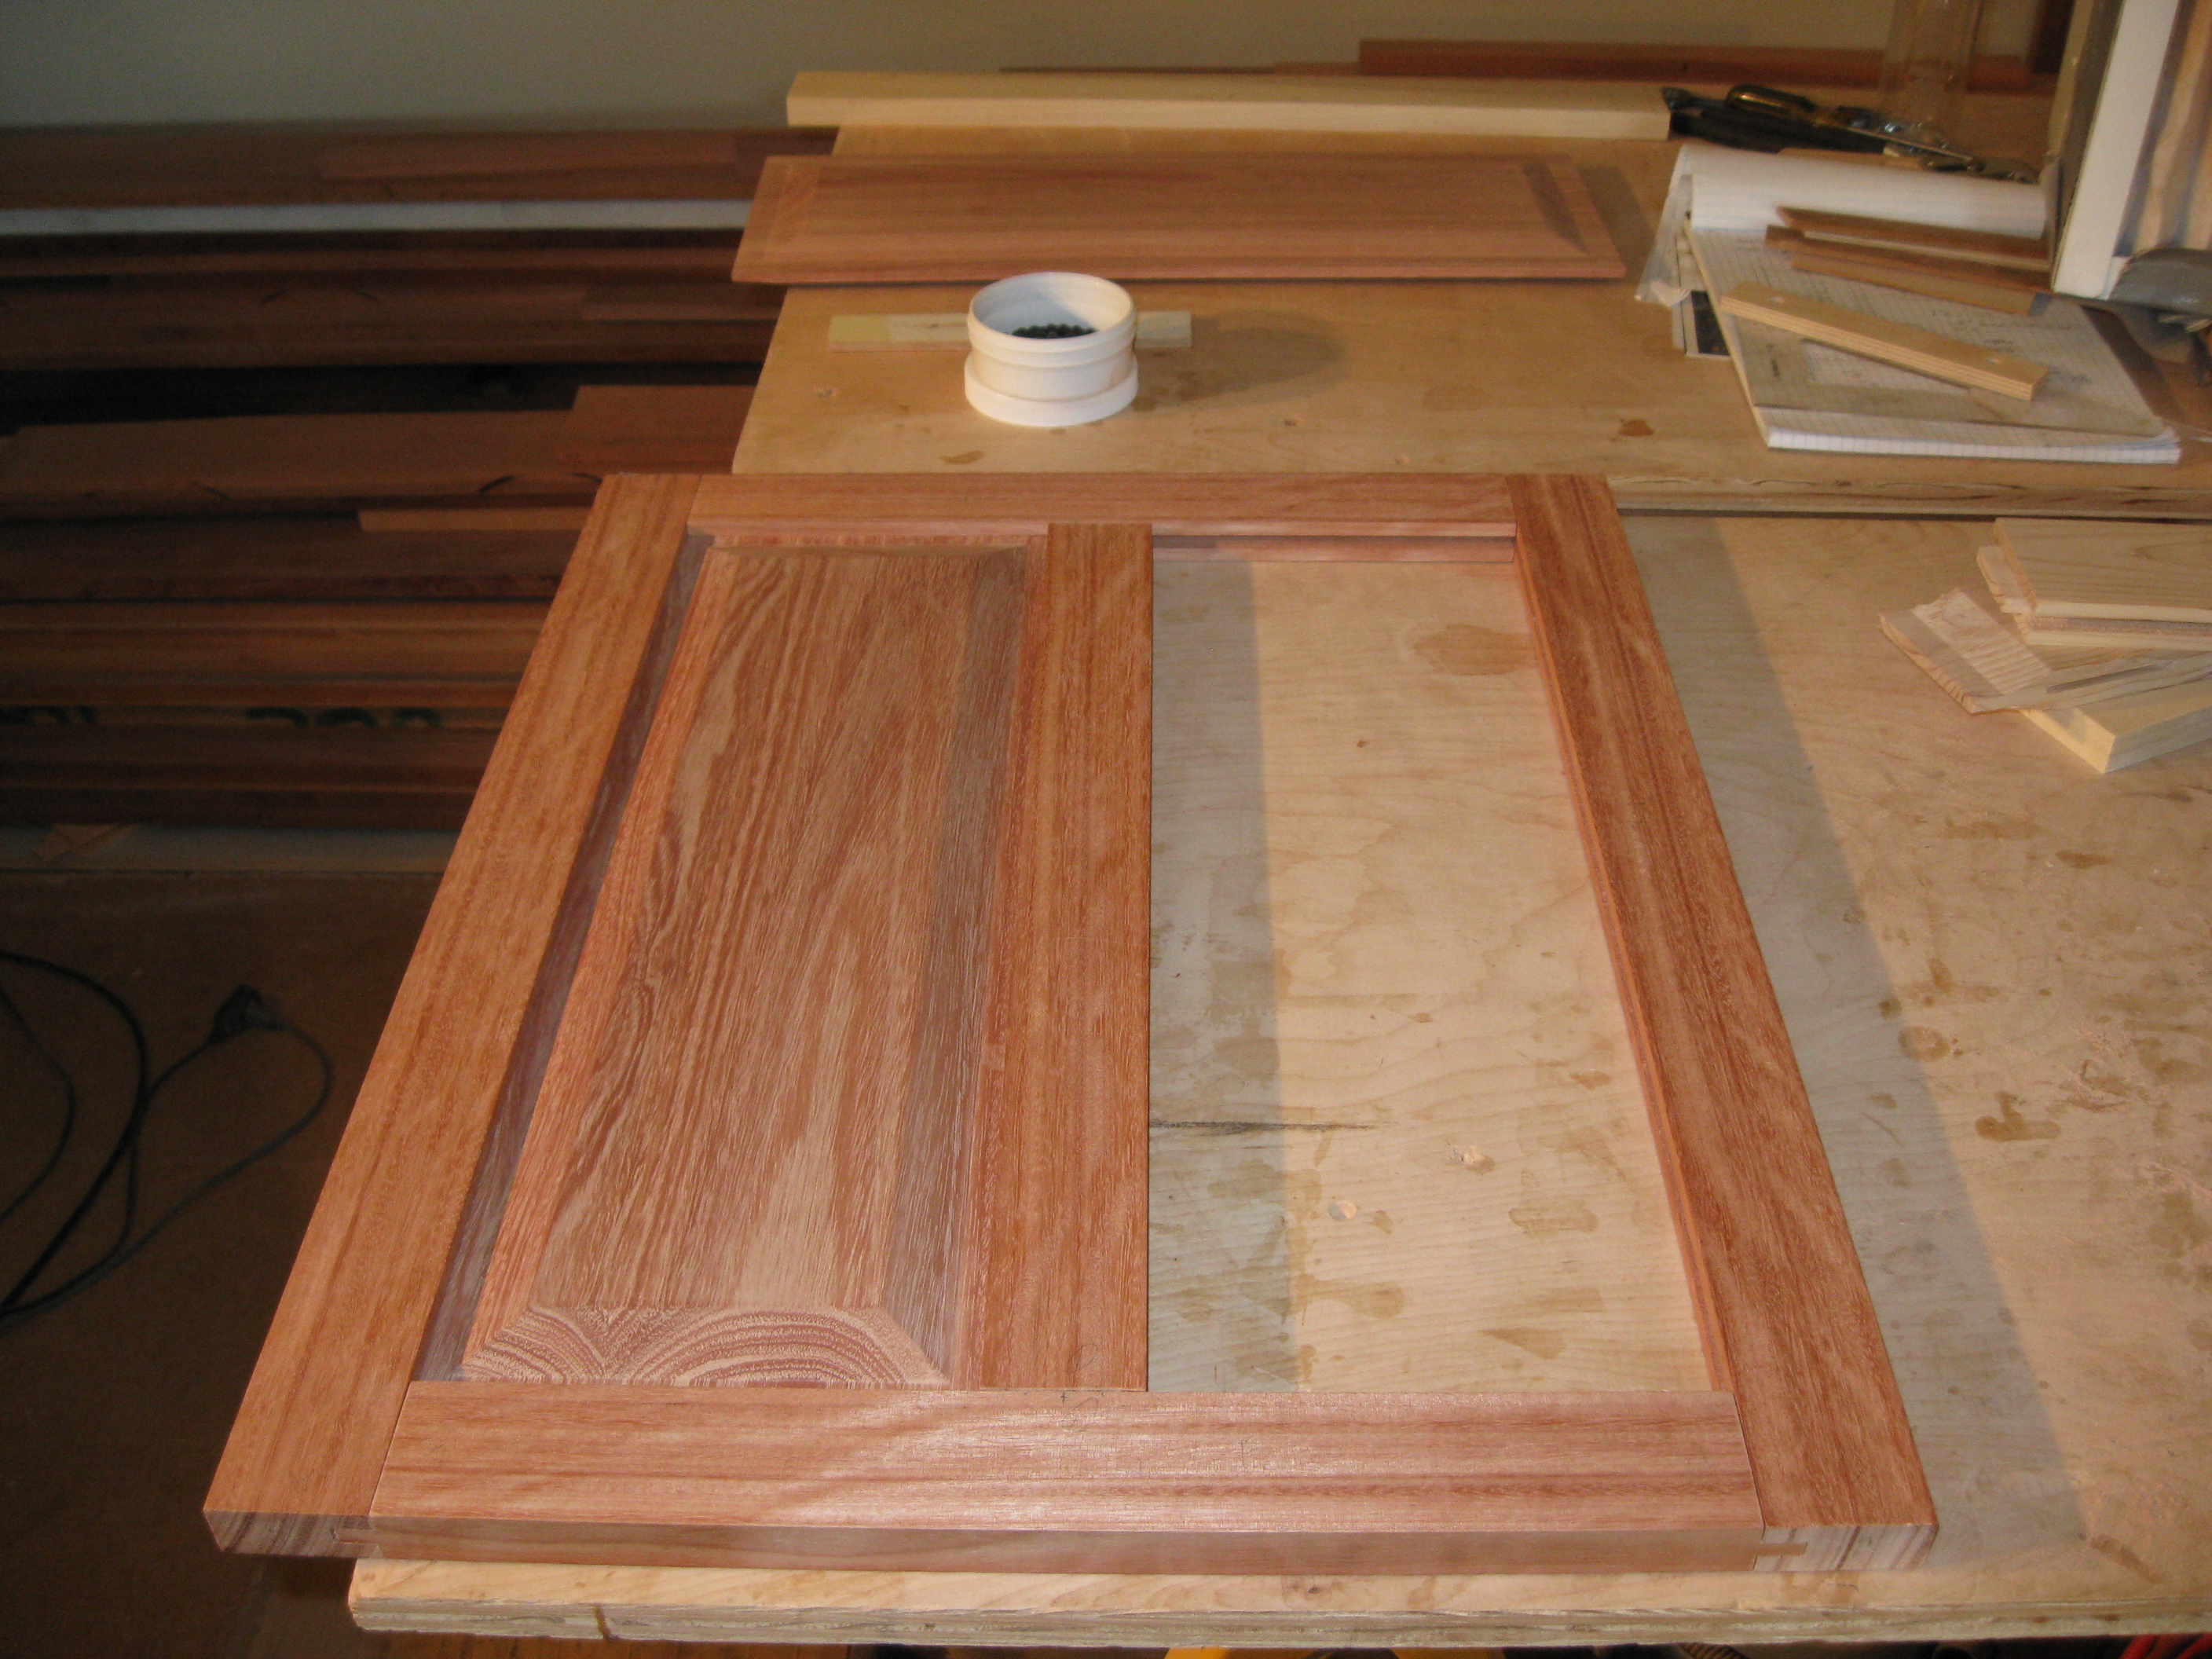
Door Frame
The door frame fits together good except for the big OOPS. The center style is one inch too short. The missing length is not for strength, although is must be strong, its for registration. By cutting in a mortise in the center of the top and bottom rails to accept the tenons of the center stile, the door can be assembled correctly with the center style in the center of the door. The solution is to mill some scrap, use some 5 minute epoxy, and re-mill the tenons after the epoxy cures. Milling of the two door panels is done. The panels get a good sanding through a range of grit; 120, 150, 180, 220, 240,320,400,600,800,1200. The three finest grit is only used on the end grain. The panels are cleaned with alcohol and then re-sanded with the top three grits or so. The epoxy glued end grain joints did not work out so well. Only one of them held. End grain doesn't take to gluing

:
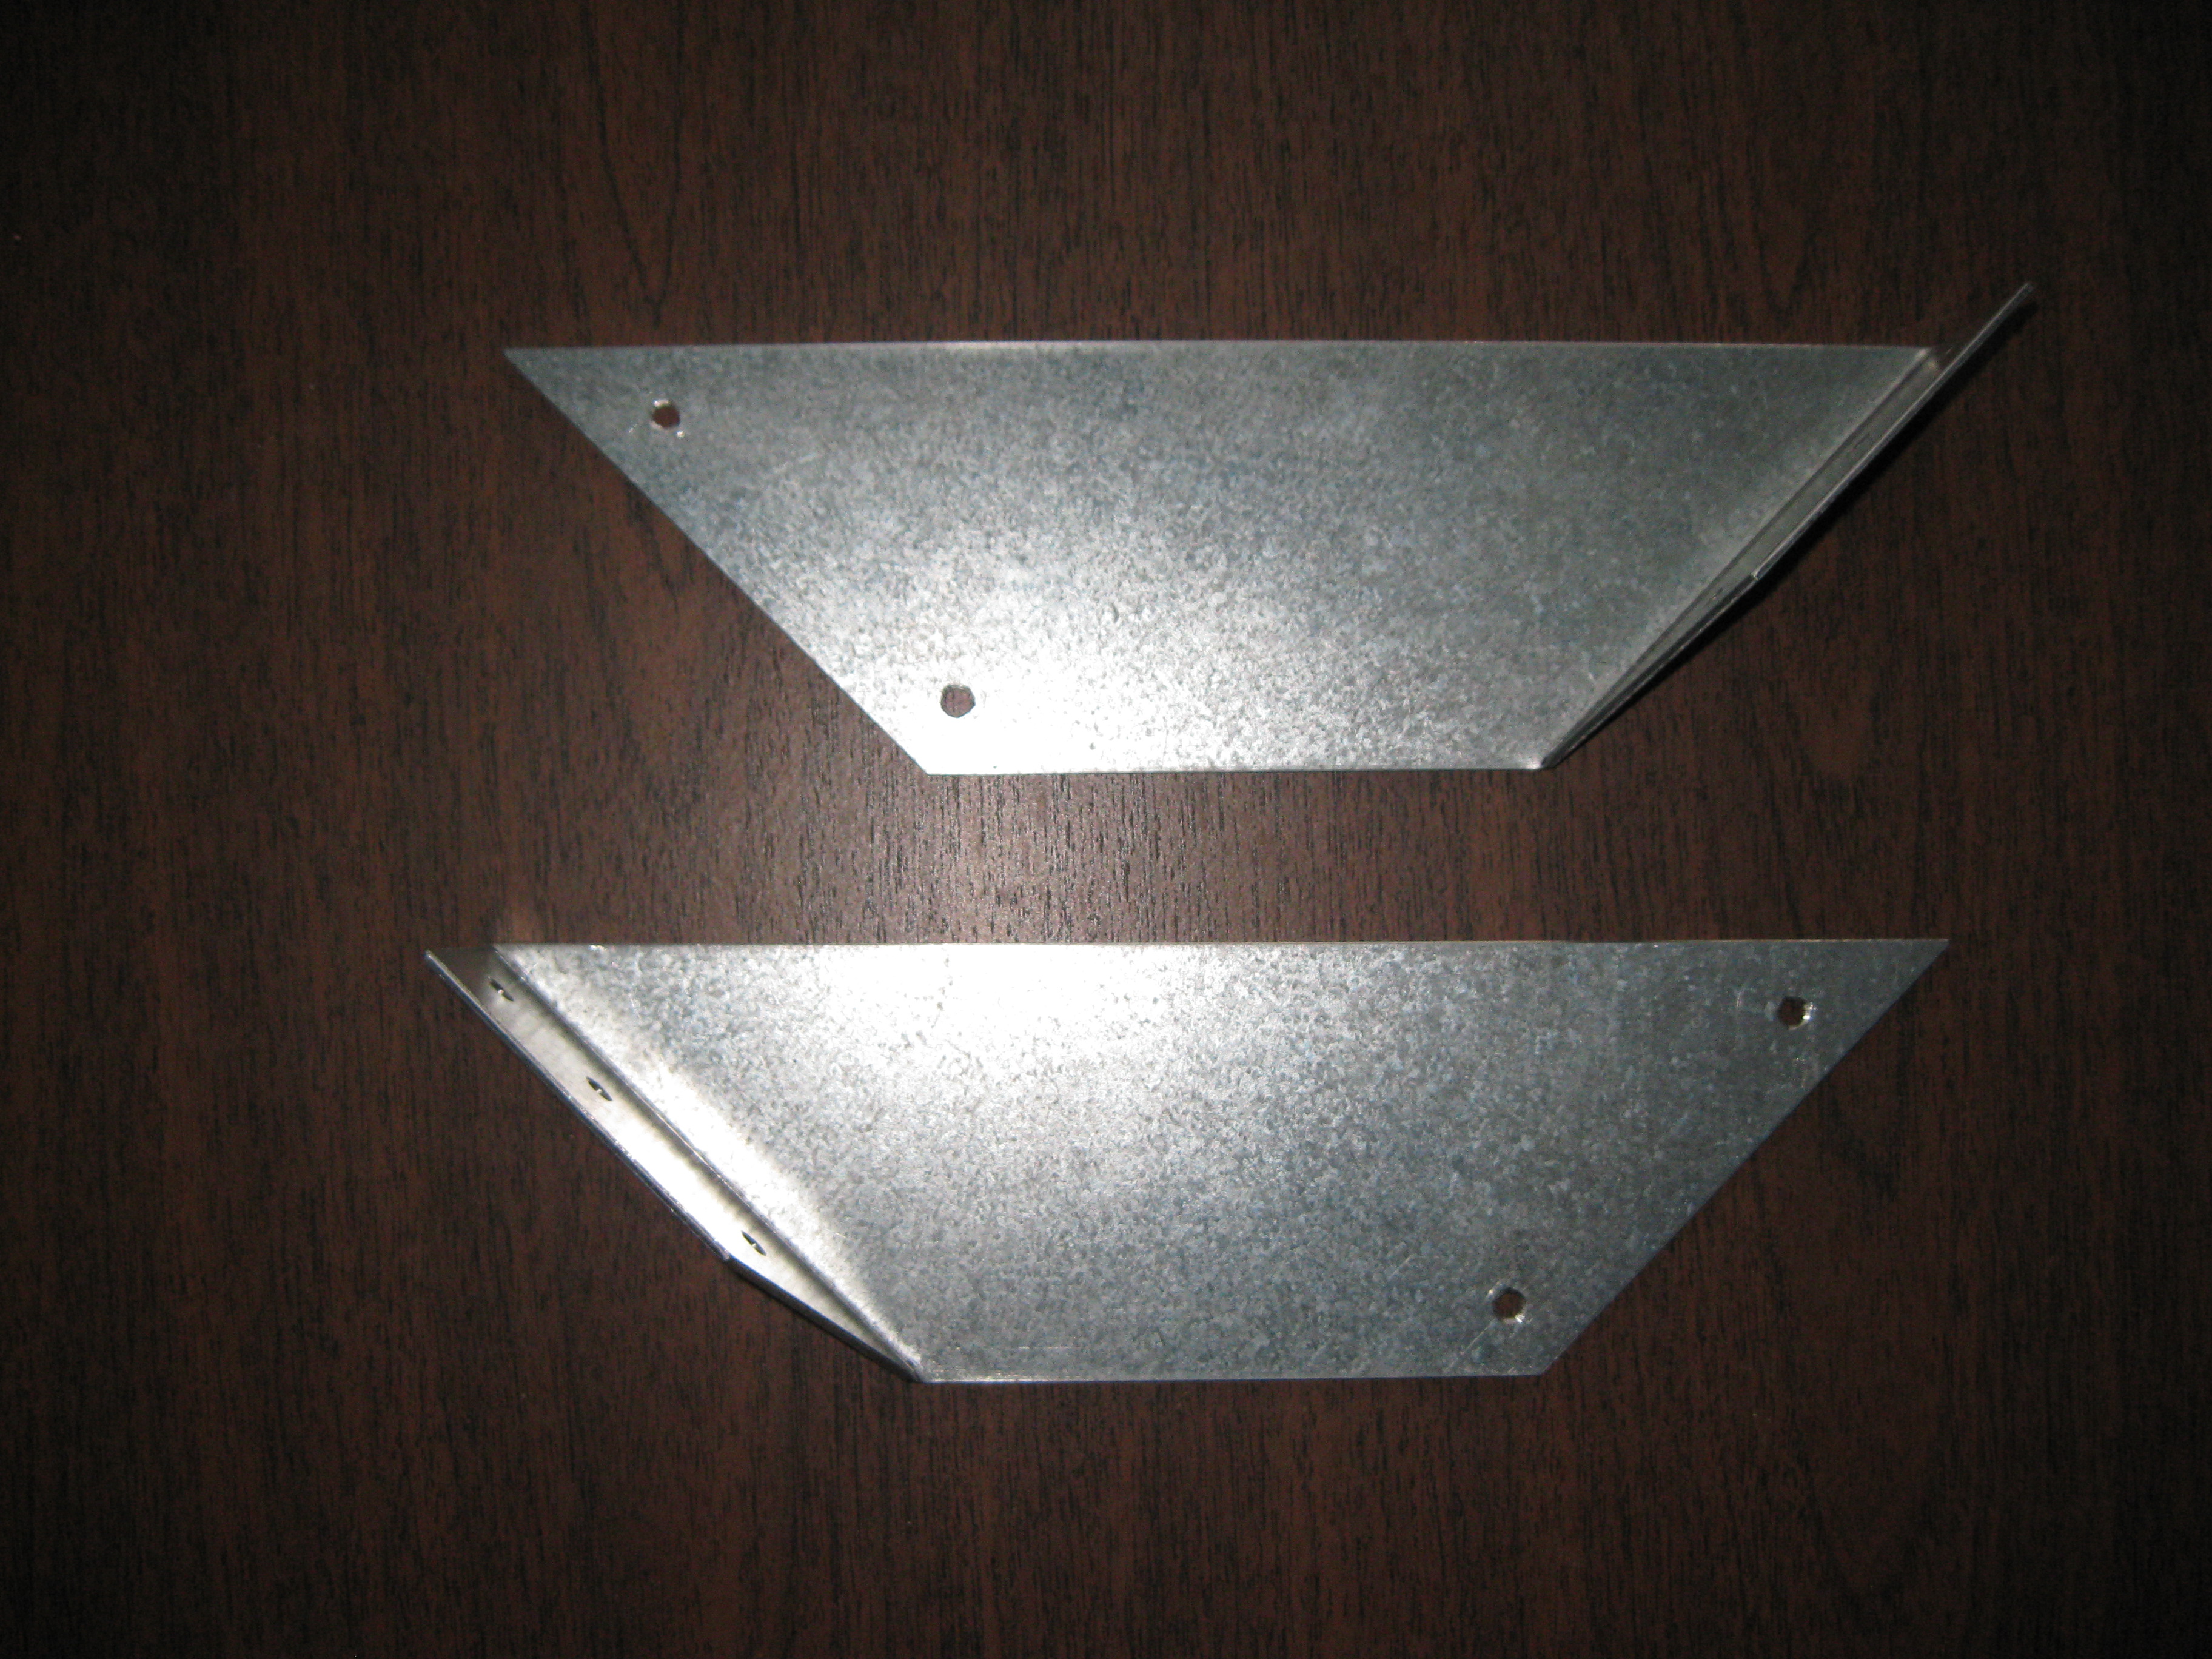
Door to Drawer Brackets
One cabinet has the shallow drawer for tall appliances. The door is connected to the drawer with these to provide the strength for the door to the drawer connection. These were made for me by www.teetersmetalfab.com
Finish
I dropped out of the project for a few months and accomplished a few other objectives. Now that fall has started, the shed won't overheat and I can do finishing in it. While I have a heater without a flame to keep the shed warm, I use the propane to raise the temperature when needed. I can't be in there when its burning due to the carbon monoxide. Not much working space so I can just do one cabinet at a time.
Ultra fine sanding, three coats of shellac, three coats of high gloss oil based polyurethane and one coat of satin polyurethane. A light scuff sanding between coats with 240 grit and 380 before the last coat.


:
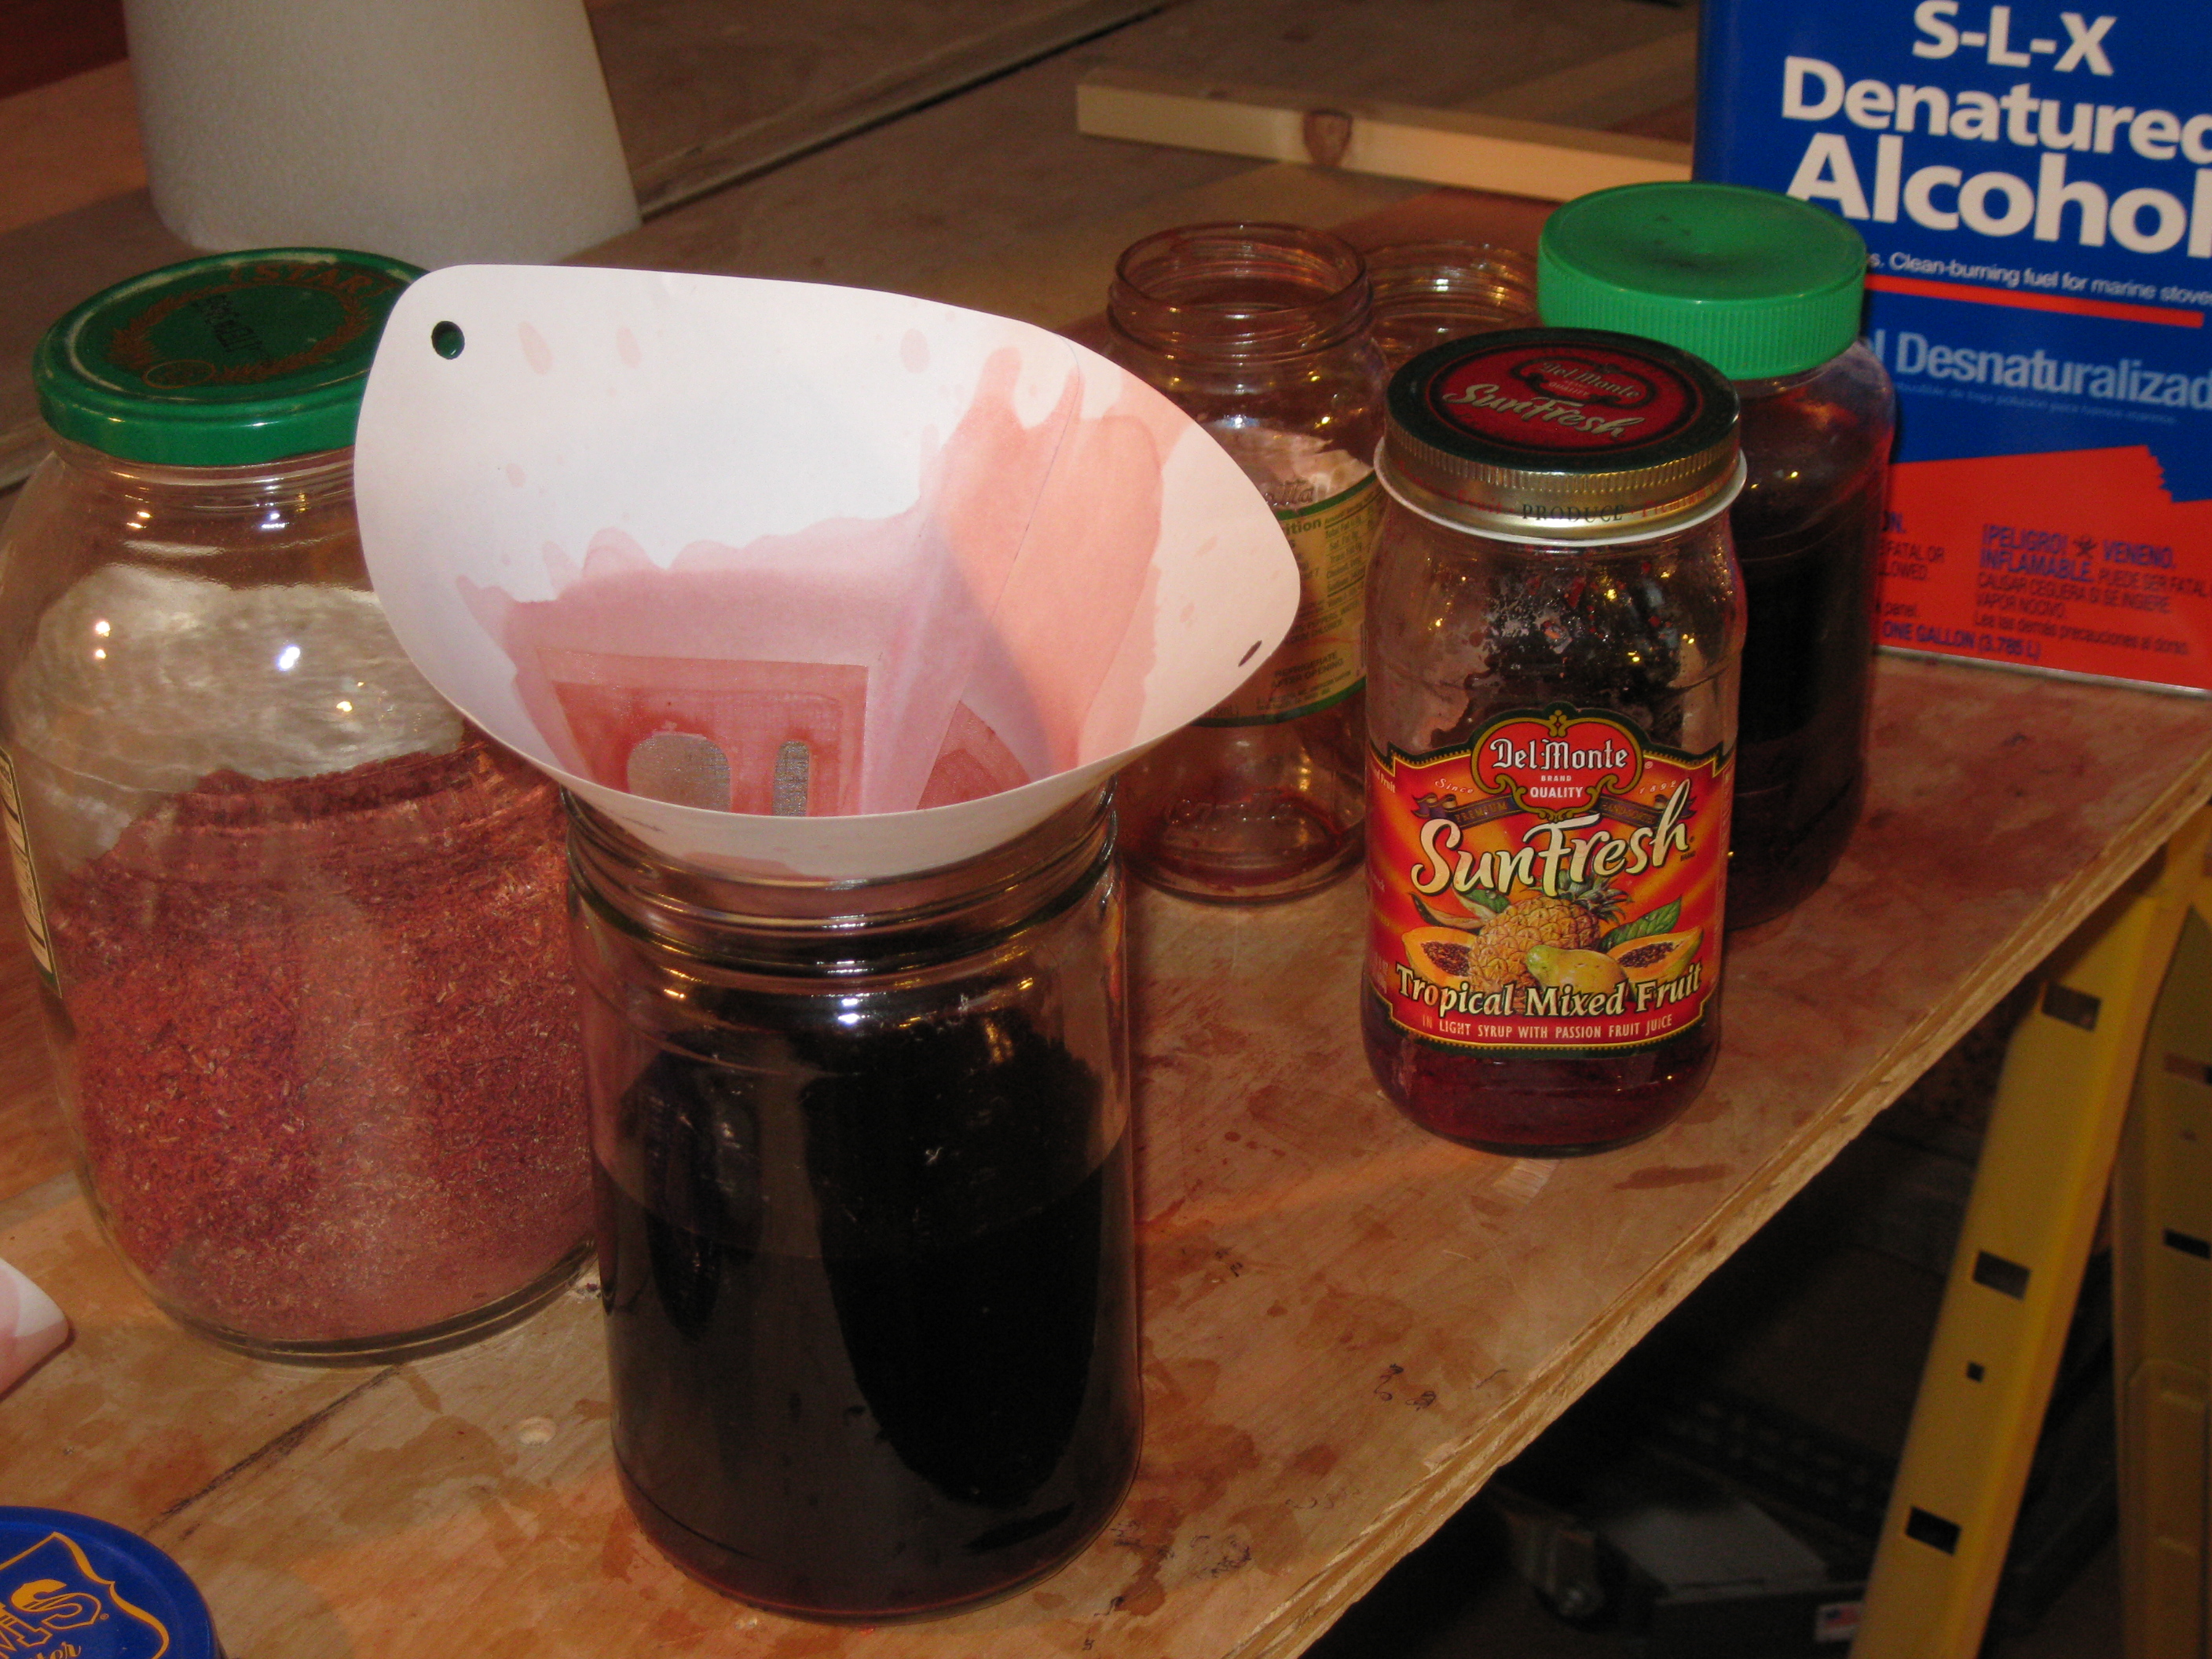
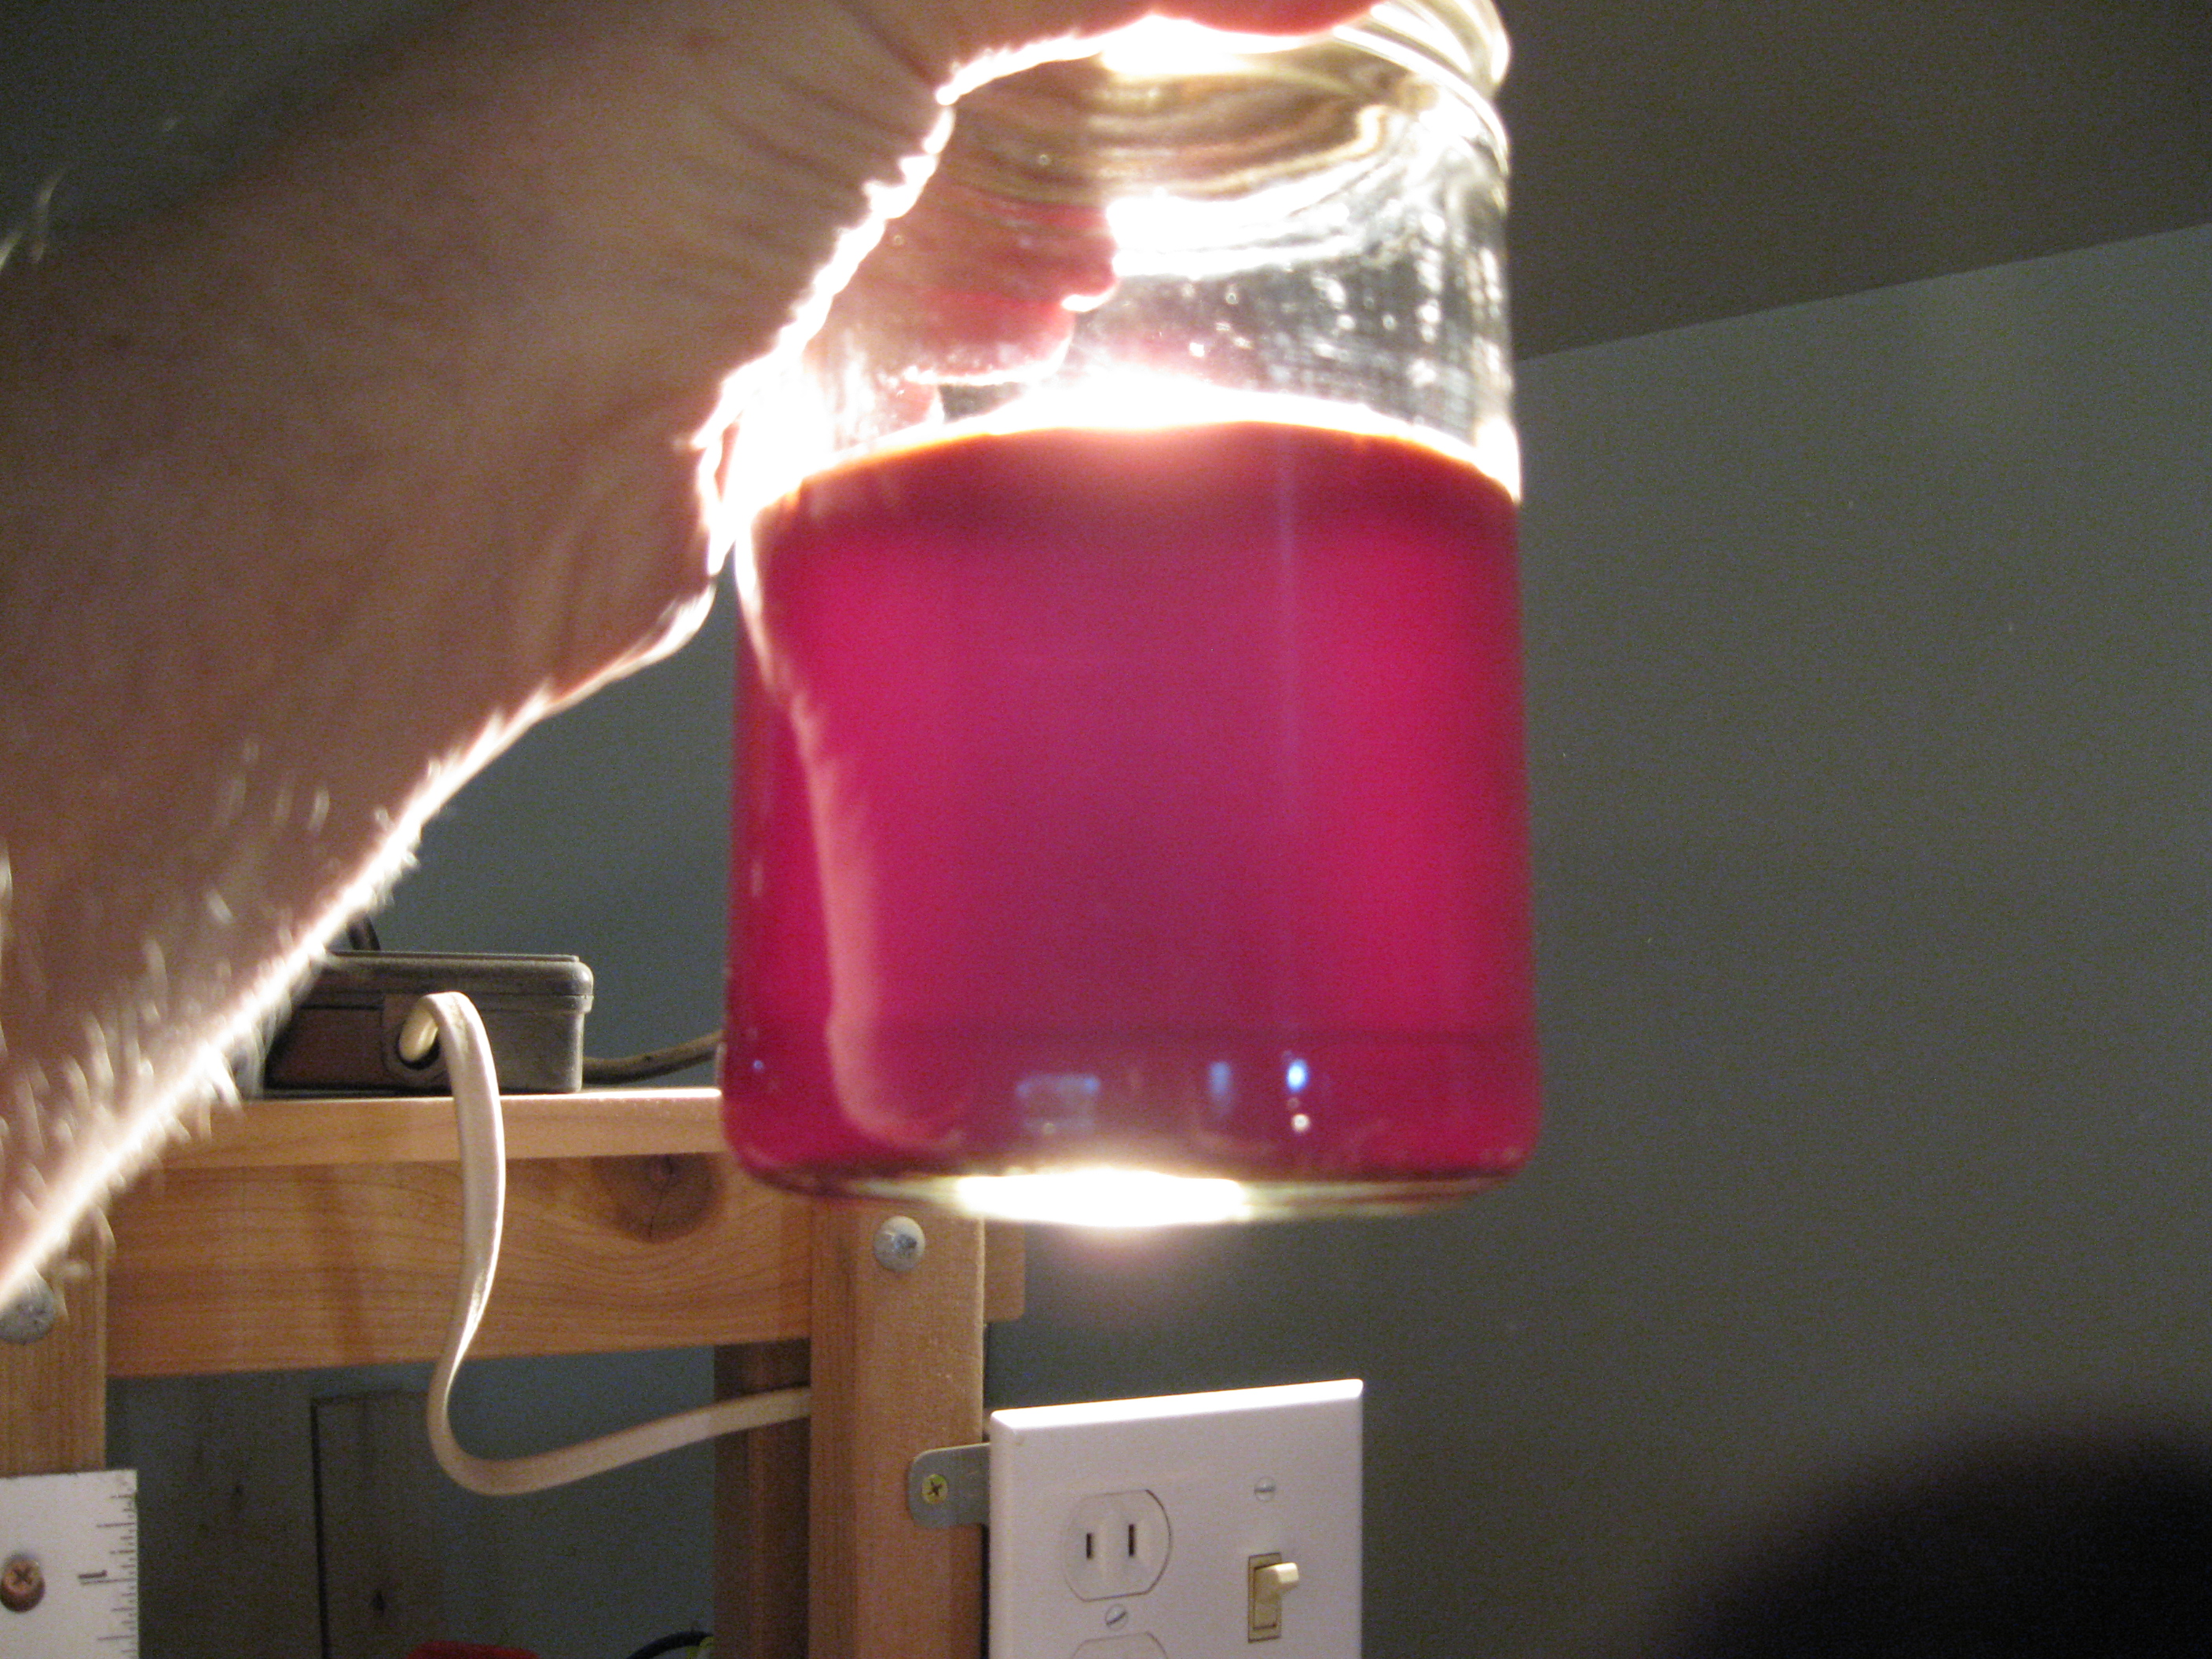
Natural Wood Dye
I use bloodwood sawdust from the planer, mix it with alcohol, filter, settle and re-filter a few times as a dye. The sawdust immediately gives up its color to the alcohol. I use this colored alcohol mixed with shellac (Zinsser Seal Coat). This red dye, applied between layers of shellac, is used to balance the lighter shades of lyptus with the darker. Bloodwood darkens as it ages. I usually apply only one or two coats. At this dilution I hope the darkening during aging doesn't cause any major problems. Time will tell.

:
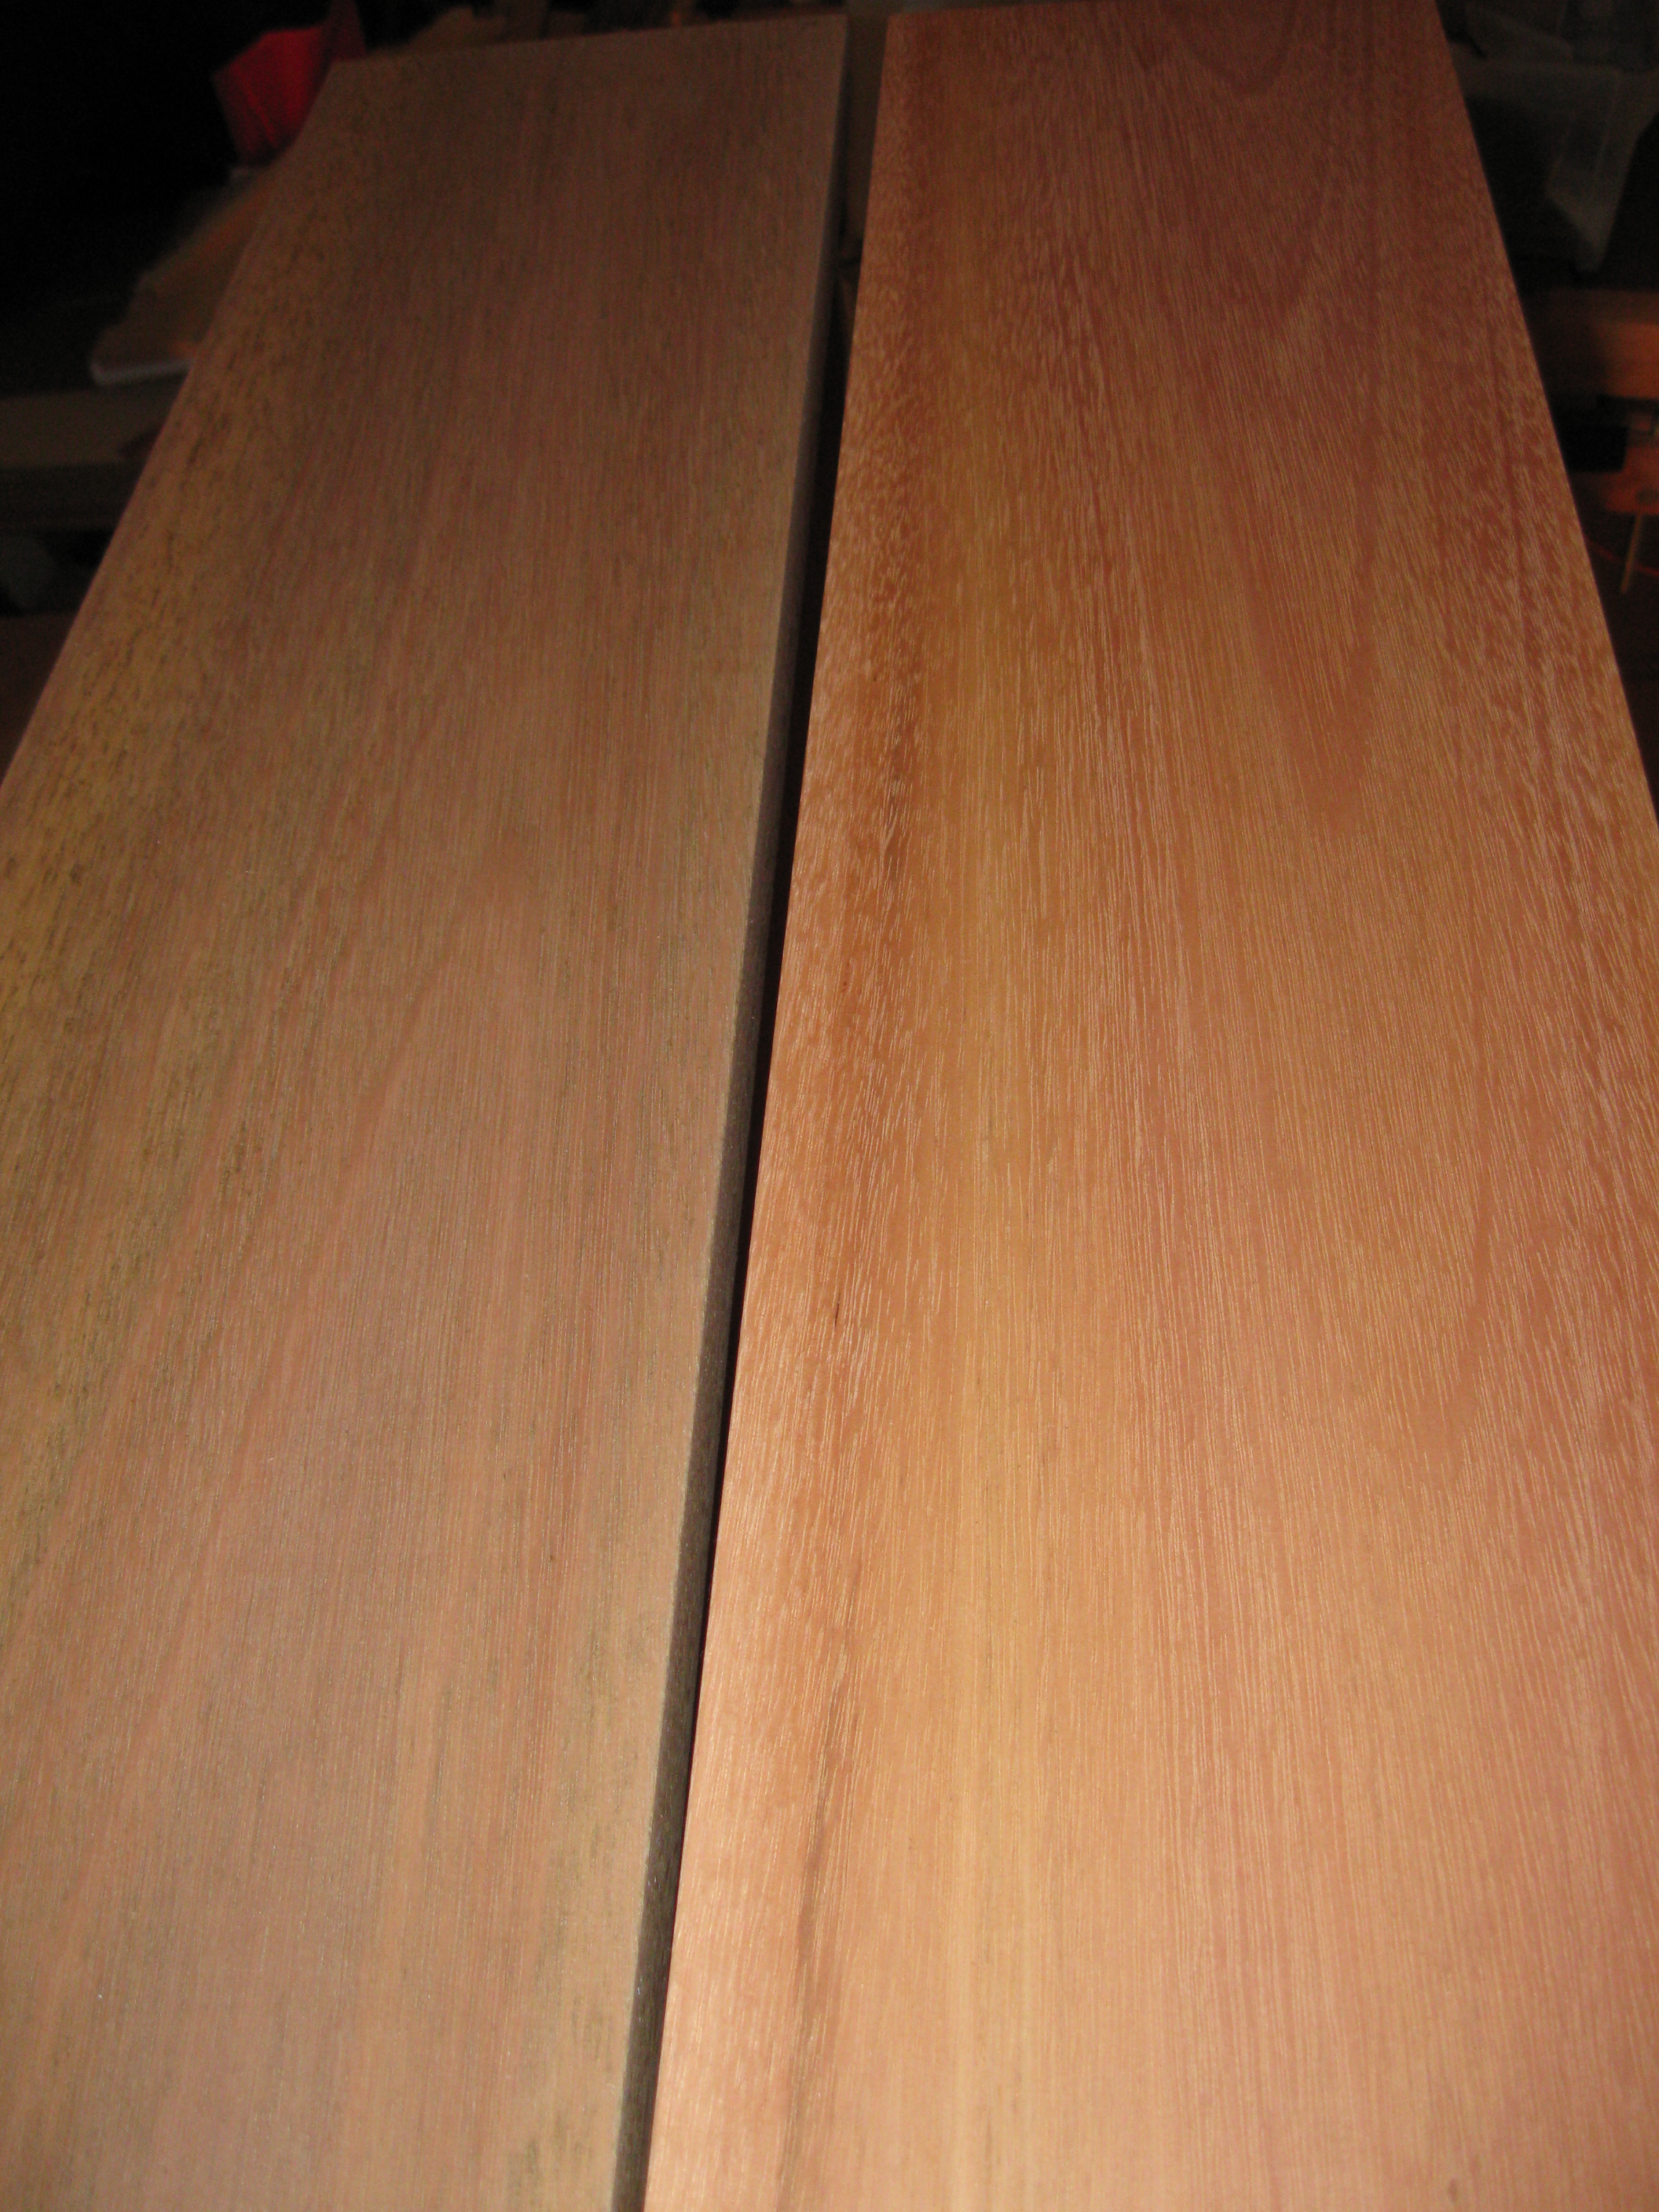
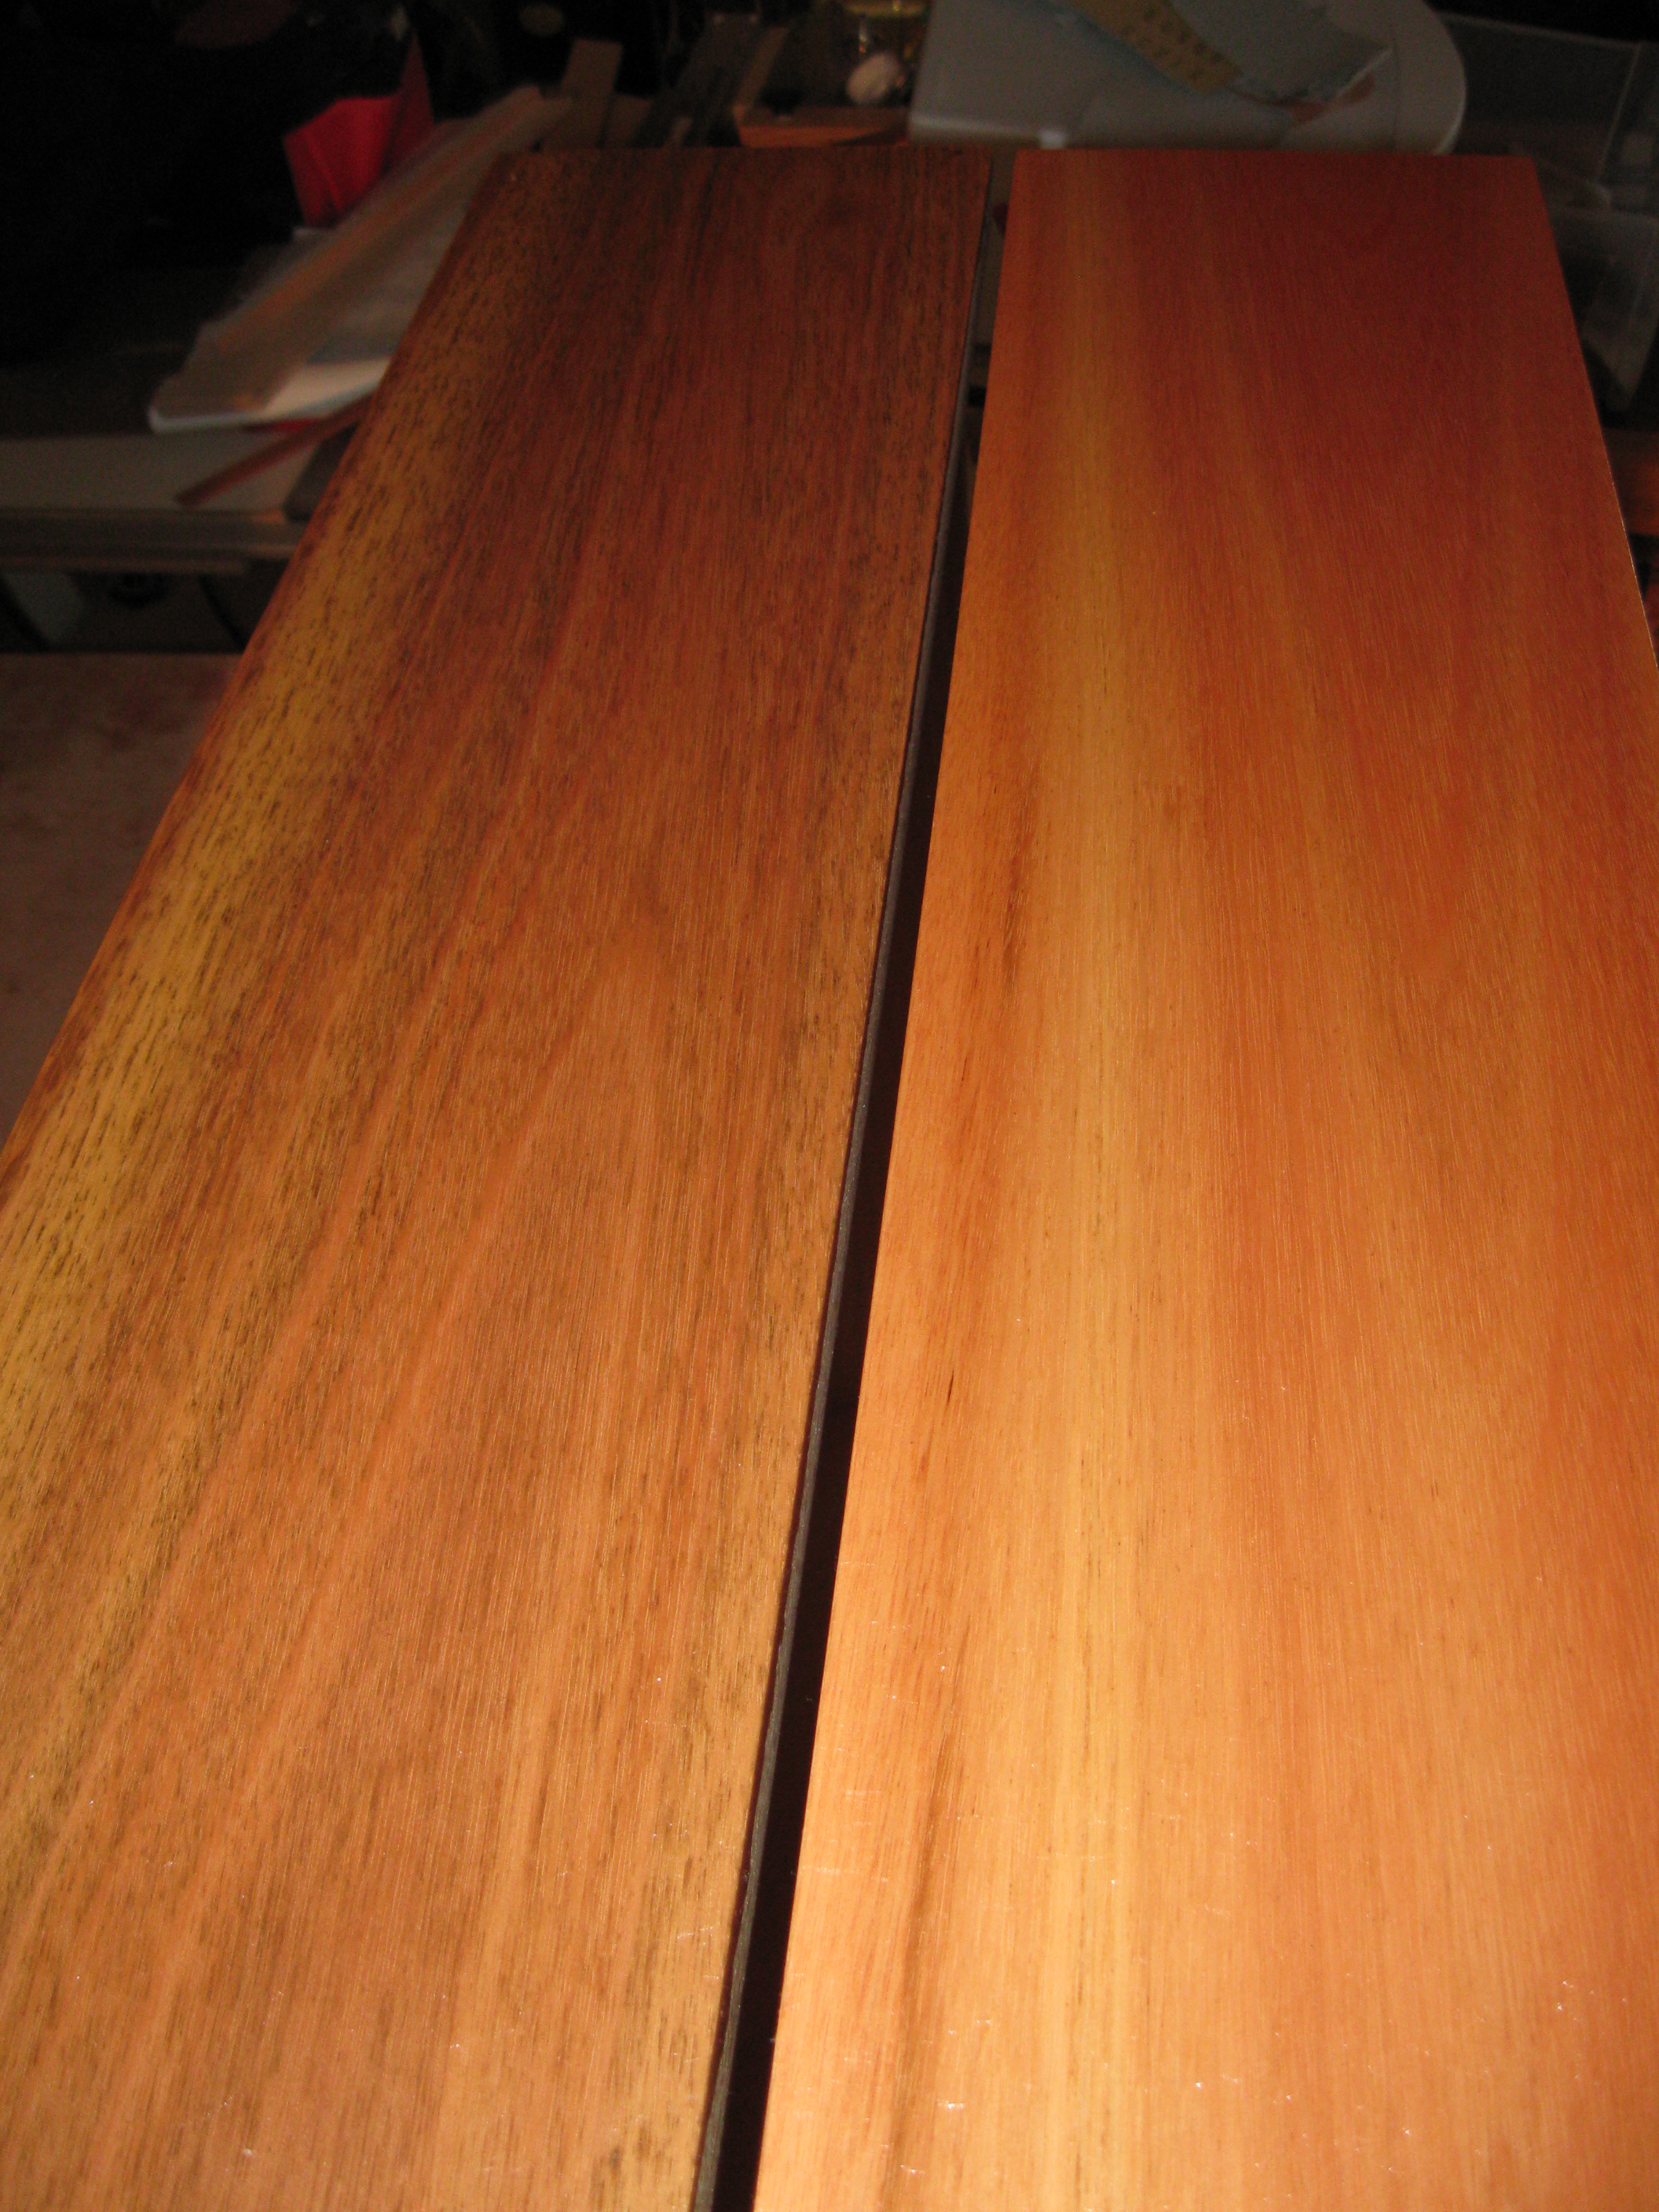
Lyptus Wood Coloring Treatment with Oxy Clean.
I accidentally spilled a few drops of my tomato soup on the board on the left. I incorrectly used some Oxy Clean to get it off. I could have just used a bit of Ivory Dish Soap. It turned the wood brown with some gray. So now I must re-cut the two matching drawer fronts. I then decided to treat the entire board to better see how it looks. I find the effect quite interesting and I like it. The picture on the left shows two boards cut from the same plank. The treated one is on the left. The Oxy Clean seems to turn some of the reddish colors to a brown (between a vandyke and walnut brown) and the certain white fibers to a dark gray. The picture on the right is the same two boards that have been wetted with alcohol. As usual, color matching right out of the camera is not very accurate. To salvage the board something will be built entirely treated in this manner. I wonder what it will be? I wonder what the long term impact will be?
:
Sanding sealer and bloodwood dye application complete. Ready for poly.

:
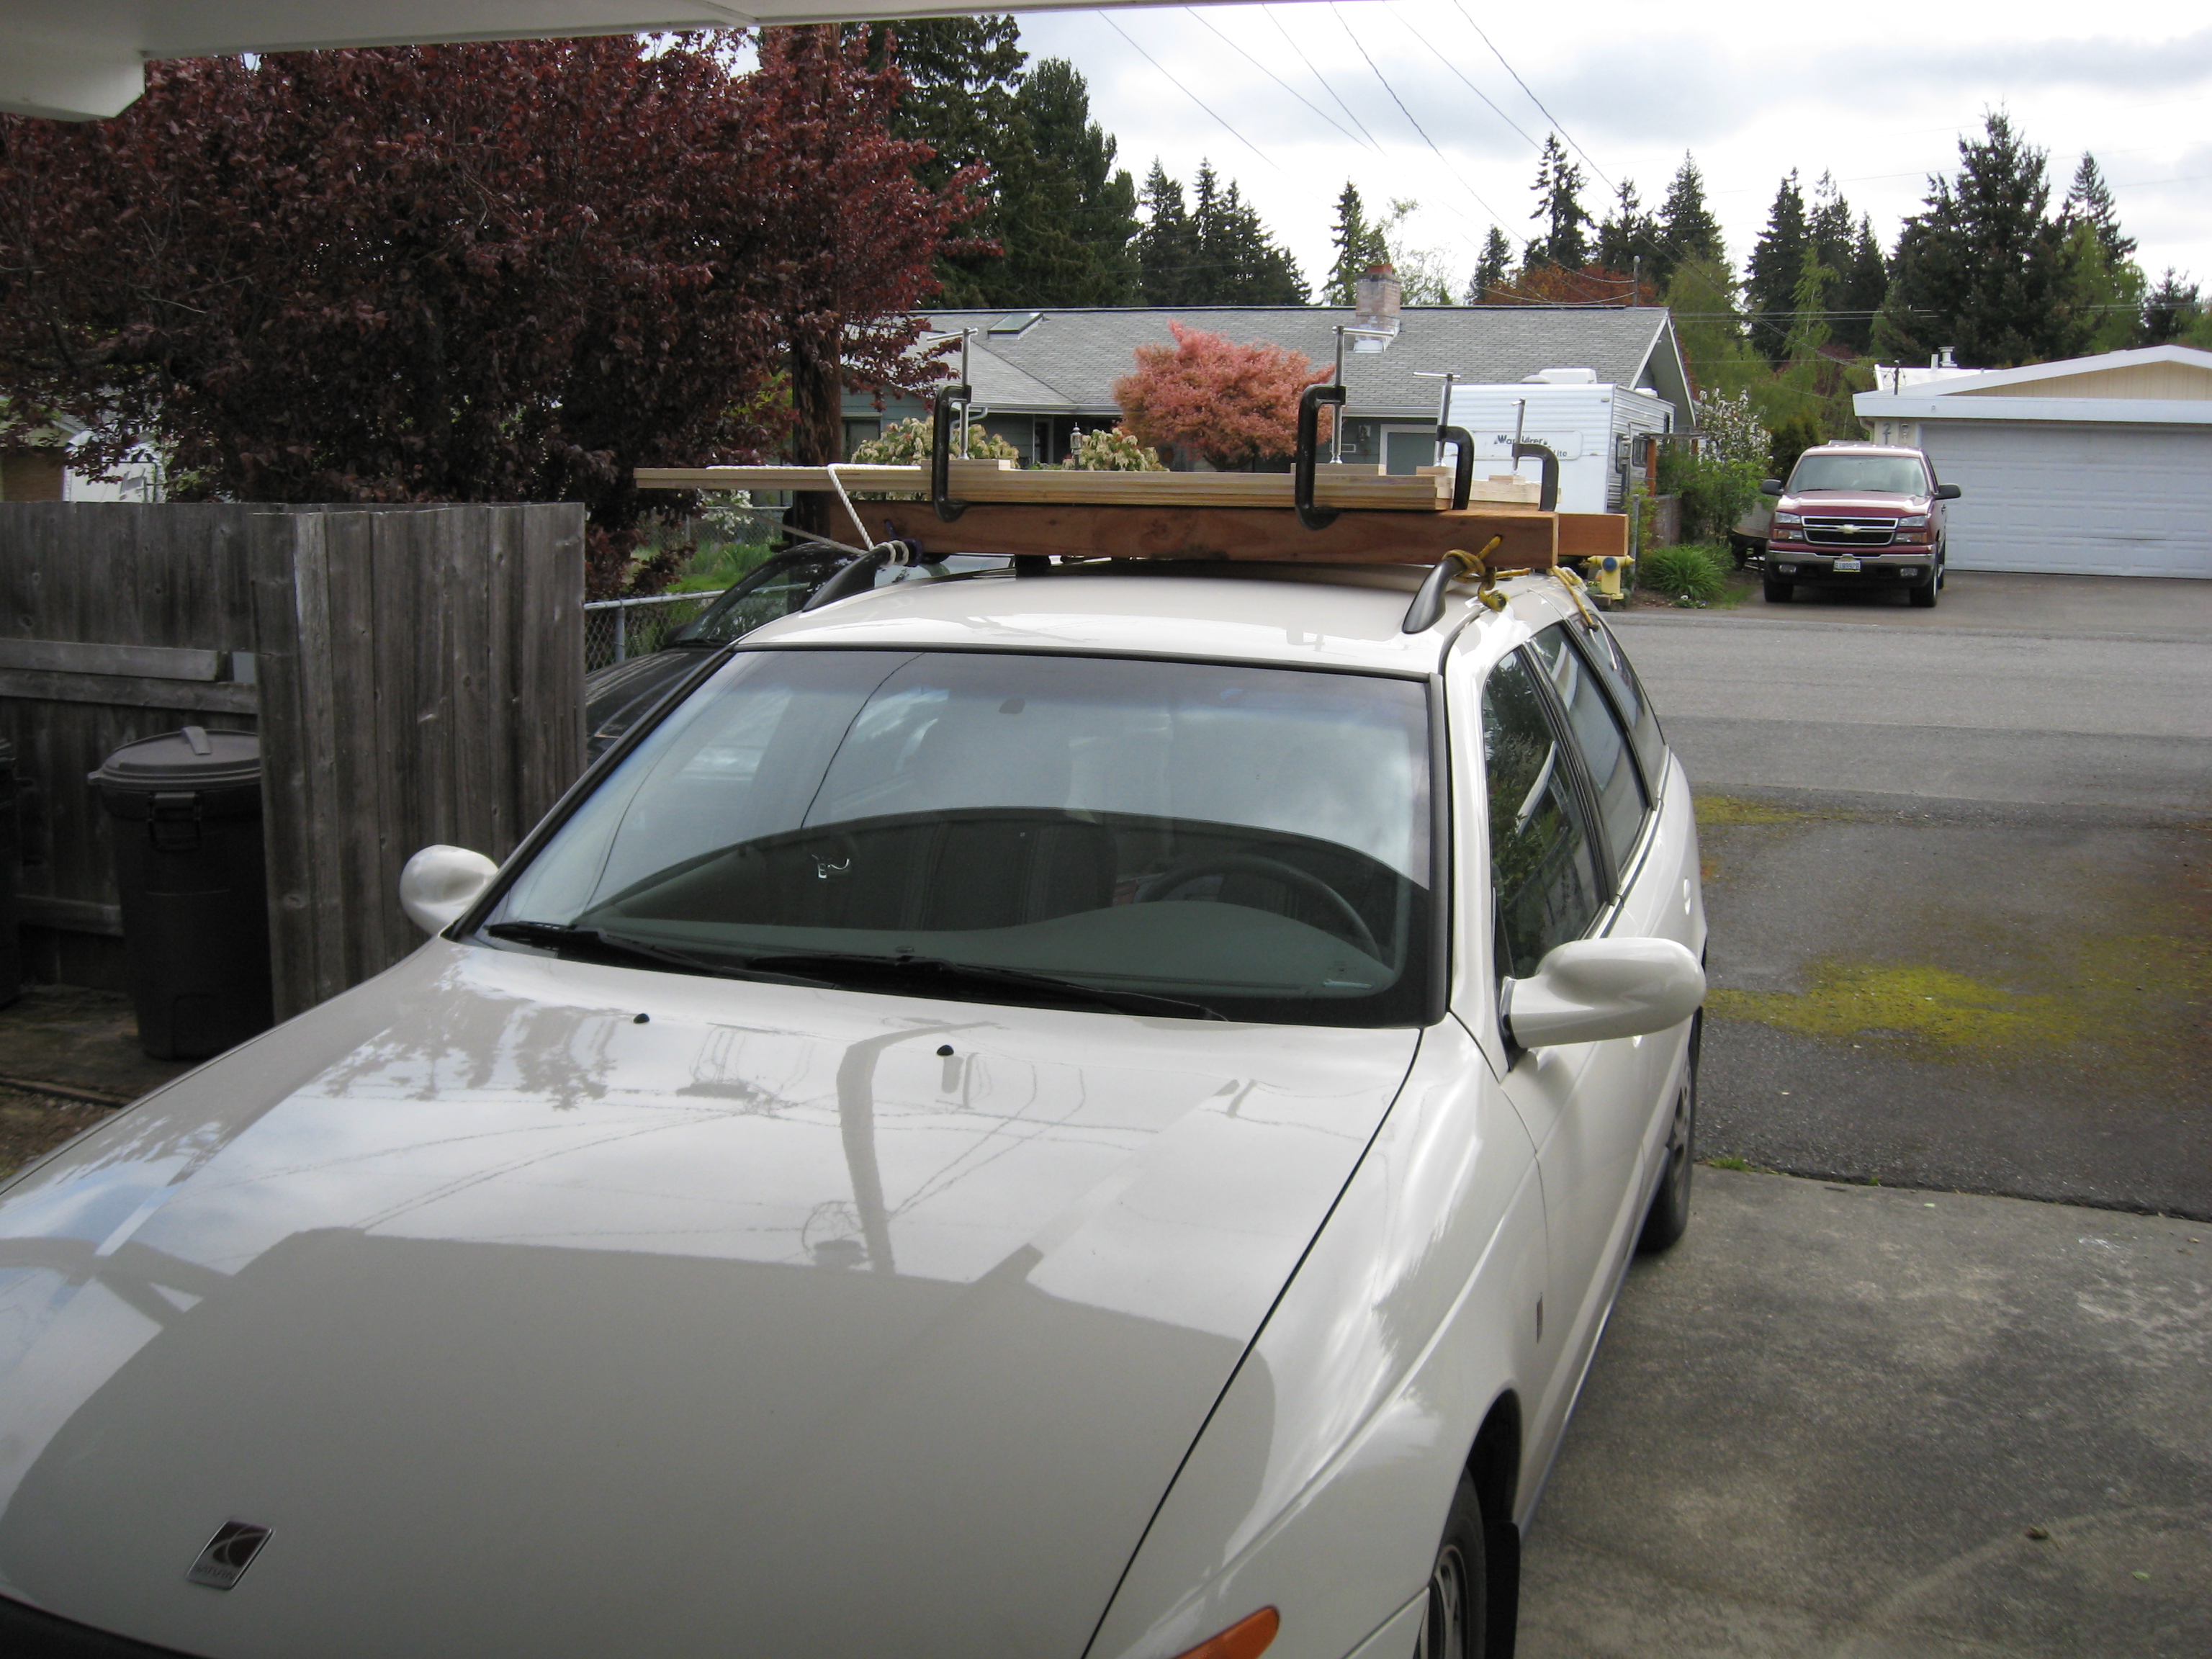
Plywood Transportation
Very high tech. The real trick is timing the trip between the periodic showers of the pacific northwest.

The Nebelung (NAY-bel-ung)
Nebelungs are mild, soft-spoken, and gentle. They are generally reserved around strangers, ranging from hiding-under-the-bed timid to warily eyeing intruders from a safe distance. Given humans' unpredictable behavior, this could be interpreted as a sign of extreme intelligence.
To their family, Nebelungs are like Russian Blues, affectionate and playful although not intrusive. They tend to bond with a select few humans and stay loving and devoted throughout their lives.
:
The perfect board for the project is always at the bottom of the pile.
:

Just try to figure out where the camera is.
This is a screen shot of the intro to Bullitt.