Lyptus Kitchen Cabinets
Click on any photograph on these pages to see it full size.
:
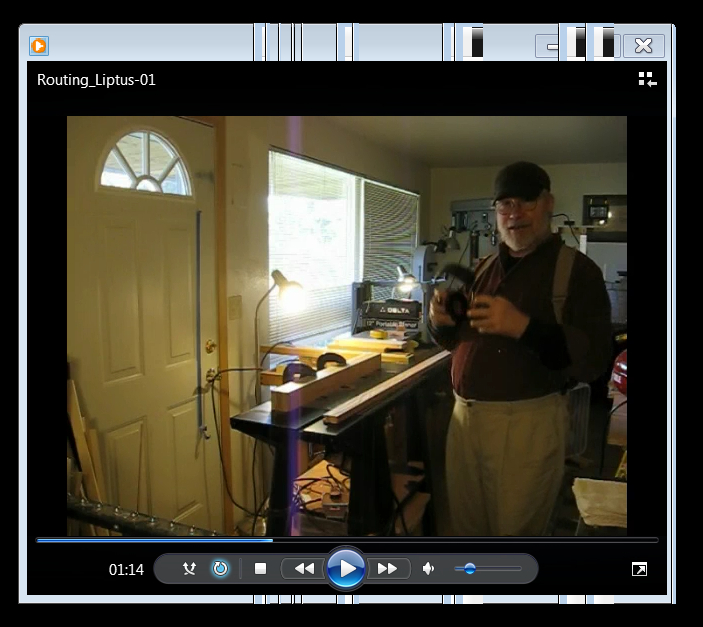
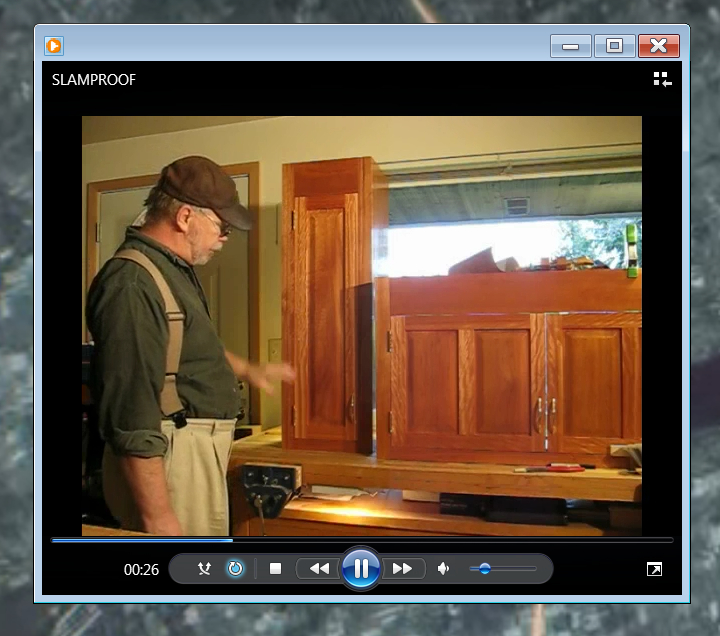
To watch a video
you can click the play button in a minute or so.
:
From The Beginning
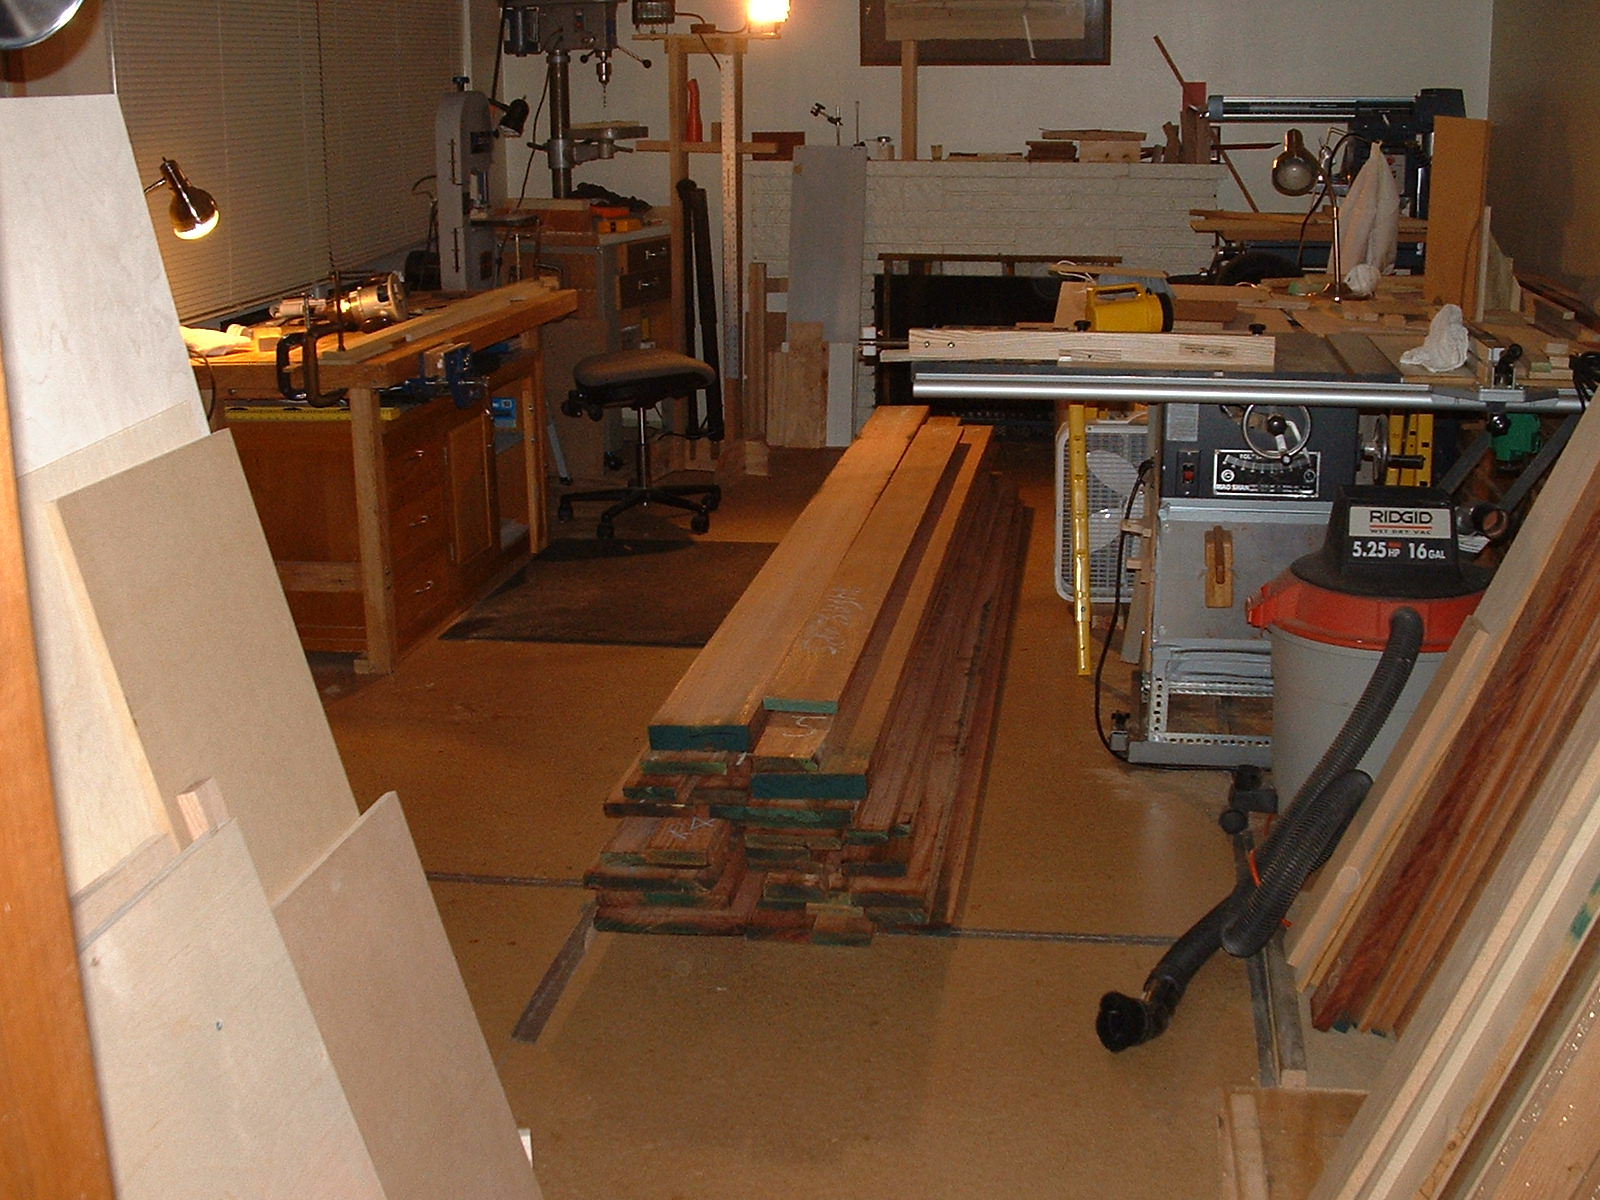
This is some of the rough lumber for the kitchen cabinet project. There are 256 bd/ft of Lyptus here. The stack on the floor is all the 12' boards. Just to the right are nine upright 8' boards. Out of site are two 8/4 x 4ft boards. If you examine the stack on the floor you can find two 8/4 x 12' boards. Time to let this wood equalize in the shop while I organize for the planing operation. Getting ready to make some real sawdust!
:
Lyptus Properties.
I have made the Lyptus Properties Data Sheets available in Adobe Acrobat format. Click on the link below.
:
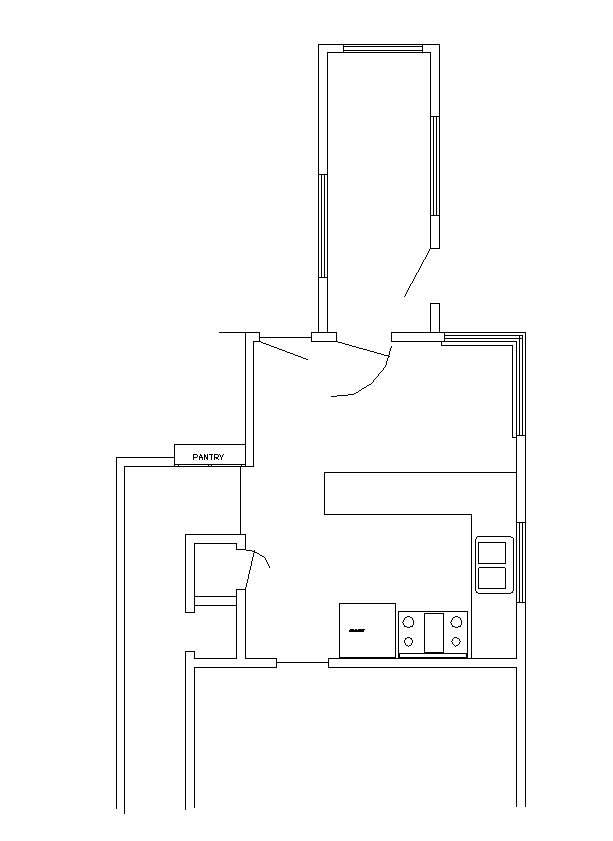
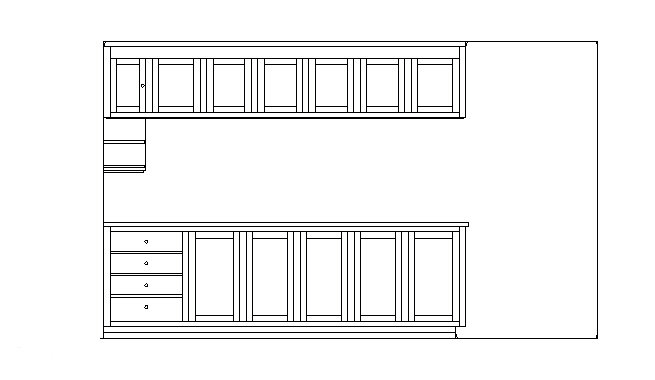
This is a plan view scale drawing of the kitchen prior to starting the project
:
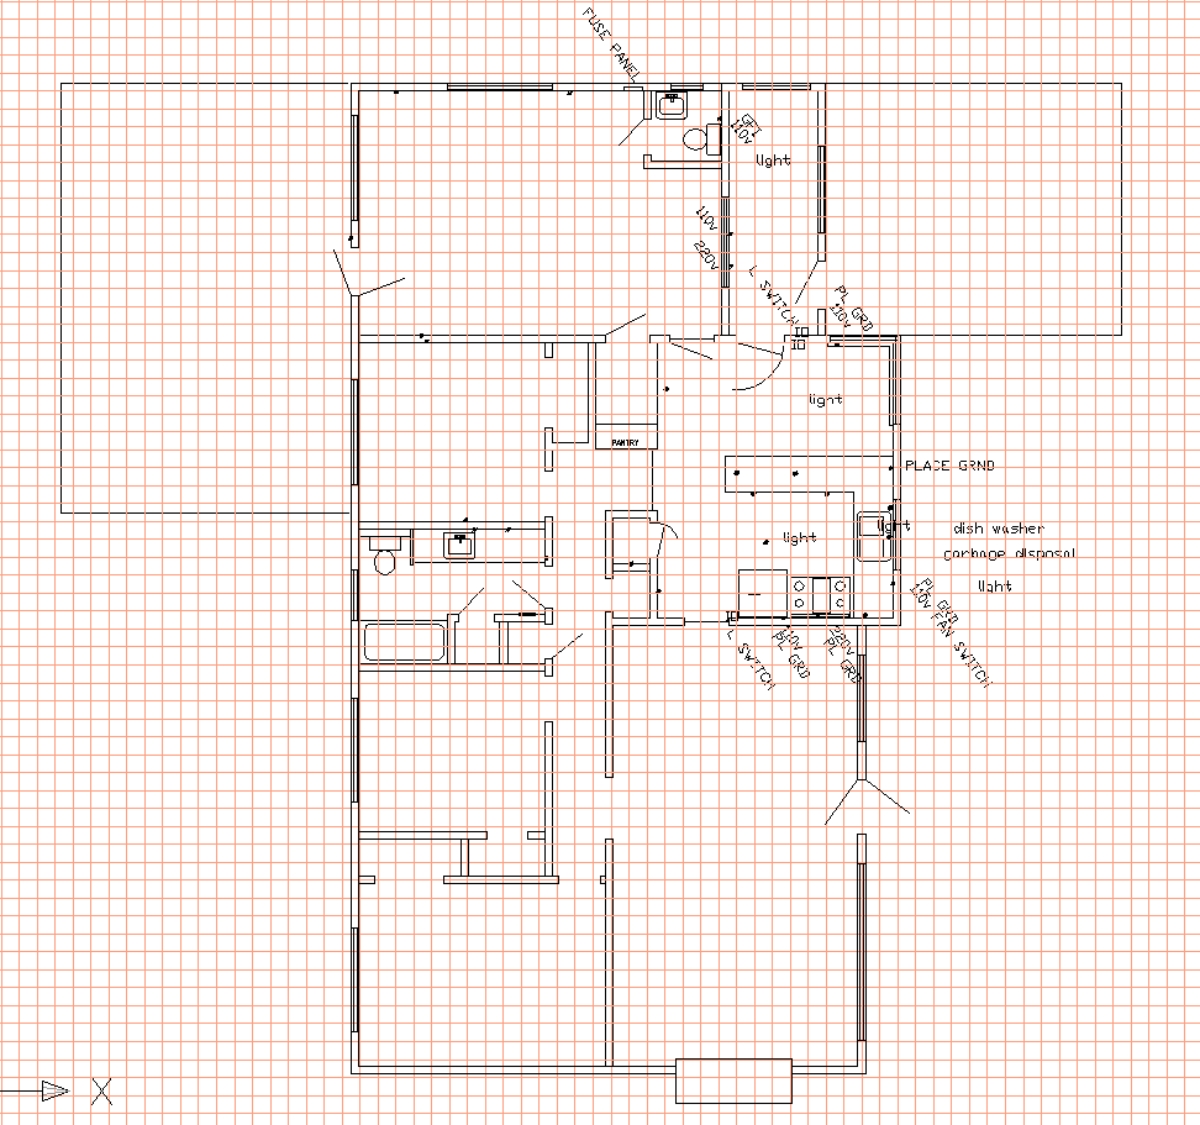
Face Design
These JPG images of AutoCAD drawings are best viewed at a minimum of 800 x 600. I do my AutoCAD work at 1600 x 1200. The backsplash represented here are 6" tiles.
Drawing 1
Drawing 2
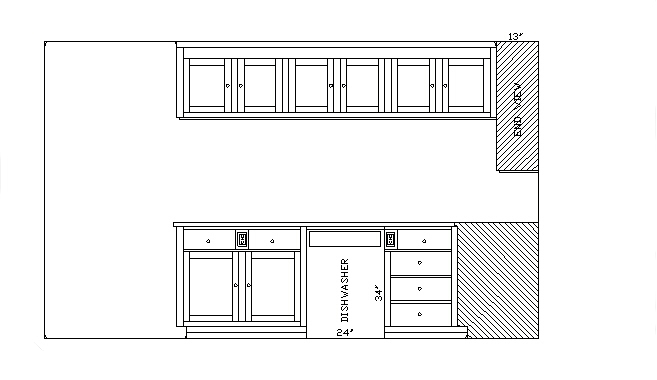
SEE THE LOWER PENINSULA CABINETS.
:
Drawing 3
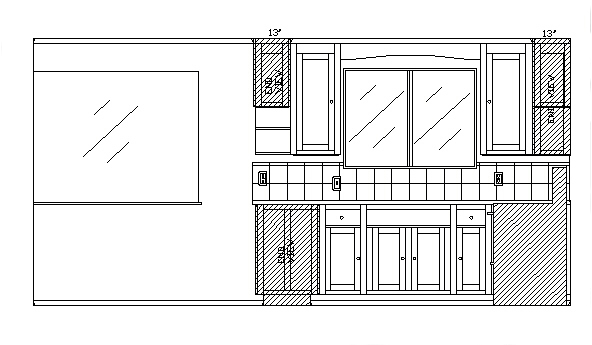
SEE THE WET WALL LOWER CABINETS
:
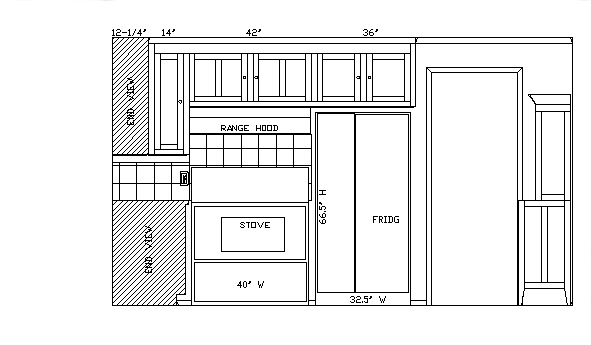
Drawing 4
:
SEE THE WALL MOUNTED UPPER CABINETS
:
BASICS
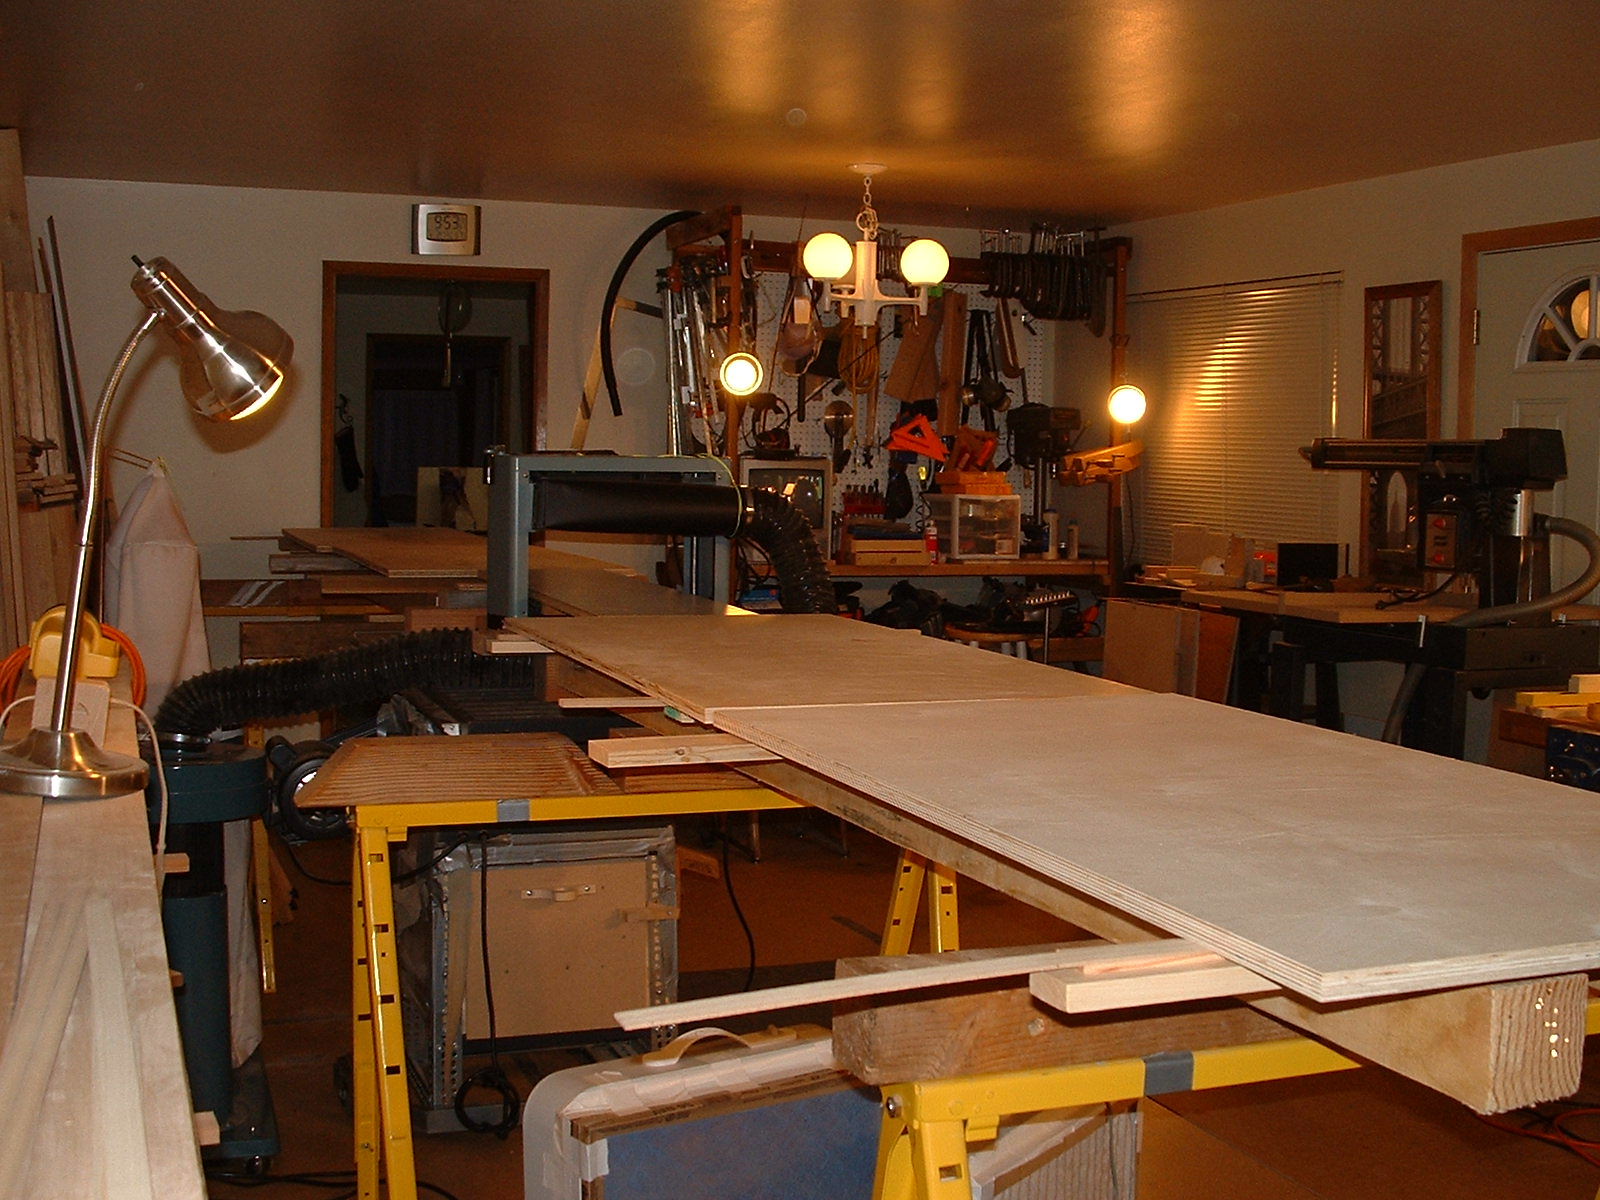
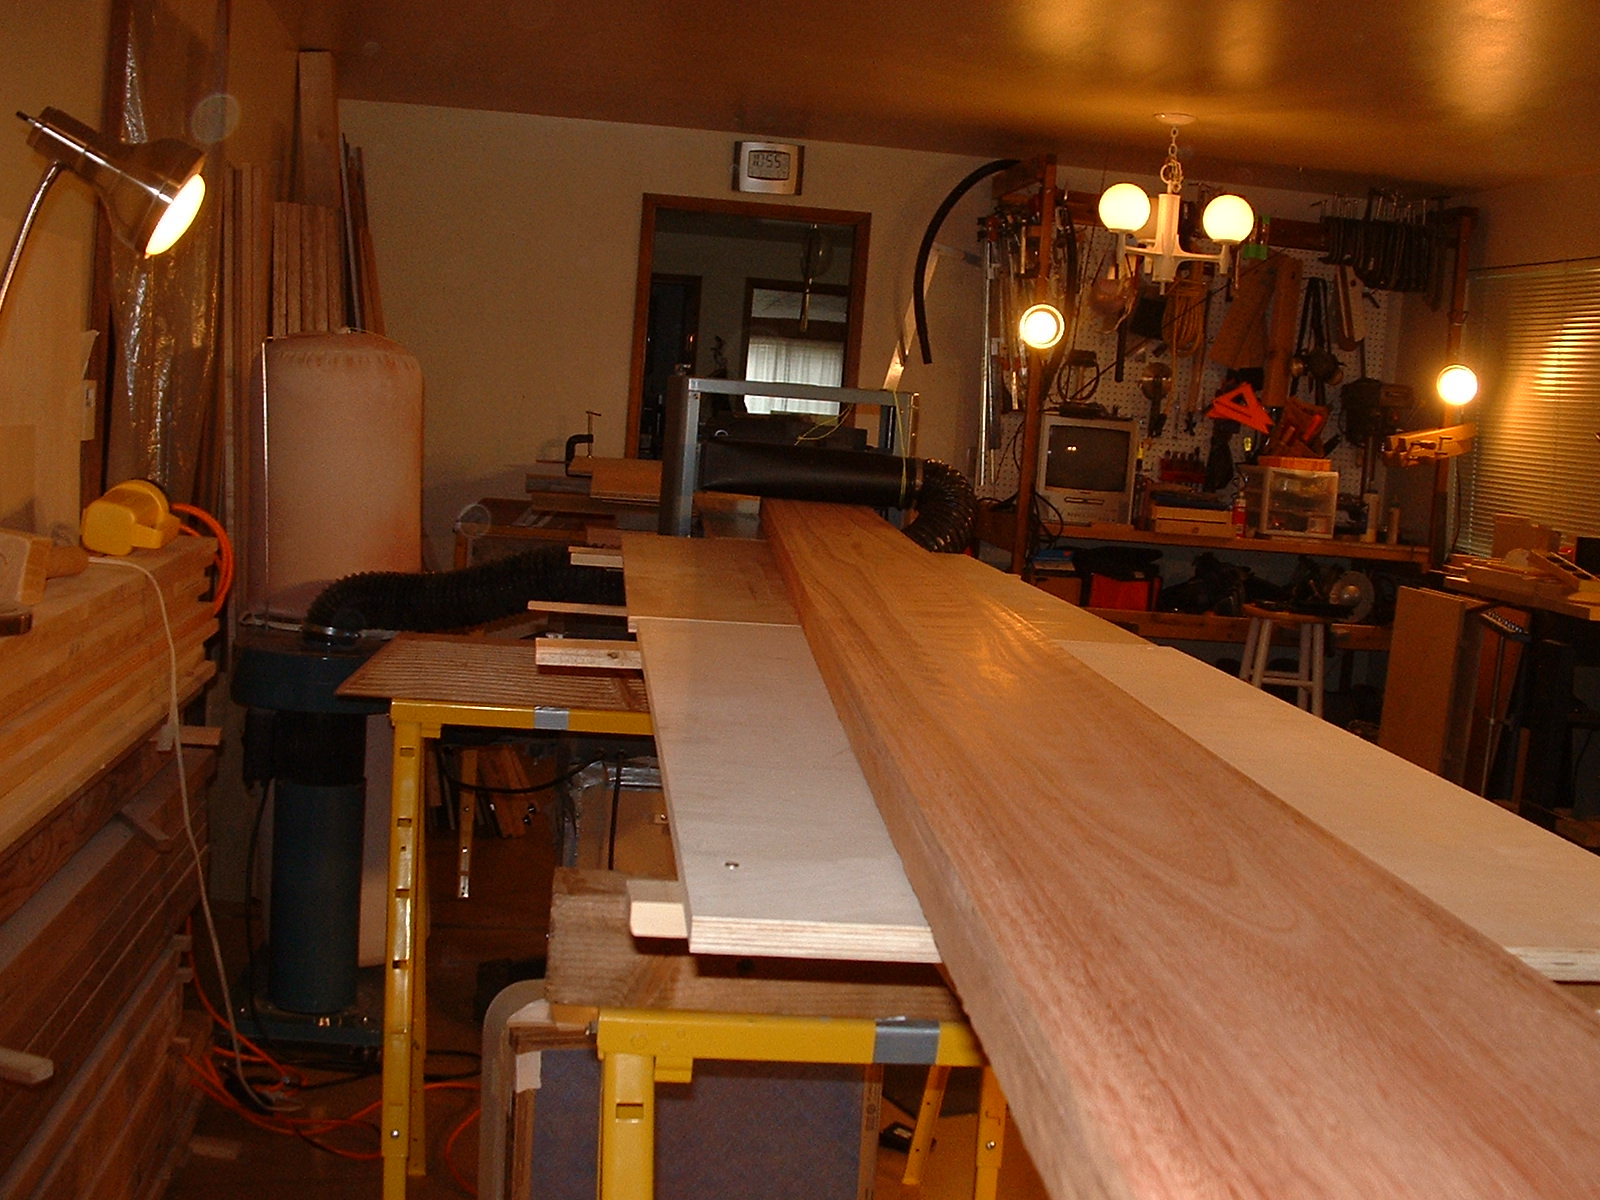
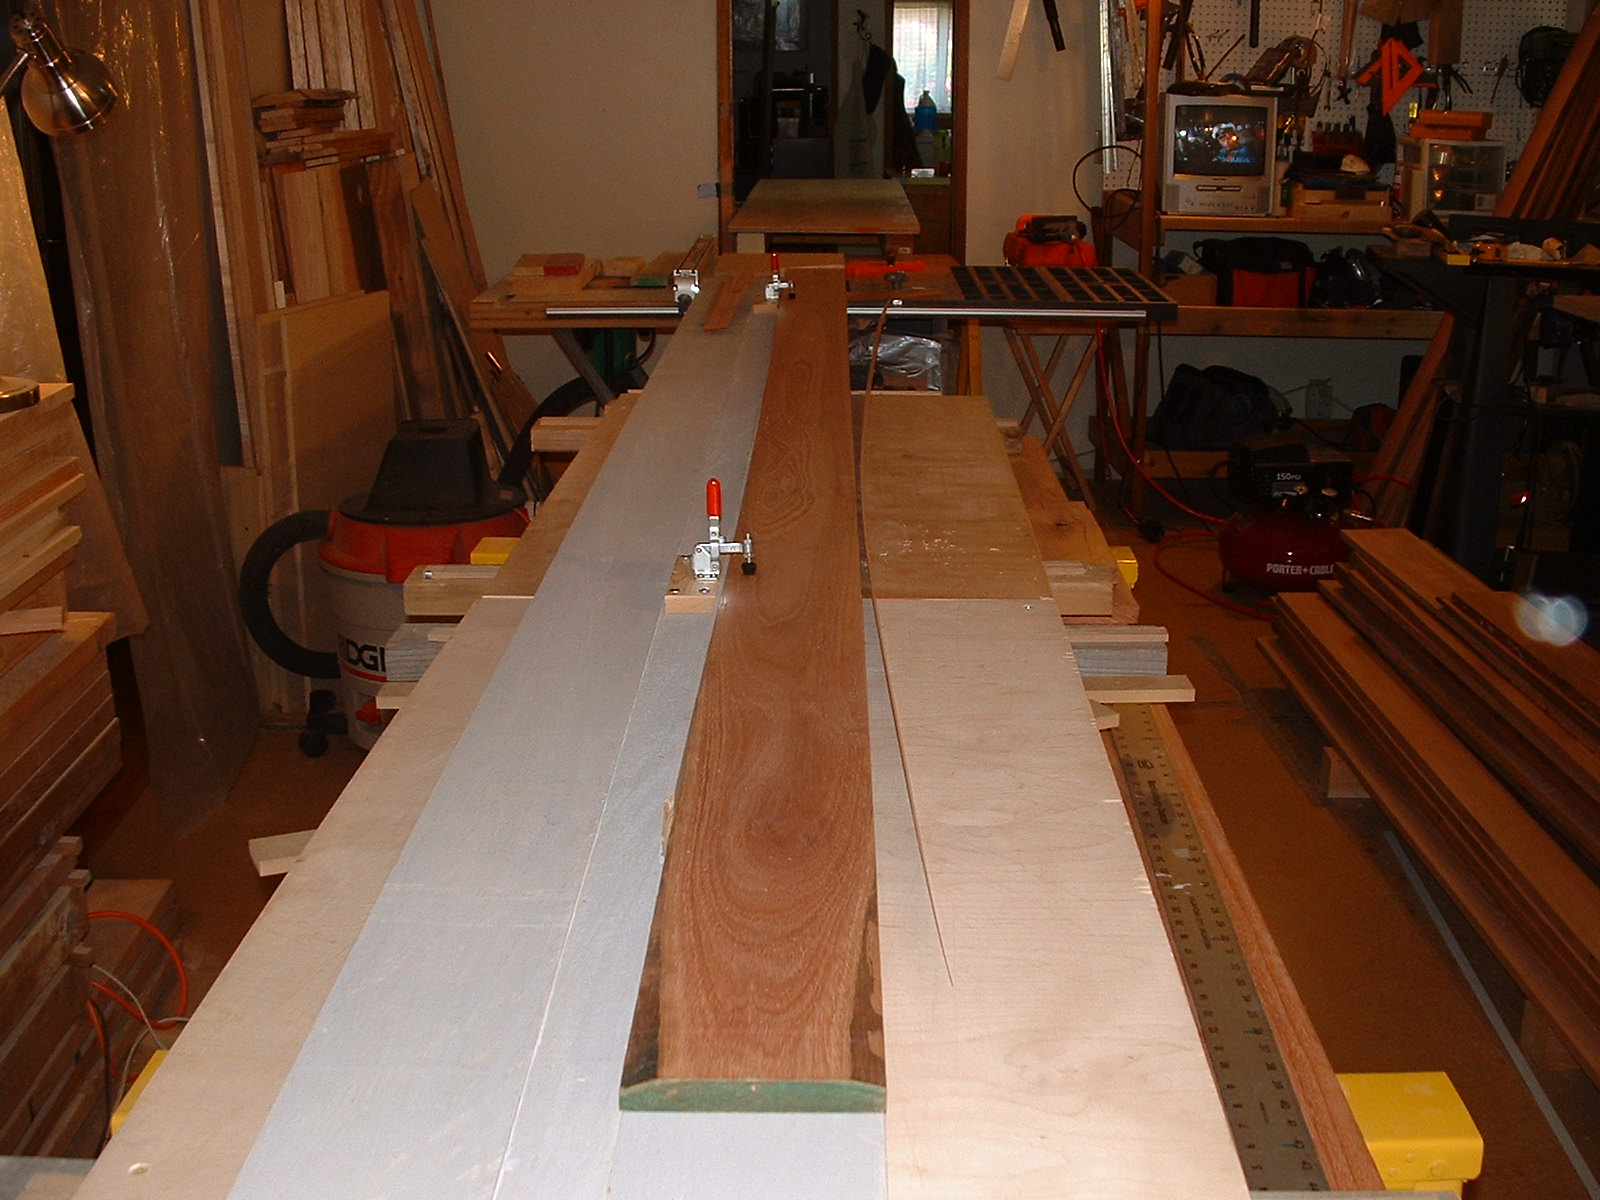
Here are the tables for planing the 12 ft boards. The trick is making this 20' long table level. I want to plane all the wood of the same dimension at the same planing. While planing the 12 ft boards is a very big hassle, it will reduce the total amount of snipe. Two rules about snipe. Snipe happens and I don't like snipe. What will I do with hundreds of gallons of sawdust?
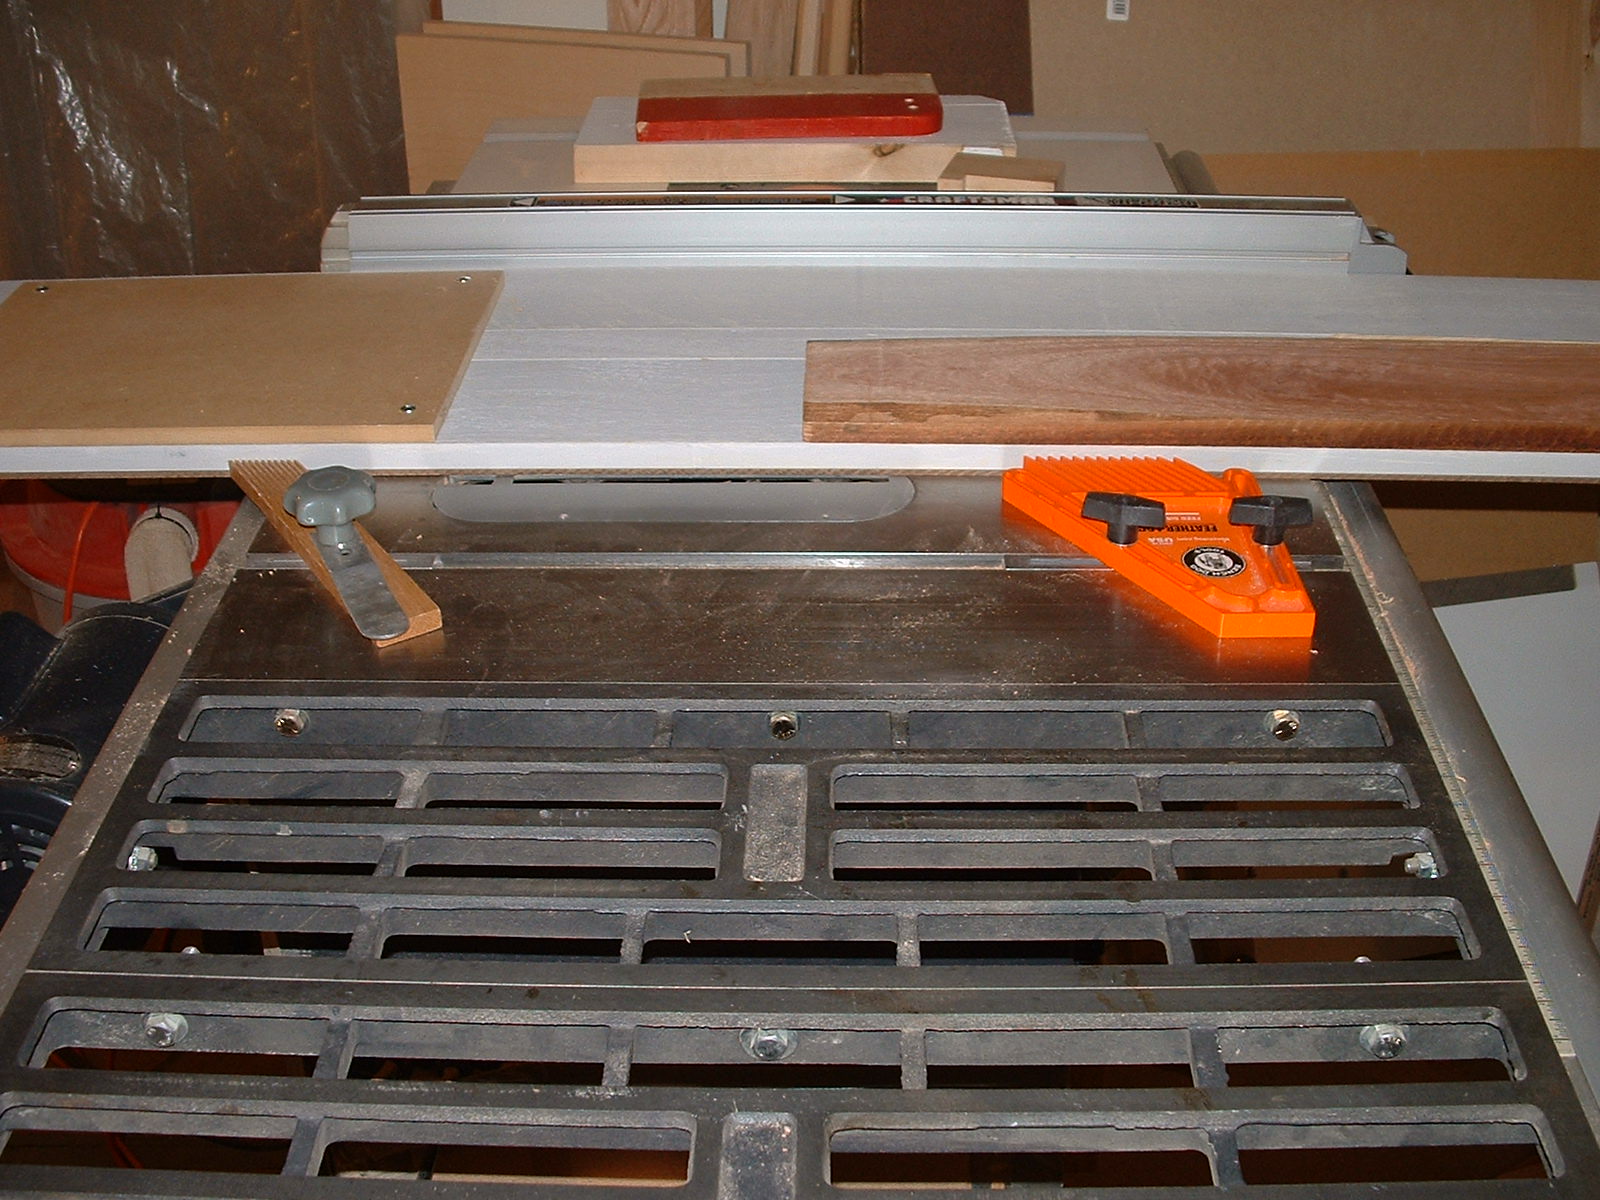
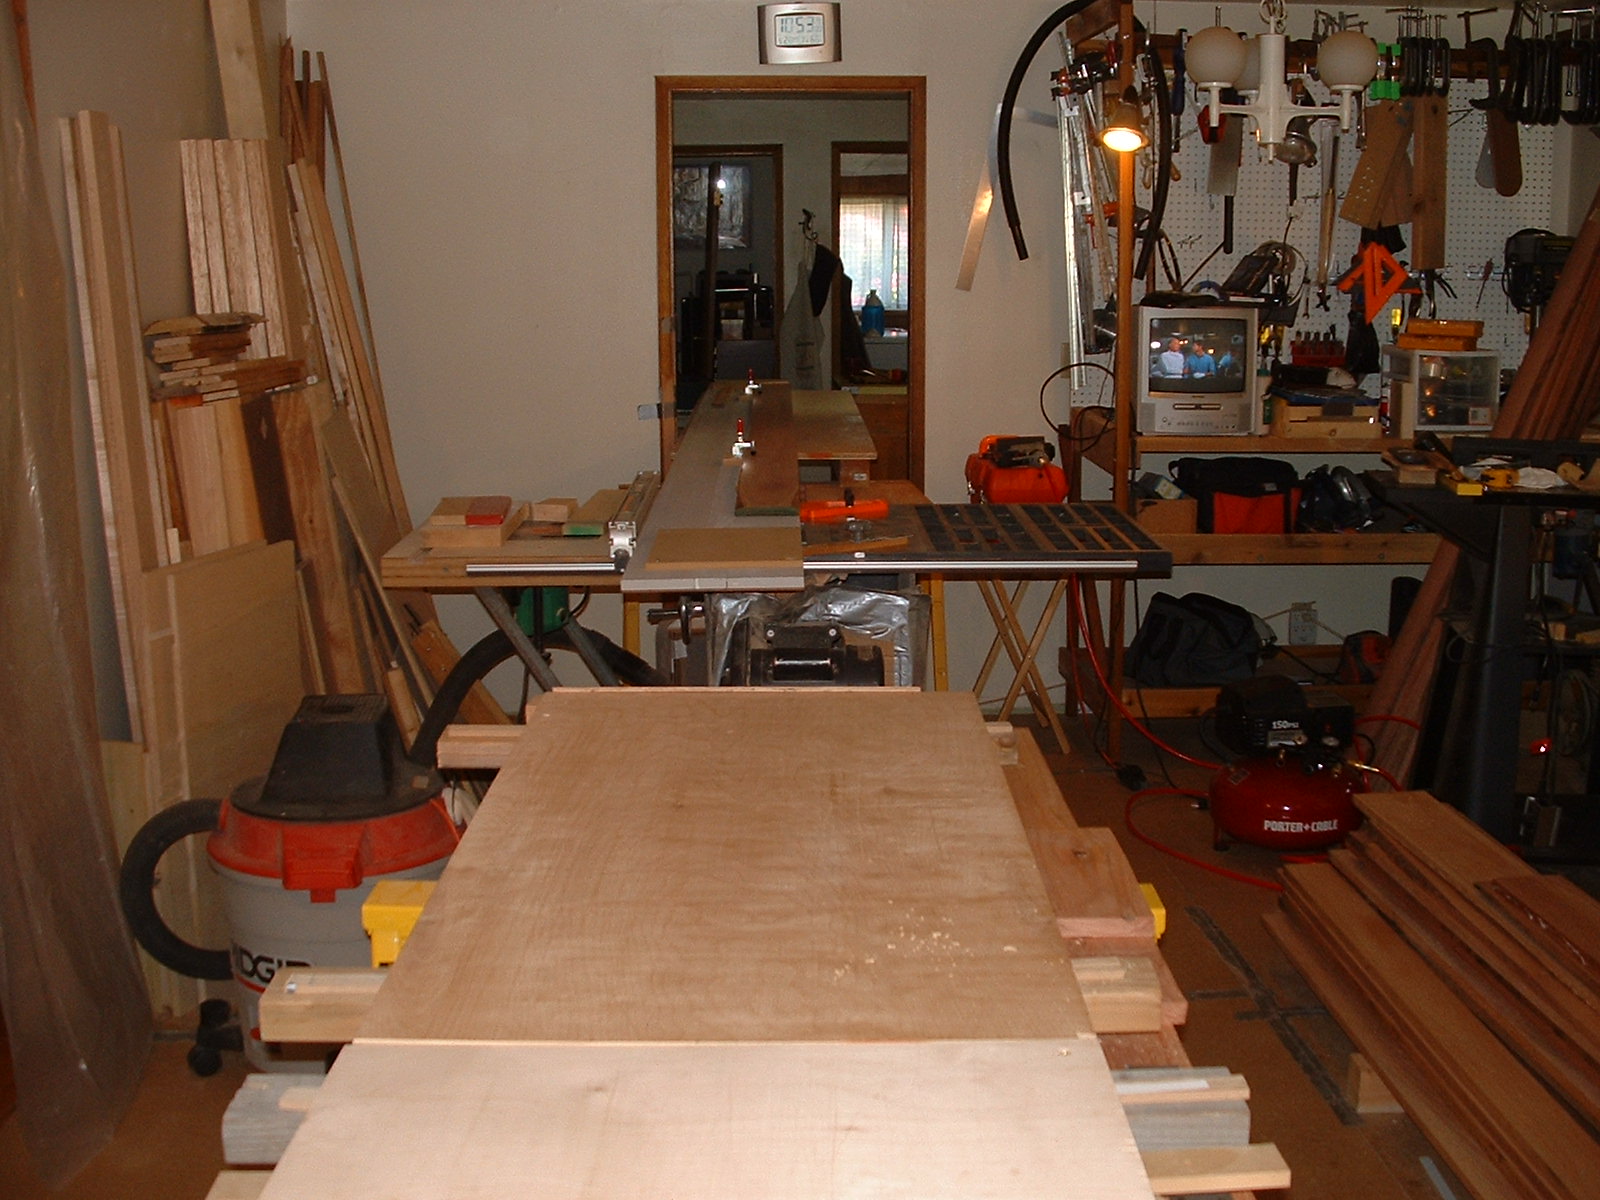
After planing all the wood to the same thickness the next step is to rip. To rip the first edge I have learned that a rip sled provides the best results. I used 16' long exterior trim boards I had for the shed maintenance project. The sled is 13" wide. I used 1/8" hardboard as the bottom surface tacked on with a brad nailer, slick side down. The clamps can be moved to accommodate the various width ranges of the lumber. The feather boards are placed on each side of the saw blade. They only serve to push the sled up against the fence. To establish a straight edge along one side of each board in this batch I must now rip 600 ft.
:
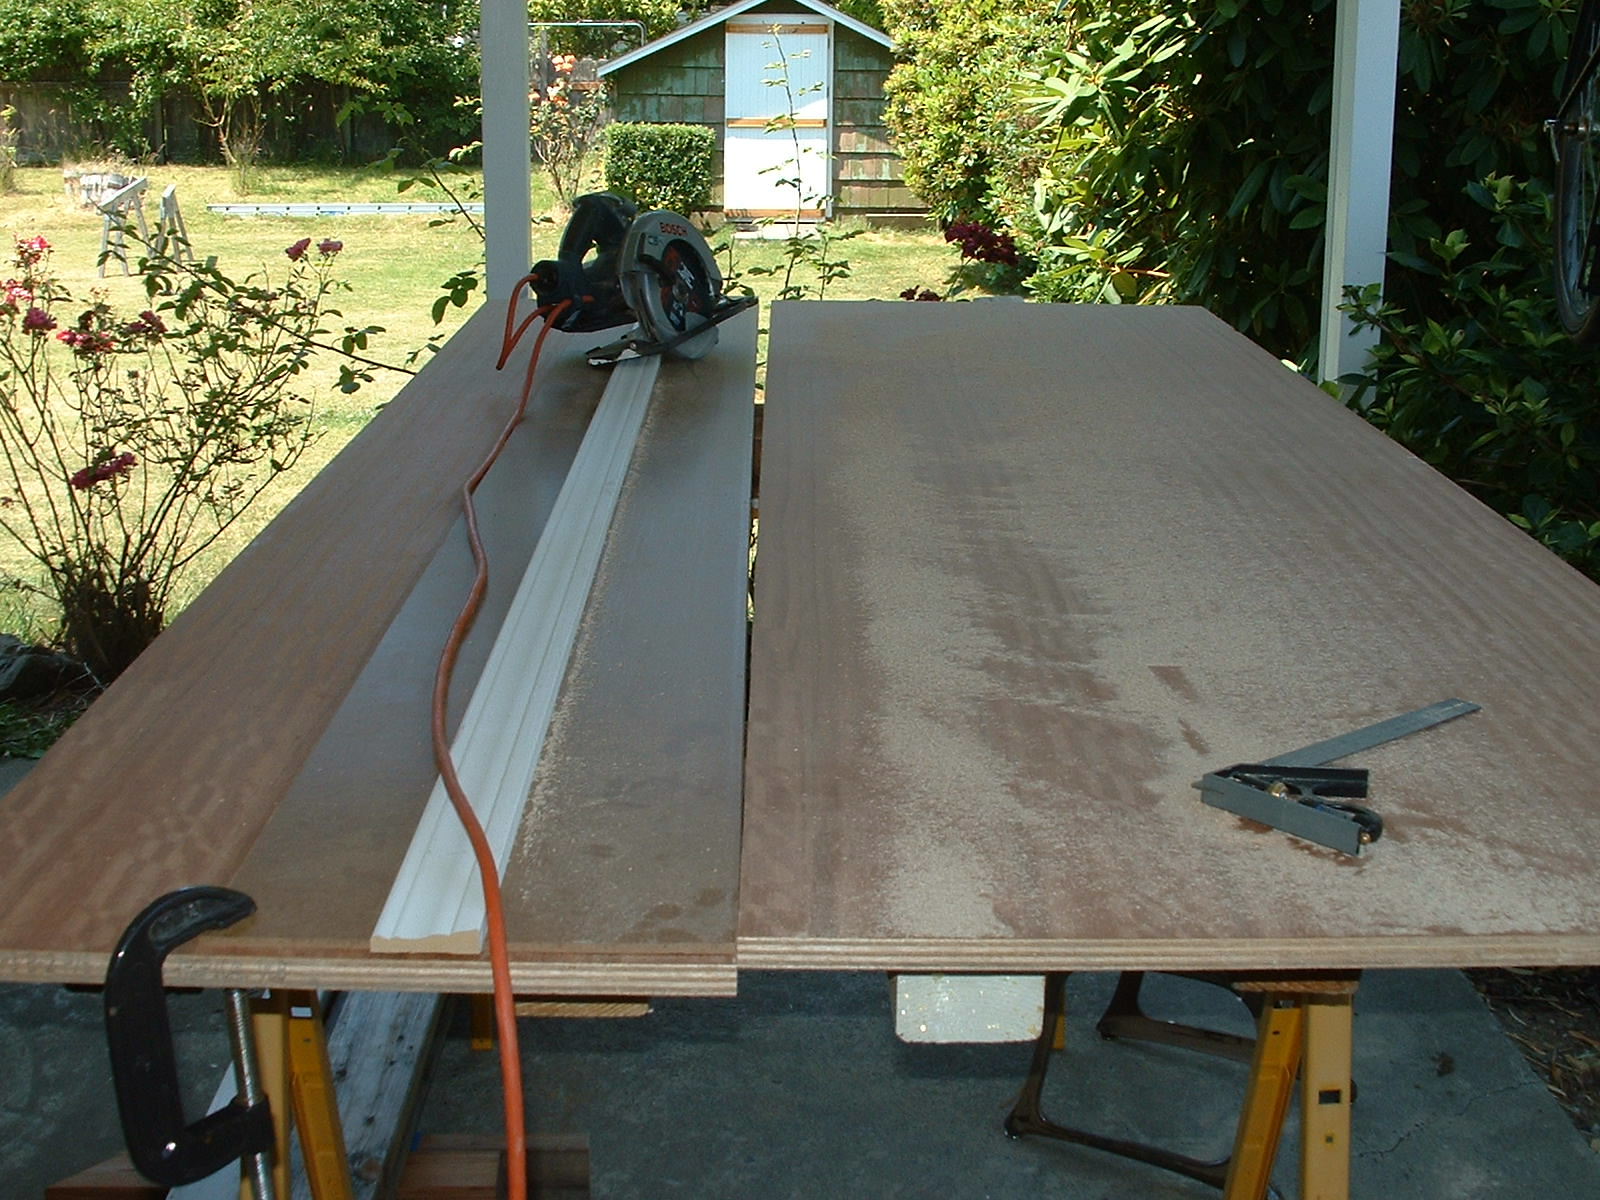
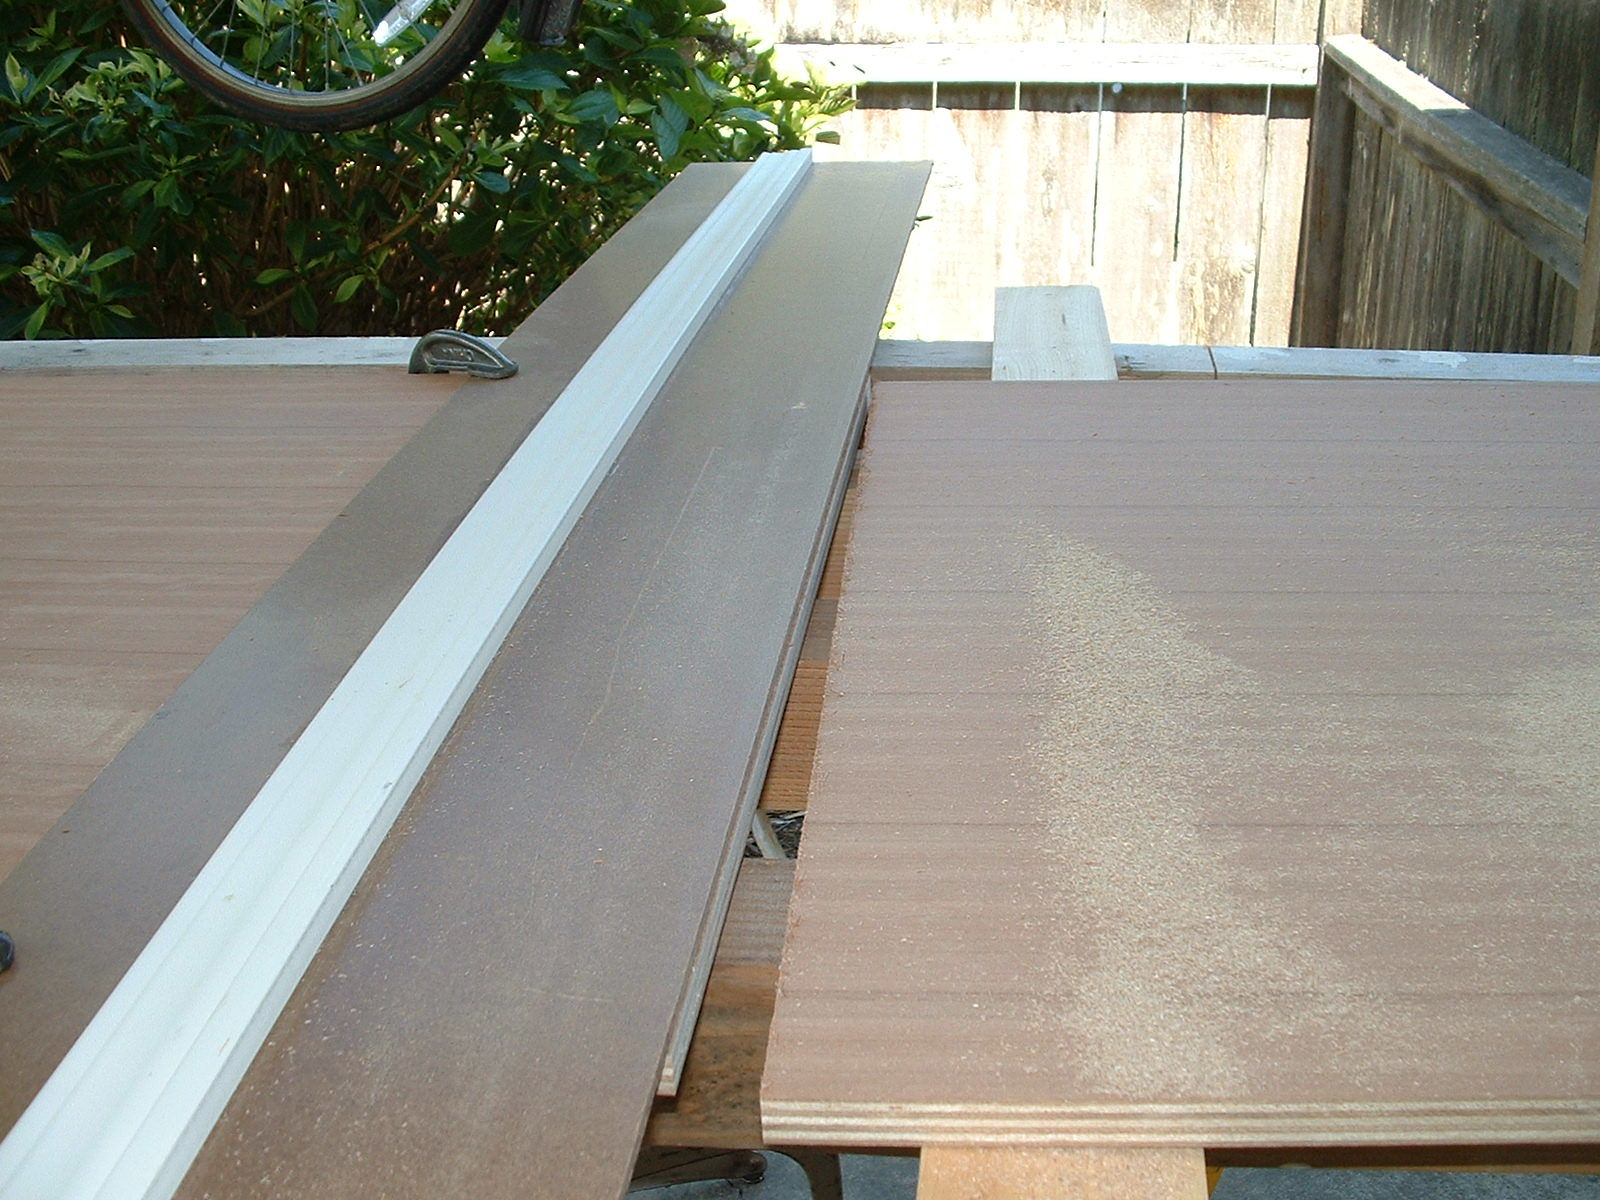
Ripping and Crosscutting Lyptus Plywood
:
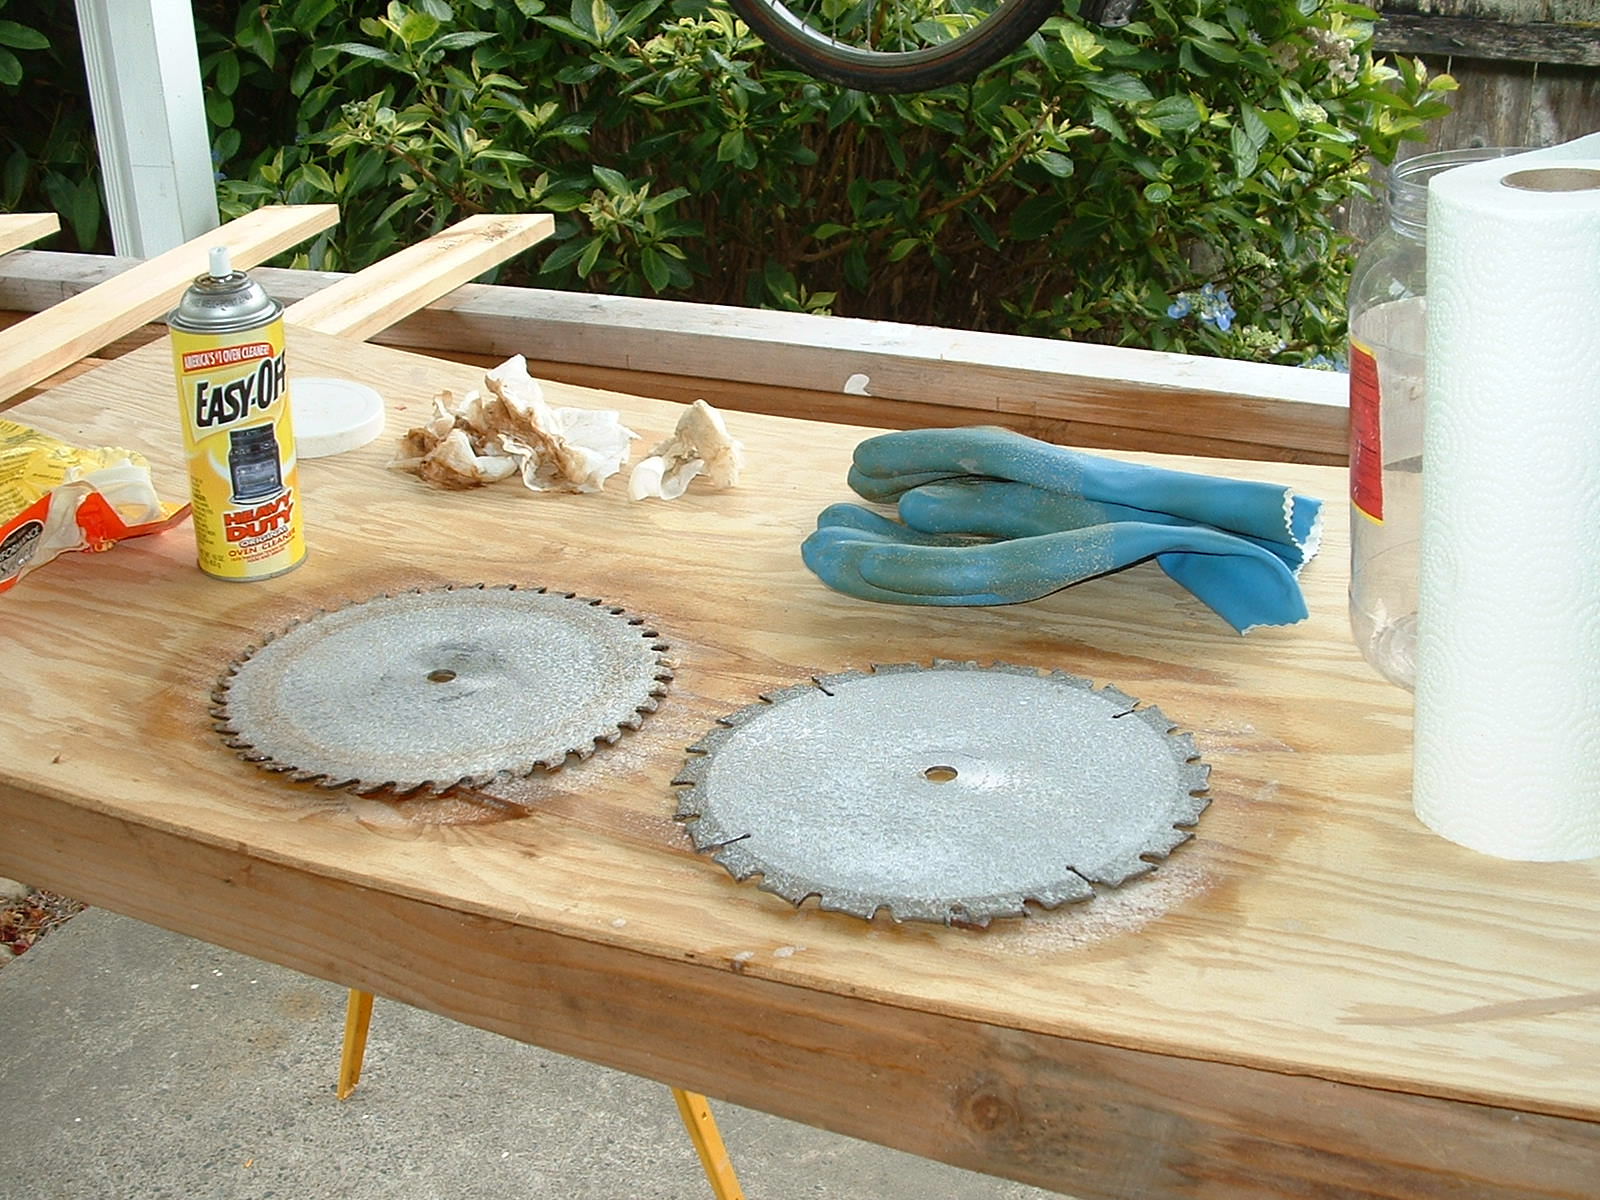
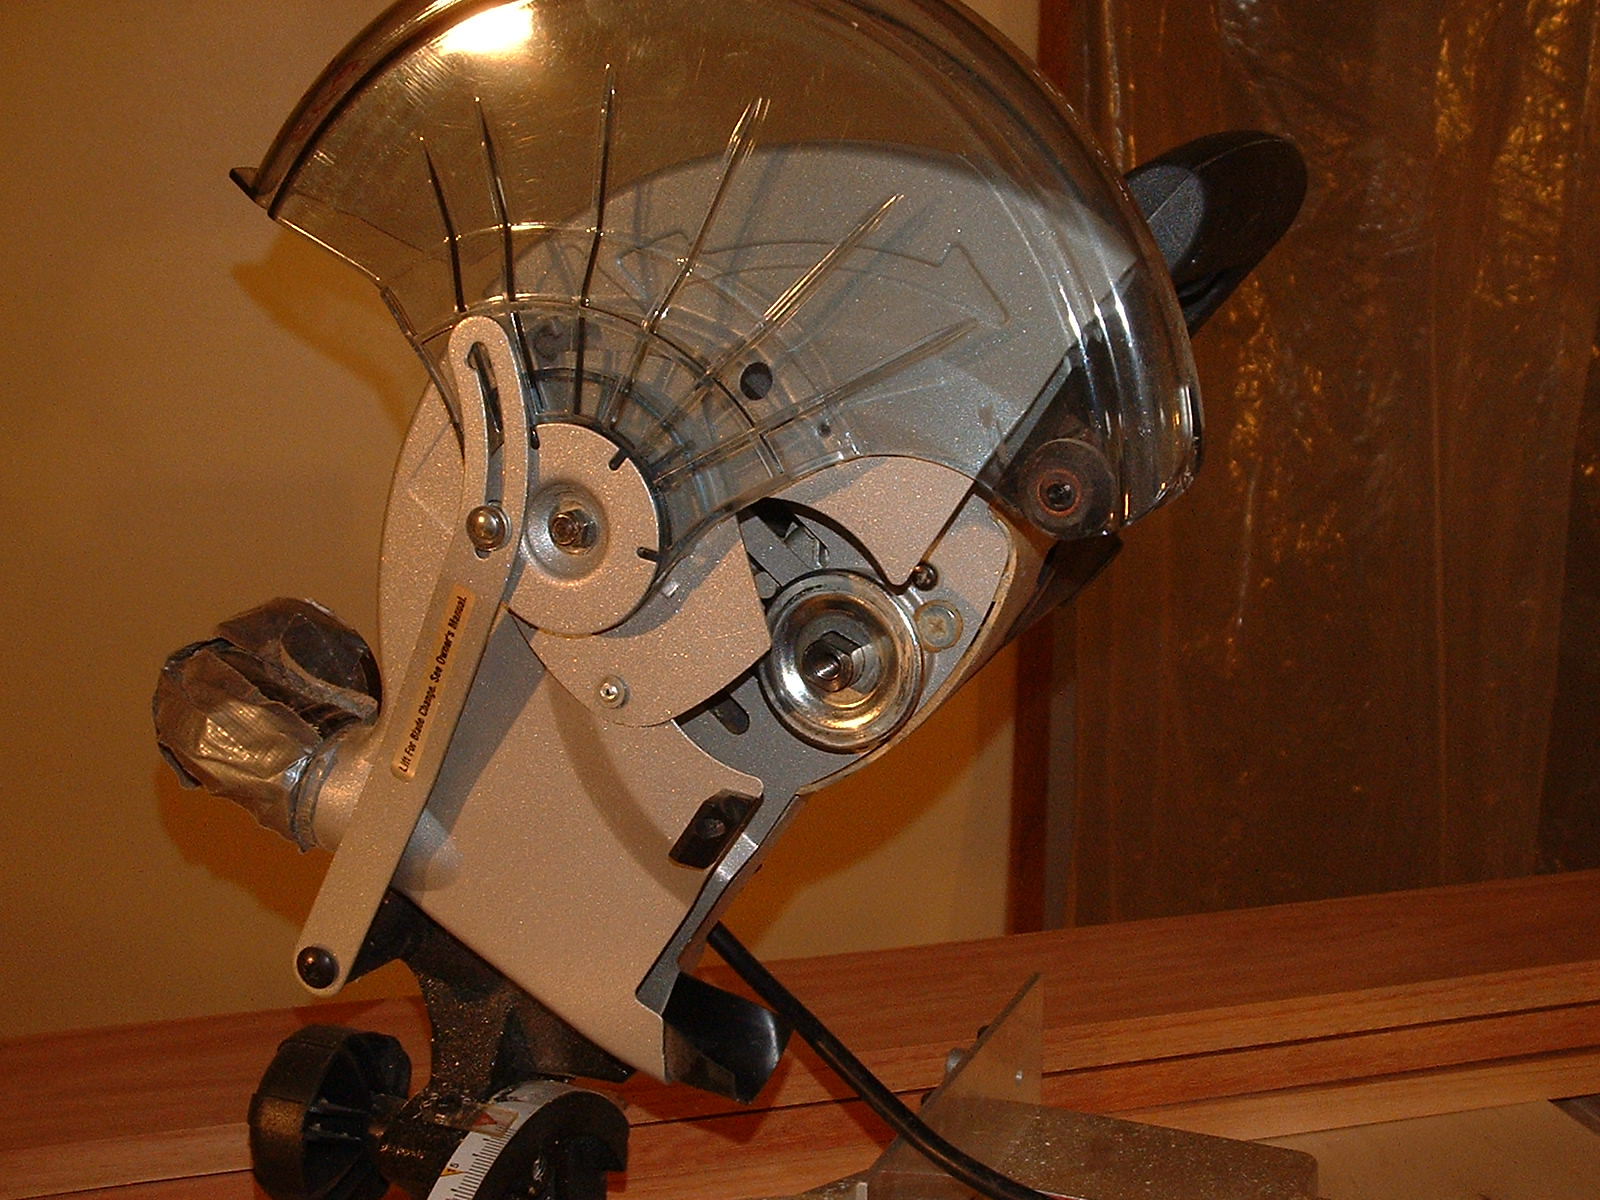
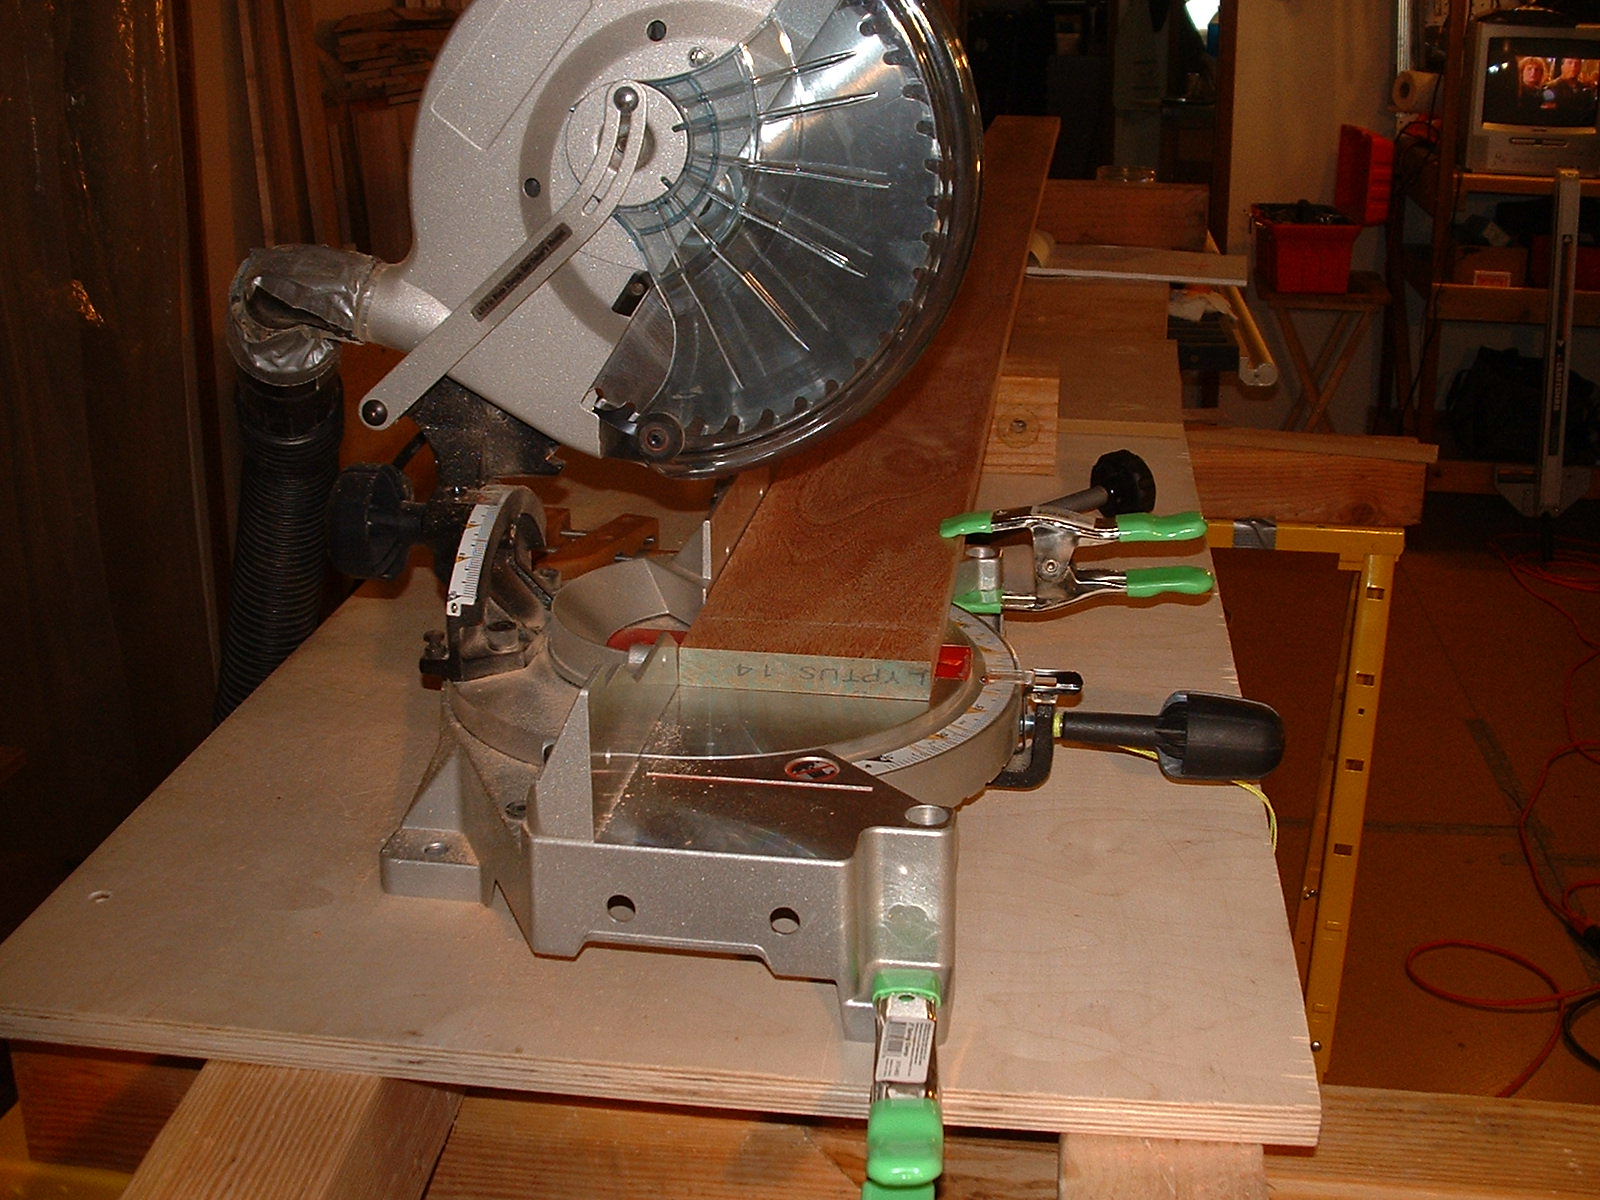
I first must cut all the 5 in wide boards as they compose most of the longest boards in the cut list. These will make the top rails for the upper cabinets. To crosscut the longer boards I have chosen to use the miter saw. To get a good cut with the Craftsman 10" Compound Miter Saw I will install the 40T WW2 Forrest Saw Blade in it. Its time to clean the blades first. Its true, Easy Off Oven Cleaner works the best! I wash it off with soap and hot water. After using a towel to dry the blade, I put the blade on the oven burner set to low for 45 seconds to purge any remaining water off of the blade. I then install the blade in the miter saw.
:
:
This page is getting way big. Click the link below to see the painting room and all the finishing processes.
Paint Booth and the Earlex 5000 HVLP
:
:
Every kitchen has to have them.
:
DON'T SLAM THE DOORS
:
SLED-TWO
This sled makes ripping 2' to 4' parts easy. I used oak for the runner, pre-finished 3/4" maple plywood for the sled.

"
Click on any picture to see it full size.
:
DING, DANG, GONE.
It's true, you can remove small dents out of wood through steaming. Use a thick clean cloth then get it wet and ring it out. Setting the iron on medium place the cloth over the dent and use the hot iron to create steam. After about 3 to 5 seconds remove the iron and cloth to check the results. Several applications are usually required. If the fibers are cut, this can't be corrected.
:
:
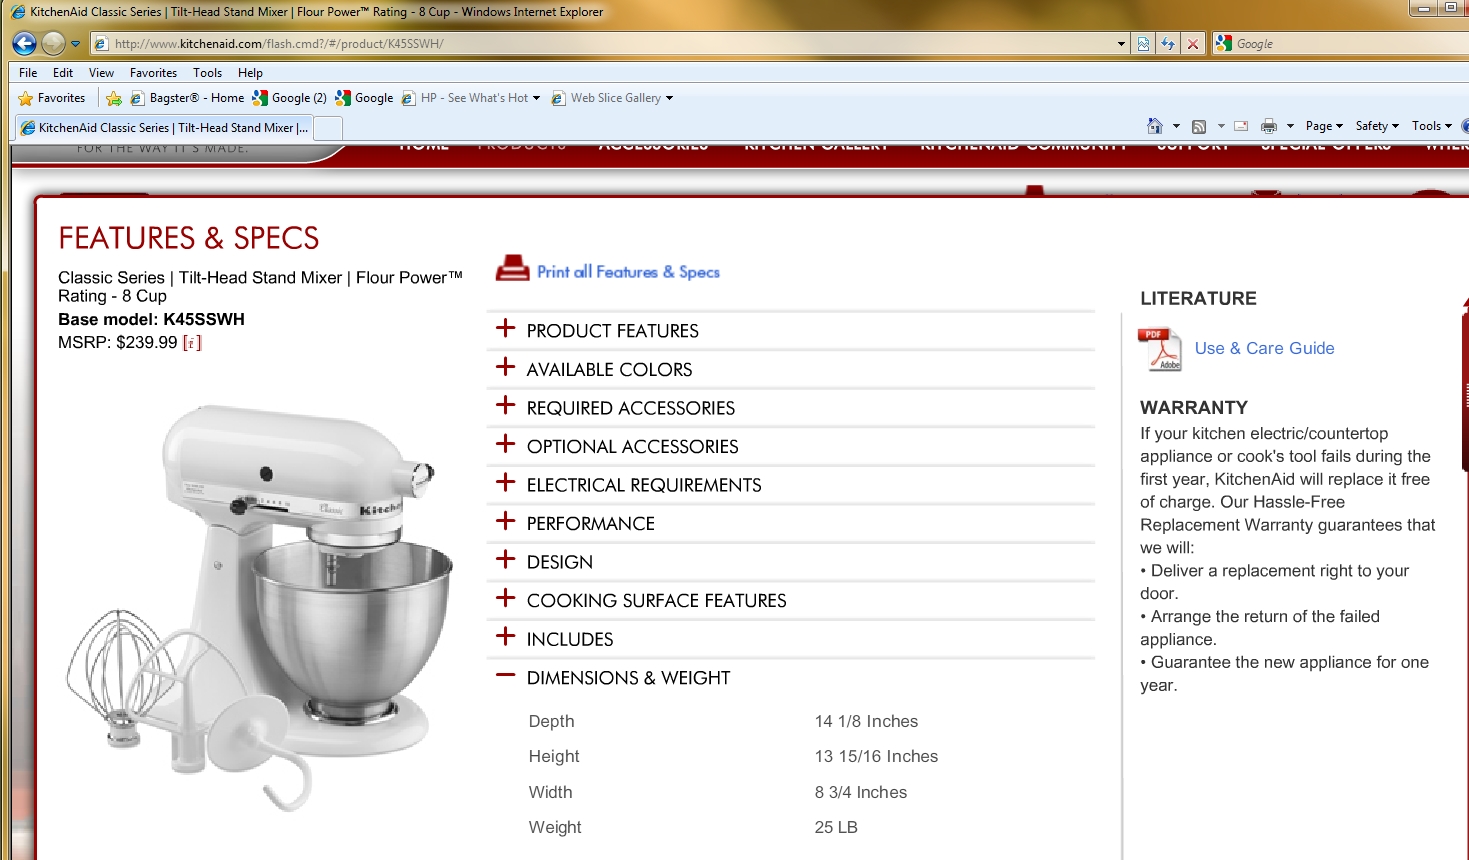
Appliances
Whirlpool Quiet Partner II Dishwasher
Rinnai RL94e Outdoor Tankless Water Heater 11/21/2011
:
:
Refer Water Filter 46- 9010 Kenmore compatible w 9902 9908
Brass Handles Machine Screw, Pan Head, M4.7 x 25 for quarter sawn door stiles.